The Ski Touring Pack

When a friend asked me to design a pack for his young son, I knew I had to give it a try. Little did I know that I would be designing an ultralight Ski Touring pack for a young outdoor aficionado! I mean, what a responsibility!

I wanted to experiment with the ski attachment options and figured I could design the side compression straps with the option to run them across the pack. My original intent was to either hang one ski on each side of the pack attached with the compression straps in a standard configuration or secure the pair to the front of the pack with one side of the compression straps reaching to the other side. Eventually, the choice would befell the future owner of the pack.

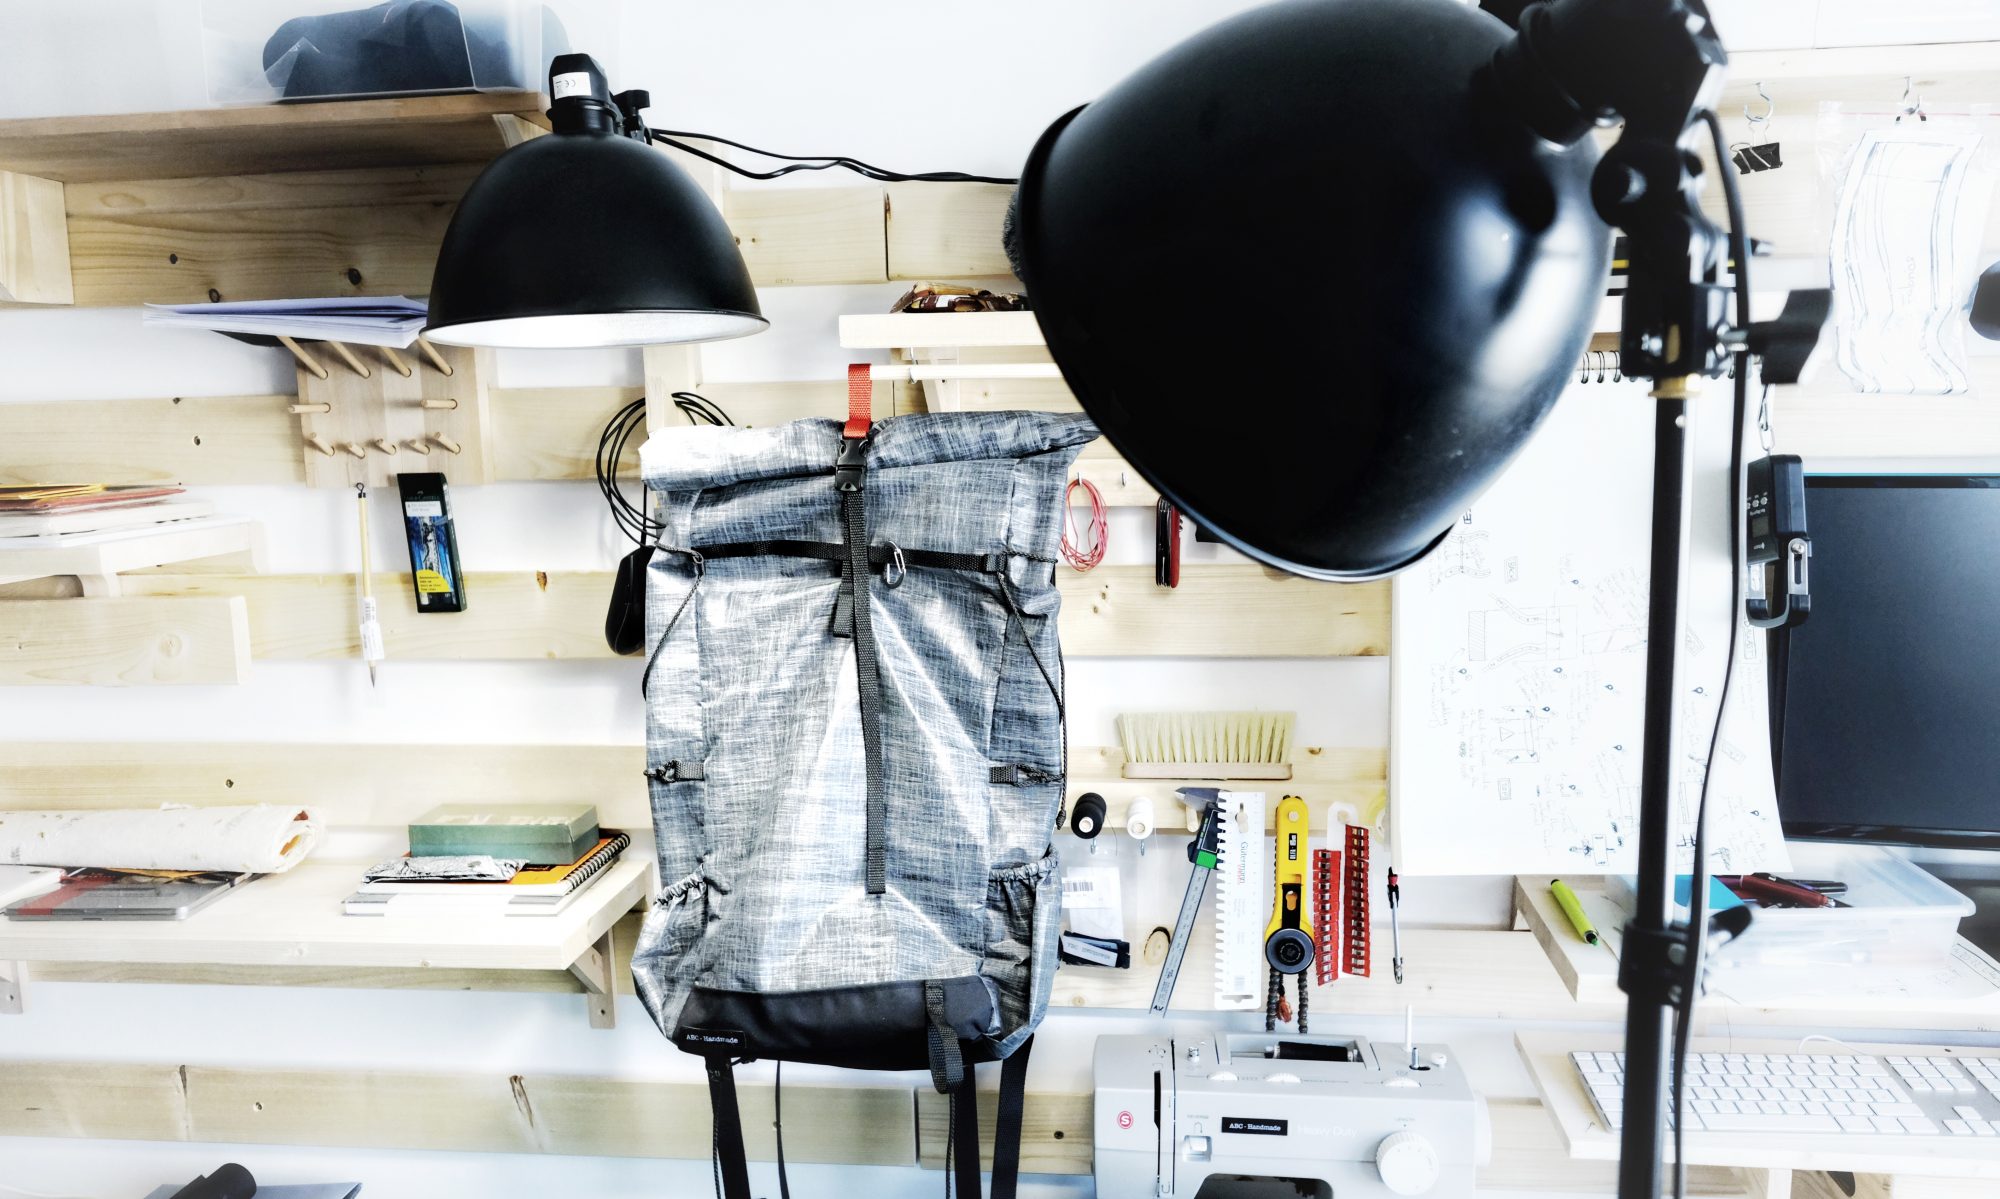
Apart from this little experiment, we designed the rest of the pack together, and settled on two front daisy chains and a relatively big zipper pocket. There are also some low-profile side pockets on each side for commodity, but since the main idea is to carry skis on the sides, the pockets are not a main feature. I just find that the weight penalty is small enough to warrant the extra functionality when you need it. Here are some more photos of the complete pack body.

The idea for the shoulder straps was to make a set of test straps first and try the fit, since I was not very confident fitting straps to a child on the first try. Since children grow fast, I wanted the pack to grow with him. Otherwise the pack won’t be useful for very long.

In order to keep this simple and as lightweight as I could, I thought the shoulder straps could attach to a daisy chain instead of being permanently sewed onto the back panel. That way I can add additional daisy chains to allow for higher attachment points and I can make new straps when these ones get too small.

The weight penalty of the adjustable height shoulder straps is not negligible in this weight category, but can be later reduced when adjustment are no longer necessary. A set of “grown-up” straps can be permanents attached to the higher daisy chain and the attachment hardware and webbing can be completely cut-off then. In this scenario, the horizontal daisy chains would remain.

The shoulder straps themselves are actually quite small. In the pictures, these are test straps, which will eventually get replaced after a couple of trips, and are just a way for me to figure out how the wearer wears the pack. The construction is similar to my usual straps except these do not have an S-shape but rather a J-shape.

I can’t wait to see the pack getting some mileage.

Make the Winter Pack from White X-PAC VX07

I have already covered all of the techniques I used to build the Winter Pack in other posts so I will not dwell on the details too much. The pack is relatively simple in terms of features, it has an almost vertical daisy chain, a side zipper pocket, a roll-top closure and a padded back. Plus some quality of life details.

For most of my builds, I design the front (1) and back (2) panels first, then I sew on the side panels (3, 4) to the front panel. The last pieces of the puzzle are to set the height of the roll-top with multiple parts if required, and only after that do I sew on a wide panel for the roll-top across the 3 front and side sawn panels.

Representation of the cut panels (not to scale)

The bottom panel itself is more often than not the last thing I put together, and stitch it to the front and side panels before finishing the pack by attaching the completed back panel (2,5,6).

I wanted a decent back padding for this pack since I might have to carry pointy or uncompressible gear (water bottles, alcohol stove) and not a lot of temporary padding. I went for an inversed T-shaped pad with 8mm closed cell foam topped with 3D mesh. All directly sewed on the back panel to keep every light and water resistant. To avoid wasting a lot of mesh, I decided to stitch two parts together with a flat-felled seam. The foam itself ended up being a three parts piece.

To secure the shoulder straps, I usually embed the ends in between separate panels (2, 5). I also use the same technique to add the load-lifters and the roll-top compression strap (2,5,6). The smaller pieces of the back panel will define the height of the last roll-top piece (7).

The shoulder straps are just my usual design, with an outer shell out of Cordura and 3D mesh inside. I always add daisy chains to to the full length of the shoulder straps to attach the chest strap, or smaller equipment. For this build, I went with ladder-lock buckles instead of Lineloc buckles since weight was not a huge concern.

There isn’t much else to talk about really. The front panel is very lean, with just the daisy chain attached to the main fabric without reinforcements (if the daisy chain was planned to attach heavy equipment, I would back the VX07 fabric to avoid future tear outs.

The pocket itself is just a flat pocket sewn onto on side panel. Since I am right handed, the most logical side to put the pocket on was on the right side (when wearing the pack) so I can slide the bag on one shoulder and access the pocket while walking.

That’s it! I did not cover the side compression straps since there is really nothing special about it. Enjoy!

The Winter Pack

I thought I’d make something nice for myself and since I wanted a functional day pack for winter hiking, I went right ahead and built one. What’s so special about a winter pack might you ask? Well, I might need to carry warmer layers although not necessarily wearing them so that’s a bag that can hold its volume. I like to hang gloves off of the exterior of the pack so I’ll need something for that. I would often carry a hiking pole (sometimes two) so attachments are a must. If it’s a warm day and I do not have much to carry, I would prefer a pack that can be compressed down to a low profile. I’ll need a simple hip belt if I’m scurrying through some annoying terrain and don’t want the pack to move around. And… that’s it. More of less. Ah yes, and I want some quick access pocket so I can grab a snack on the way to the top. So I made that!

There you have it, my perfect winter pack. Here are more pictures, I wouldn’t want you to have too much to read before getting to the good stuff.

In the end, the bag volume can almost pretty much double if I loosen the compression strap and use some of the additional volume the the roll-top offers. I don’t have great pictures of this, but the following snapshots should help see the difference between the compressed and non-compressed volumes. The roll-top can be extended some more to really double the volume.

Stay tuned for some behind the scene pictures!