Let’s use some Cotton Canvas for once

So after spending the last years building packs with mostly mid to high-end technical fabrics, I figured I should try something else. Plus, I’ve received so many requests for creating and selling less-technical packs – mostly city day packs or business packs – that I figured I should give that a try. If that’s a success, the next step would be finding nice printed cotton fabrics to make more of these. Ethically sourced would be great, but it’s hard to find in such low quantities!

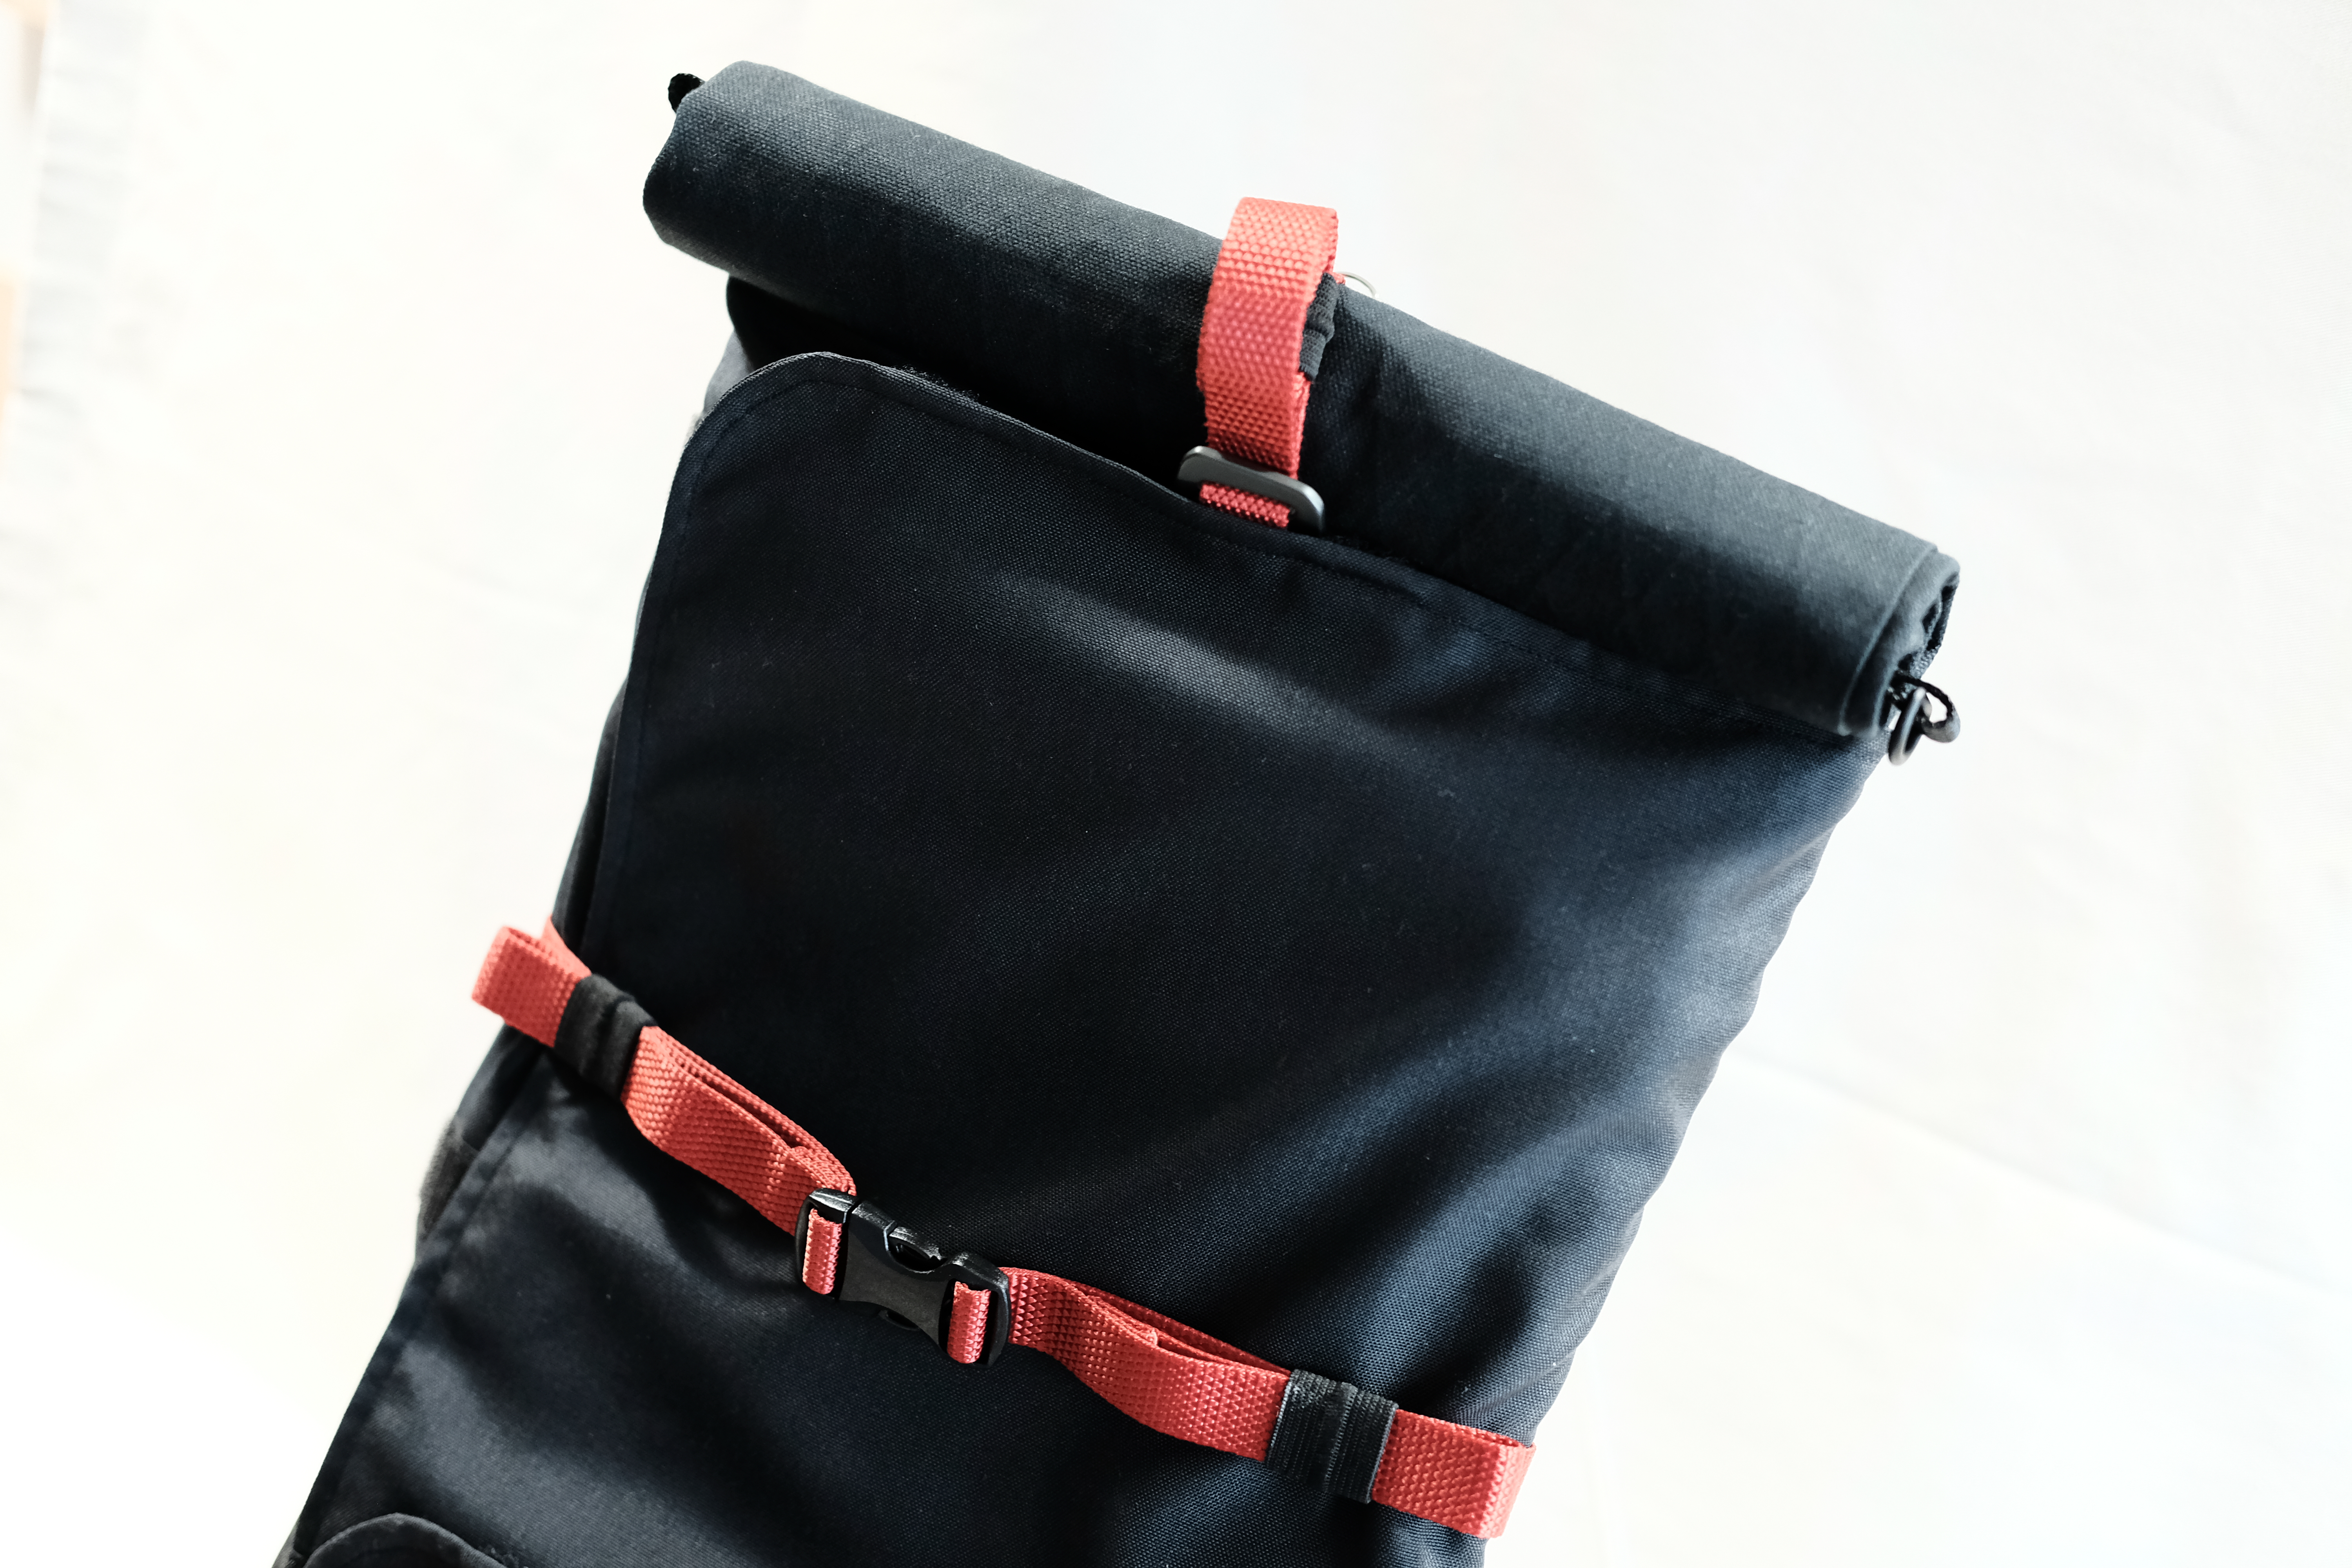
So I settled for some cheap heavy-duty 100% cotton canvas, usually used for outdoor tents (garden variety tents) weighing at 350g/sqm. We’re far from the ultralight category, but that’s the whole point.

A few custom designs in the same vain.

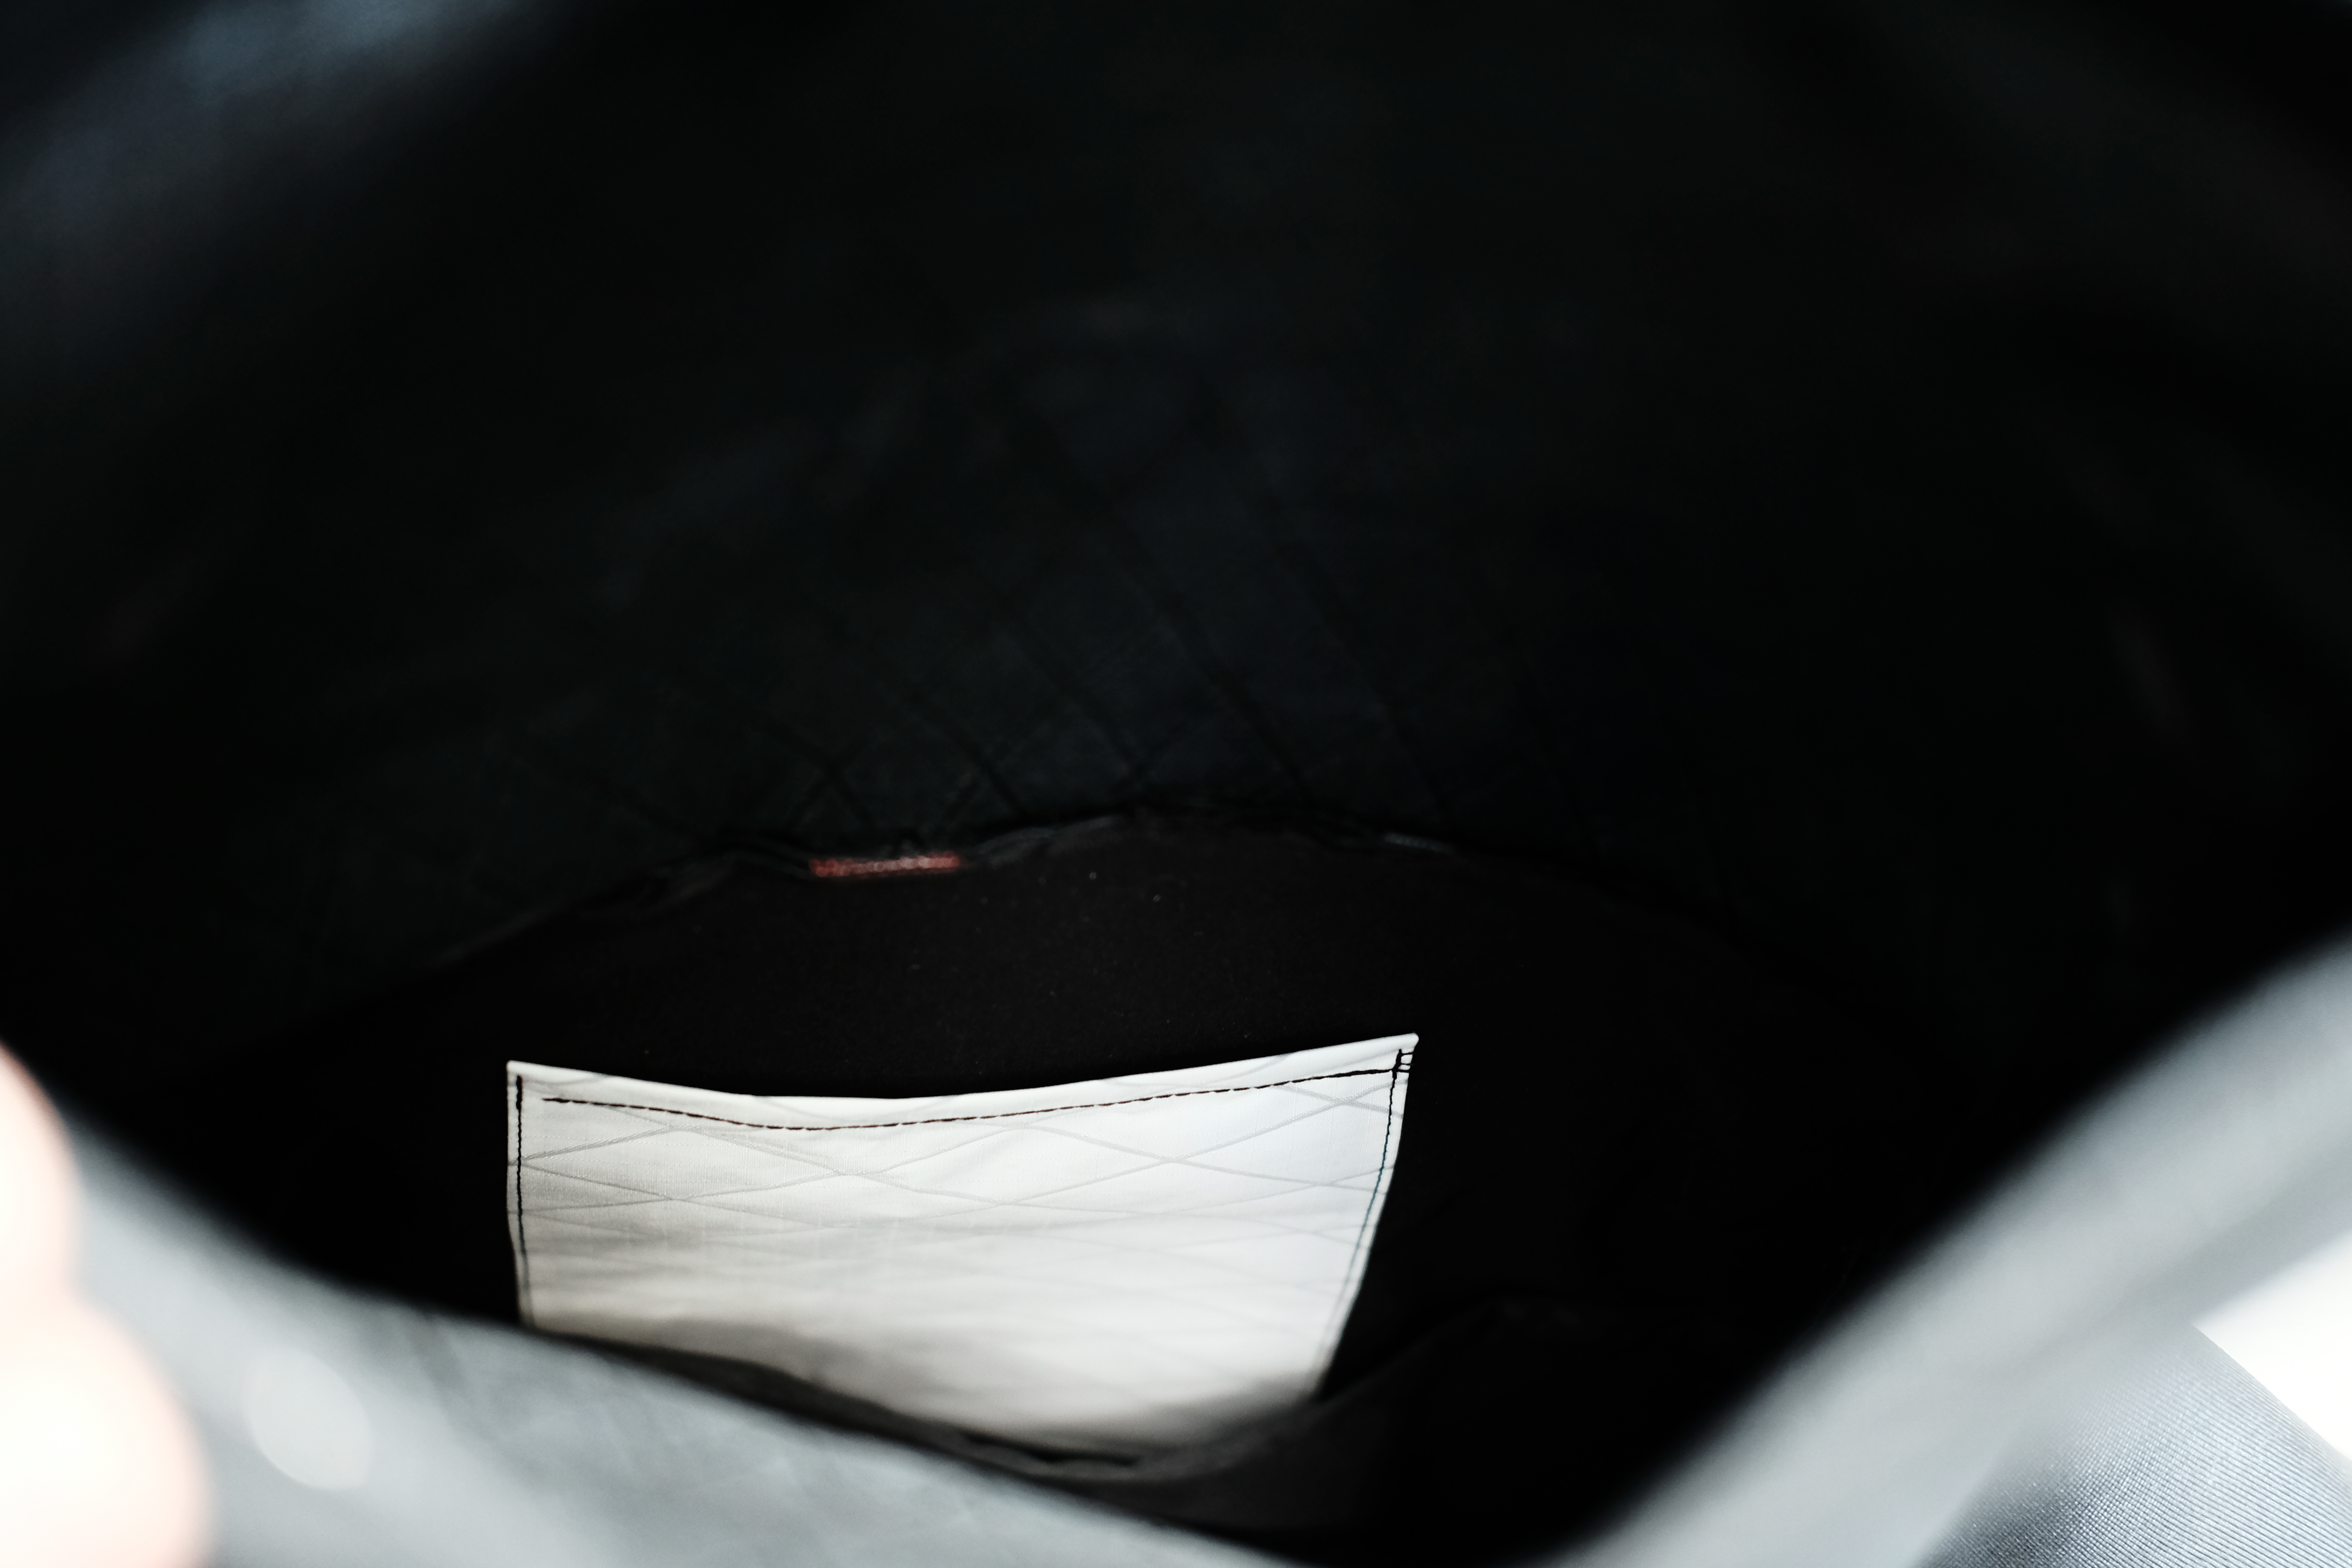
Working with this super inexpensive cotton canvas is fantastic for prototyping on the cheap. I really like the feel of the end product, and I haven’t even spent much efforts making it look nice. The third attempt is by far the nicest finish as it is fully lined with the same canvas as the outside, and a dedicate 13″ laptop ‘pocket’.

And the third attempt looks decent.

One of my goals was using the absolute minimum count of raw materials, that is, find as much use for a single material as possible, so that these are easy to source, and cheaper to order because of the ‘higher’ volume. So I use the same canvas for making a bunch of the straps, lining, pockets, loops etc… I did use a nicer 30 mm cotton webbing for the satchels’ straps because I liked it, but I could use the canvas for that as well, like I did for the day pack. Apart from that, some metal D-rings and some fancier aluminum buckles which could be simple D-rings if need be.

One huge take-away from using a woven canvas is how much it frays compared to coated canvas or laminated fabrics. So much so that, so far, there would have been no way not to keep the edges bound without hemming them. I’ve used both folded grosgrain ribbon or a more simple blind hem stitch to that end.

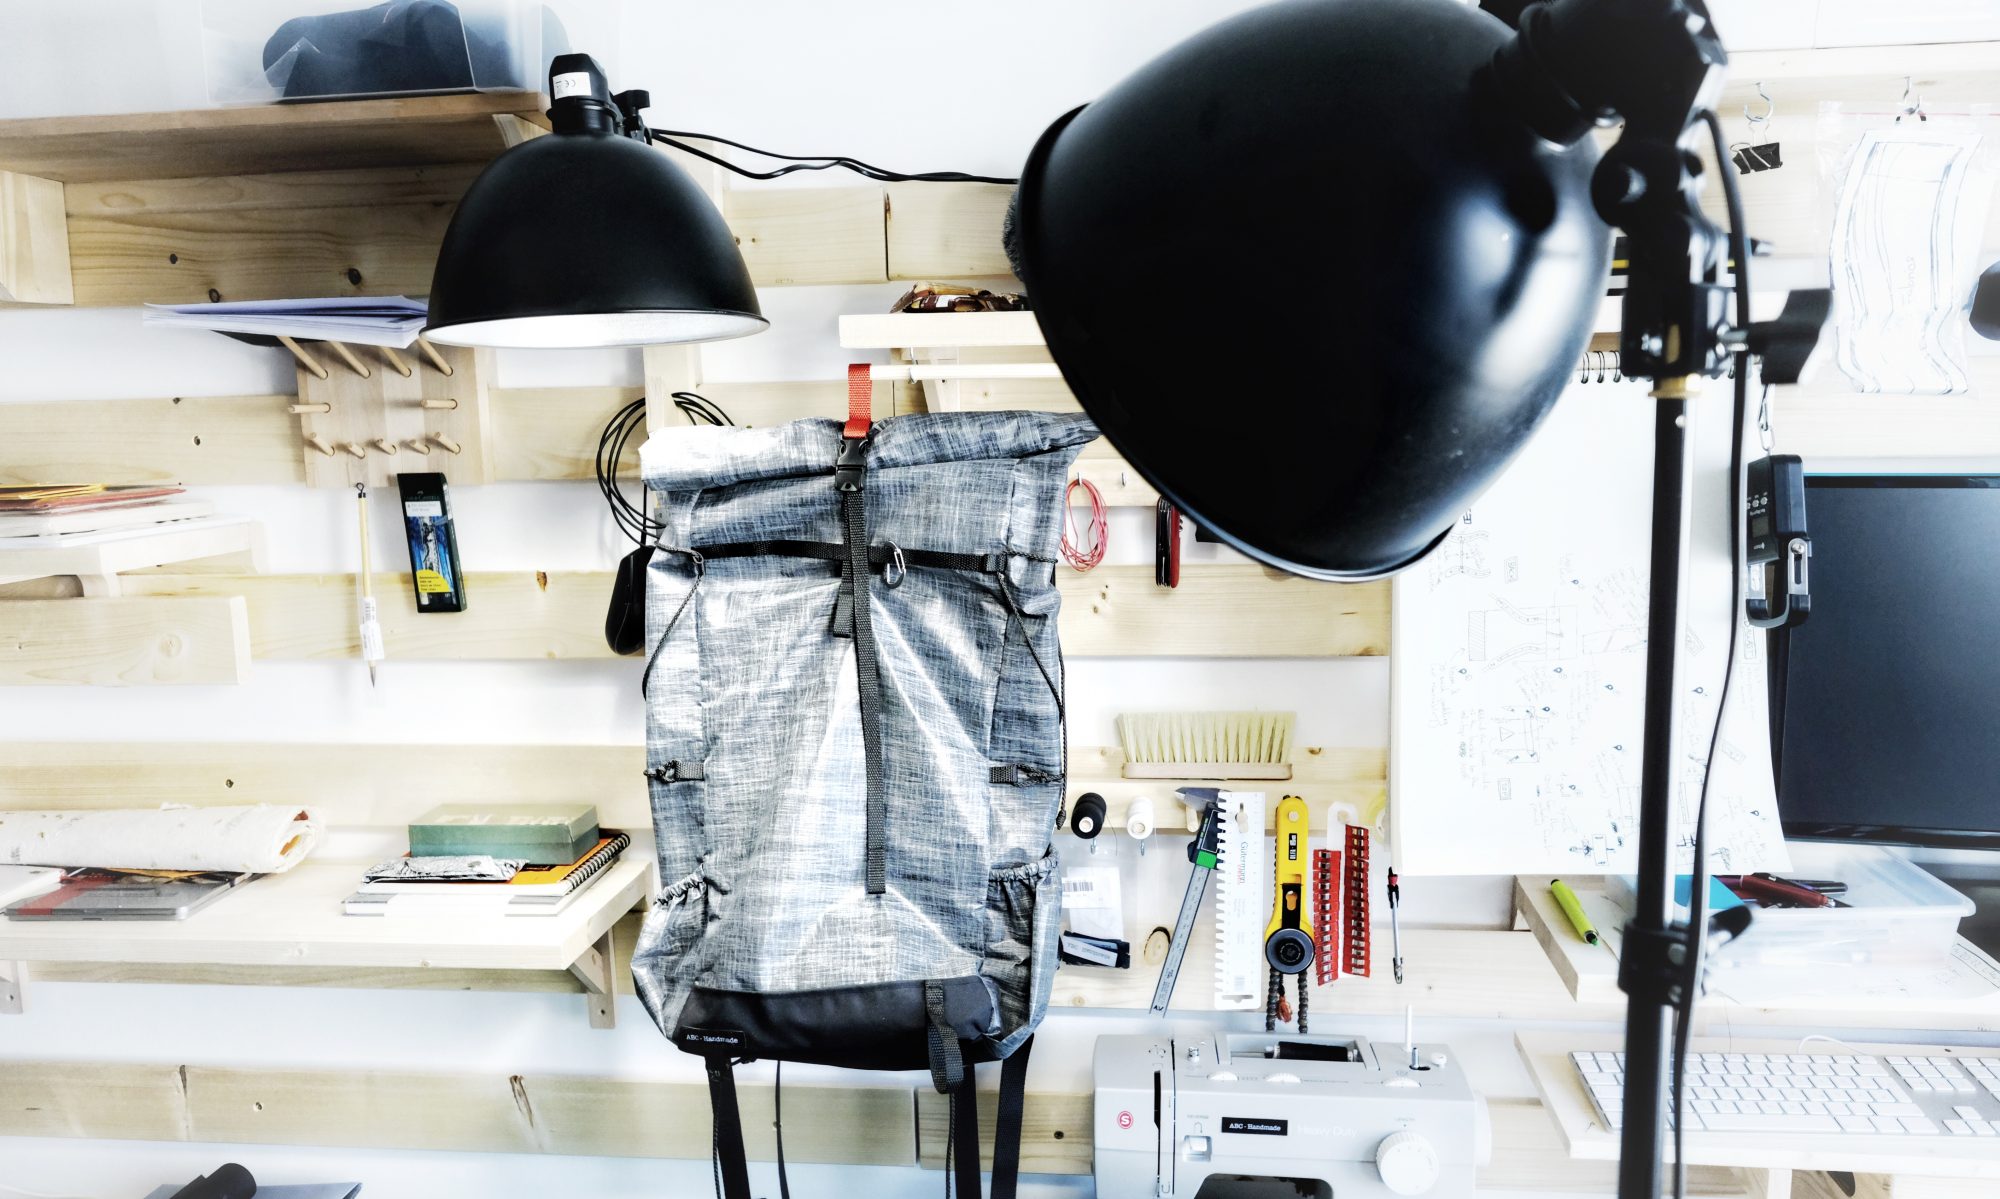
On the plus side, building one of these models is a lot less time-consuming, as the complexity is probably half of what I usually build. Last but not least, I found some funny sew-on patches on aliexpress, and I’ll definitely order some of them again when I run out.

The Monarch Pack

After the more classical Ballast and Skinny packs, I really wanted to try something new, and different, while still keeping the overall look and feel of the series! This November I present to you: the Monarch! I do not mean the head of state guy, but rather the butterfly, and if you read on, you’ll understand where the name comes from!

The Monarch started as a concept a long time ago, and went through quite a few iterations before I started actively working on it. I was looking for a commuter bag that not only has the looks but also the brawn. As I walk or ride a bike to pretty much everywhere, I sometimes need a simple laptop bag, other times I want to be carrying heavy supplies from the hardware store, and often I have the need for a bigger size backpack than what I have with me at the time.

And that’s where it all started: the need for a small but extensible backpack. Now some of you will just tell me that I can use compression straps and shock cords to “expend” a packs size, but really, all you do is to compress a big pack. The Monarch is a tad different, and without any more words, the following pictures will tell you why.

As you can see, the Monarch is part waterproof bag for the main body, part duffel bag in a loose sense for the extensible secondary compartment that can be used to carry quite a few things.

The main compartment is made out of X-Pac X10 with a roll top closure and designed to be very water resistant (not yet seam sealed, but that’s planned for later) and contains a laptop sleeve (not padded) and a small pocket.

The flaps on the other hand are made out of a 350D double layer uncoated Cordura, and designed in such a way that they can be folded back with adjustable overlaps in order to extend the secondary compartment’s volume. The closed flaps are secured with two compression straps with quick release buckles for easier access.

In the pictures below, I “wrap” around one of my sturdy camera cases. The whole point of this design is to allow you to pack more only when you need it, but not have to fiddle around with you pack when you don’t.

Now to the juicy part, here are the specs of this particular build.

Volumemin. 20L
typ. 25L
max. 40L
Dimensions50x28x5cm (roll-top closed, flaps completely overlapping)
Weight730g
Carriescomfy. 6kg
max. 10kg
FabricsX-Pac X10 (Cotton outer fabrics, and PES layer for waterproof-ness)
350D Cordura
ClosureRoll-top
Quick Release + Velcro Flaps
Back Padding8mm Closed Cell Foam pad (80% surface covered)
4mm 3D mesh
Strap Padding3D Mesh without CCF padding
Hip BeltNot Applicable
Pockets– Laptop sleeve inside the main compartment
– Small key/phone pocket inside the main compartment
– Extensible 5-25 liters flaps
– Optional zipper pouch secured with Velcro
Attachements– Daisy chain for accessory on the front of main compartment
– Small gear loops inside the secondary compartment
– Velcro on the left flap to add gear pouch/accessories
– Horizontal front compression straps (x2)
– Front flap daisy chains (mostly for securing the flaps with the lowest compression strap)

Stay tuned for behind the scene pictures, and some more commentary!

Thick Foam in Shoulder Straps

I love building backpacks. I just do. But the one thing that I enjoy the least, is building padded shoulder straps. Between the threads making a mess, the clearance below the presser foot not being enough, and the needle breaking because of tensioning issues, I moved away from padding shoulder straps entirely. Nonetheless, here is a example of what you can do with some patience. And I will also throw in some other pictures of the complete build for the city hiker pack.