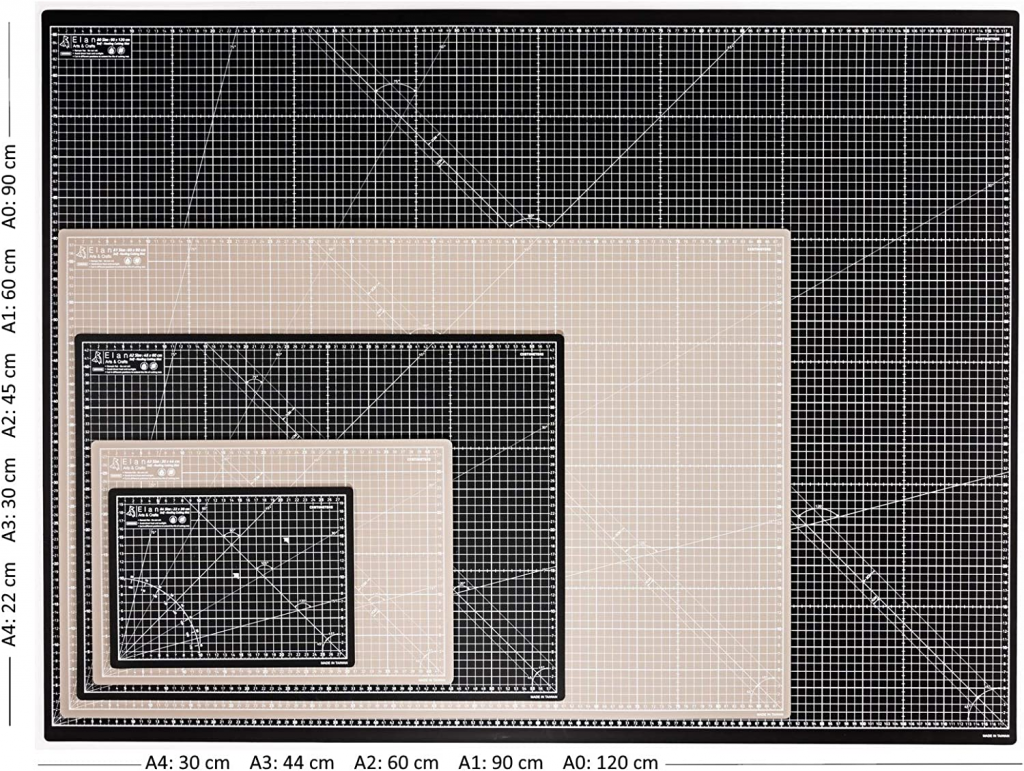
This post contains Amazon affiliate links. I receive a small commission if you use these links to purchase something at no additional cost to you. Thank you for the support!
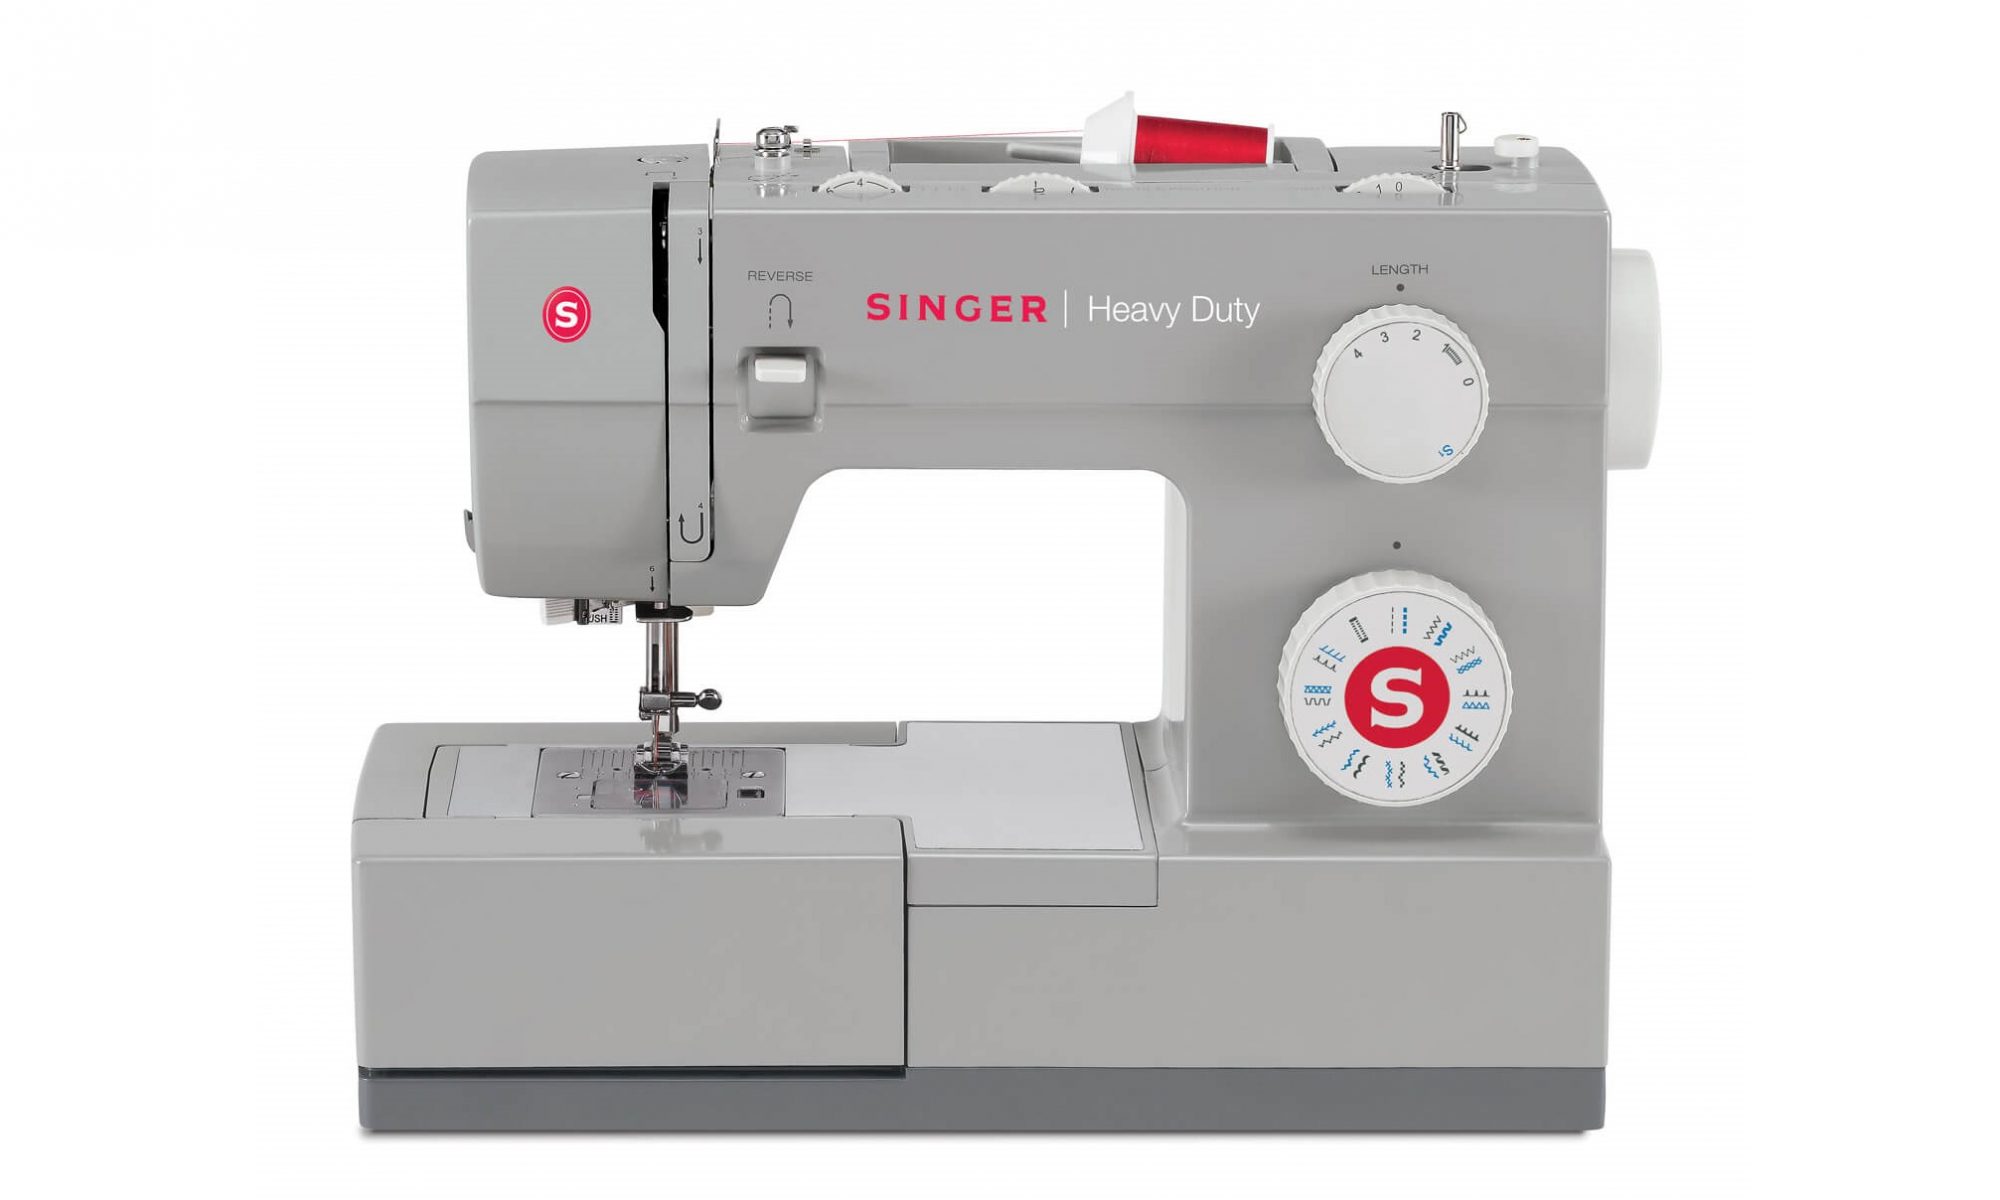
I would absolutely recommend the Singer 4423 if you are serious about learning the craft but you are looking for a small new machine. It’s other siblings simply offer more stitch types, none of which I would ever use for what I make. Simpler is better when it comes to fine machines.
I find it to be a good machine overall for its price, and it will get you a long way. It is my second brand-new machine which I bought in April 2019 and I still have it and use it regularly today. It can sew through a few layers of medium weight fabrics with ease. The feed is decent, and grabs well on medium and heavy fabrics alike. The feed dogs might be a tad too aggressive for very fine fabrics like 30D Nylon fabrics found in kites for example.
This machine has plastic gears inside, so might not be the most durable machine for heavy-duty work despite the name as the gears might get worn out over time, but so far mine is in great condition 3 and a half years later and rarely skips a beat.
One of my favourite features on this machine is the clear top-loading quick-swap bobbin window which allows you to always see the amount of threads remaining in the lower bobbin, and replace it in a heartbeat.
Maintenance is relatively easy and I had to reset the needle/bobbin timing a few times already (about once a year). Oiling the machine is really simple and quick, and I use fine machinery oil to keep the cogs, shafts, and bearings movings smoothly (100ml will last you forever).
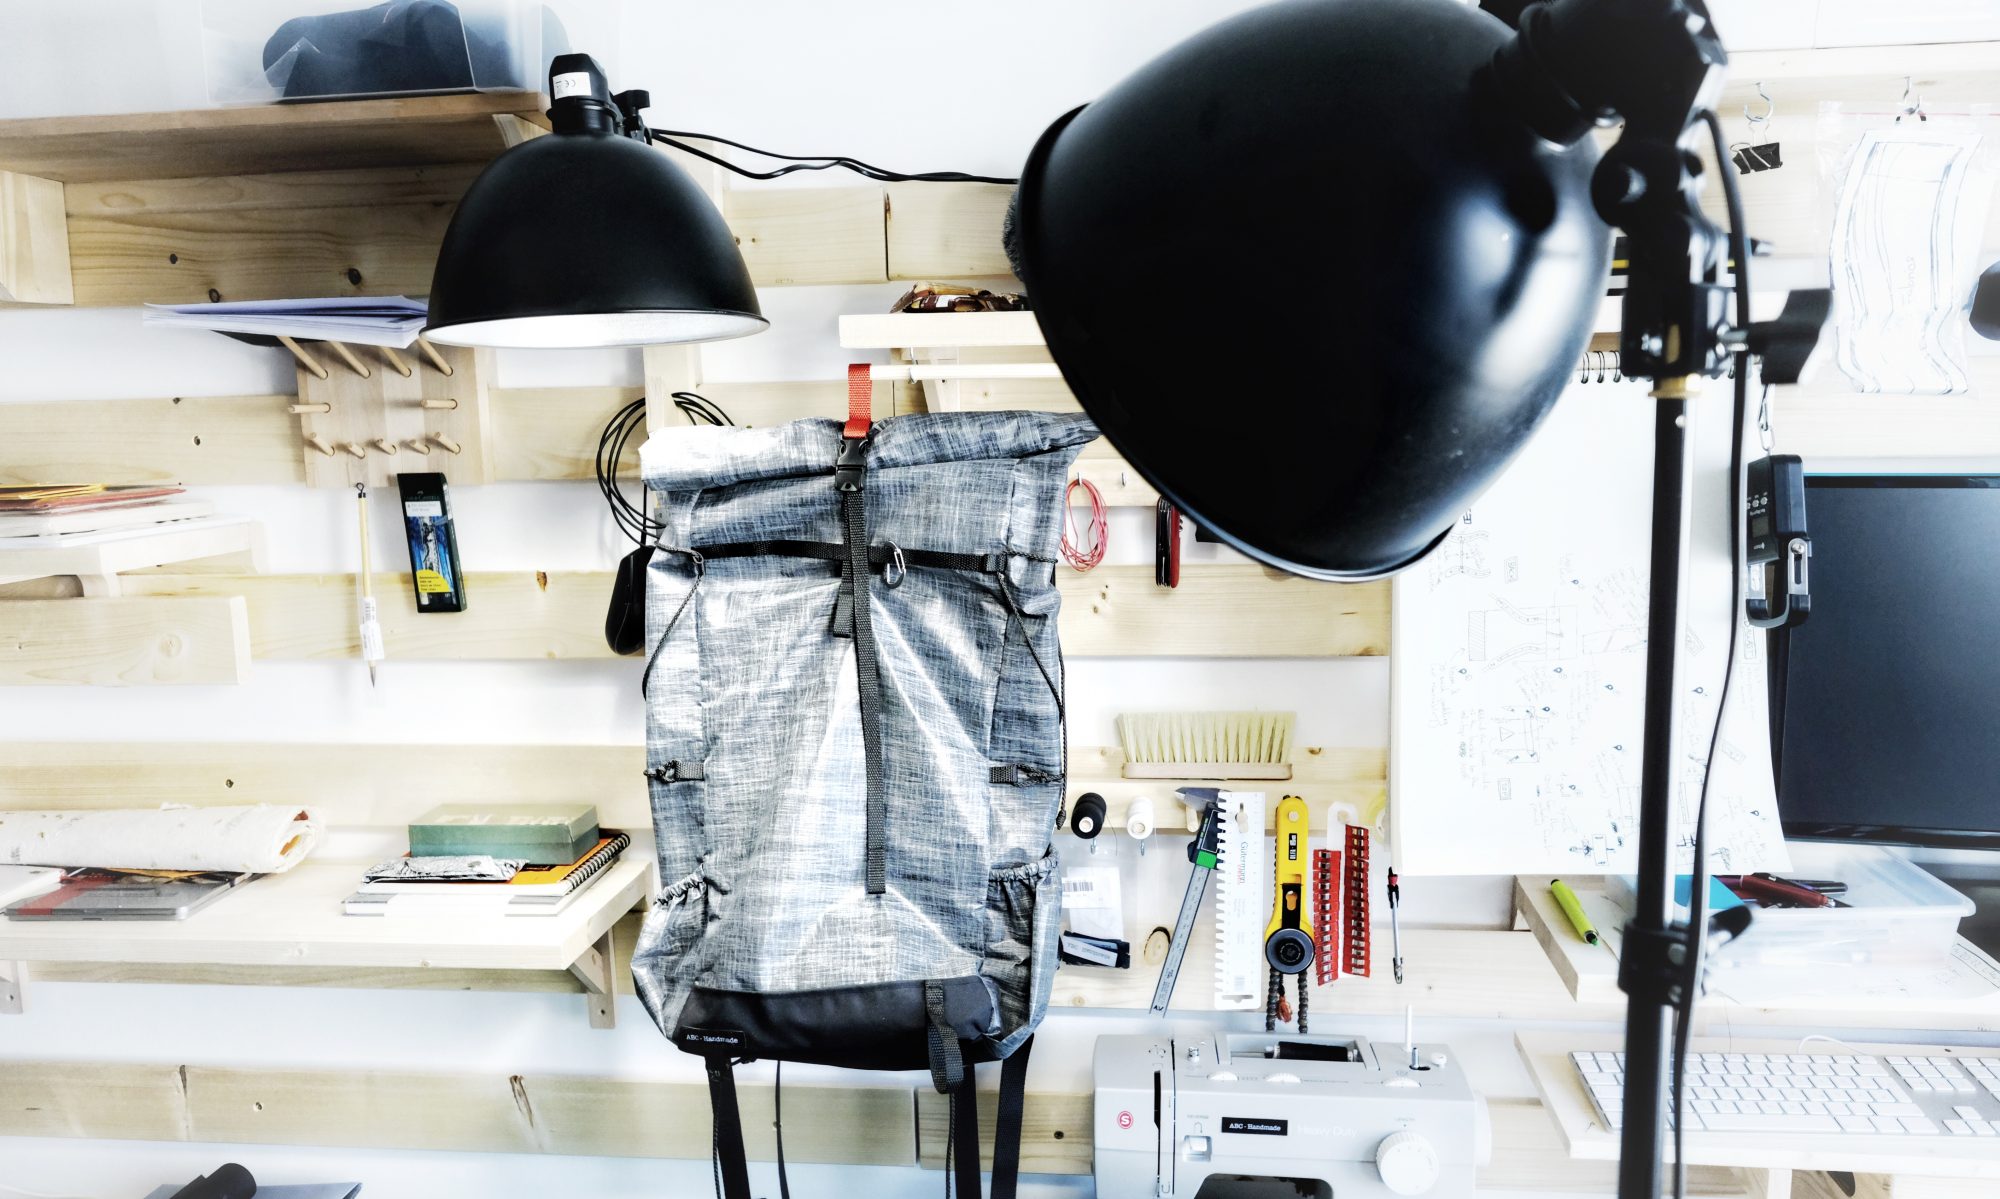
Additionally, the fact that this particular sewing machine is well documented both from Singer itself and from other sources like Youtube makes it a great platform to learn on.