The Ski Touring Pack

When a friend asked me to design a pack for his young son, I knew I had to give it a try. Little did I know that I would be designing an ultralight Ski Touring pack for a young outdoor aficionado! I mean, what a responsibility!

I wanted to experiment with the ski attachment options and figured I could design the side compression straps with the option to run them across the pack. My original intent was to either hang one ski on each side of the pack attached with the compression straps in a standard configuration or secure the pair to the front of the pack with one side of the compression straps reaching to the other side. Eventually, the choice would befell the future owner of the pack.

Apart from this little experiment, we designed the rest of the pack together, and settled on two front daisy chains and a relatively big zipper pocket. There are also some low-profile side pockets on each side for commodity, but since the main idea is to carry skis on the sides, the pockets are not a main feature. I just find that the weight penalty is small enough to warrant the extra functionality when you need it. Here are some more photos of the complete pack body.

The idea for the shoulder straps was to make a set of test straps first and try the fit, since I was not very confident fitting straps to a child on the first try. Since children grow fast, I wanted the pack to grow with him. Otherwise the pack won’t be useful for very long.

In order to keep this simple and as lightweight as I could, I thought the shoulder straps could attach to a daisy chain instead of being permanently sewed onto the back panel. That way I can add additional daisy chains to allow for higher attachment points and I can make new straps when these ones get too small.

The weight penalty of the adjustable height shoulder straps is not negligible in this weight category, but can be later reduced when adjustment are no longer necessary. A set of “grown-up” straps can be permanents attached to the higher daisy chain and the attachment hardware and webbing can be completely cut-off then. In this scenario, the horizontal daisy chains would remain.

The shoulder straps themselves are actually quite small. In the pictures, these are test straps, which will eventually get replaced after a couple of trips, and are just a way for me to figure out how the wearer wears the pack. The construction is similar to my usual straps except these do not have an S-shape but rather a J-shape.

I can’t wait to see the pack getting some mileage.
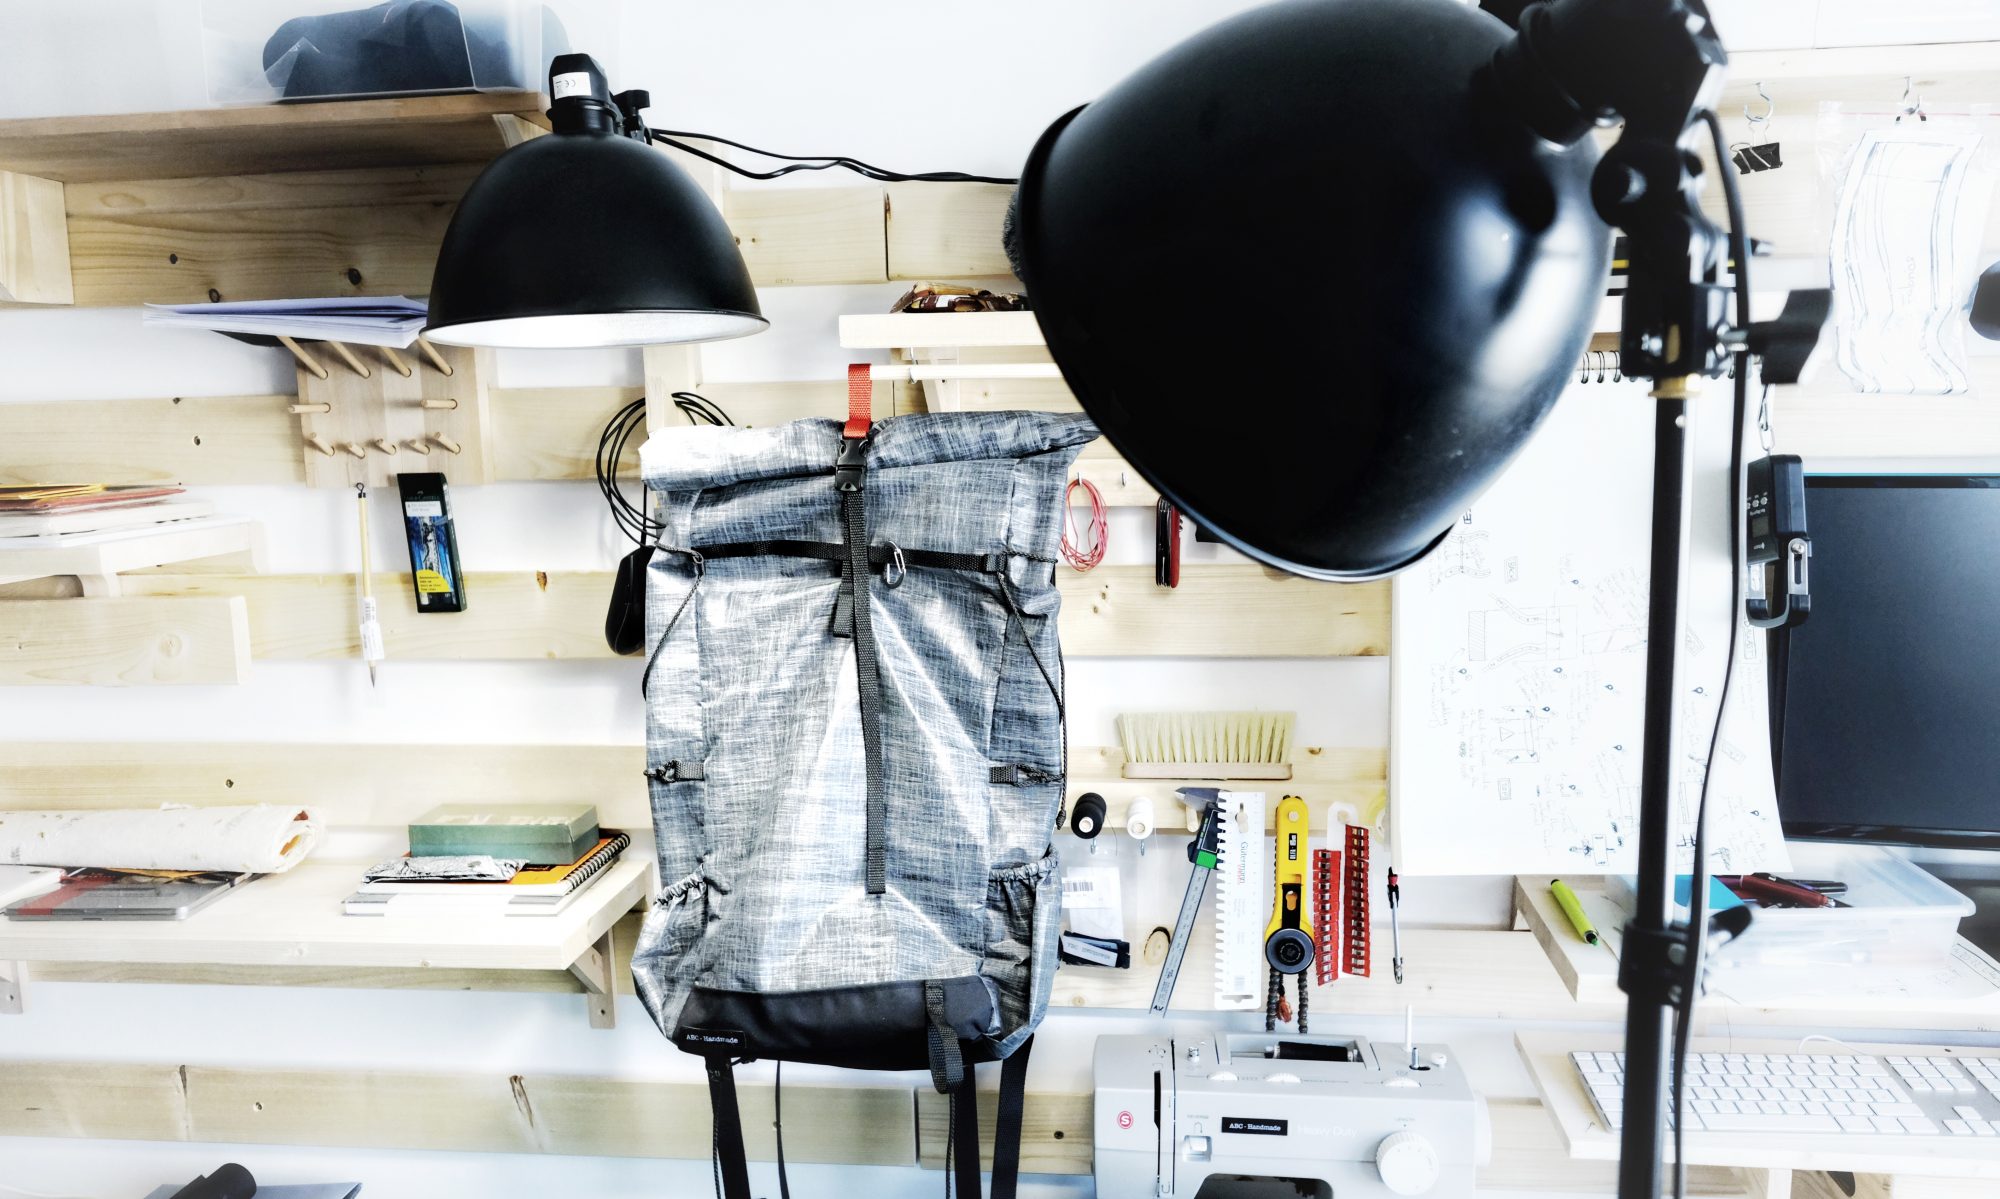
The Burrito Pack

This one is for the Instagram community after I just hit 1000 followers. There is no small victory 💪 and these little steps matter to makers like myself. I don’t build bags nor do I document my work for money, I do it for the community that supports me. Now, what could I do to thank you all? I decided that I would make the ultimate pack.

After a lot of drawings, and a lot of thinking, and a lot of coffee to stay awake, I decided that this special pack would solve the single most annoying problem with ultralight packs. I mean, we’ve all been there, you have that one piece of gear that you know is inside your bag. You know you packed it, but you can’t ever take it out without emptying the entire bag, because this one puny piece of equipment always finds its way to the bottom of the pack. Well, I fixed this once of for all. I present to you… the Burrito pack!

The perfect pack. Nothing more, nothing less.

Bam! There you have it! That puny piece of gear no longer has a bottom to fall to! The Burrito pack opens from the top and bottom with not one but two roll… tops? No, sorry, with a roll-top and a roll-bottom . And since it’s a special build for a special occasion, I thought I’d etch that “1000” on its side.

Roll-bottom forever baby. I can retire now. Oh, you’re still here? Ah you must be wondering what that gorgeous fabric is huh? I knew you would ask. I’ll give you a hint…

There won’t be any behind the scene for this pack, I need to keep this a secret.

The Graffiti Pack

Every so often a challenge comes along that one can’t refuse. When fellow maker @windisch.designs challenged me to make a pack, I figured I had to oblige, so I did. Since I was pressed for time, I had to find something I could build in a pinch. I turned to Instagram for inspiration, and found bags from @platformpacks that I felt I could learn from so I just went for it. I had 2 hours to make this from start to finish. What do you think?

Stay tuned for a couple of behind the scene pictures!

The Upcycled Pack

The Upcycled Pack

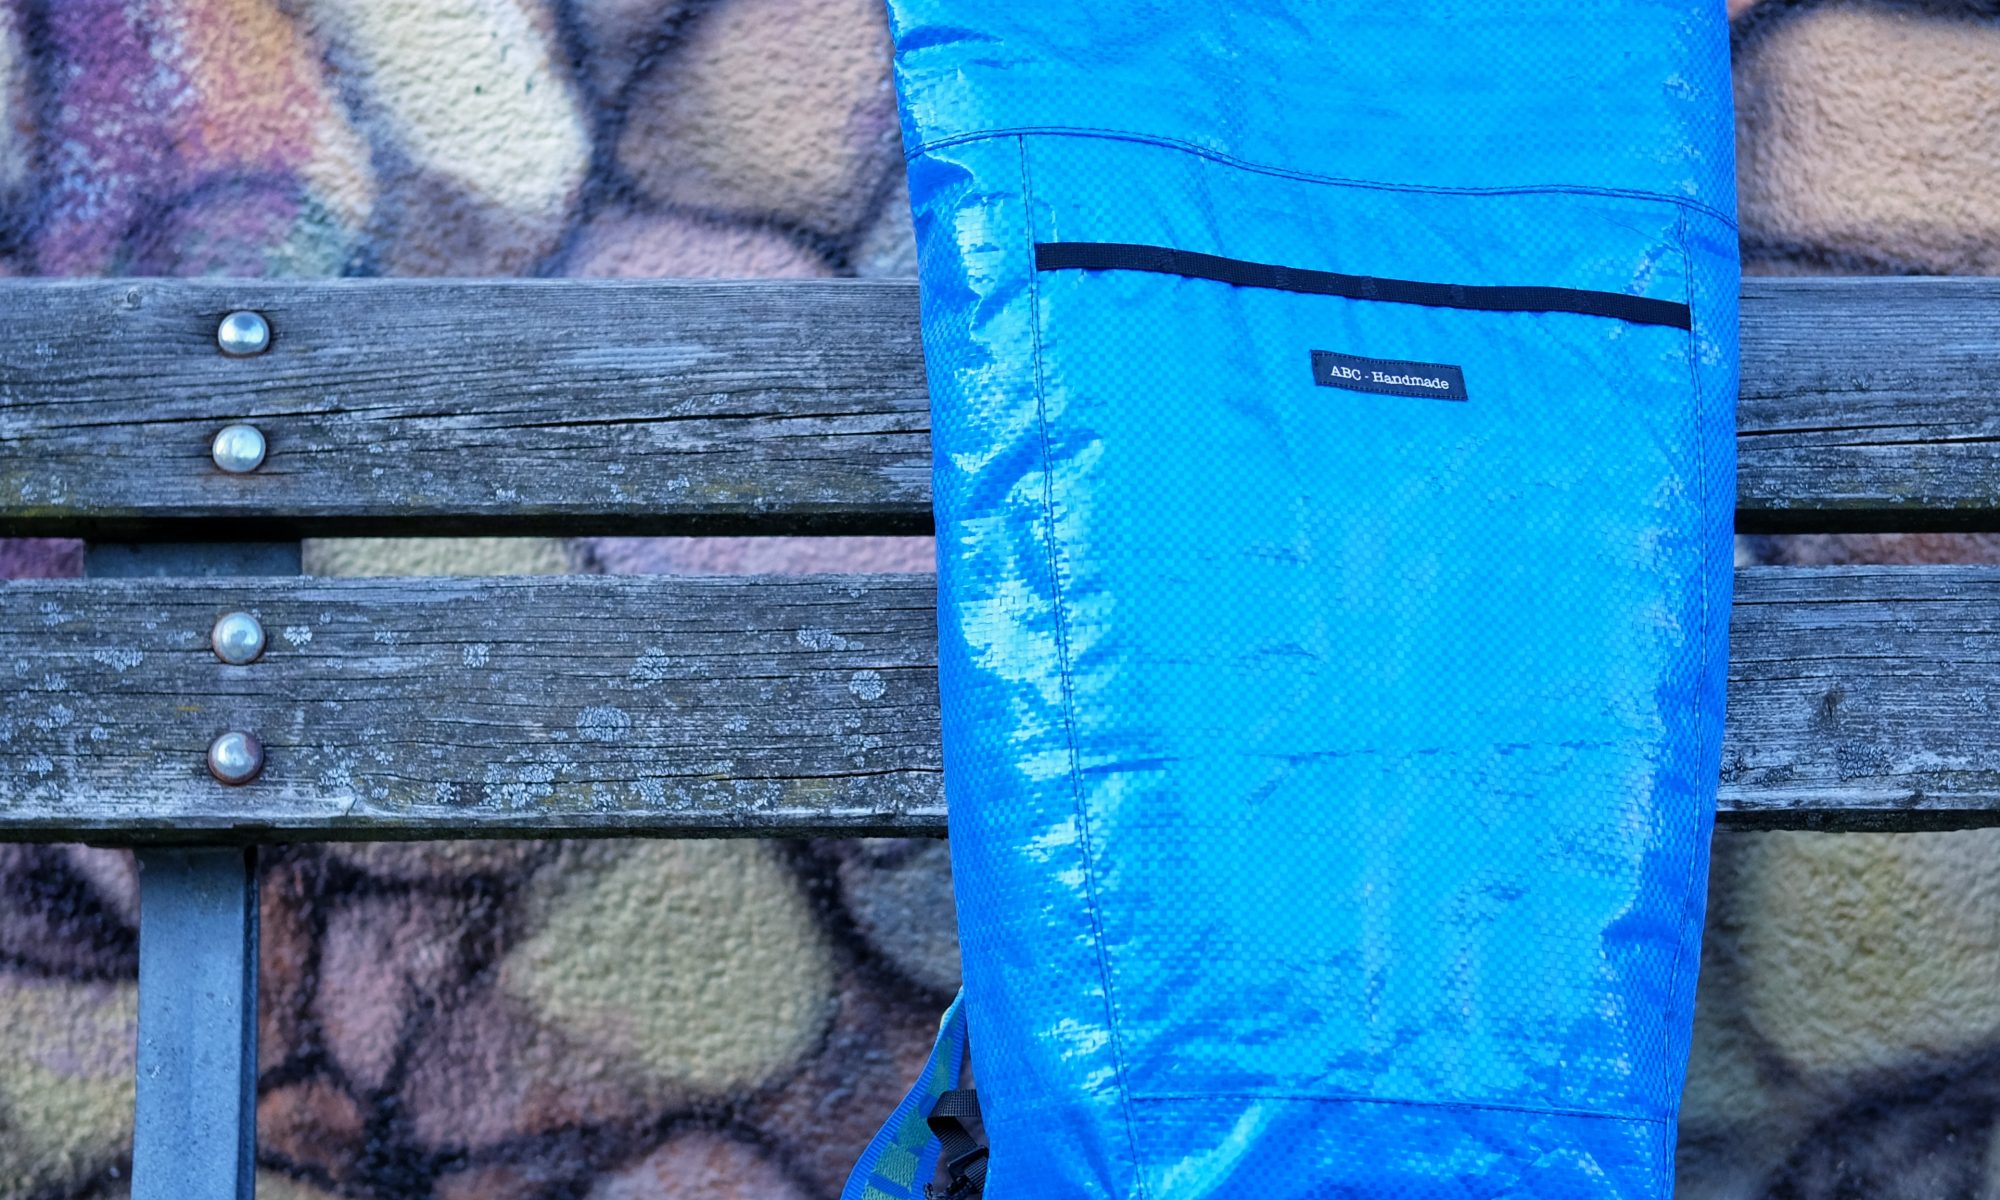
In the last post I shared a few words about one of the best challenges you can try on the cheap. All you really need is an old (or new) Ikea shopping bag (the Frakta), your scrap bin, and a sewing station. The following pictures are the result of the challenge. What do you think?

Since this whole thing was “just for the fun of it”, I though I’d use the opportunity to snap a different kind of pictures for once, so I convinced Mrs. ABC and our dog to help me spice things up. Bonus: I can now prove that I build real-size bags, and not just miniatures.

Unfortunately, I did not take a lot of pictures of the pack while I was in the workshop. I was in a bit of a rush, and then I gave the bag away to the friend who challenged me. So what you see is what I got.

Upcycling an Ikea Frakta bag is the perfect challenge for you!

In the same vain as the Cotton experiments, I thought I’d also expend the fabric tryouts to the good’ol Ikea Frakta bag, which costs a literal 1€. What started as a joke ended up being the real deal: A friend of mine and fellow maker/hiker challenged me to make a decent looking bag with just one single Frakta bag.

FRAKTA Shopping bag, large, blue, 21 ¾x14 ½x13 ¾ "/19 gallon
That’s an Ikea Frakta bag

Since the challenge was still to build something nice, we also agreed that we could use small recycled bits and pieces and small components, as long as we can keep the overall cost of the material below a few euros. I settled on adding some recycled webbing in a couple of places, and use a scarp piece of light Cordura to reinforce the bottom just for convenience.

In the end, I re-used a few things from previous prototypes and deceased bags to make sure I keep the “bill of material” cost under the price of coffee on the French Riviera. ☕ In the end, it came down to a relatively short and definitely cheap material list.

ItemQuantityPrice (total)
Ikea Frakta shopping bag10.99€
Upcycled 10mm Polyester webbing50cm0€
Remant 15mm Strong Polyester webbing60cm1€
Reused Lineloc tensioners20€
12mm D-Rings (0.30€ each)20.60€
Reused 3mm Cord1m0€
Scrap Uncoated Cordura0.04m²0€
Scrap Hook & Loop Tape (Velcro)25cm0€
Grand Total:2.59€
Call me cheap, but it’s worth every penny.

Now that I am done with it, I think this is a fantastic challenge. Every pack maker should try this at least once no matter how long they’ve been making things for. It forces you practice a couple of important steps in pack making:

  • Properly rip the seams of the Frakta to avoid loosing precious material
  • Work around resource limitations.
  • Recycle stuff you’ve been piling up.
  • Optimize the design to into a small canvas.
  • Think about the stitch type and size based on the canvas properties.
  • Align a patterned canvas parts properly (to avoid crooked looks)

I wouldn’t spoil the the final result just yet since I will upload a few pictures of the final pack in no time, but suffice to say, it looks great ! Better than I thought even!

Spoiler alert!

Stay tuned…

Let’s use some Cotton Canvas for once

So after spending the last years building packs with mostly mid to high-end technical fabrics, I figured I should try something else. Plus, I’ve received so many requests for creating and selling less-technical packs – mostly city day packs or business packs – that I figured I should give that a try. If that’s a success, the next step would be finding nice printed cotton fabrics to make more of these. Ethically sourced would be great, but it’s hard to find in such low quantities!

So I settled for some cheap heavy-duty 100% cotton canvas, usually used for outdoor tents (garden variety tents) weighing at 350g/sqm. We’re far from the ultralight category, but that’s the whole point.

A few custom designs in the same vain.

Working with this super inexpensive cotton canvas is fantastic for prototyping on the cheap. I really like the feel of the end product, and I haven’t even spent much efforts making it look nice. The third attempt is by far the nicest finish as it is fully lined with the same canvas as the outside, and a dedicate 13″ laptop ‘pocket’.

And the third attempt looks decent.

One of my goals was using the absolute minimum count of raw materials, that is, find as much use for a single material as possible, so that these are easy to source, and cheaper to order because of the ‘higher’ volume. So I use the same canvas for making a bunch of the straps, lining, pockets, loops etc… I did use a nicer 30 mm cotton webbing for the satchels’ straps because I liked it, but I could use the canvas for that as well, like I did for the day pack. Apart from that, some metal D-rings and some fancier aluminum buckles which could be simple D-rings if need be.

One huge take-away from using a woven canvas is how much it frays compared to coated canvas or laminated fabrics. So much so that, so far, there would have been no way not to keep the edges bound without hemming them. I’ve used both folded grosgrain ribbon or a more simple blind hem stitch to that end.

On the plus side, building one of these models is a lot less time-consuming, as the complexity is probably half of what I usually build. Last but not least, I found some funny sew-on patches on aliexpress, and I’ll definitely order some of them again when I run out.