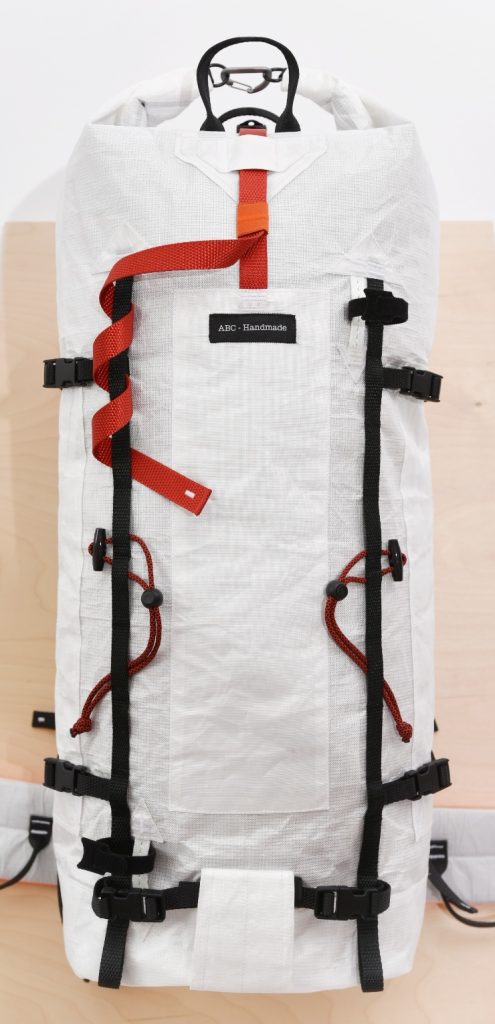
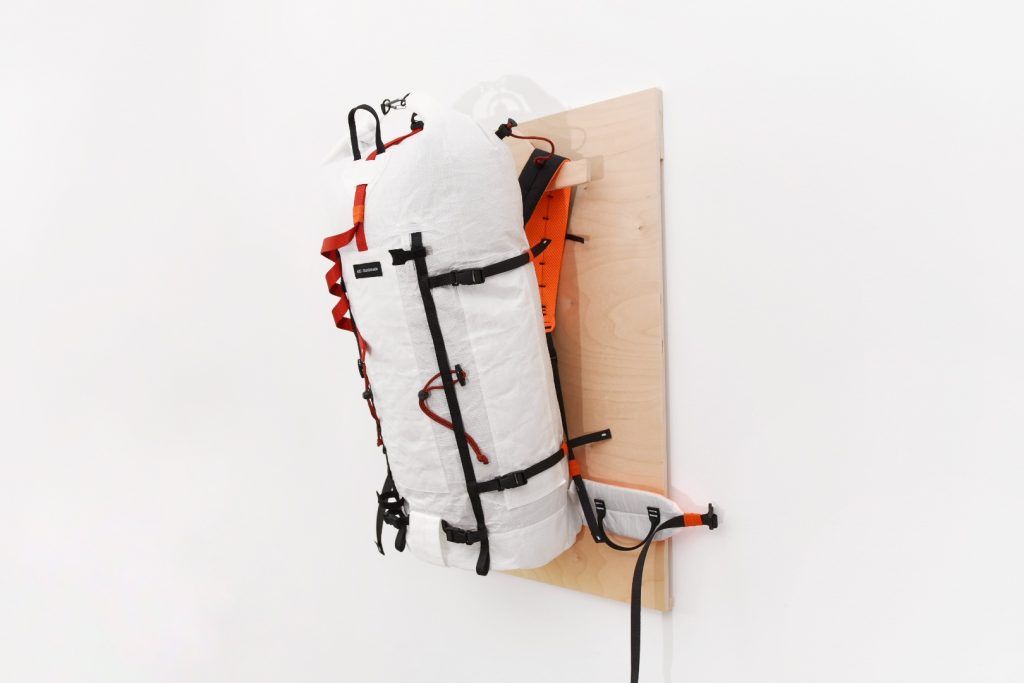
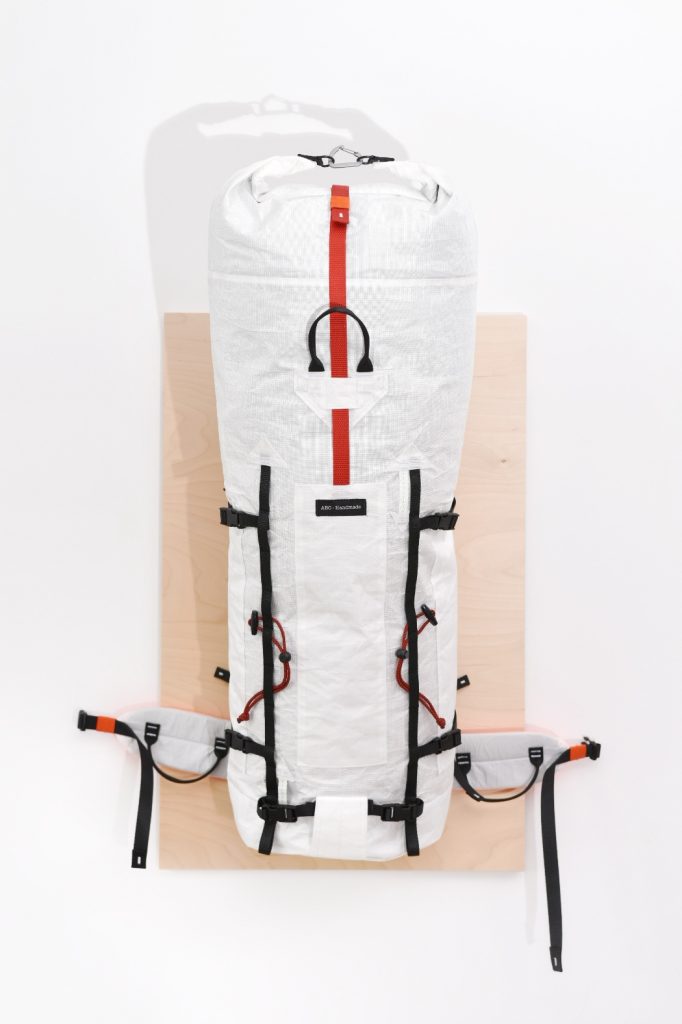
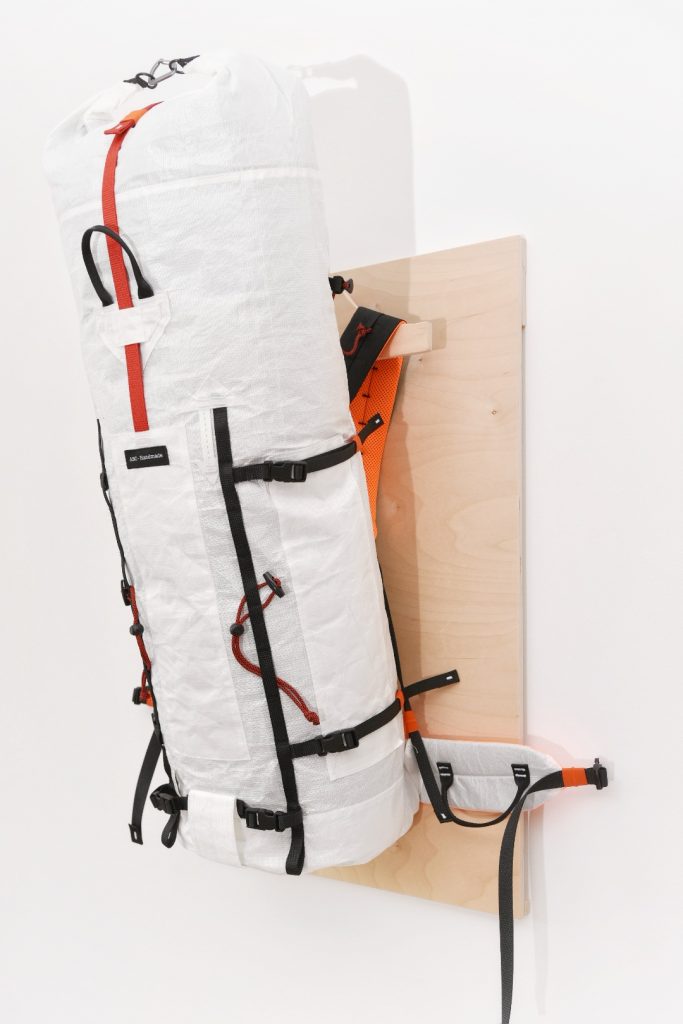
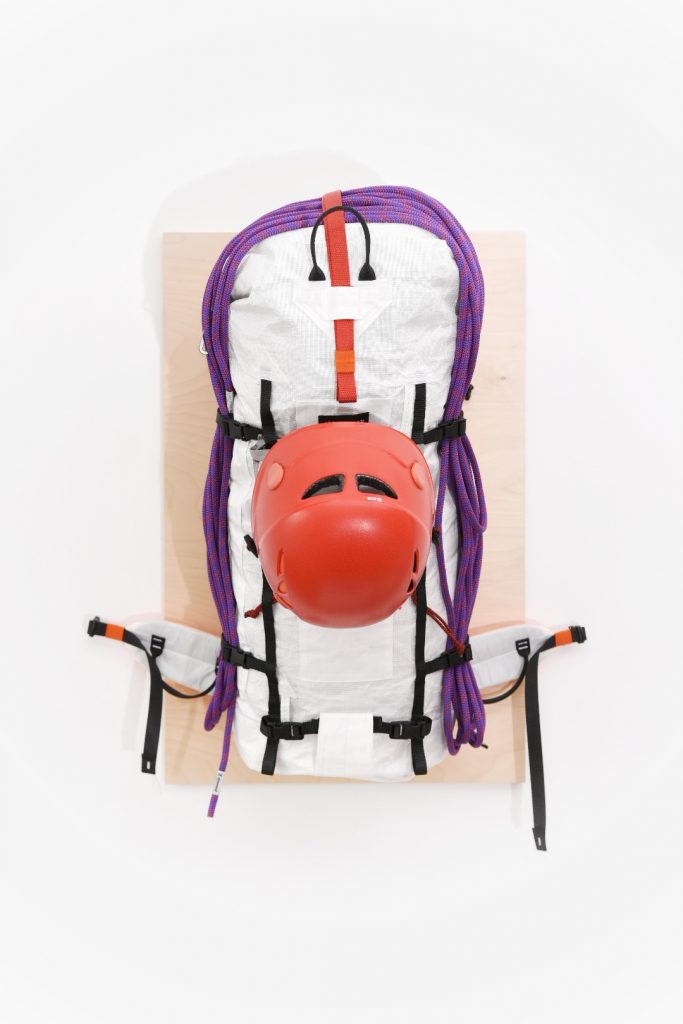
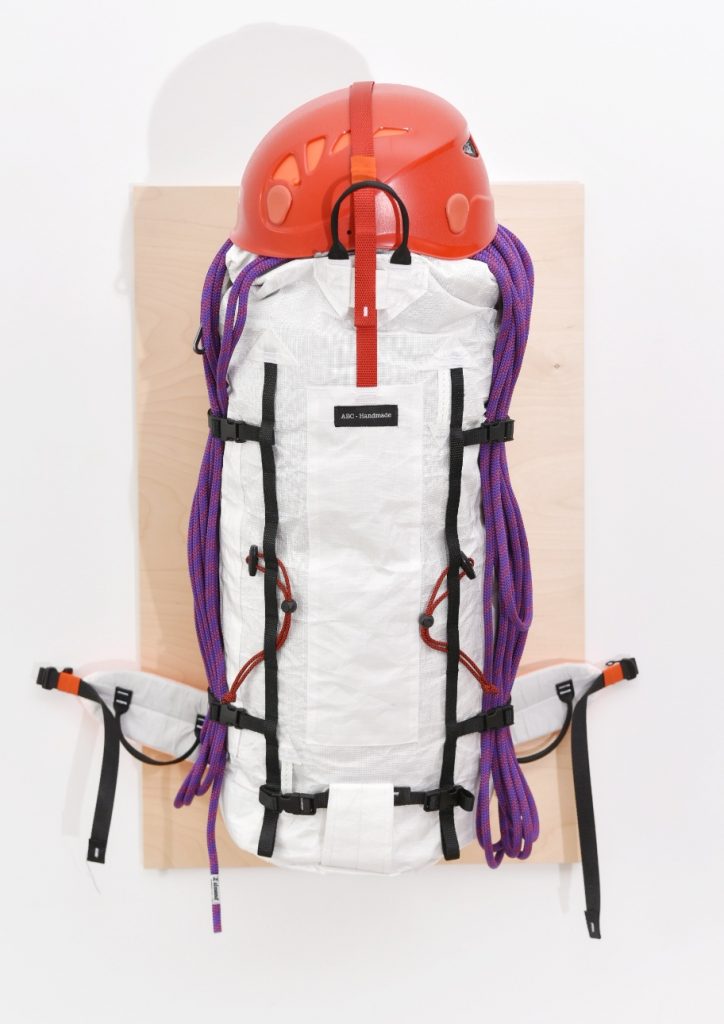
The Ultimate Alpine Ski-touring Pack

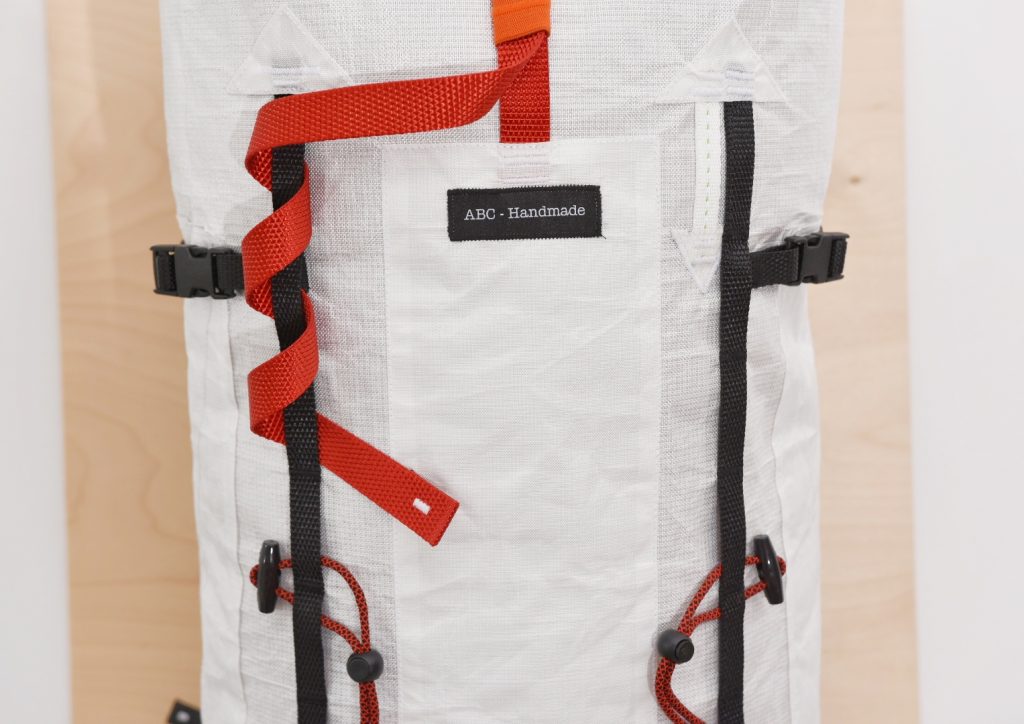
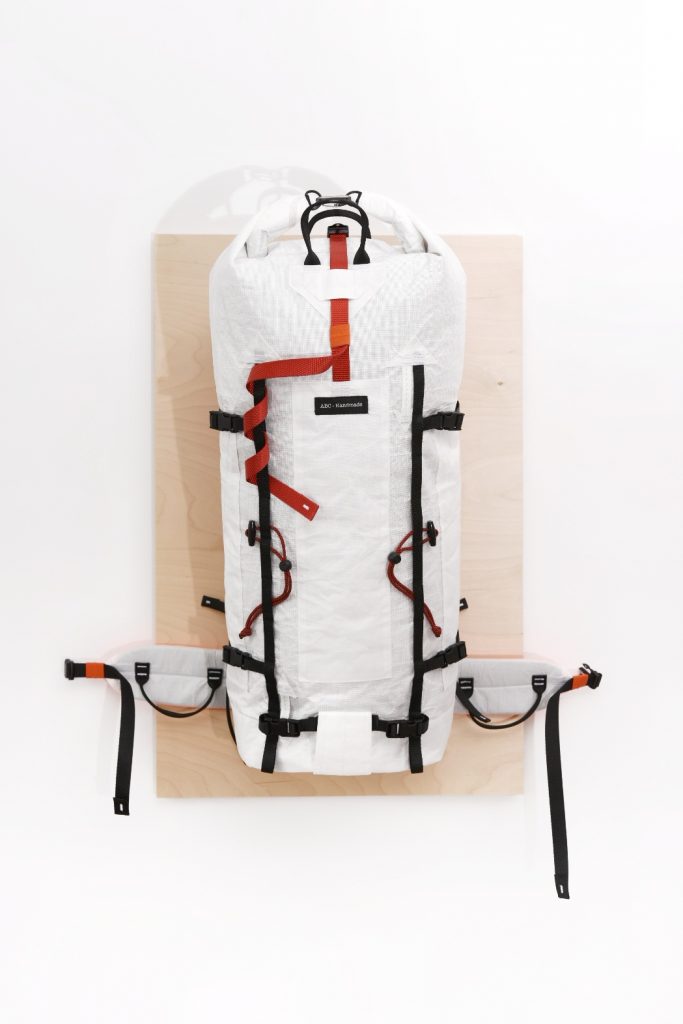
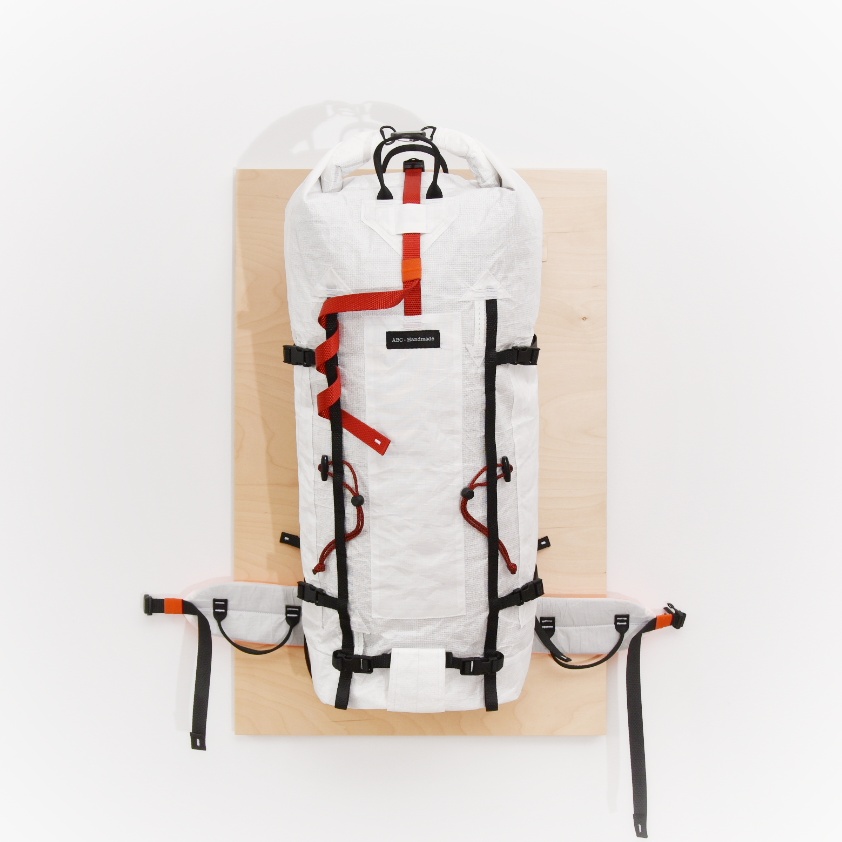
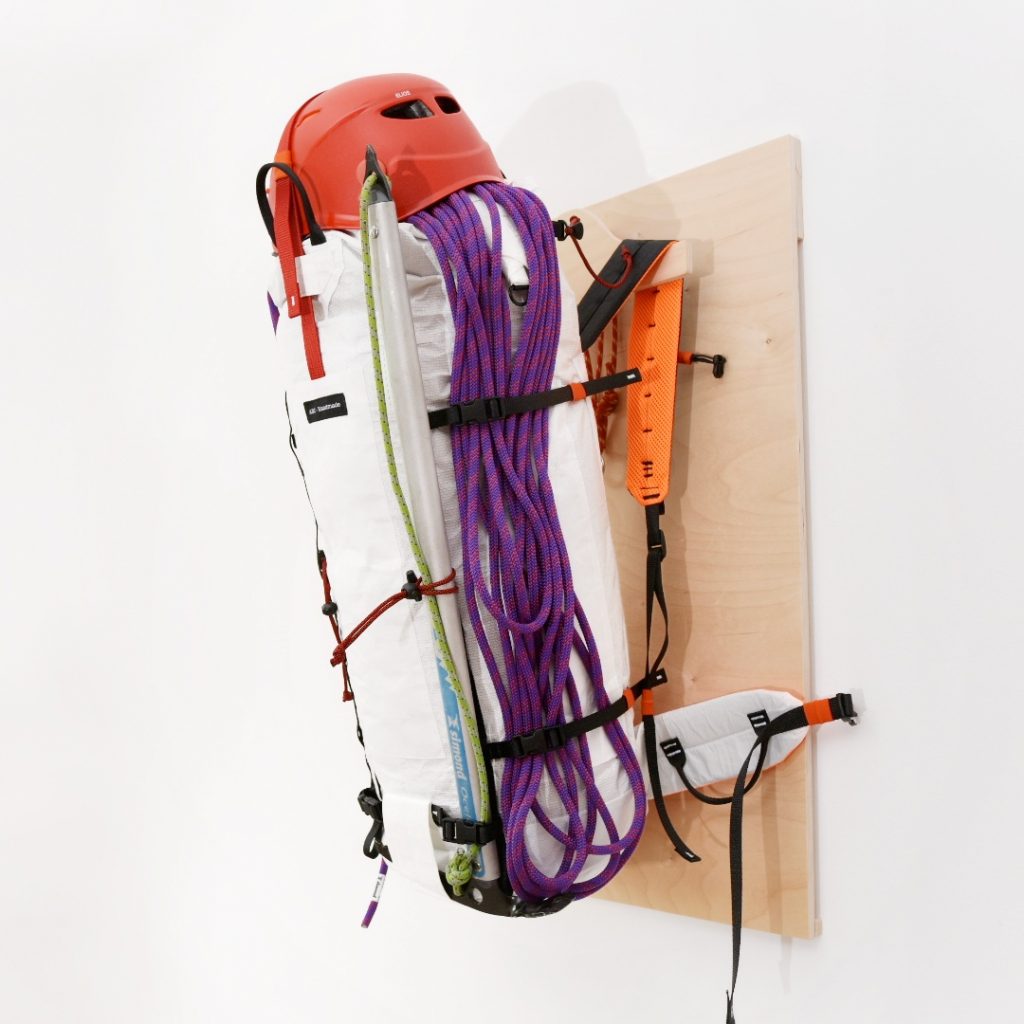
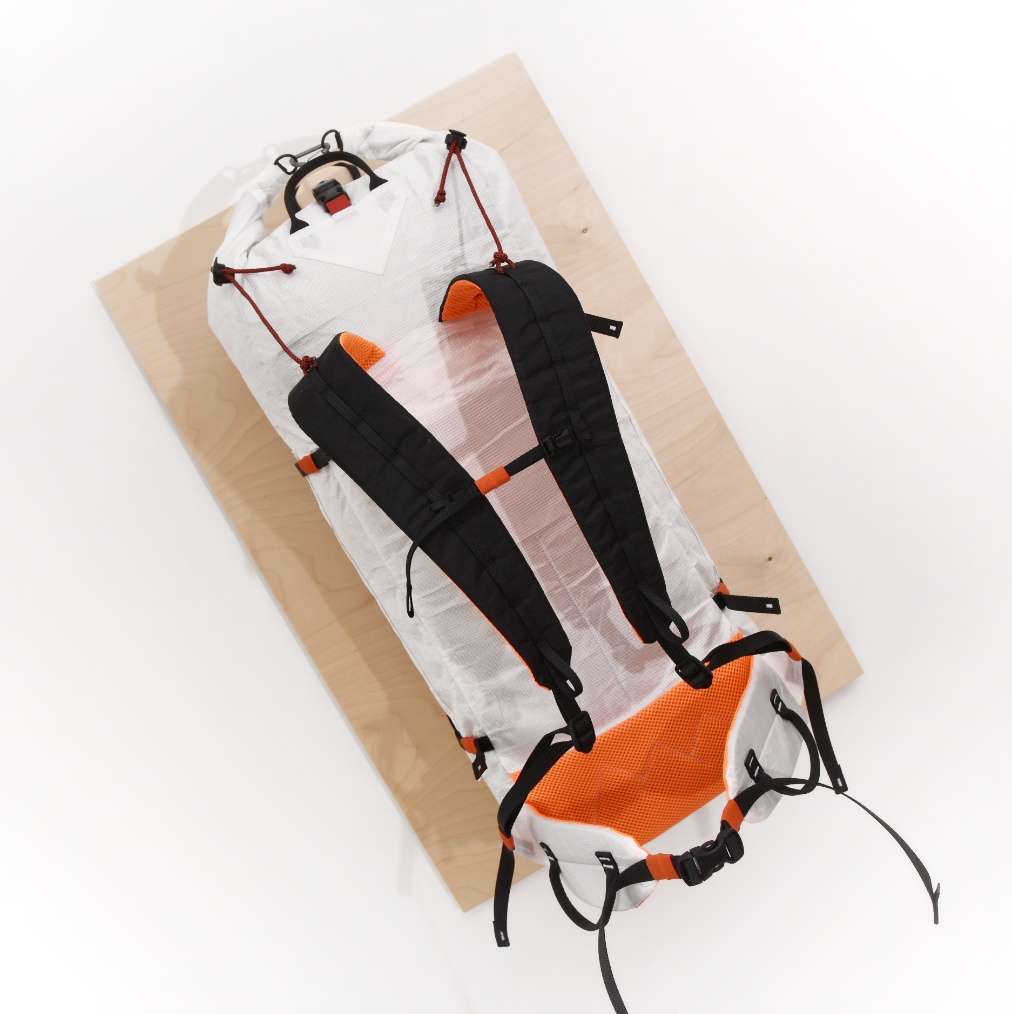
I recently finished a one-of-a-kind ~35 liter Alpine backpack completely custom made for an Instagram follower who reached out to discuss a custom version of The Alpine Pack I recently posted about. We spent a lot of time together designing the pack, carefully selecting the features, and studying his previous backpacks for important points to consider and I think we achieved something really amazing.

I must admit, it was hard to let this one go after about 60 hours of combined work over a couple of months. But I think that particular bag will have the life it deserves, filled with hiking, climbing and ski touring equipment!
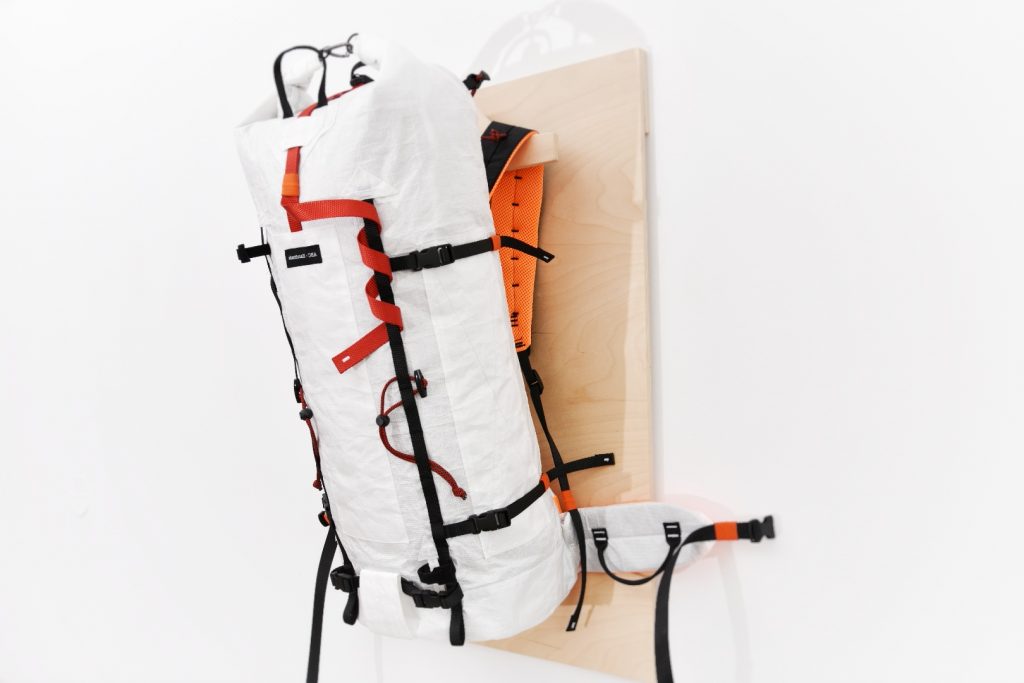
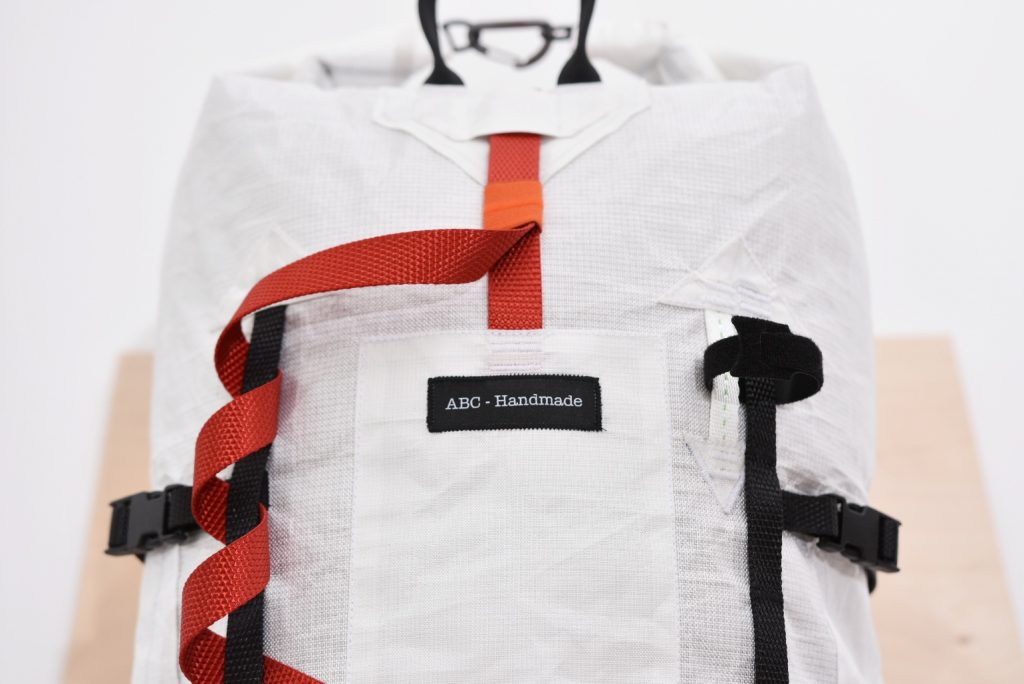
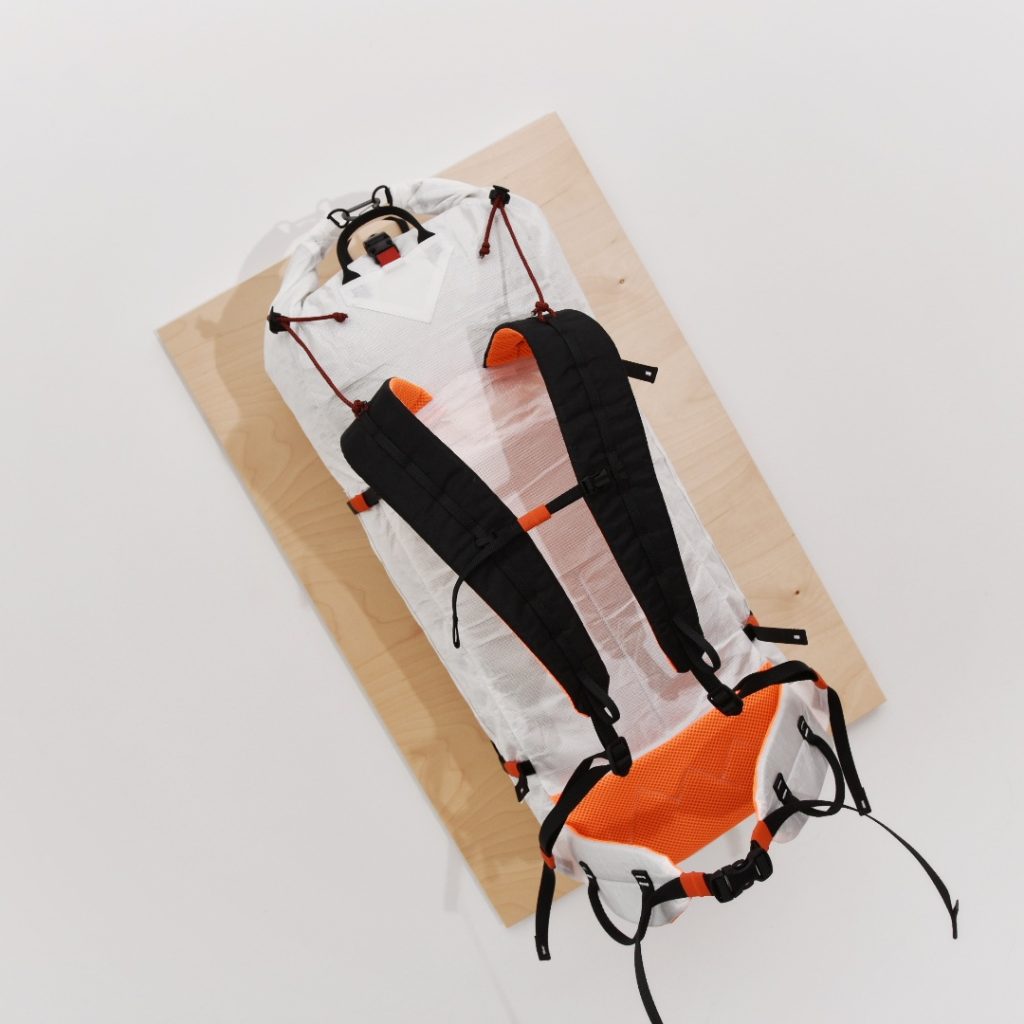
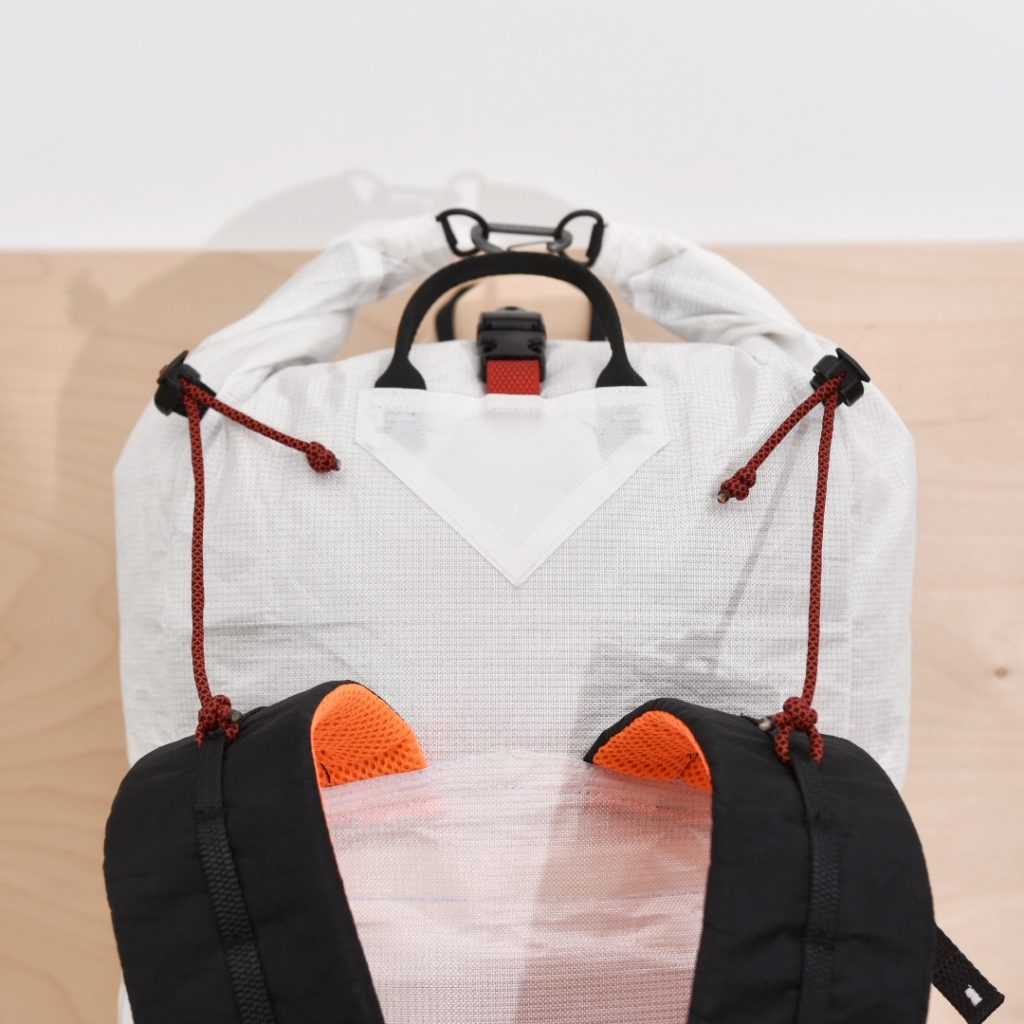
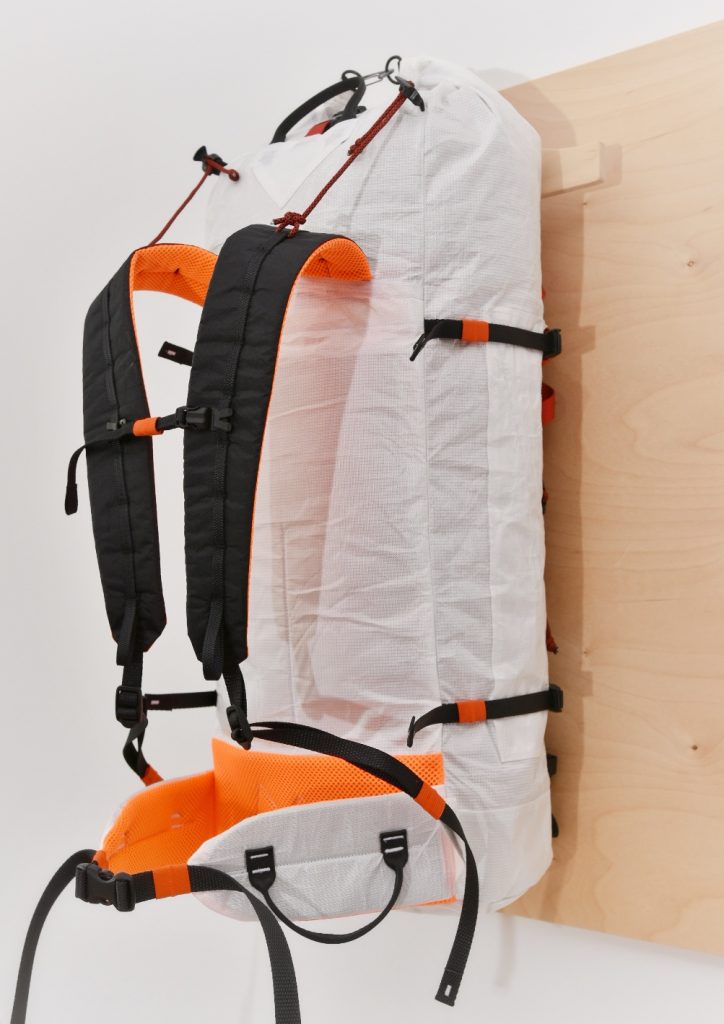
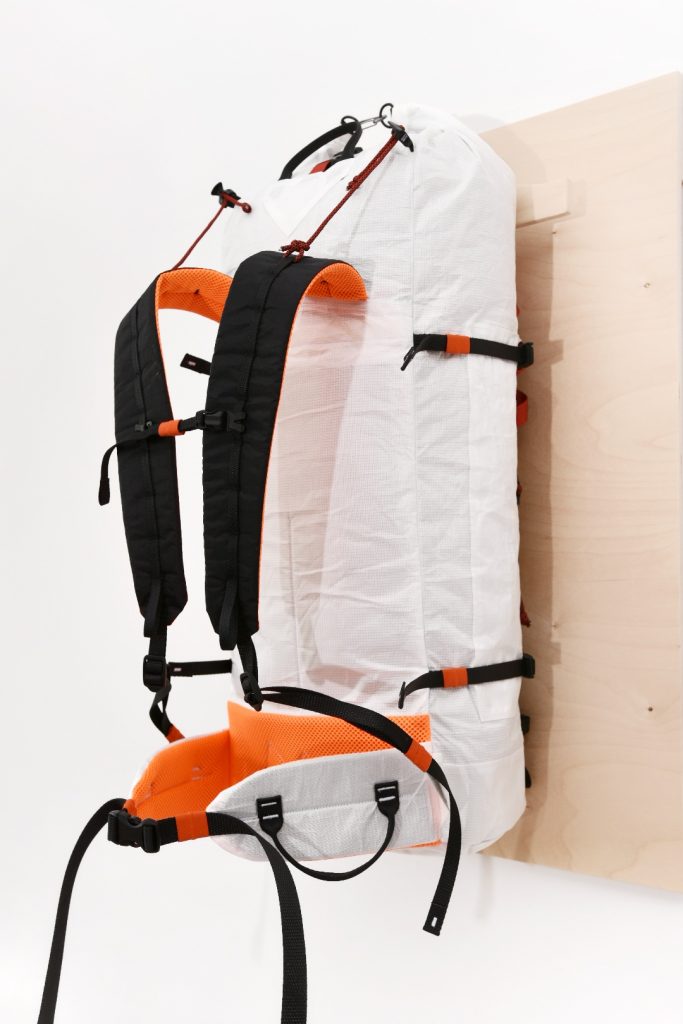
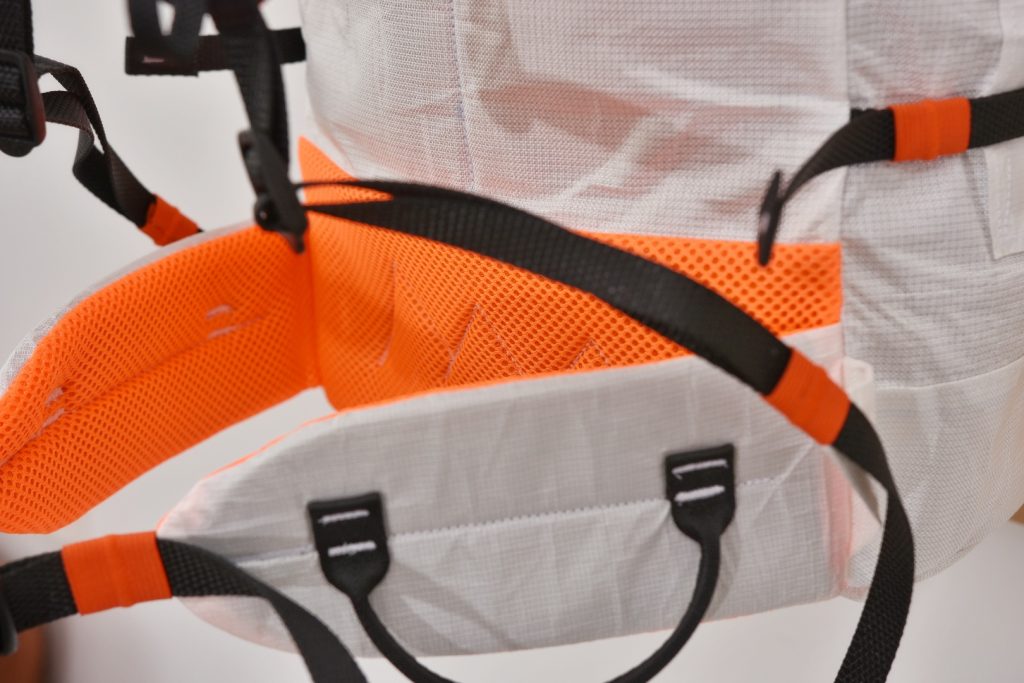
This backpack is a slightly bigger version of the previous alpine pack I made, but is built like a tank! It has many reinforcements on all four sides, and other areas prone to wear and tear. It is made almost entirely out of white Ecopak Ultra EPL 400 (a hybrid UHMWPE and recycled polyester fabric which is incredibly abrasion resistant) and boasts sturdy padding and a hip belt, a set of ski attachments (front and A-frame options), dual ice-axe attachments, rope tie-ins and a relatively huge roll-top extension for the approach.
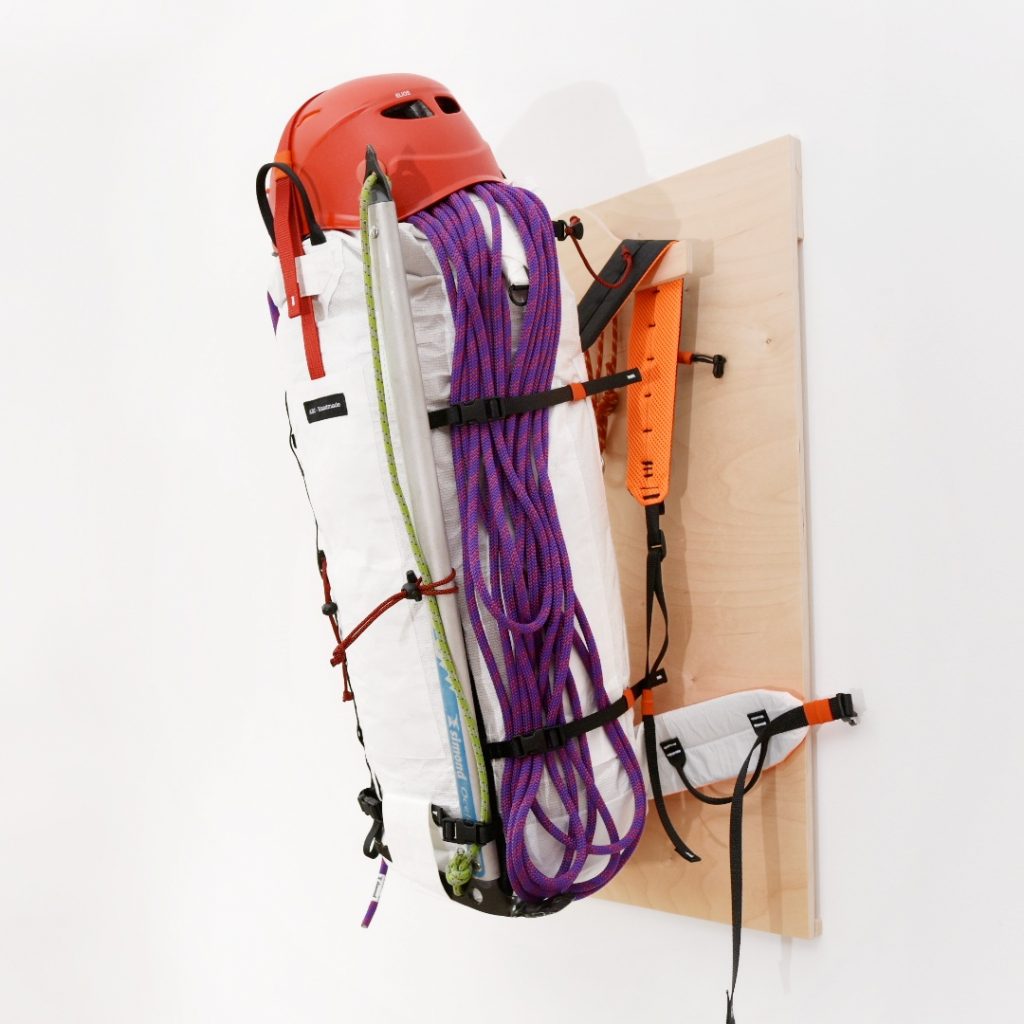
The need to accommodate long hours of climbing and belaying meant that the bag had to have a relatively low profile when closed to not interfere with a helmet when belaying from below, and is therefore a little “fat” compared to previous designs. That being said, its owner being in fantastic shape, the increase in diameter should not interfere with arm movements in the slightest.
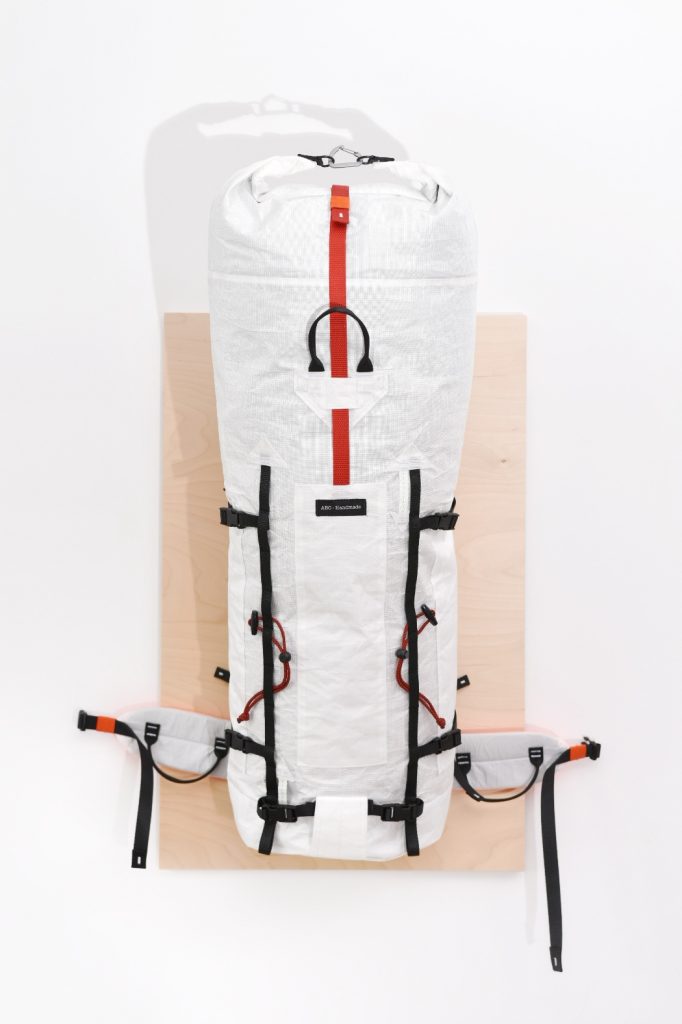
In the end, the complete pack weighs in at exactly 700 grams, which I am really proud of achieving with as little compromises as possible.
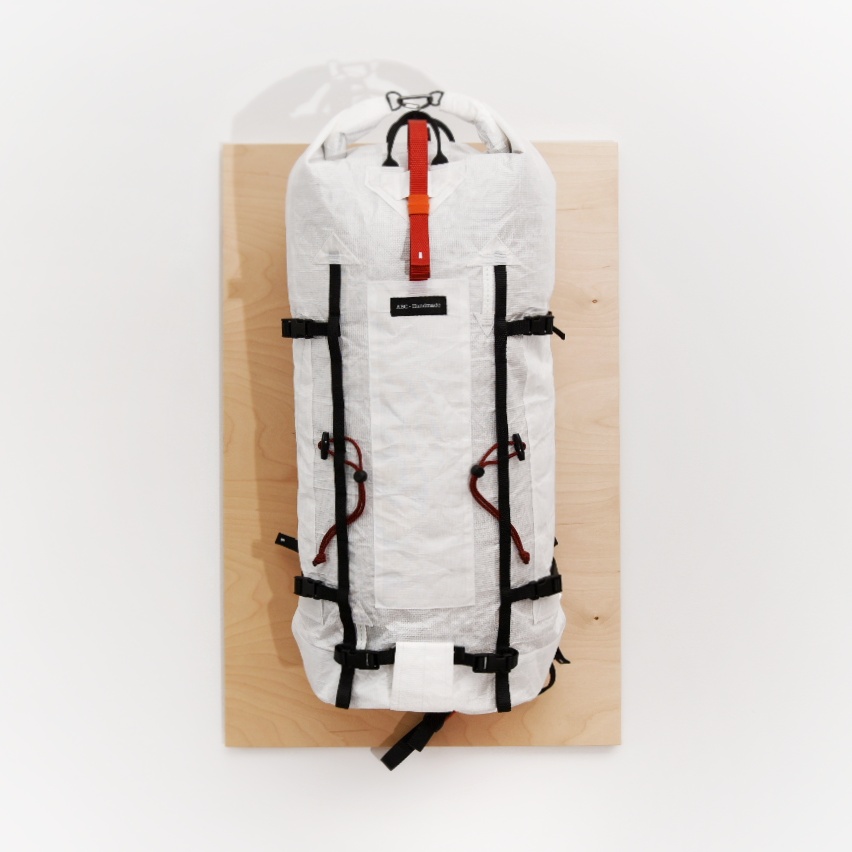
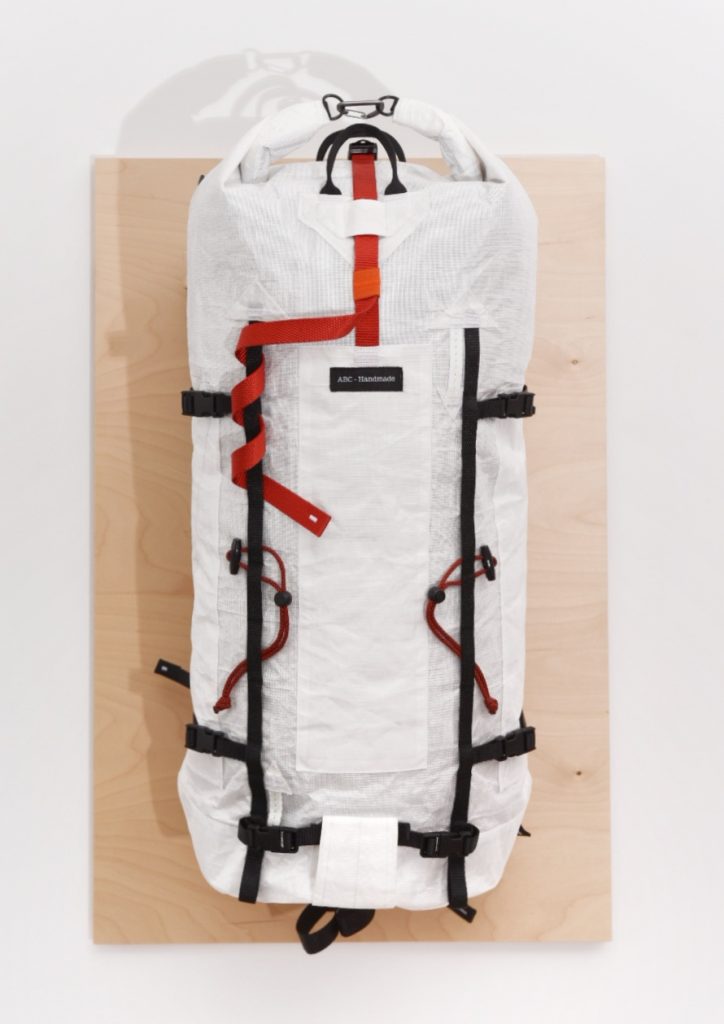
The back panel is of a relatively simple construction, and also out of Ecopak Ultra EPL 400 for its abrasion resistance if the pack needs to be hoisted. The complete back panel, the shoulder straps and hip belt are padded with high quality closed-cell foam for durability and to bring a little comfort when carrying high loads.
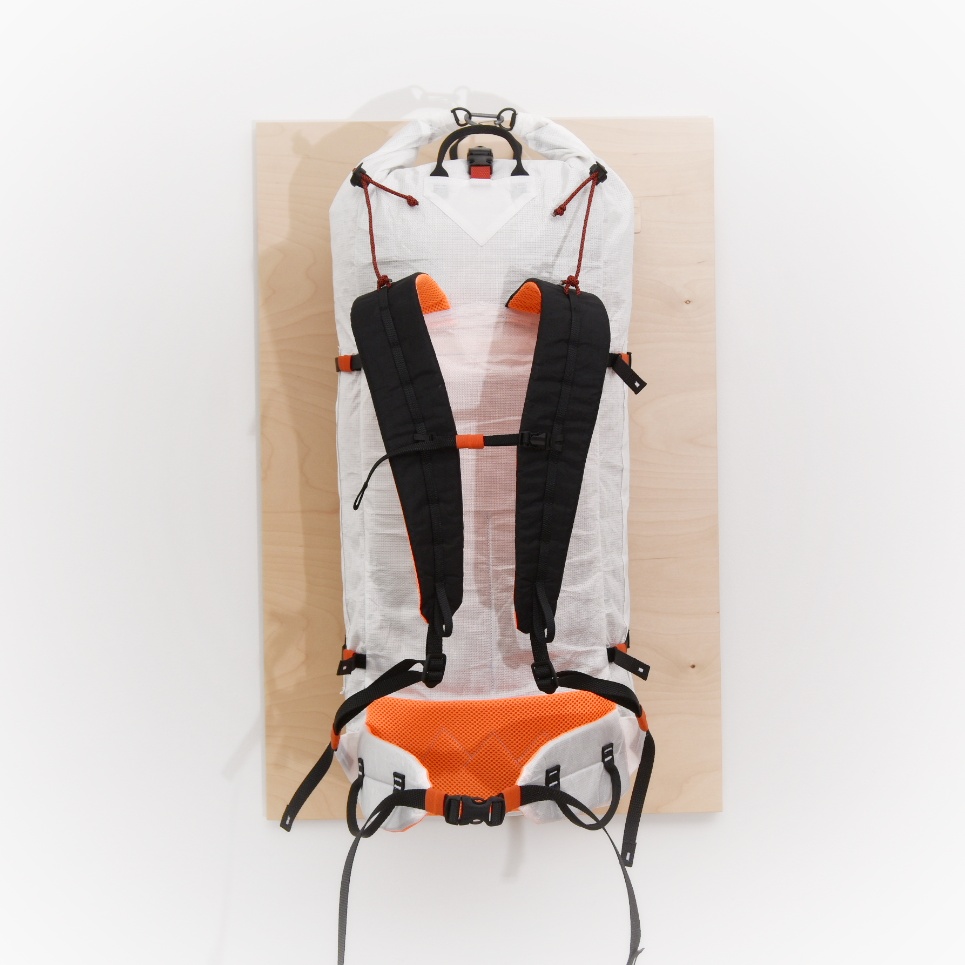
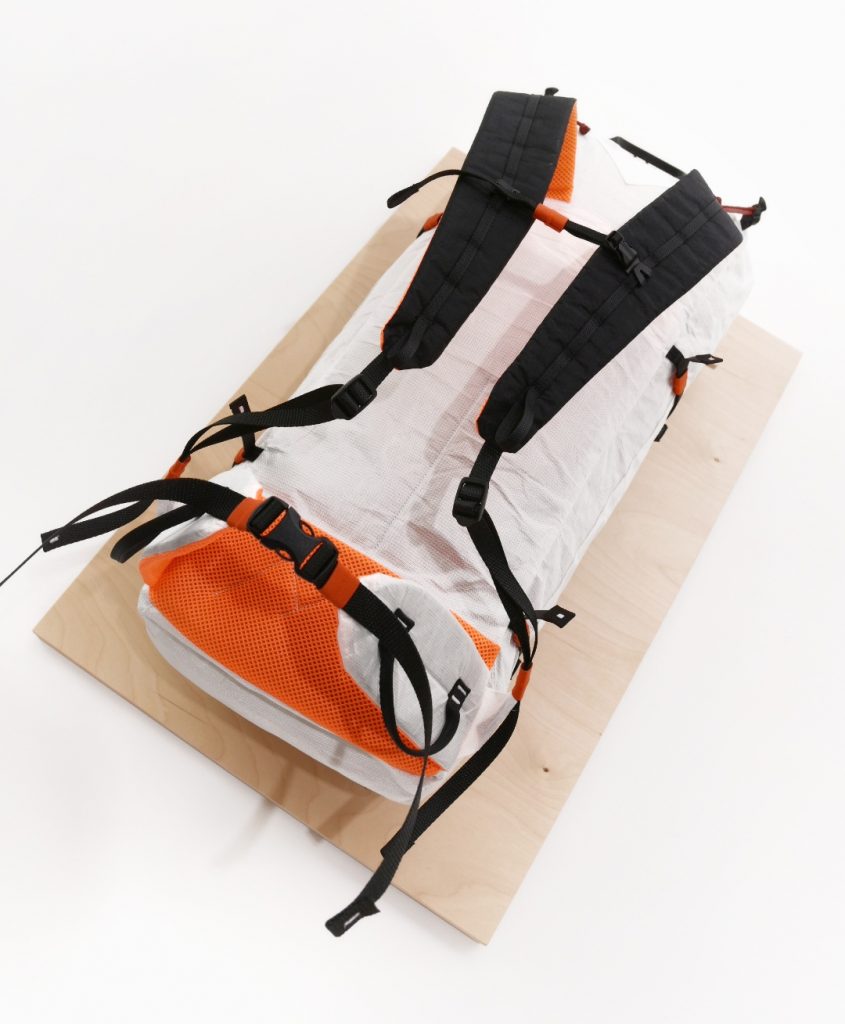
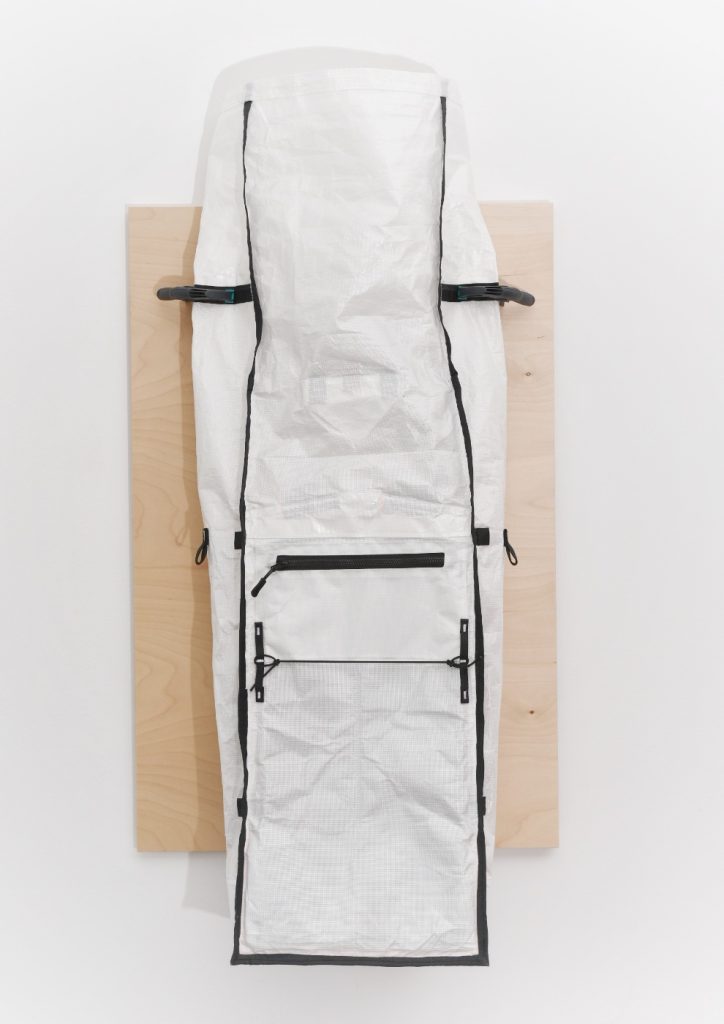
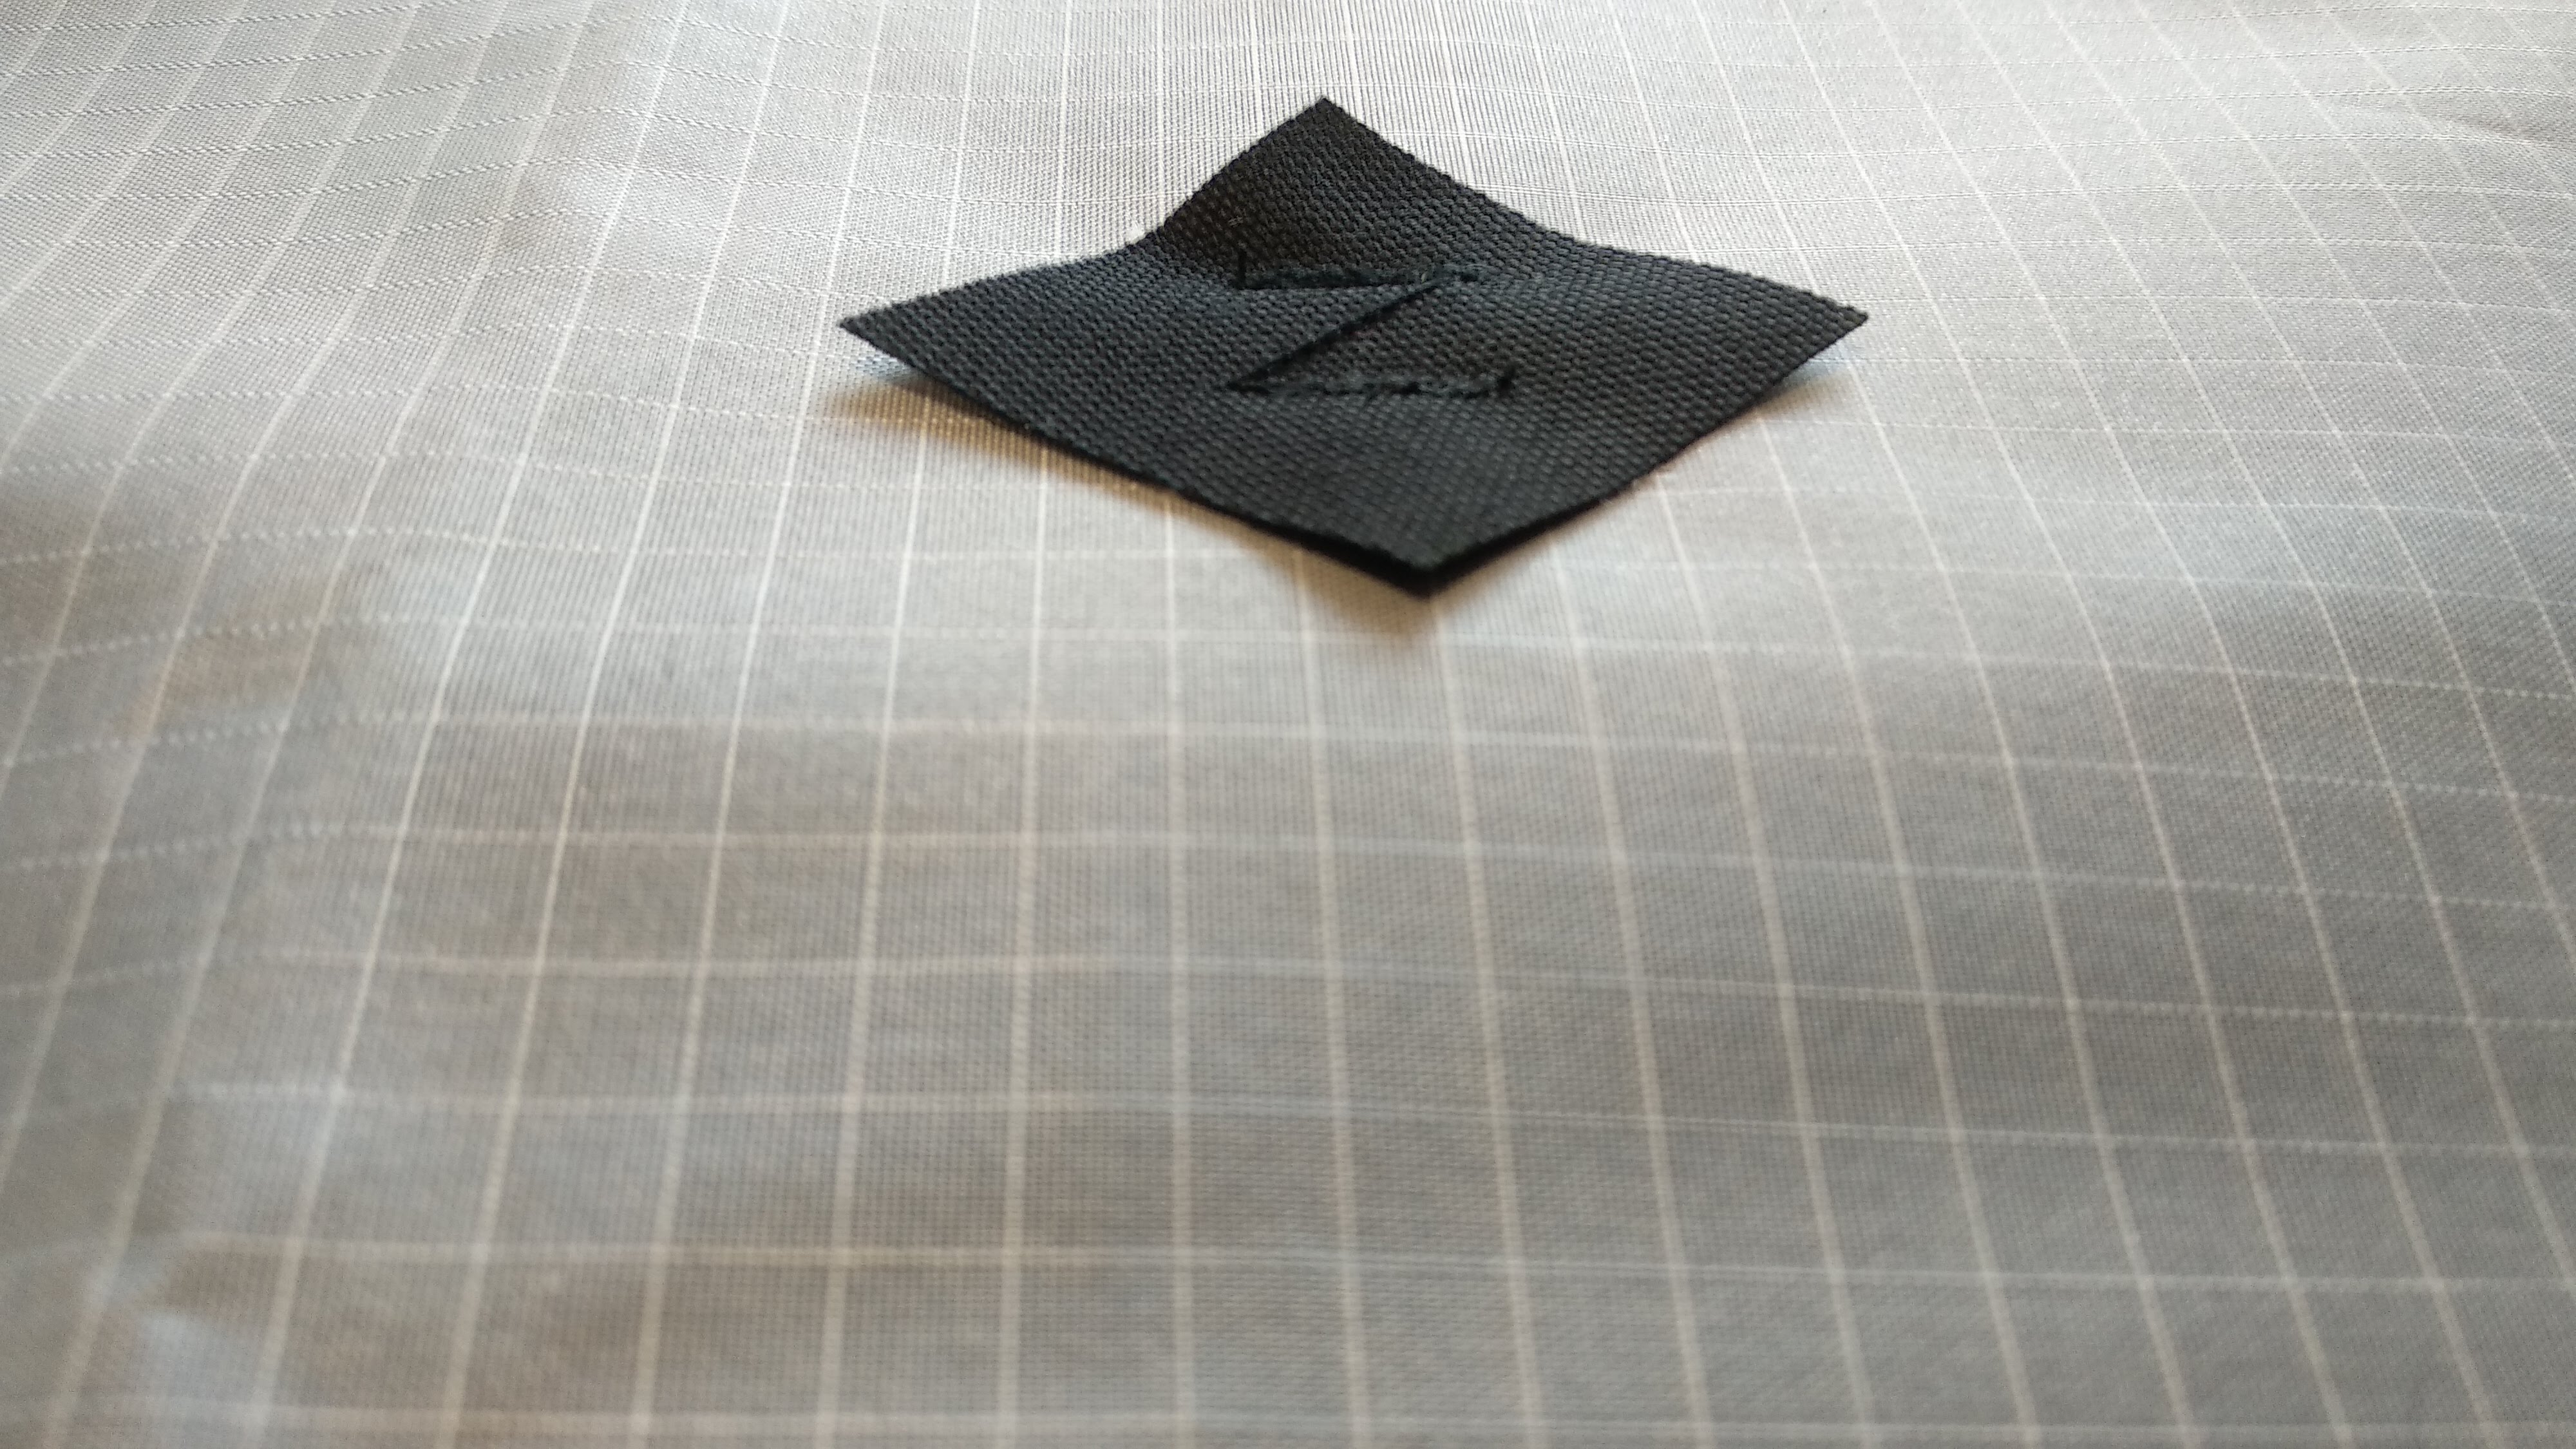
The interior is also very lean, and only offers a couple of gear loops and a small zipper pocket for IDs and other small items. All the seams and the load-bearing bartacks are reinforced and double stitched to prevent fraying of the Ultra EPL fabric in case the backing material starts to degrade. In retrospect, I think I would reinforce the seams and bartacks with a white backing fabric next time to blend in with the rest of the pack better. Since I make that backing “tape” myself, I can easily make it in the colors/fabrics of my choosing. This particular black liner is a 210D Diamond ripstop polyester fabric with polyurethane coating to act as a mild waterproofing tape as well..
Make the Winter Pack from White X-PAC VX07

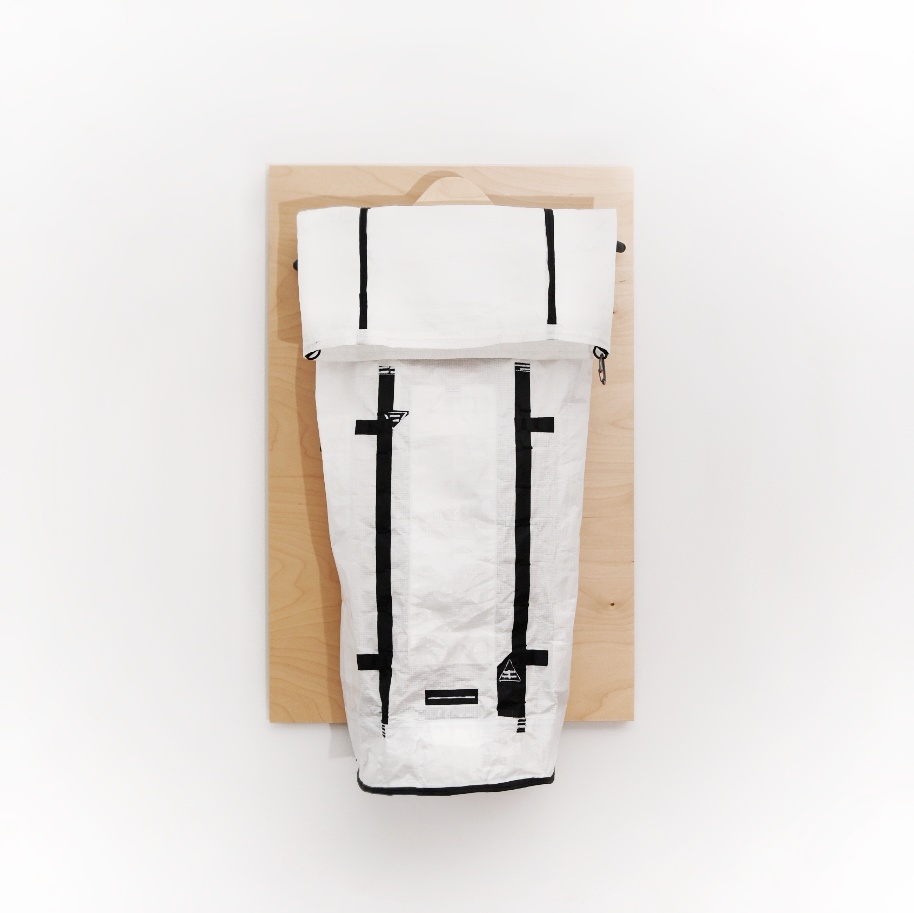
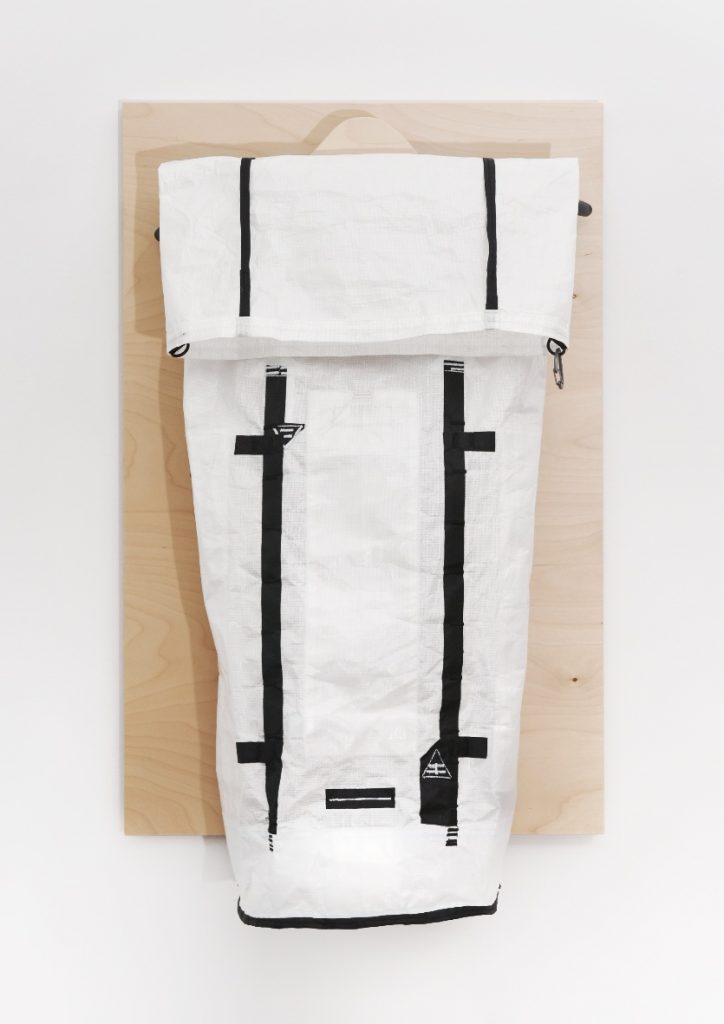
I have already covered all of the techniques I used to build the Winter Pack in other posts so I will not dwell on the details too much. The pack is relatively simple in terms of features, it has an almost vertical daisy chain, a side zipper pocket, a roll-top closure and a padded back. Plus some quality of life details.

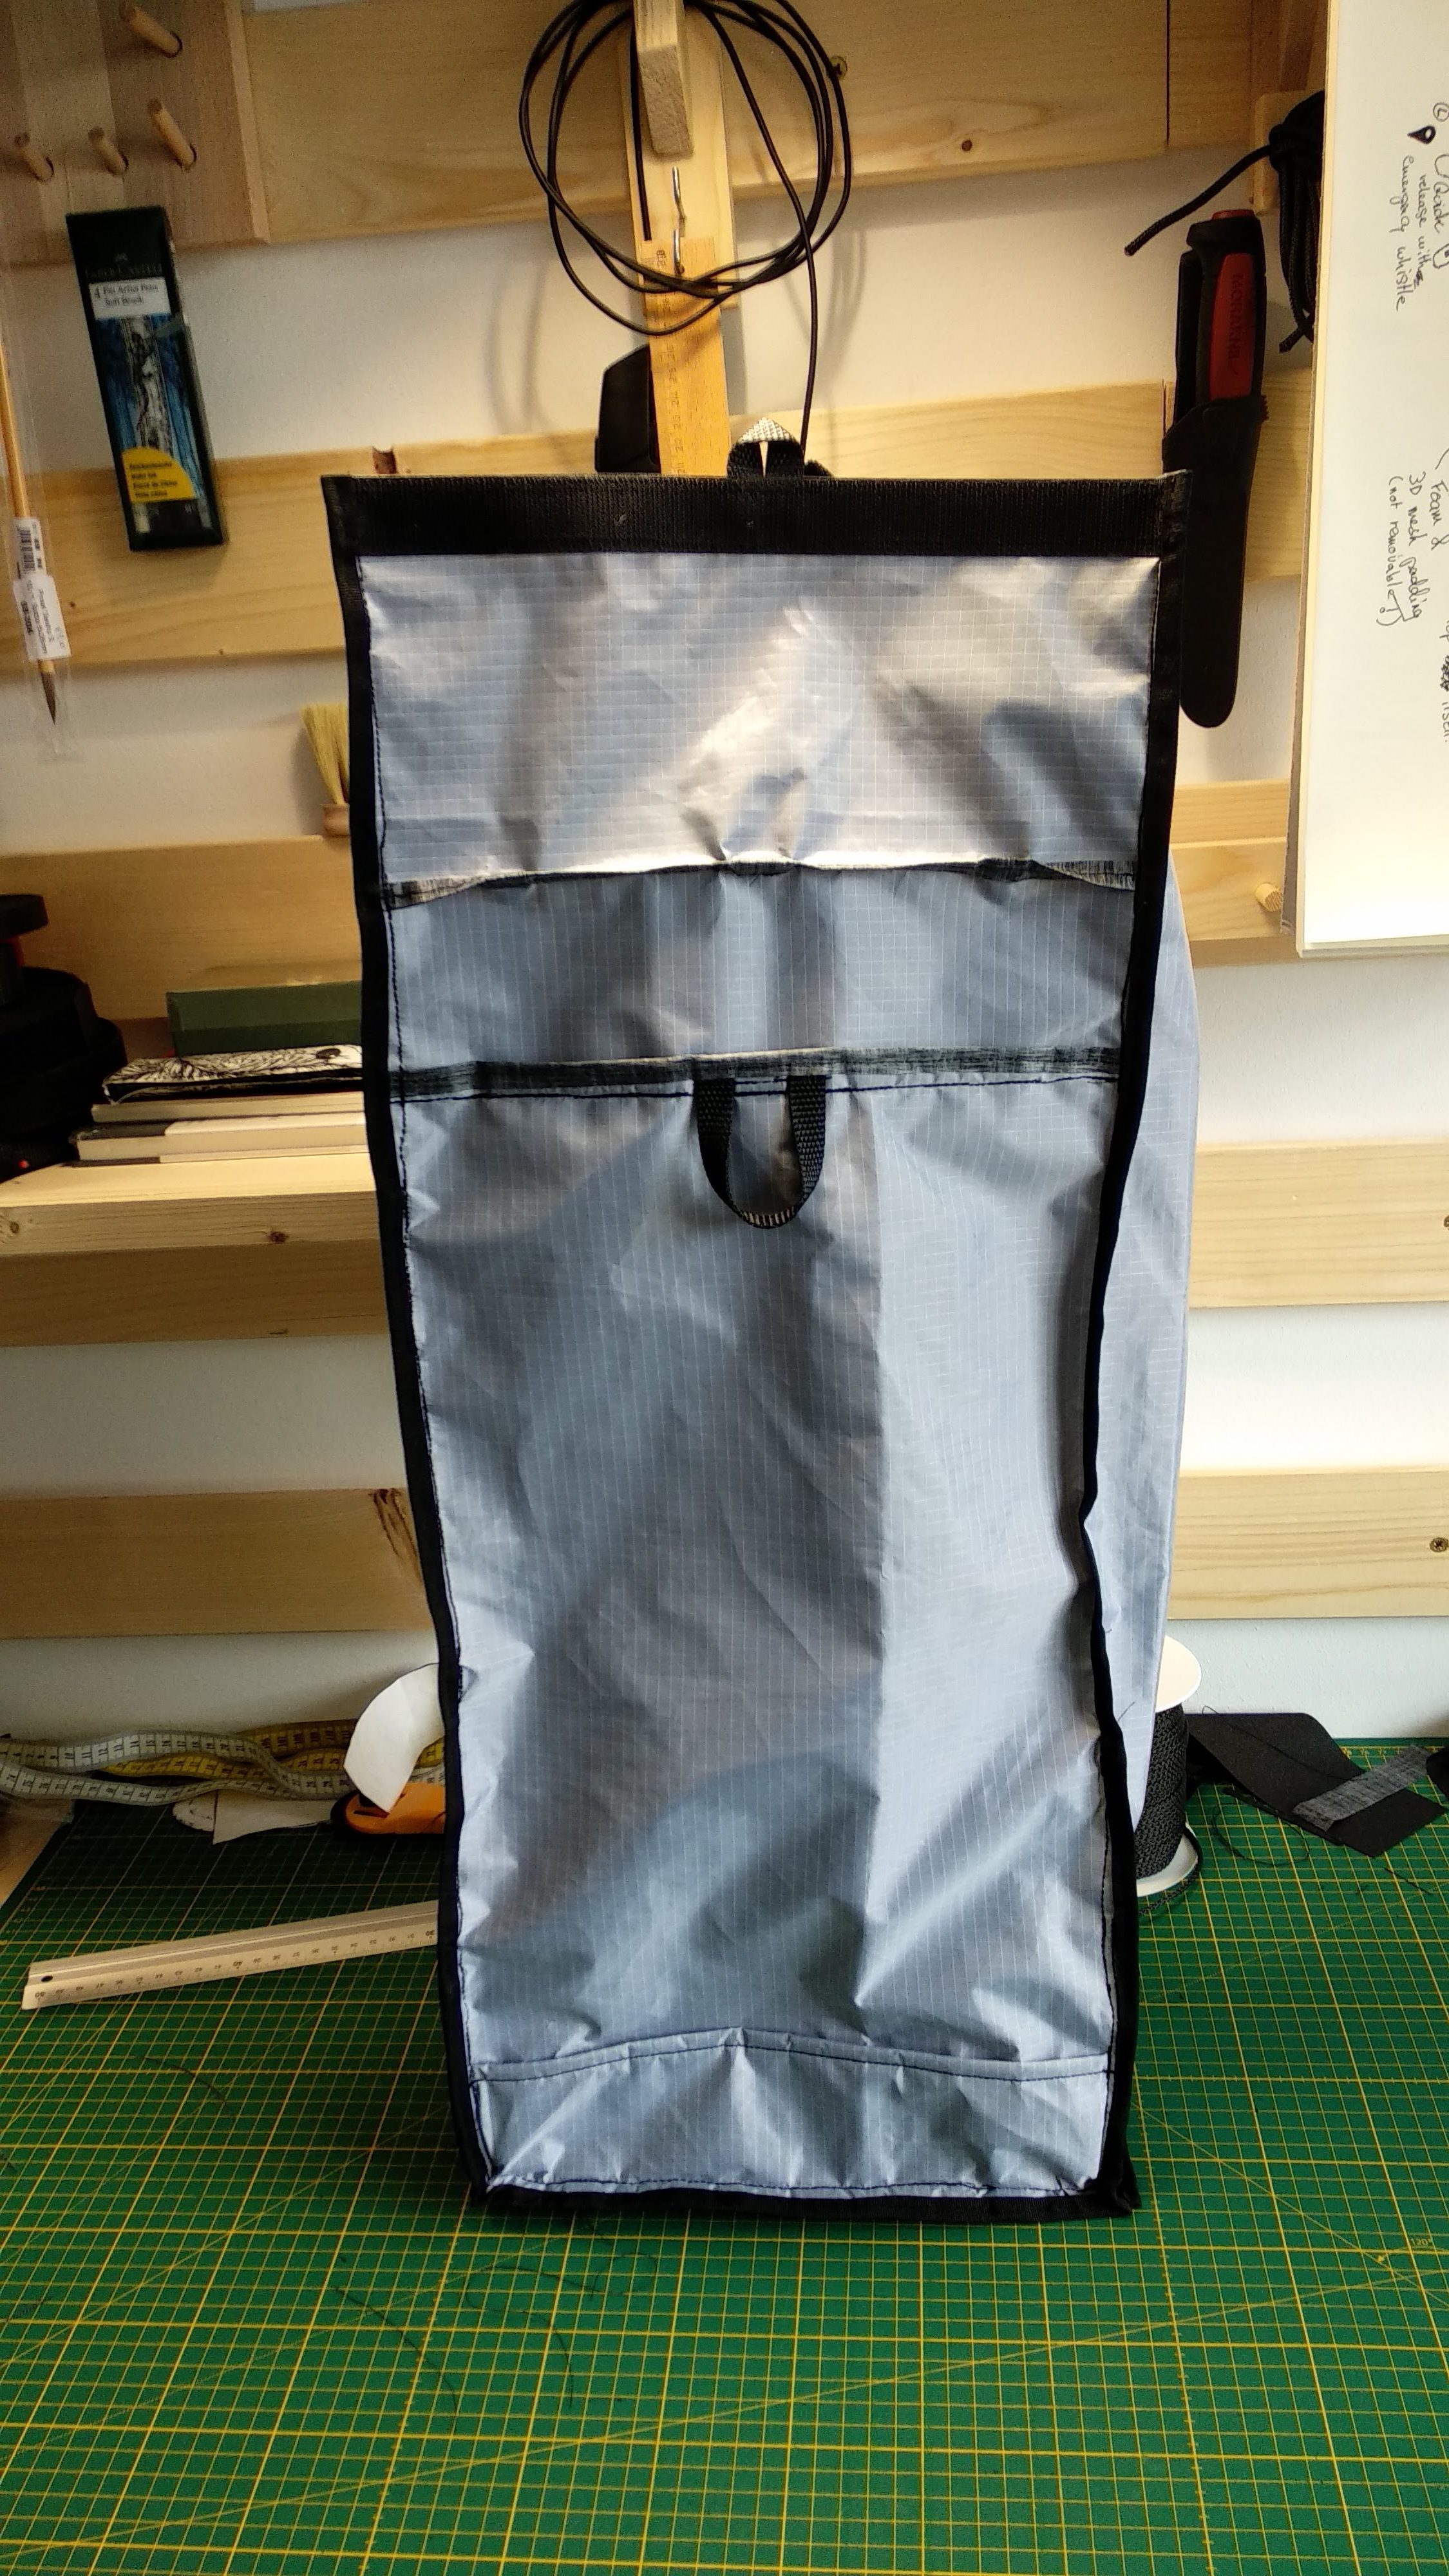
For most of my builds, I design the front (1) and back (2) panels first, then I sew on the side panels (3, 4) to the front panel. The last pieces of the puzzle are to set the height of the roll-top with multiple parts if required, and only after that do I sew on a wide panel for the roll-top across the 3 front and side sawn panels.

Representation of the cut panels (not to scale)

The bottom panel itself is more often than not the last thing I put together, and stitch it to the front and side panels before finishing the pack by attaching the completed back panel (2,5,6).

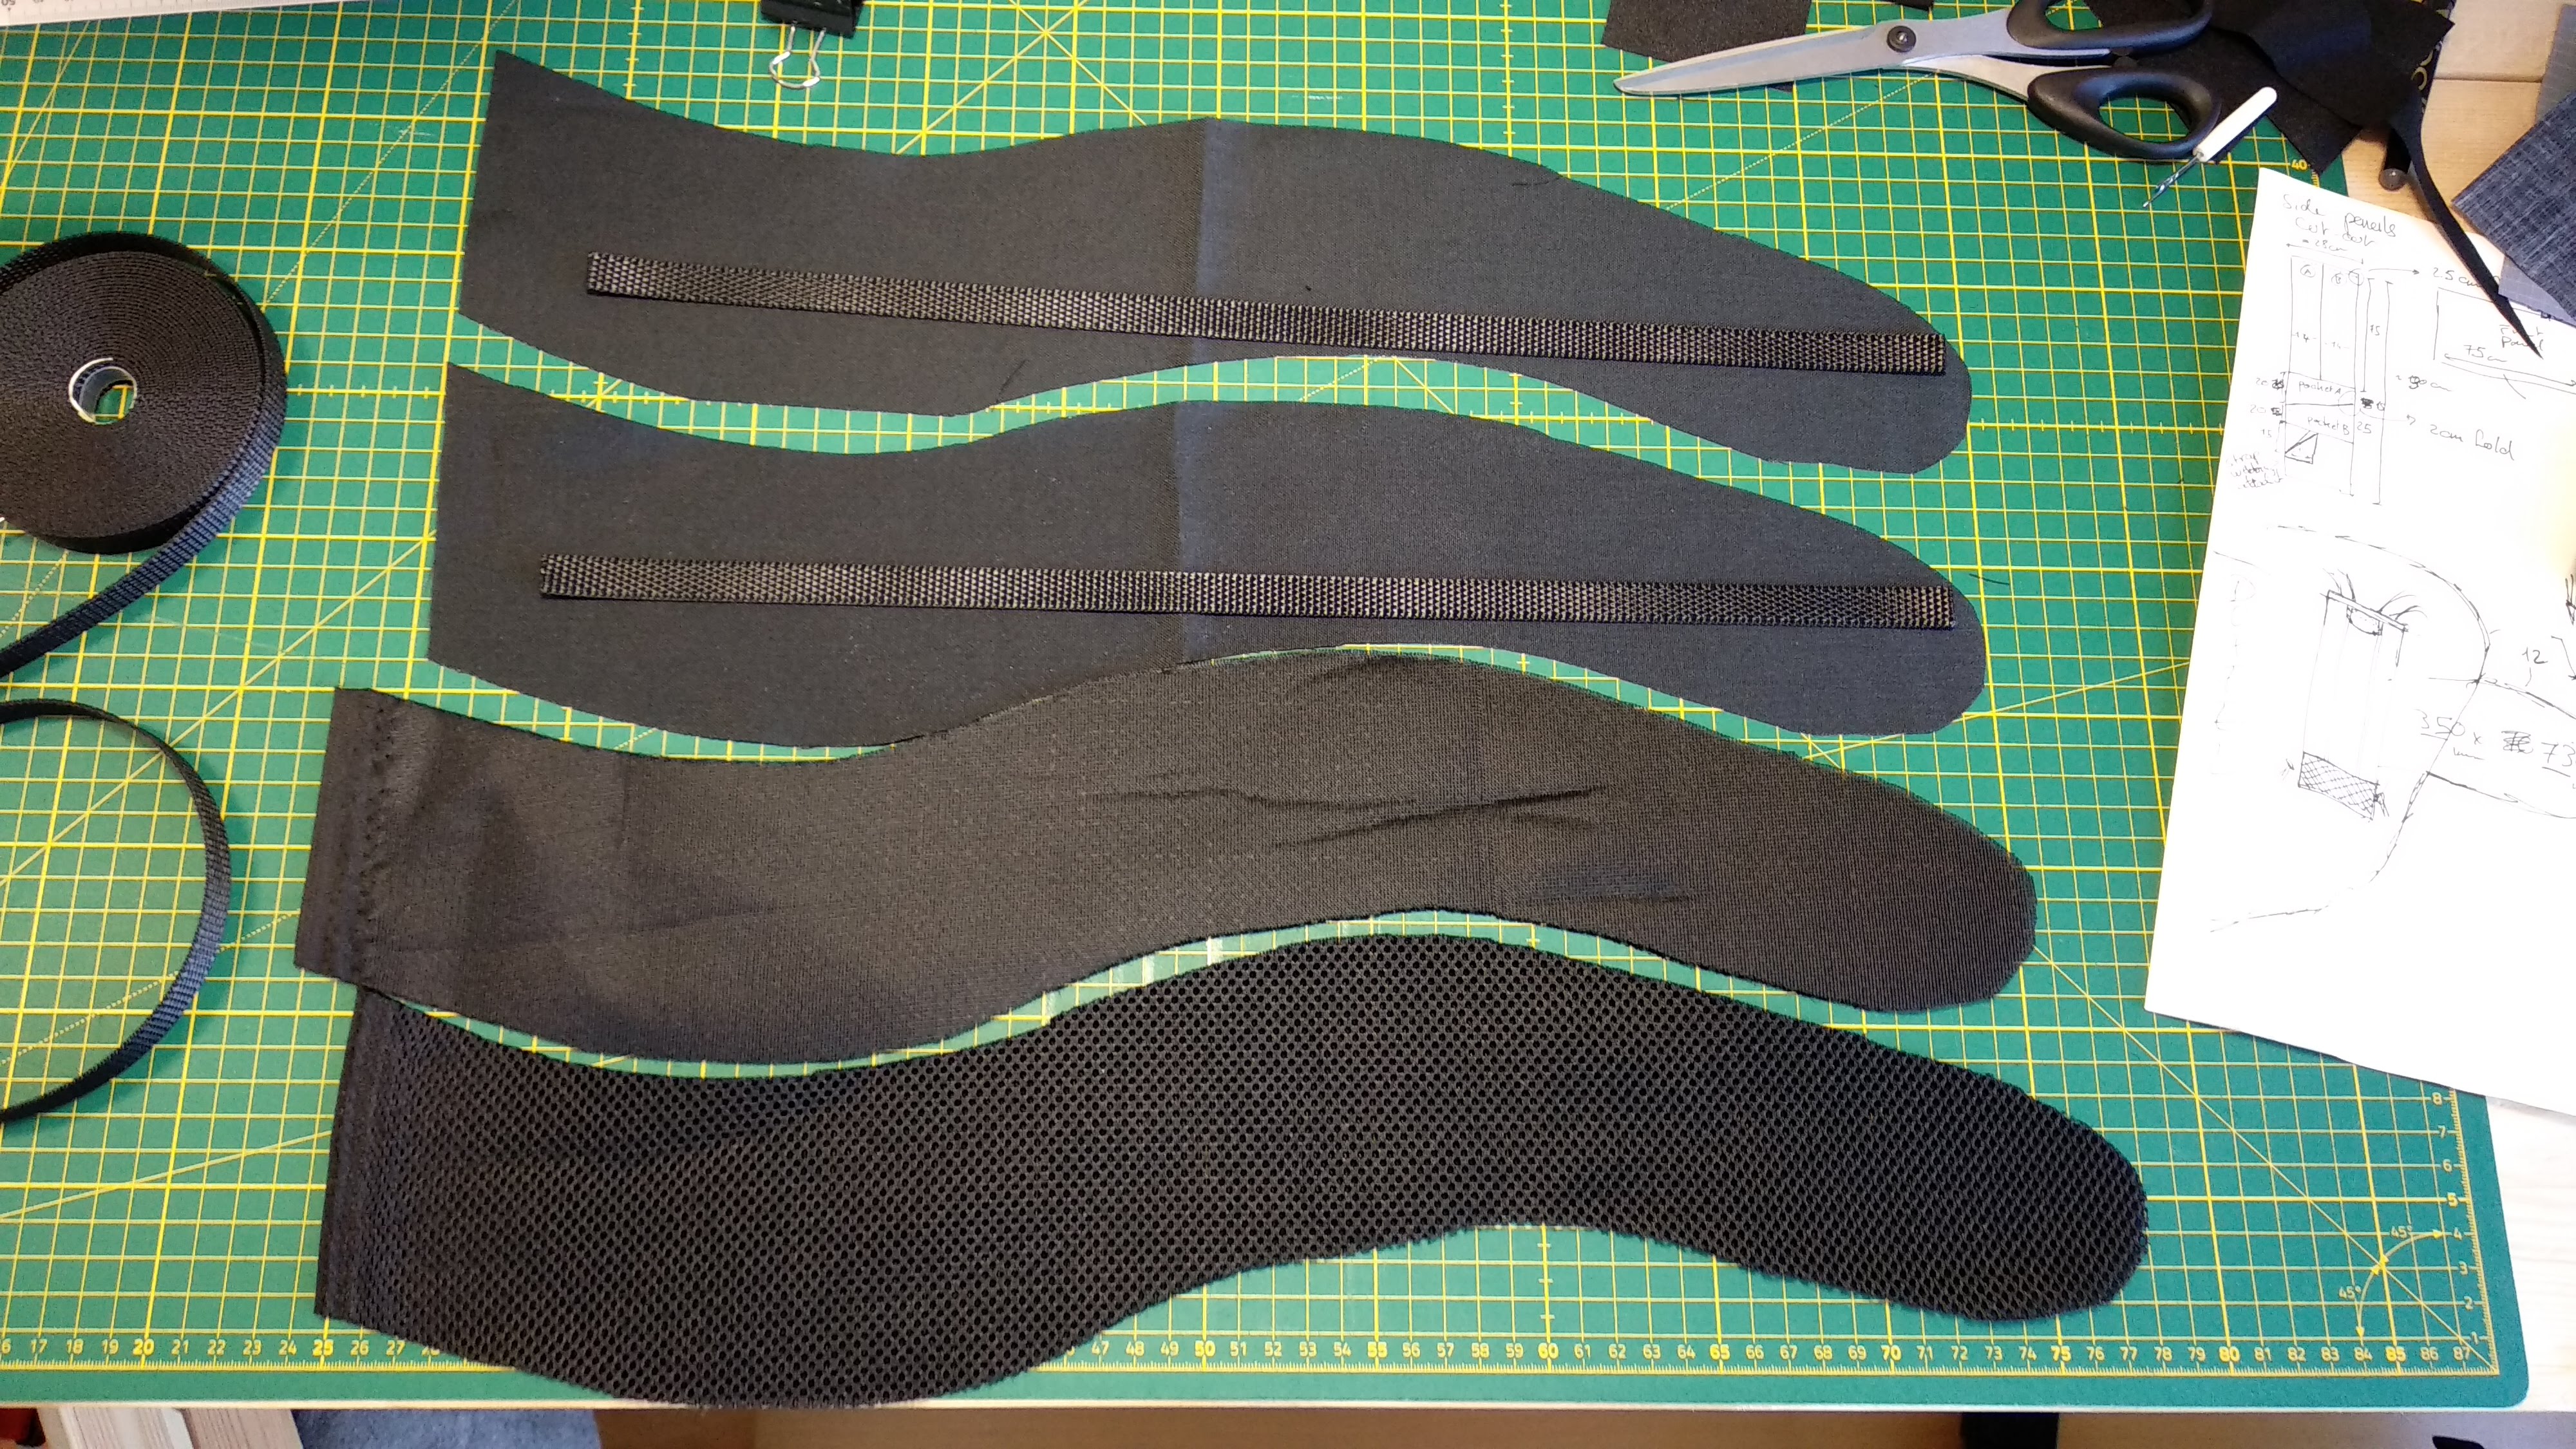
I wanted a decent back padding for this pack since I might have to carry pointy or uncompressible gear (water bottles, alcohol stove) and not a lot of temporary padding. I went for an inversed T-shaped pad with 8mm closed cell foam topped with 3D mesh. All directly sewed on the back panel to keep every light and water resistant. To avoid wasting a lot of mesh, I decided to stitch two parts together with a flat-felled seam. The foam itself ended up being a three parts piece.

To secure the shoulder straps, I usually embed the ends in between separate panels (2, 5). I also use the same technique to add the load-lifters and the roll-top compression strap (2,5,6). The smaller pieces of the back panel will define the height of the last roll-top piece (7).

The shoulder straps are just my usual design, with an outer shell out of Cordura and 3D mesh inside. I always add daisy chains to to the full length of the shoulder straps to attach the chest strap, or smaller equipment. For this build, I went with ladder-lock buckles instead of Lineloc buckles since weight was not a huge concern.

There isn’t much else to talk about really. The front panel is very lean, with just the daisy chain attached to the main fabric without reinforcements (if the daisy chain was planned to attach heavy equipment, I would back the VX07 fabric to avoid future tear outs.

The pocket itself is just a flat pocket sewn onto on side panel. Since I am right handed, the most logical side to put the pocket on was on the right side (when wearing the pack) so I can slide the bag on one shoulder and access the pocket while walking.

That’s it! I did not cover the side compression straps since there is really nothing special about it. Enjoy!

The Winter Pack

I thought I’d make something nice for myself and since I wanted a functional day pack for winter hiking, I went right ahead and built one. What’s so special about a winter pack might you ask? Well, I might need to carry warmer layers although not necessarily wearing them so that’s a bag that can hold its volume. I like to hang gloves off of the exterior of the pack so I’ll need something for that. I would often carry a hiking pole (sometimes two) so attachments are a must. If it’s a warm day and I do not have much to carry, I would prefer a pack that can be compressed down to a low profile. I’ll need a simple hip belt if I’m scurrying through some annoying terrain and don’t want the pack to move around. And… that’s it. More of less. Ah yes, and I want some quick access pocket so I can grab a snack on the way to the top. So I made that!

There you have it, my perfect winter pack. Here are more pictures, I wouldn’t want you to have too much to read before getting to the good stuff.

In the end, the bag volume can almost pretty much double if I loosen the compression strap and use some of the additional volume the the roll-top offers. I don’t have great pictures of this, but the following snapshots should help see the difference between the compressed and non-compressed volumes. The roll-top can be extended some more to really double the volume.

Stay tuned for some behind the scene pictures!

The Very Merry Christmas Pack 🎄

Here we are, pack is finished and ready to be gift wrapped. I think words speak less than pictures, so I will now paste some pictures! Unfortunately, I had little time to take snapshots before wrapping it up and leaving for vacation. But stay tuned, since I do have a mountain of behind the scene pictures coming up.

Thank you for the great support this year! See you in 2020! 🍾

Bricks can’t go wrong. Greeblies come later.

A lot of bags follow a relatively simple “brick-like” construction. These bags might not have the best looks, but they are definitely the easiest to build without a lot of experience, and you’ll get a perfectly functional bag. I ended up using this one for a 10 days solo trip above the arctic circle and it got me there and back.

When in doubt, always cut straight! You can always add curves and greeblies later.

The two side panels are almost identical. The pockets have different slopes and sizes.
The front and back panel are also assembled out of multiple smaller panels to form clean rectangles.

At the end, the final assembly starts from the side panels aligned to the bottom panel, then “closing” with the front panel as the last big step. Final trims and tidying up the top will hide any misalignments or small dimensional issues.

Just need to add the front panel now.

The final bag is documented under https://abcpacks.com/the-ballast-pack.

Building one panel at a time

There is something to be said about simple designs. In this case, building the Slumber pack as a very simple “brick” shape made the construction of each panel a breeze, and completely independent from one-another, at least until the final assembly.