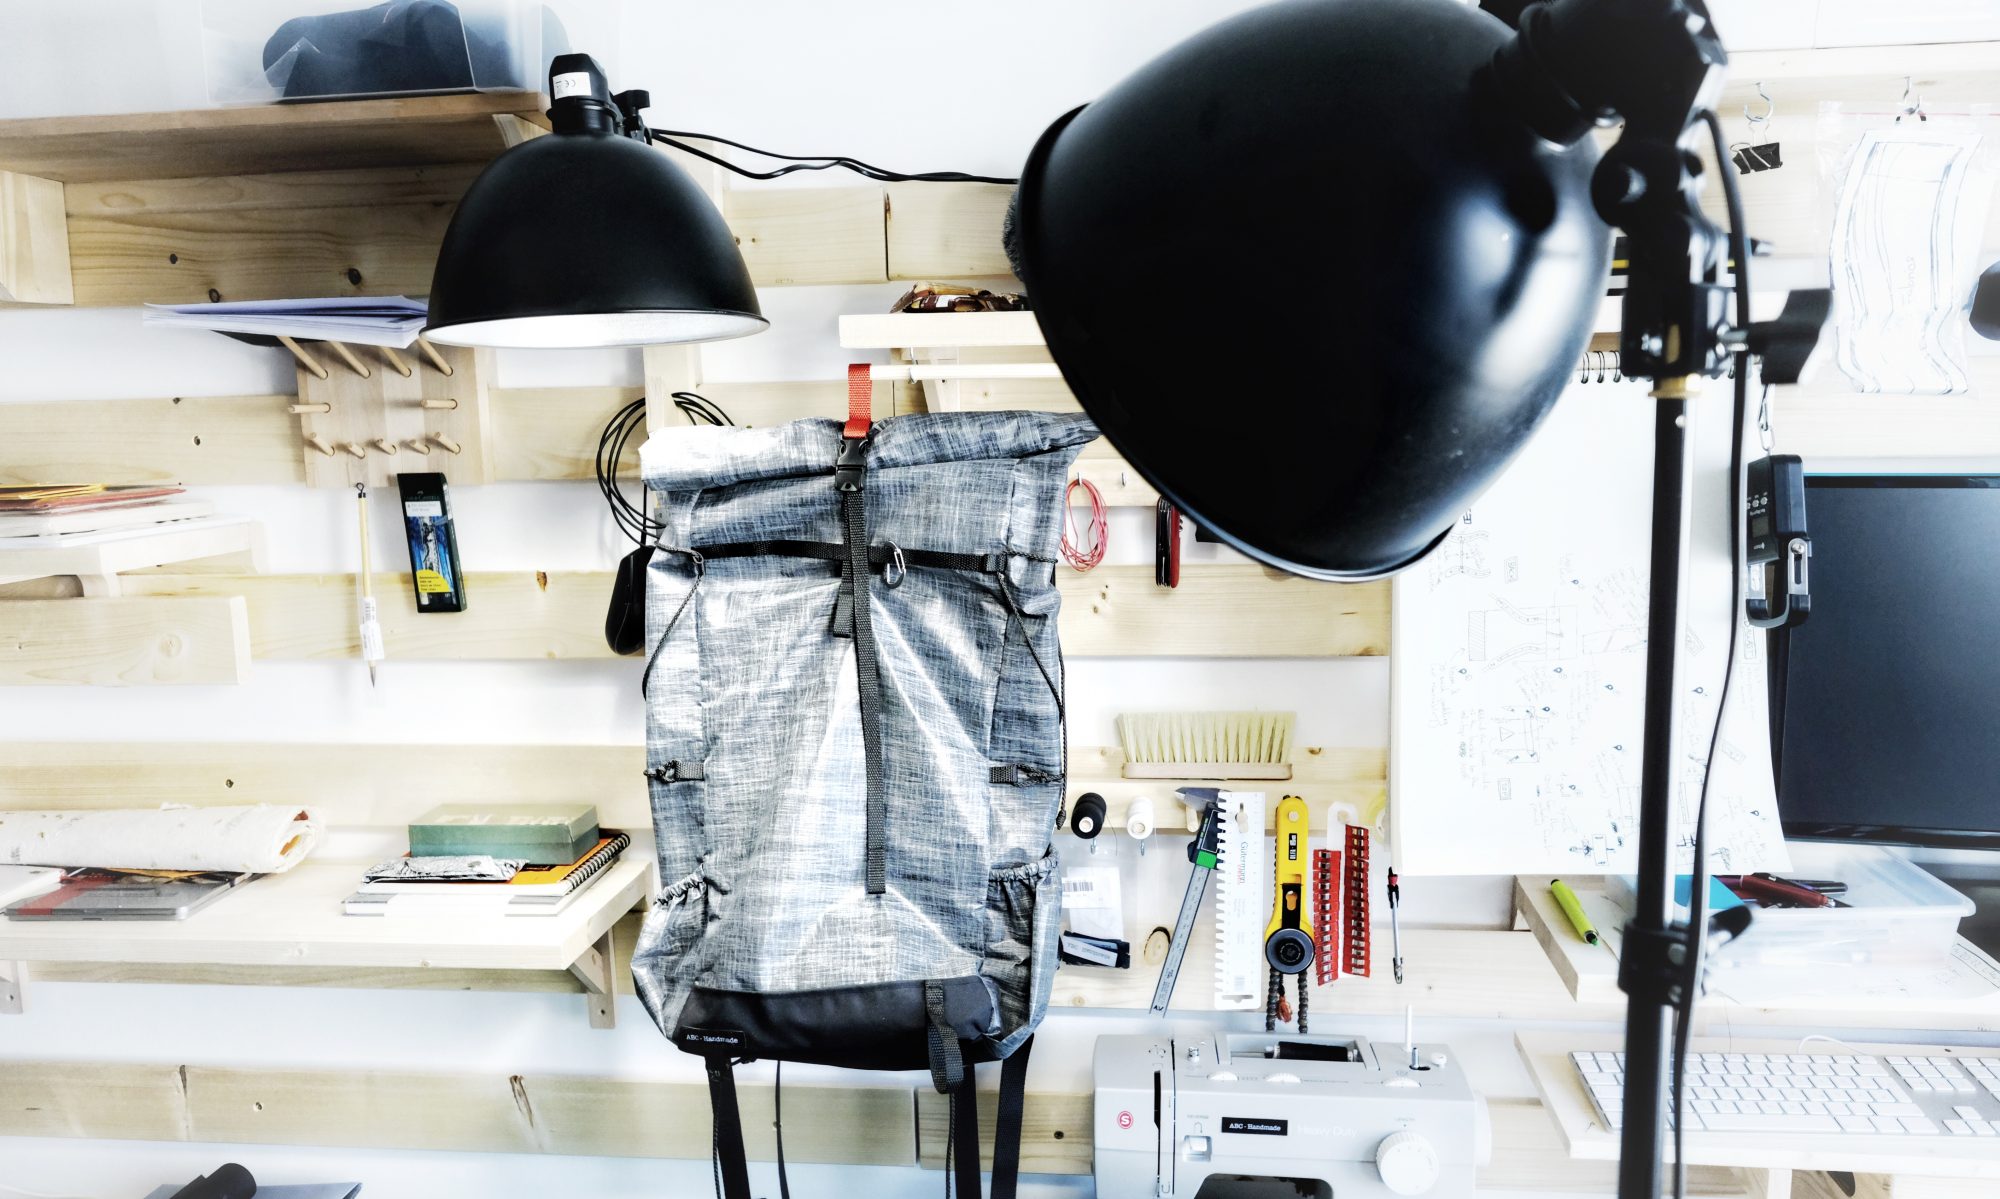
If – like me – you are staying at home in these uncertain times, keeping busy is a necessity and healthy practice. Since I am looking for some practice project and I need a new laptop bag, I figured I’d put 2 and 2 together and make just that.
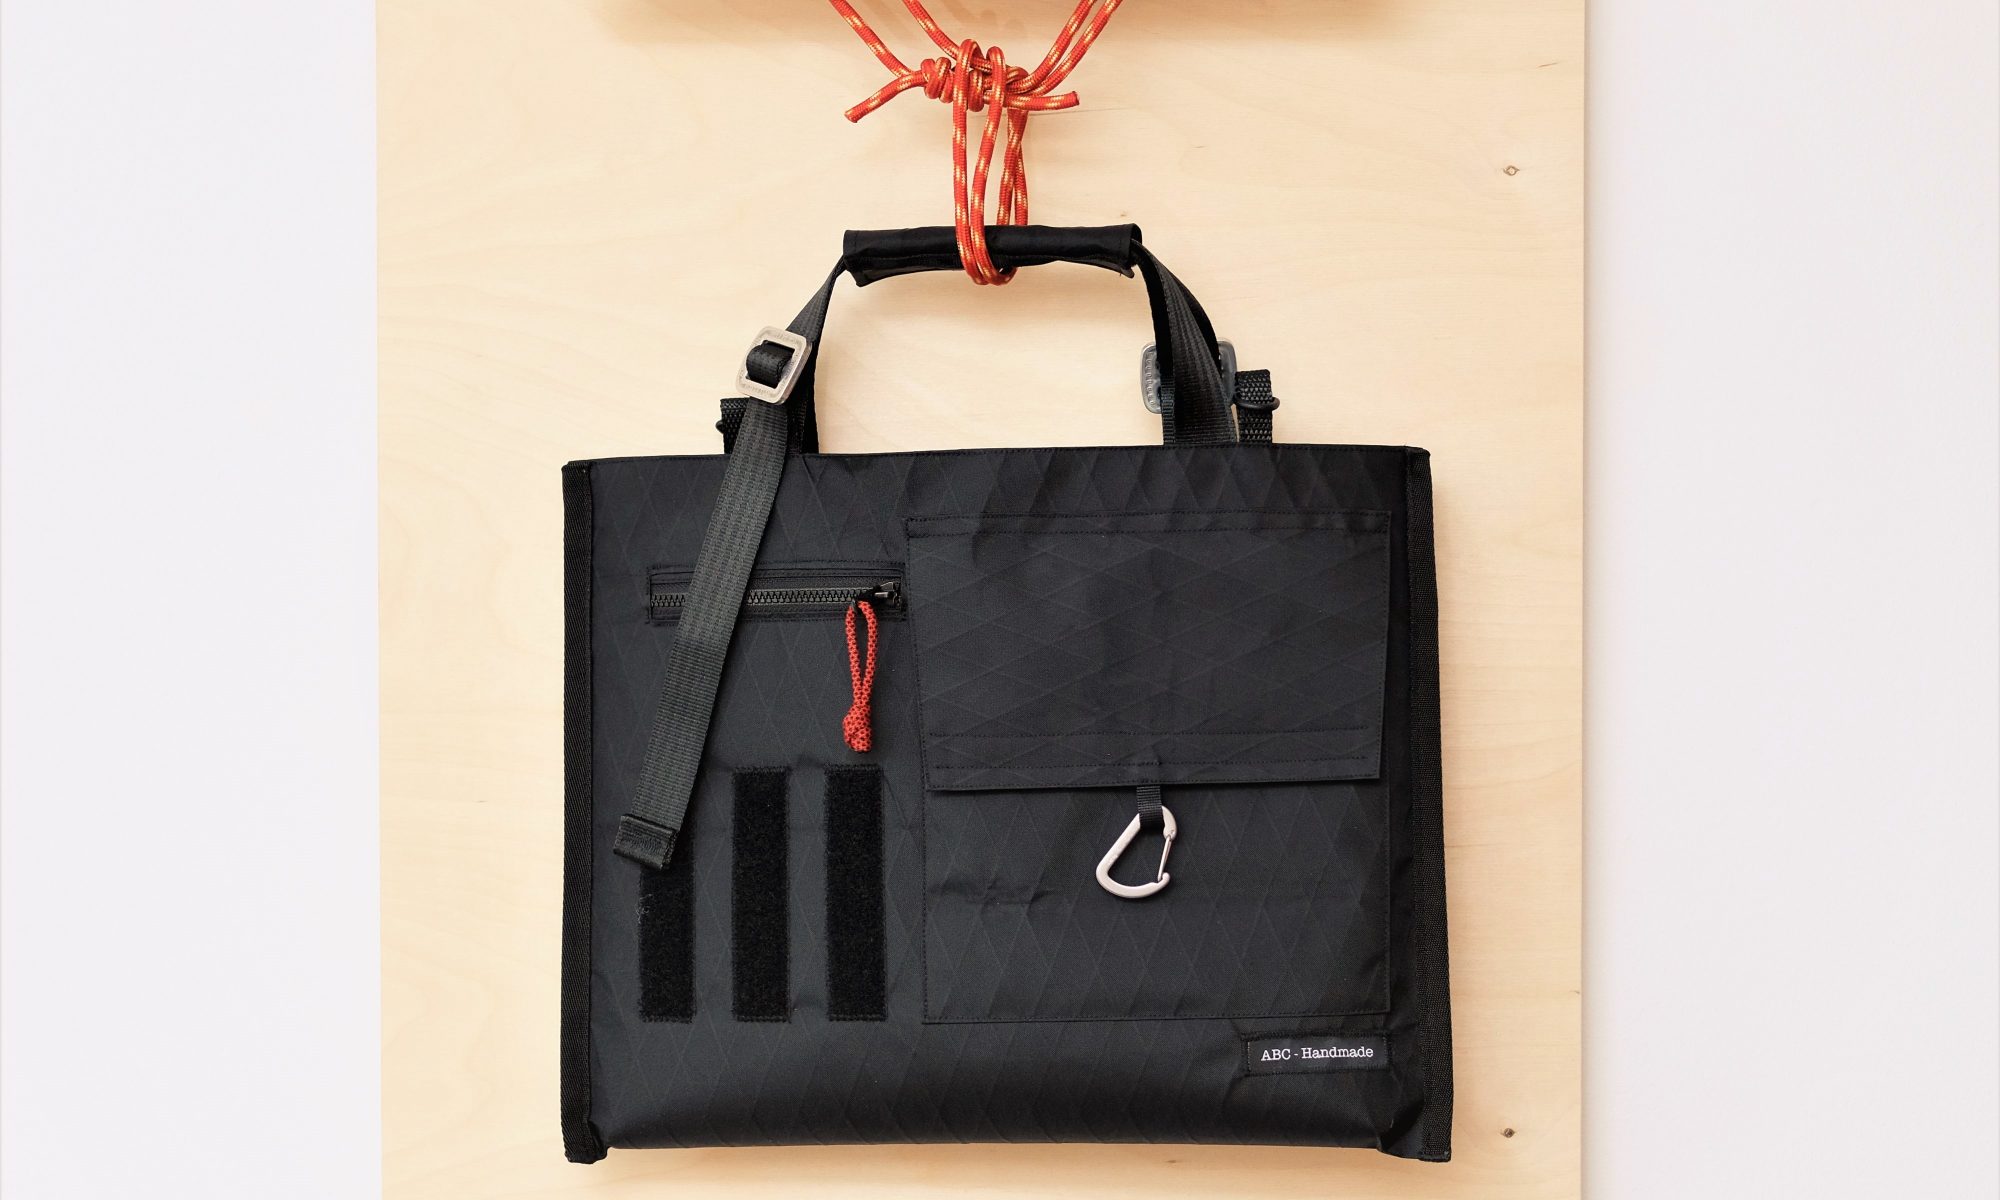
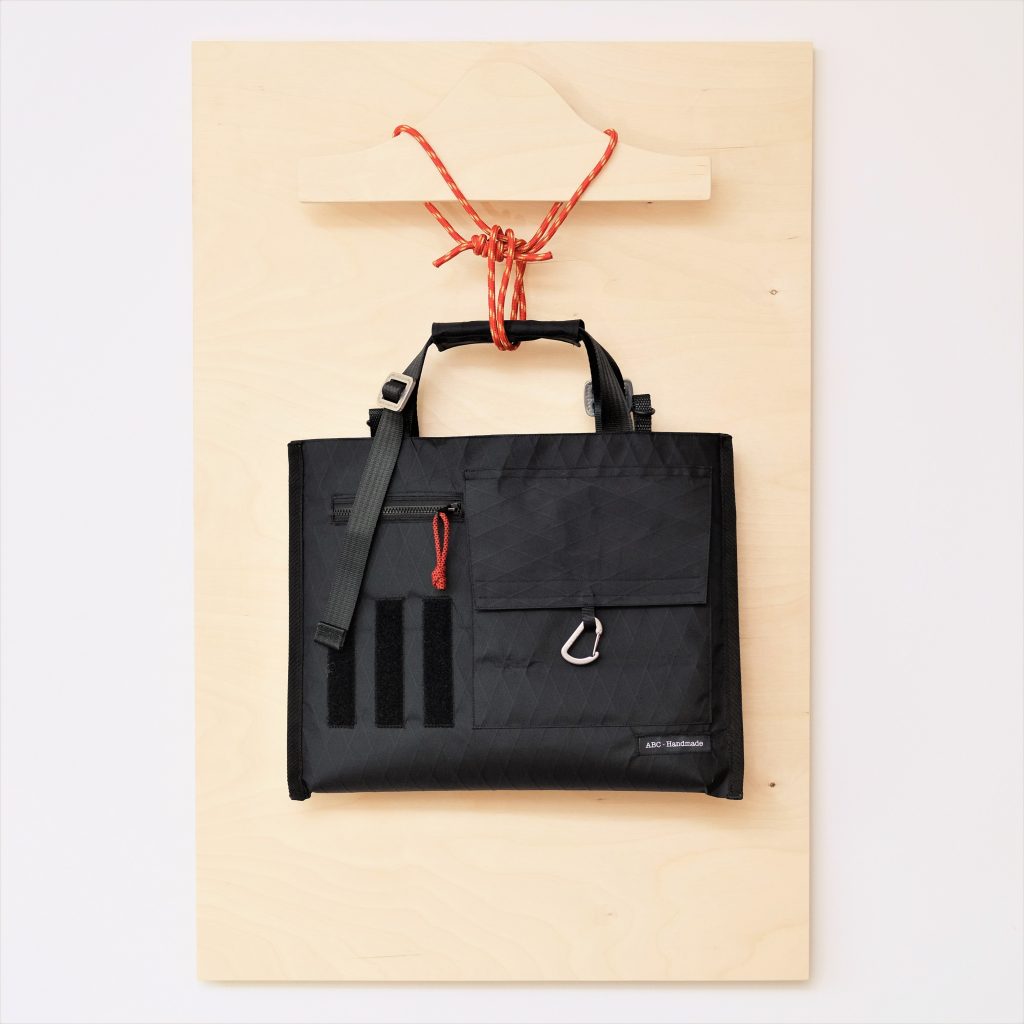
I have a 13in laptop, so I went for the smallest laptop bag I can fit it in. What do you think?
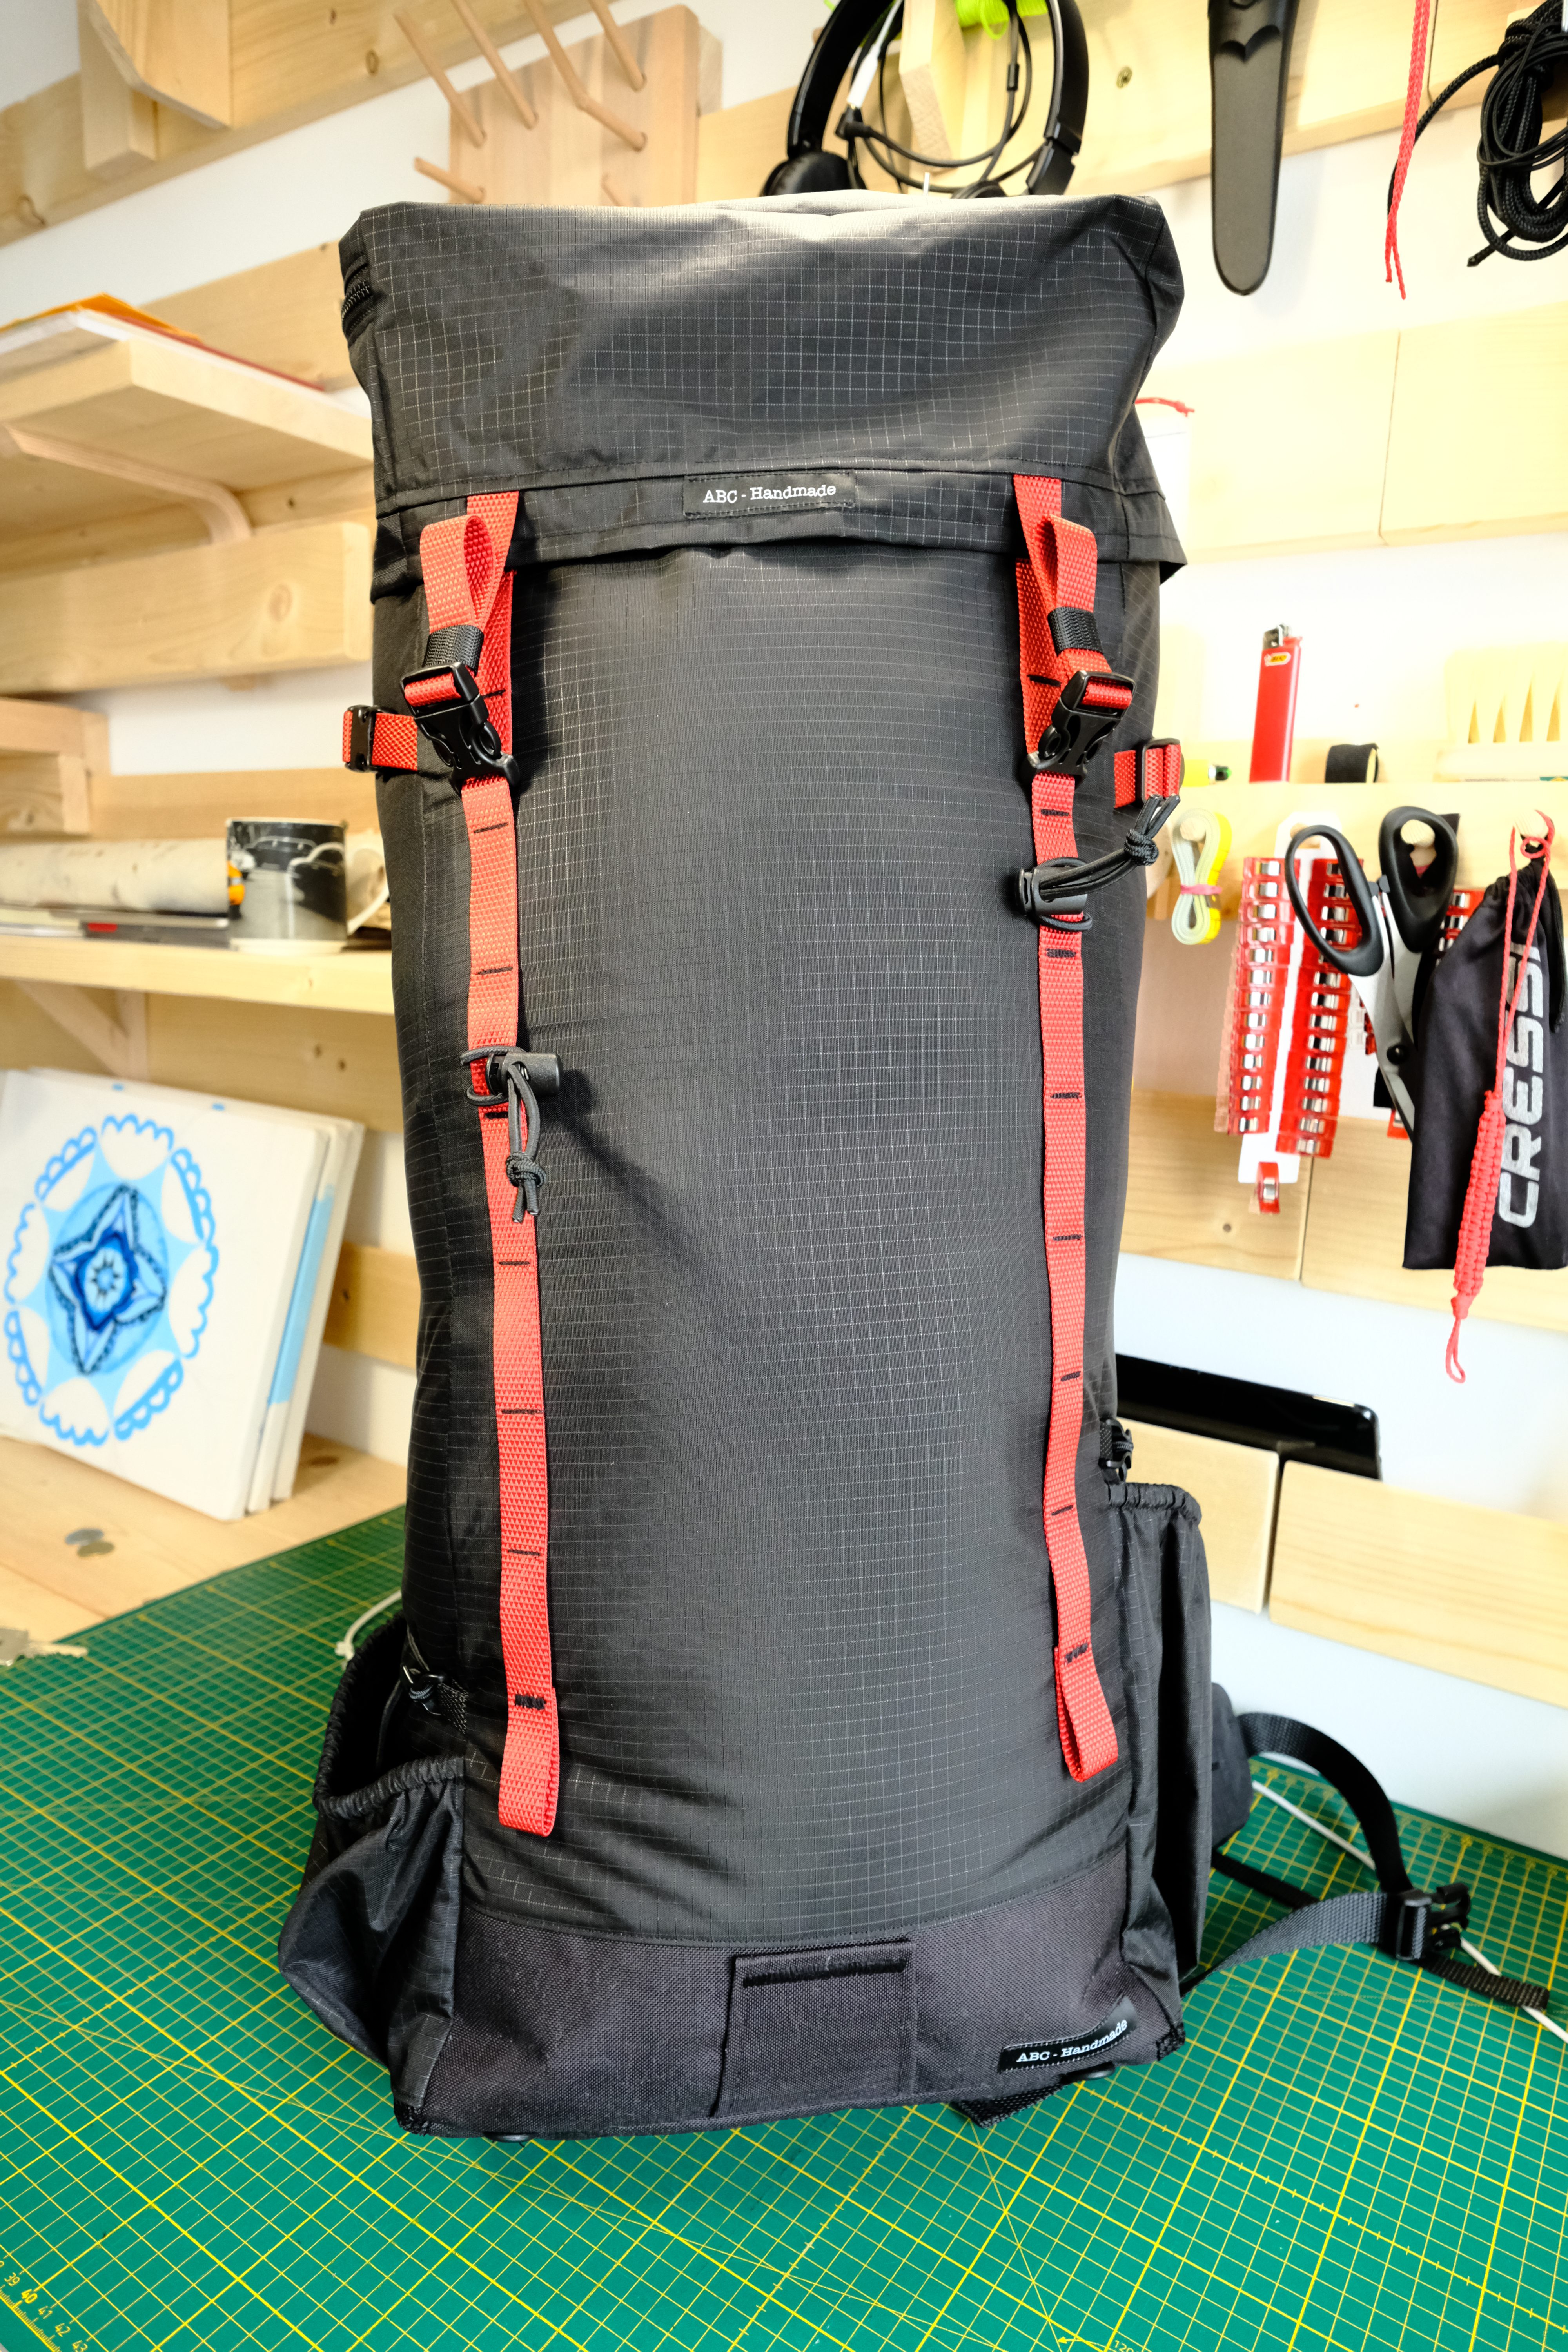
I have already covered all of the techniques I used to build the Winter Pack in other posts so I will not dwell on the details too much. The pack is relatively simple in terms of features, it has an almost vertical daisy chain, a side zipper pocket, a roll-top closure and a padded back. Plus some quality of life details.
For most of my builds, I design the front (1) and back (2) panels first, then I sew on the side panels (3, 4) to the front panel. The last pieces of the puzzle are to set the height of the roll-top with multiple parts if required, and only after that do I sew on a wide panel for the roll-top across the 3 front and side sawn panels.
Representation of the cut panels (not to scale)
The bottom panel itself is more often than not the last thing I put together, and stitch it to the front and side panels before finishing the pack by attaching the completed back panel (2,5,6).
I wanted a decent back padding for this pack since I might have to carry pointy or uncompressible gear (water bottles, alcohol stove) and not a lot of temporary padding. I went for an inversed T-shaped pad with 8mm closed cell foam topped with 3D mesh. All directly sewed on the back panel to keep every light and water resistant. To avoid wasting a lot of mesh, I decided to stitch two parts together with a flat-felled seam. The foam itself ended up being a three parts piece.
To secure the shoulder straps, I usually embed the ends in between separate panels (2, 5). I also use the same technique to add the load-lifters and the roll-top compression strap (2,5,6). The smaller pieces of the back panel will define the height of the last roll-top piece (7).
The shoulder straps are just my usual design, with an outer shell out of Cordura and 3D mesh inside. I always add daisy chains to to the full length of the shoulder straps to attach the chest strap, or smaller equipment. For this build, I went with ladder-lock buckles instead of Lineloc buckles since weight was not a huge concern.
There isn’t much else to talk about really. The front panel is very lean, with just the daisy chain attached to the main fabric without reinforcements (if the daisy chain was planned to attach heavy equipment, I would back the VX07 fabric to avoid future tear outs.
The pocket itself is just a flat pocket sewn onto on side panel. Since I am right handed, the most logical side to put the pocket on was on the right side (when wearing the pack) so I can slide the bag on one shoulder and access the pocket while walking.
That’s it! I did not cover the side compression straps since there is really nothing special about it. Enjoy!
I thought I’d make something nice for myself and since I wanted a functional day pack for winter hiking, I went right ahead and built one. What’s so special about a winter pack might you ask? Well, I might need to carry warmer layers although not necessarily wearing them so that’s a bag that can hold its volume. I like to hang gloves off of the exterior of the pack so I’ll need something for that. I would often carry a hiking pole (sometimes two) so attachments are a must. If it’s a warm day and I do not have much to carry, I would prefer a pack that can be compressed down to a low profile. I’ll need a simple hip belt if I’m scurrying through some annoying terrain and don’t want the pack to move around. And… that’s it. More of less. Ah yes, and I want some quick access pocket so I can grab a snack on the way to the top. So I made that!
There you have it, my perfect winter pack. Here are more pictures, I wouldn’t want you to have too much to read before getting to the good stuff.
In the end, the bag volume can almost pretty much double if I loosen the compression strap and use some of the additional volume the the roll-top offers. I don’t have great pictures of this, but the following snapshots should help see the difference between the compressed and non-compressed volumes. The roll-top can be extended some more to really double the volume.
In the last post I shared a few words about one of the best challenges you can try on the cheap. All you really need is an old (or new) Ikea shopping bag (the Frakta), your scrap bin, and a sewing station. The following pictures are the result of the challenge. What do you think?
Since this whole thing was “just for the fun of it”, I though I’d use the opportunity to snap a different kind of pictures for once, so I convinced Mrs. ABC and our dog to help me spice things up. Bonus: I can now prove that I build real-size bags, and not just miniatures.
Unfortunately, I did not take a lot of pictures of the pack while I was in the workshop. I was in a bit of a rush, and then I gave the bag away to the friend who challenged me. So what you see is what I got.
In the same vain as the Cotton experiments, I thought I’d also expend the fabric tryouts to the good’ol Ikea Frakta bag, which costs a literal 1€. What started as a joke ended up being the real deal: A friend of mine and fellow maker/hiker challenged me to make a decent looking bag with just one single Frakta bag.
Since the challenge was still to build something nice, we also agreed that we could use small recycled bits and pieces and small components, as long as we can keep the overall cost of the material below a few euros. I settled on adding some recycled webbing in a couple of places, and use a scarp piece of light Cordura to reinforce the bottom just for convenience.
In the end, I re-used a few things from previous prototypes and deceased bags to make sure I keep the “bill of material” cost under the price of coffee on the French Riviera. ☕ In the end, it came down to a relatively short and definitely cheap material list.
Item
Quantity
Price (total)
Ikea Frakta shopping bag
1
0.99€
Upcycled 10mm Polyester webbing
50cm
0€
Remant 15mm Strong Polyester webbing
60cm
1€
Reused Lineloc tensioners
2
0€
12mm D-Rings (0.30€ each)
2
0.60€
Reused 3mm Cord
1m
0€
Scrap Uncoated Cordura
0.04m²
0€
Scrap Hook & Loop Tape (Velcro)
25cm
0€
Grand Total:
2.59€
Call me cheap, but it’s worth every penny.
Now that I am done with it, I think this is a fantastic challenge. Every pack maker should try this at least once no matter how long they’ve been making things for. It forces you practice a couple of important steps in pack making:
Properly rip the seams of the Frakta to avoid loosing precious material
Work around resource limitations.
Recycle stuff you’ve been piling up.
Optimize the design to into a small canvas.
Think about the stitch type and size based on the canvas properties.
Align a patterned canvas parts properly (to avoid crooked looks)
I wouldn’t spoil the the final result just yet since I will upload a few pictures of the final pack in no time, but suffice to say, it looks great ! Better than I thought even!
So after spending the last years building packs with mostly mid to high-end technical fabrics, I figured I should try something else. Plus, I’ve received so many requests for creating and selling less-technical packs – mostly city day packs or business packs – that I figured I should give that a try. If that’s a success, the next step would be finding nice printed cotton fabrics to make more of these. Ethically sourced would be great, but it’s hard to find in such low quantities!
So I settled for some cheap heavy-duty 100% cotton canvas, usually used for outdoor tents (garden variety tents) weighing at 350g/sqm. We’re far from the ultralight category, but that’s the whole point.
A few custom designs in the same vain.
Working with this super inexpensive cotton canvas is fantastic for prototyping on the cheap. I really like the feel of the end product, and I haven’t even spent much efforts making it look nice. The third attempt is by far the nicest finish as it is fully lined with the same canvas as the outside, and a dedicate 13″ laptop ‘pocket’.
And the third attempt looks decent.
One of my goals was using the absolute minimum count of raw materials, that is, find as much use for a single material as possible, so that these are easy to source, and cheaper to order because of the ‘higher’ volume. So I use the same canvas for making a bunch of the straps, lining, pockets, loops etc… I did use a nicer 30 mm cotton webbing for the satchels’ straps because I liked it, but I could use the canvas for that as well, like I did for the day pack. Apart from that, some metal D-rings and some fancier aluminum buckles which could be simple D-rings if need be.
One huge take-away from using a woven canvas is how much it frays compared to coated canvas or laminated fabrics. So much so that, so far, there would have been no way not to keep the edges bound without hemming them. I’ve used both folded grosgrain ribbon or a more simple blind hem stitch to that end.
On the plus side, building one of these models is a lot less time-consuming, as the complexity is probably half of what I usually build. Last but not least, I found some funny sew-on patches on aliexpress, and I’ll definitely order some of them again when I run out.
The Ballast pack is designed for the lightweight multi-day hiker/trekker. Designed to shave off unnecessary weight, but still keeping a sturdy construction, reinforcing area prone to wear, and providing proper gear attachments and a removable top lid.
This pack’s main compartment offer approximately 35L for your main load, and the two side pockets offer in excess of 2 liters for quick access items like water, rain gear and so on. Additionally, the removable top lid offers in excess of 3L of sealed volume secures with a strong zipper on the side.
Amongst other attachments, the packs offers two vertical daisy chains on the front panel which can be laced with shock cord if need be, one trekking pole attachment with quick release on a side panel, a dual ice axe loop on the front, and an extra strong set of daisy chains and D-rings on the bottom for securing tents, sleeping pads, or anything you’d like.
For padding, the back panel has an embedded (non-removable) full-length 4mm closed cell foam pad, with an additional 4mm CCF band and 3D mesh on the hip. The shoulder straps take a minimalist approach to 4mm closed-cell foam and 3D mesh, but will work well for loads up to 8kg.
And since you’re probably interested in some specs, here you go!
Volume
35+5L
Dimensions
80x28x18cm (roll-top closed, without lid)
Weight
typ. 500g (no lid) max. 600g
Carries
comfy. 8kg max. 10kg
Fabrics
Dyneema/Nylon Ripstop (black on black), 1000D Cordura
Closure
Roll-top + Velcro Quick Release Top Lid (removable)
Strap padding
4mm CCF padding + 3D Mesh
Hip Belt
4mm CCF padding + 3D Mesh padding on the hips 25mm strap with 2-sided quick release buckle
Pockets
2+1 (one on each side, different heights, inverted inclination + top lid zipper pouch)
Attachements
– Vertical daisy chains (x2) on the front panel for gear or shock cord – Gear loops on the front panel (4x on each end of the daisy chains) – Compression strap with quick-release (x1) and with ladder lock (x1) – Strong Shock cords with LineLoc to secure side pockets content. – Daisy chains (x2) on bottom, with D-rings (x4) – Daisy chain on each shoulder strap – Loop inside for a water bladder – Top lead attachment can be converted to straps.