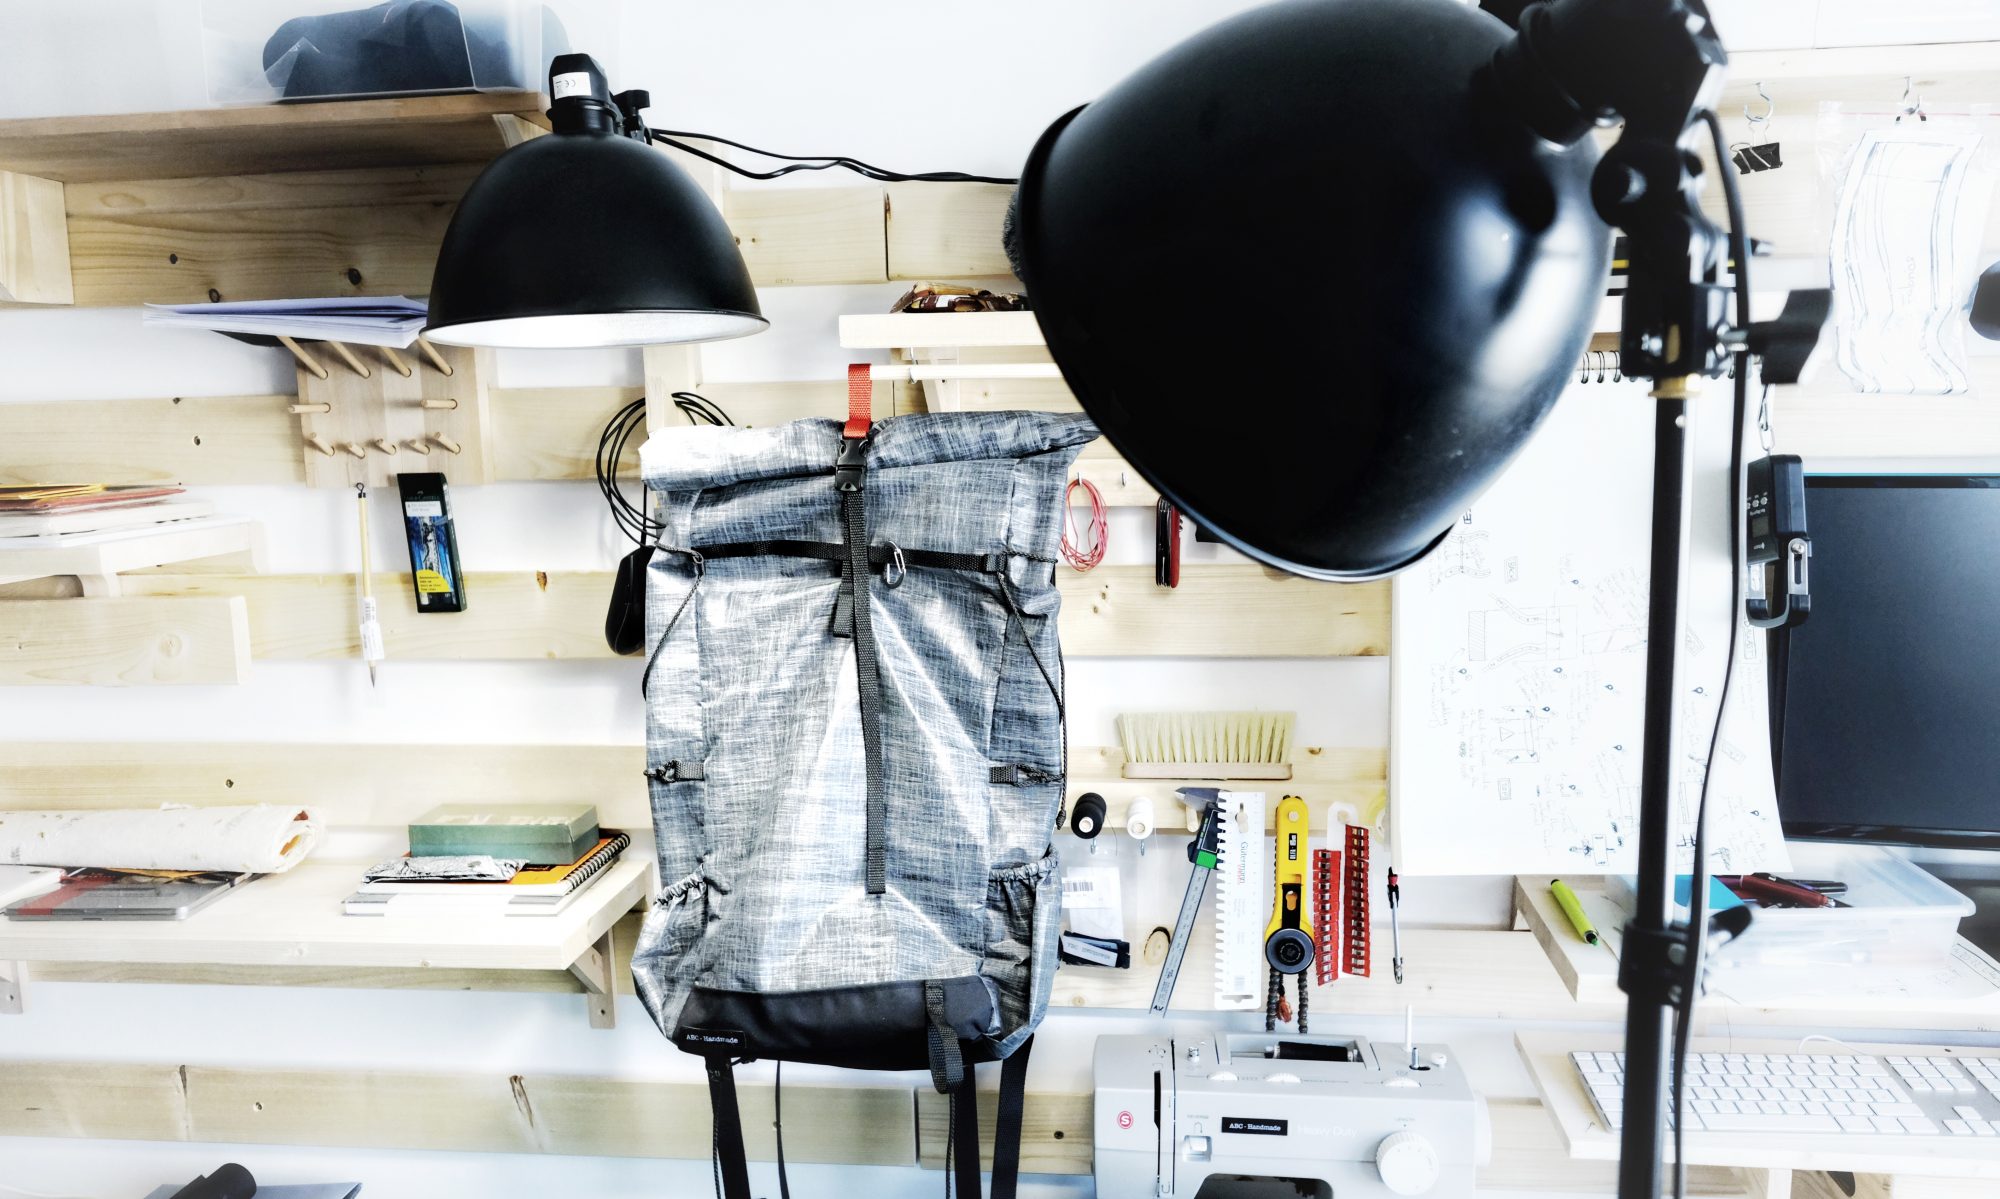
The complexity of your work will gradually increase as you build up confidence and skills. When that time comes, you will need to temporarily mark your fabrics and no longer just marking seams and cut lines where no-one will see the permanent marker’s strokes.
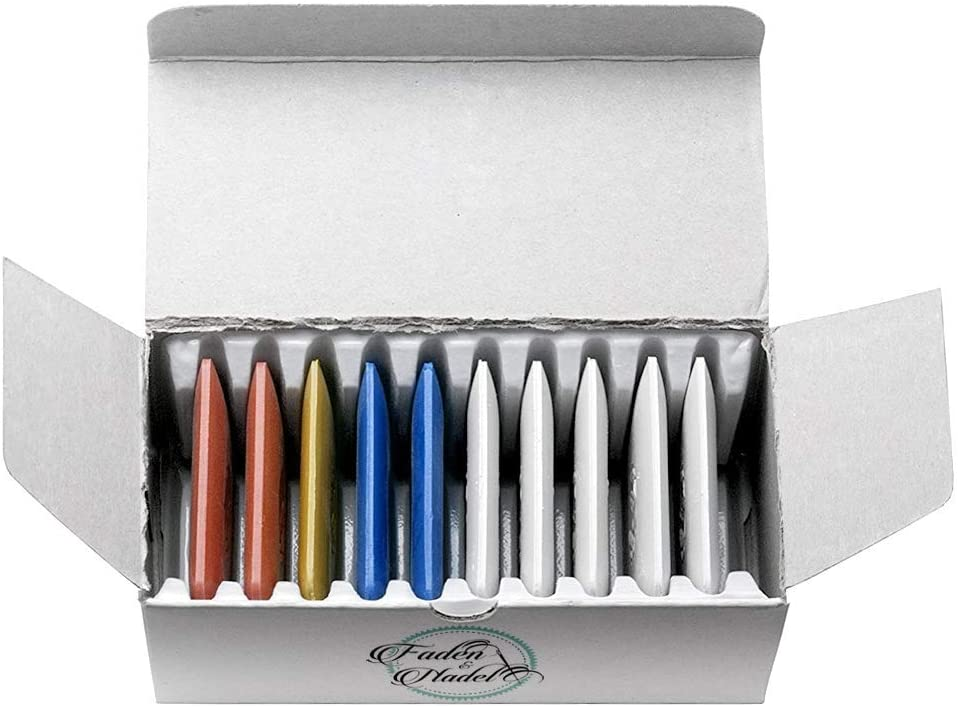
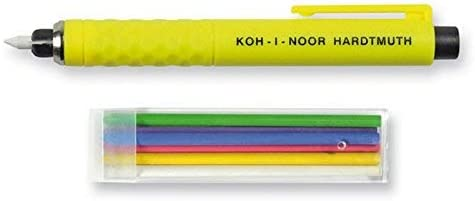
I find that even on high-tech fabrics, the most versatile and reliable method to mark temporary guides and lines is chalk. I use a combination of a Tailor’s chalk pen and 4.5x3cm Tailor chalk rectangles in an assortment of colours to be able to always have contrasting markings on any colour fabric. On full set will probably last you forever if you are a casual builder like me.
You will want to precisely mark your webbing and draw lines and patterns on a lot of your materials to help with alignment, folds, assembly orders, and many other writings but also want to be able to easily wash it off when the build is complete.
This post contains Amazon affiliate links. I receive a small commission if you use these links to purchase something at no additional cost to you. Thank you for the support!
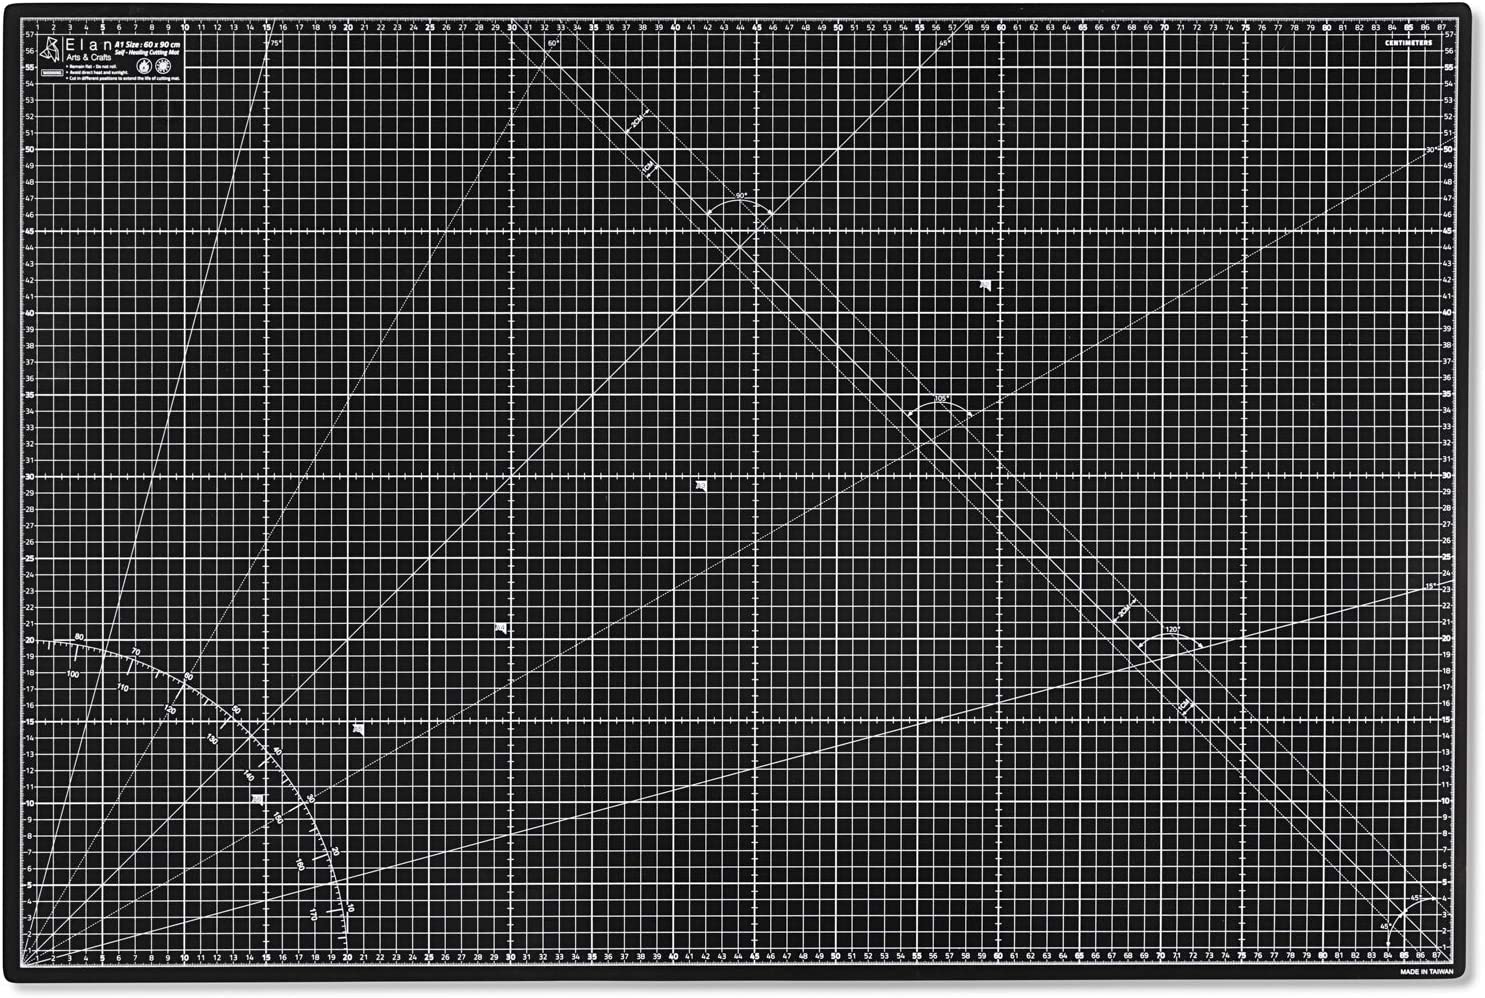
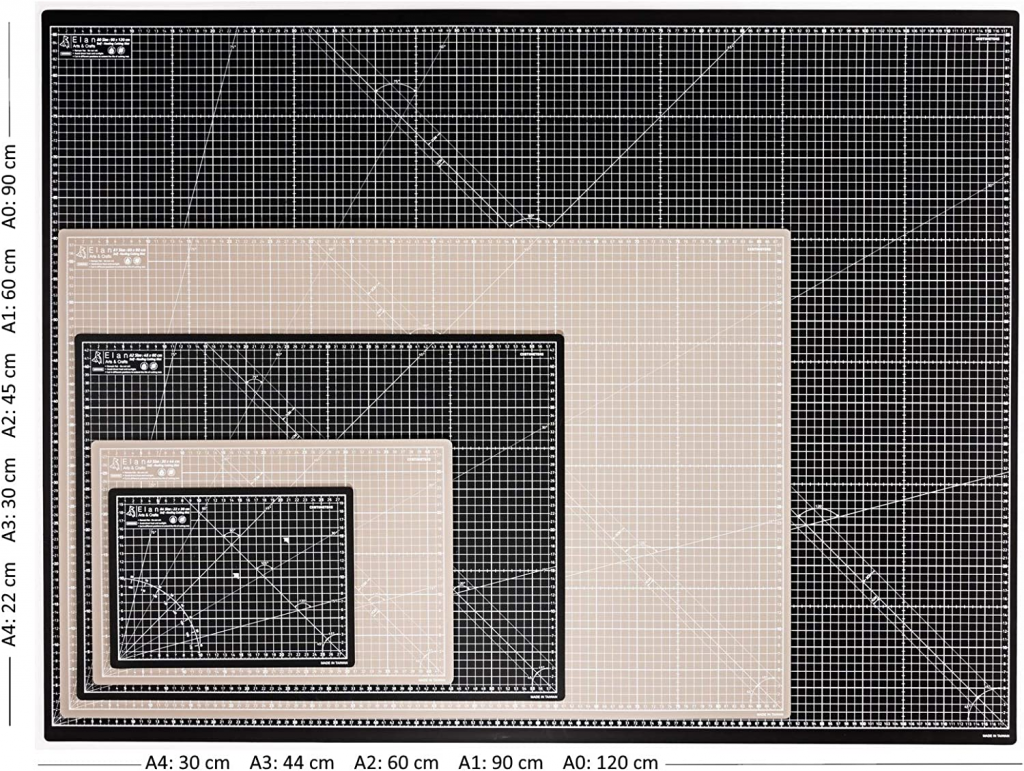
Since I mentioned the rotary cutter being an absolute necessity in another post, it goes without saying that you will need a cutting mat. There are outrageously cheap ones out there, and then there are better ones. They will all let you cut what you need, but I have found that, over the years, the printed patterns and accuracy of the mat’s design matter for quick prototyping and for repetitive work.
I use the mat to measure webbing to length, to gauge dimensions by eye. I use it as a reference for straight 90° cuts, and so much more than just a self-healing cutting surface. So I would recommend a high contrast, clear pattern such as this black Elan A1 Cutting Mat with both a 1×1cm and 5×5cm grid (different line width) and a couple of useful angles and other markings that will just speed things up.
For making backpacks, anything smaller than A1 will make your work much slower, but you need to make sure this fits on your desk or table.
This post contains Amazon affiliate links. I receive a small commission if you use these links to purchase something at no additional cost to you. Thank you for the support!
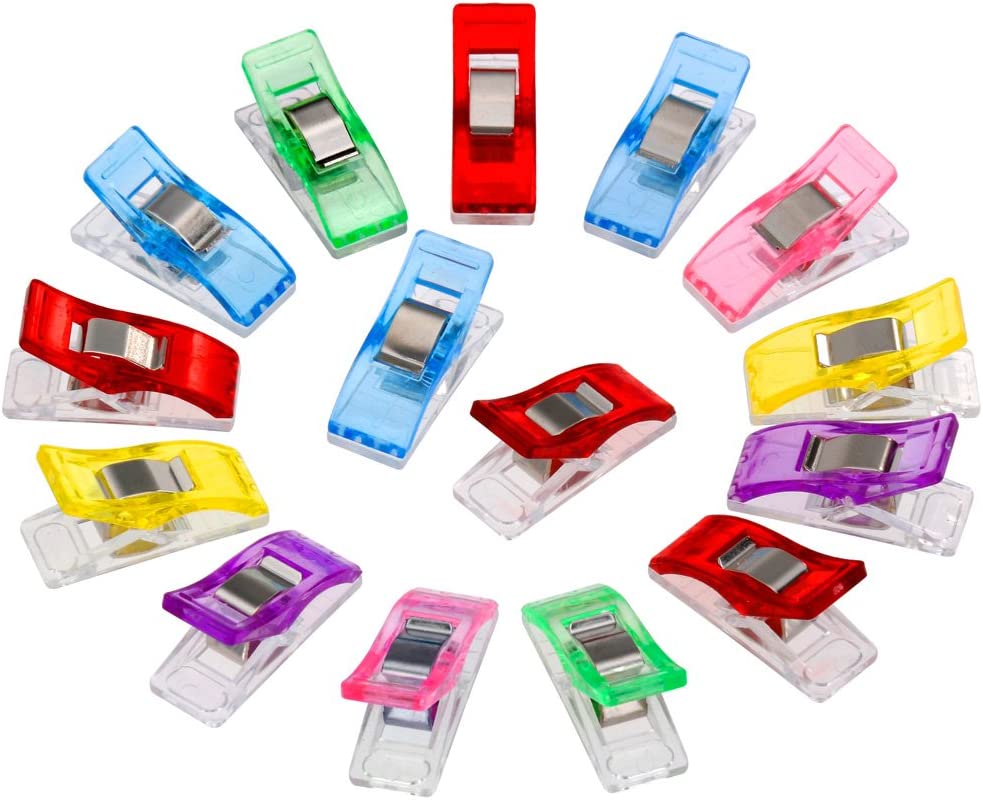
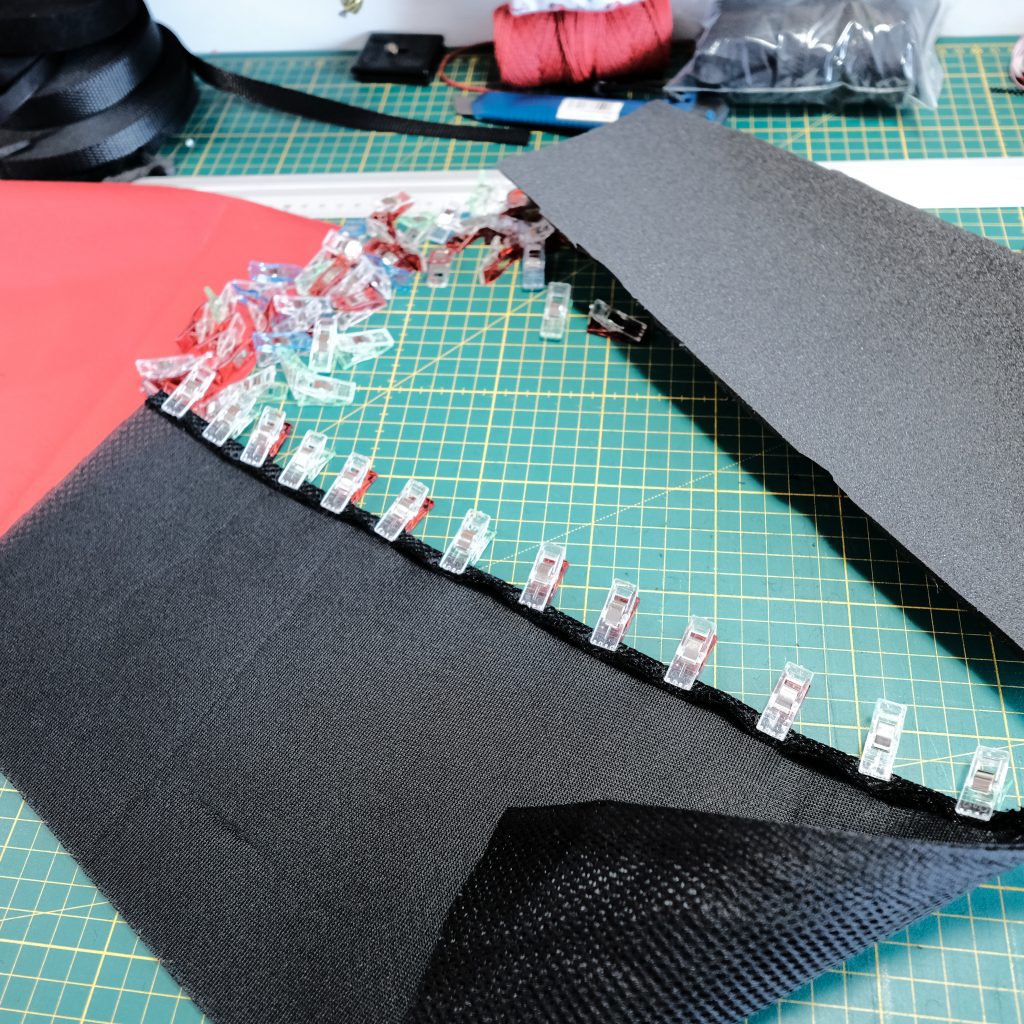
Whether you need to hold a piece of webbing in place, or just dry-assemble a couple of panels together to get a sense of the look and feel of your creation before stitching every into its final position, you will need small plastic clips. I have more than 100 of these, and I have ran out of clips more than once.
You don’t need anything too big, and clips 2 to 3 cm long are in my opinion the best compromise between strength and ease of use.
This post contains Amazon affiliate links. I receive a small commission if you use these links to purchase something at no additional cost to you. Thank you for the support!
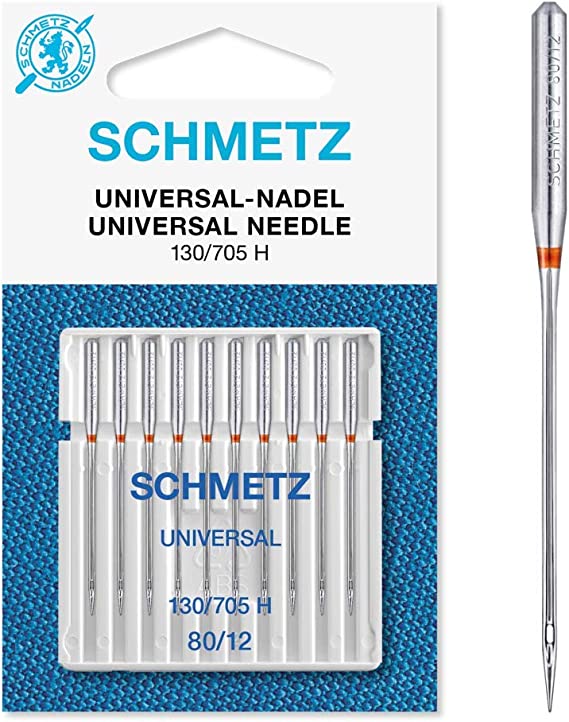
If you are starting, the choice of needles is probably overwhelming at the beginning. The choice of needle should be based on the type of fabric and the thread you plan on using. I use a high quality polyester thread made in germany (Alterfil S100) and I mostly alternate between universal 80/12 and universal 100/16 needles from Schmetz. I only stock up on these which makes having enough spares for a project a certainty. You will need more 80s than 100s since they bend and/or break more easily.
If you only want to order a few needles to start with and find what’s working for you, an assorted needle set is always a good option so you get to build up your own experience but you will probably will end up with two or three sizes that will really work for you and for your work.
I have already covered all of the techniques I used to build the Winter Pack in other posts so I will not dwell on the details too much. The pack is relatively simple in terms of features, it has an almost vertical daisy chain, a side zipper pocket, a roll-top closure and a padded back. Plus some quality of life details.
For most of my builds, I design the front (1) and back (2) panels first, then I sew on the side panels (3, 4) to the front panel. The last pieces of the puzzle are to set the height of the roll-top with multiple parts if required, and only after that do I sew on a wide panel for the roll-top across the 3 front and side sawn panels.
Representation of the cut panels (not to scale)
The bottom panel itself is more often than not the last thing I put together, and stitch it to the front and side panels before finishing the pack by attaching the completed back panel (2,5,6).
I wanted a decent back padding for this pack since I might have to carry pointy or uncompressible gear (water bottles, alcohol stove) and not a lot of temporary padding. I went for an inversed T-shaped pad with 8mm closed cell foam topped with 3D mesh. All directly sewed on the back panel to keep every light and water resistant. To avoid wasting a lot of mesh, I decided to stitch two parts together with a flat-felled seam. The foam itself ended up being a three parts piece.
To secure the shoulder straps, I usually embed the ends in between separate panels (2, 5). I also use the same technique to add the load-lifters and the roll-top compression strap (2,5,6). The smaller pieces of the back panel will define the height of the last roll-top piece (7).
The shoulder straps are just my usual design, with an outer shell out of Cordura and 3D mesh inside. I always add daisy chains to to the full length of the shoulder straps to attach the chest strap, or smaller equipment. For this build, I went with ladder-lock buckles instead of Lineloc buckles since weight was not a huge concern.
There isn’t much else to talk about really. The front panel is very lean, with just the daisy chain attached to the main fabric without reinforcements (if the daisy chain was planned to attach heavy equipment, I would back the VX07 fabric to avoid future tear outs.
The pocket itself is just a flat pocket sewn onto on side panel. Since I am right handed, the most logical side to put the pocket on was on the right side (when wearing the pack) so I can slide the bag on one shoulder and access the pocket while walking.
That’s it! I did not cover the side compression straps since there is really nothing special about it. Enjoy!