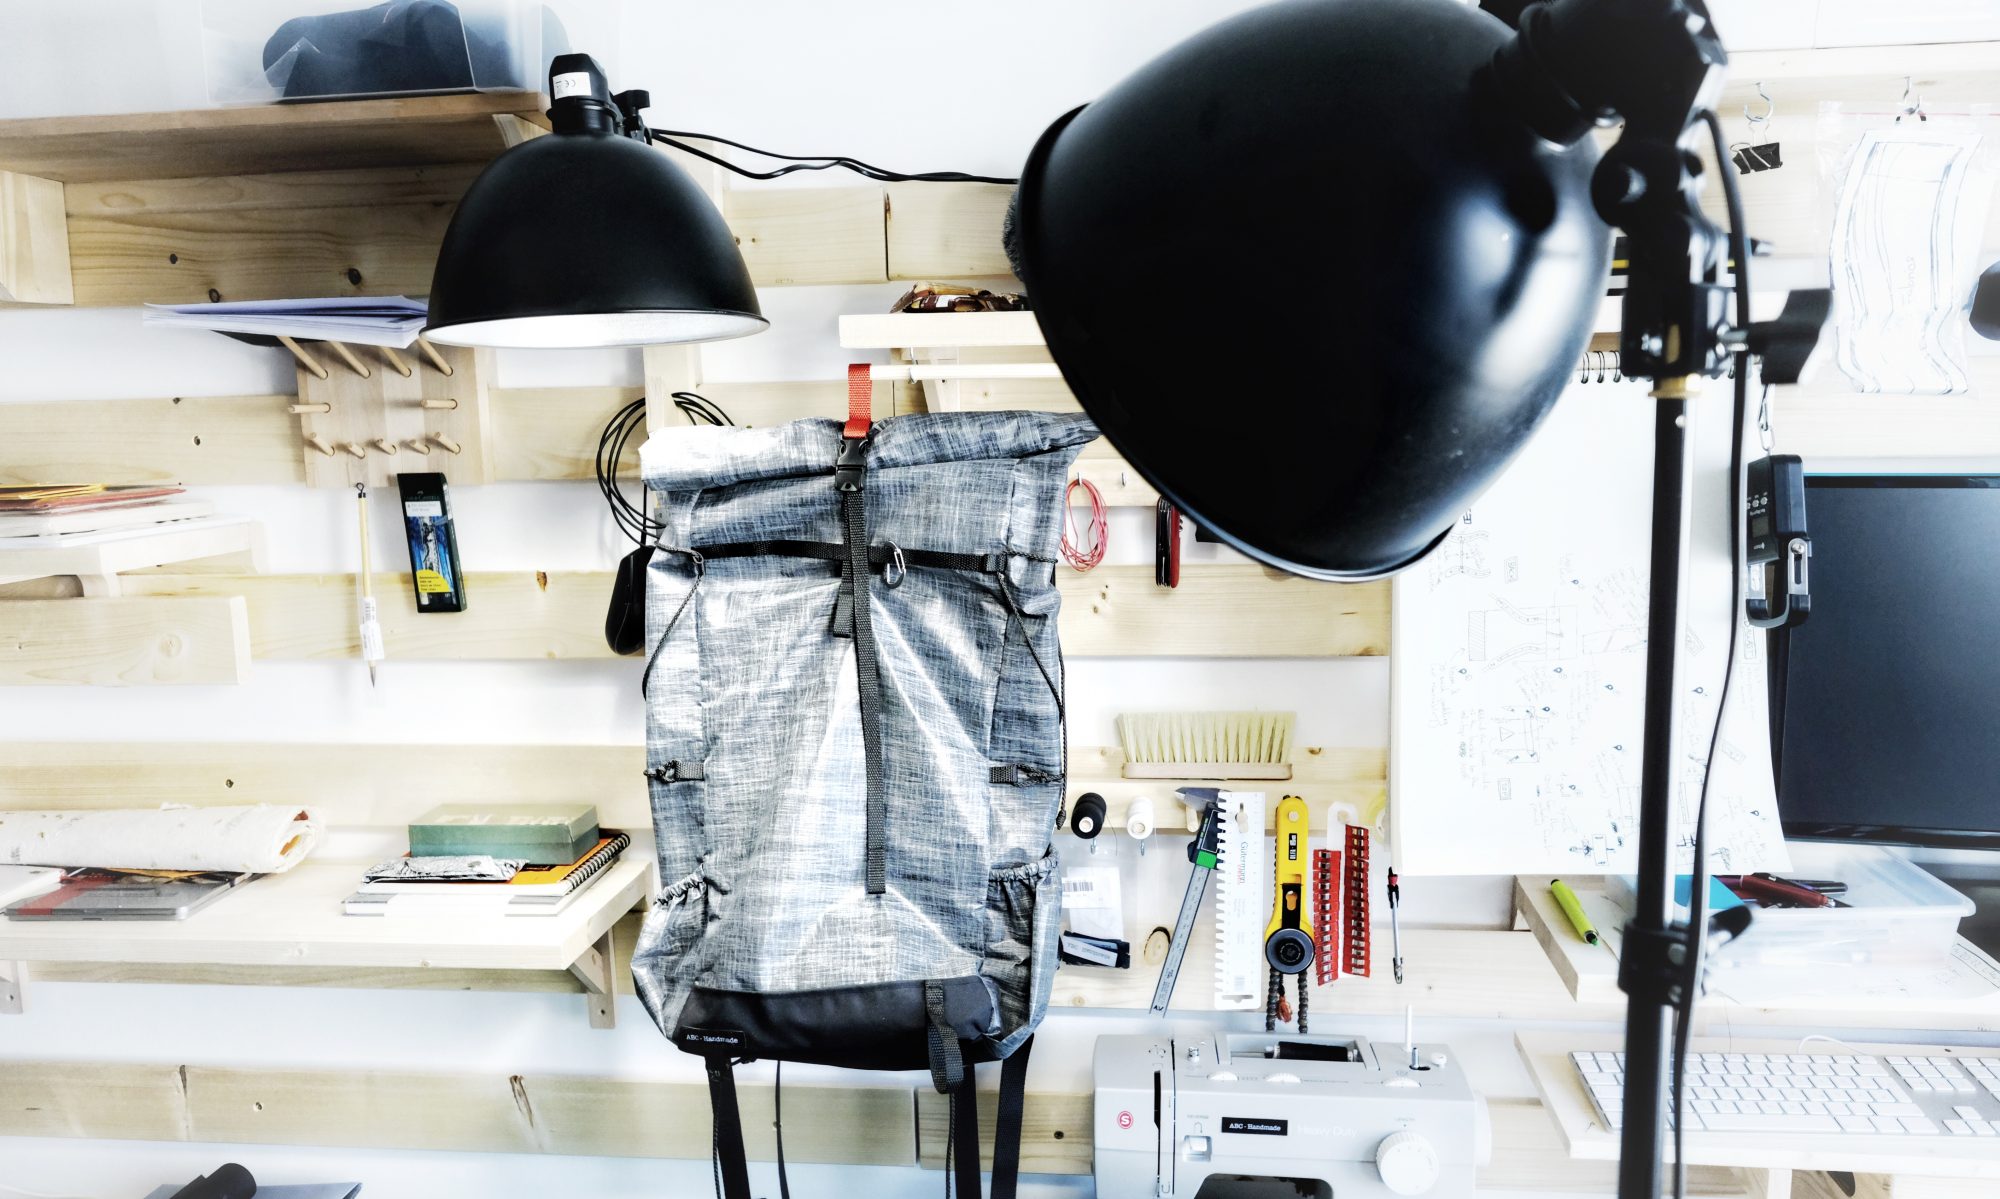
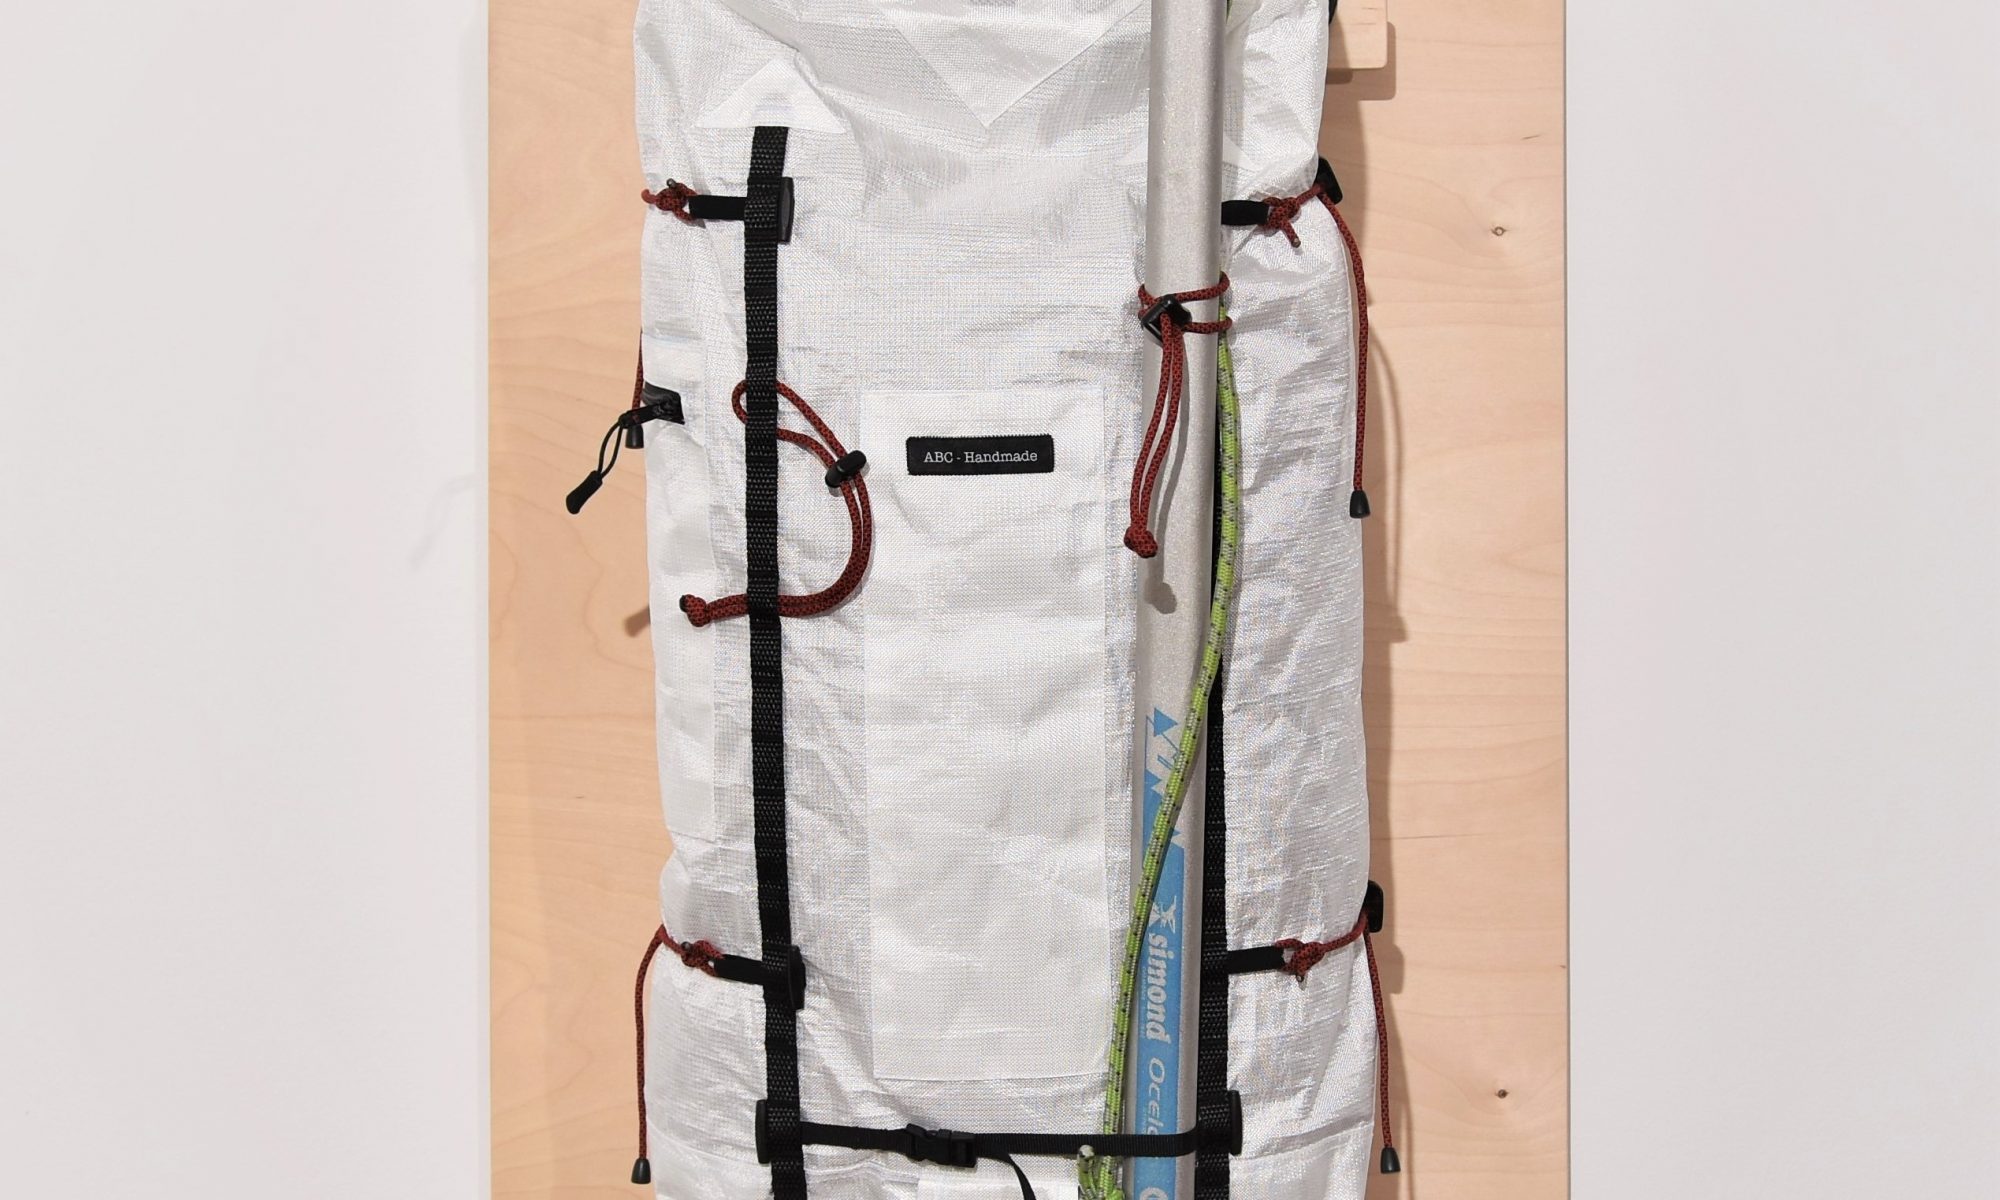
I’ve been thinking about making a specialised alpine pack for a long time now. There are a couple of considerations to take such as weight, abrasion resistance, equipment attachment points and all without impeding the wearer’s freedom of arm movements.
I’ll cover the reasoning and building process in more details in some future posts, but to achieve a decent ratio of weight to material strength, I selected a tough woven UHMWPE fabric (ultra high molecular weight polyethylene more popular name is Dyneema). These woven fabrics are extremely resistant to wear and tear. In the end, I settled for a relatively new fabric from Challenge Sailcloth called Ecopak Ultra EPL 400. The future will tell if this was the right choice, but after working with it, I like it a lot.
Since Alpine packs get more abuse than most bag – if you ever had to haul a pack up a wall, you know – I wanted to be able to remove most of the straps and cords in a pinch to replace them, or to be able to prevent snagging in more difficult conditions. I also reinforced the most exposed parts to prevent critical failures during an expedition.
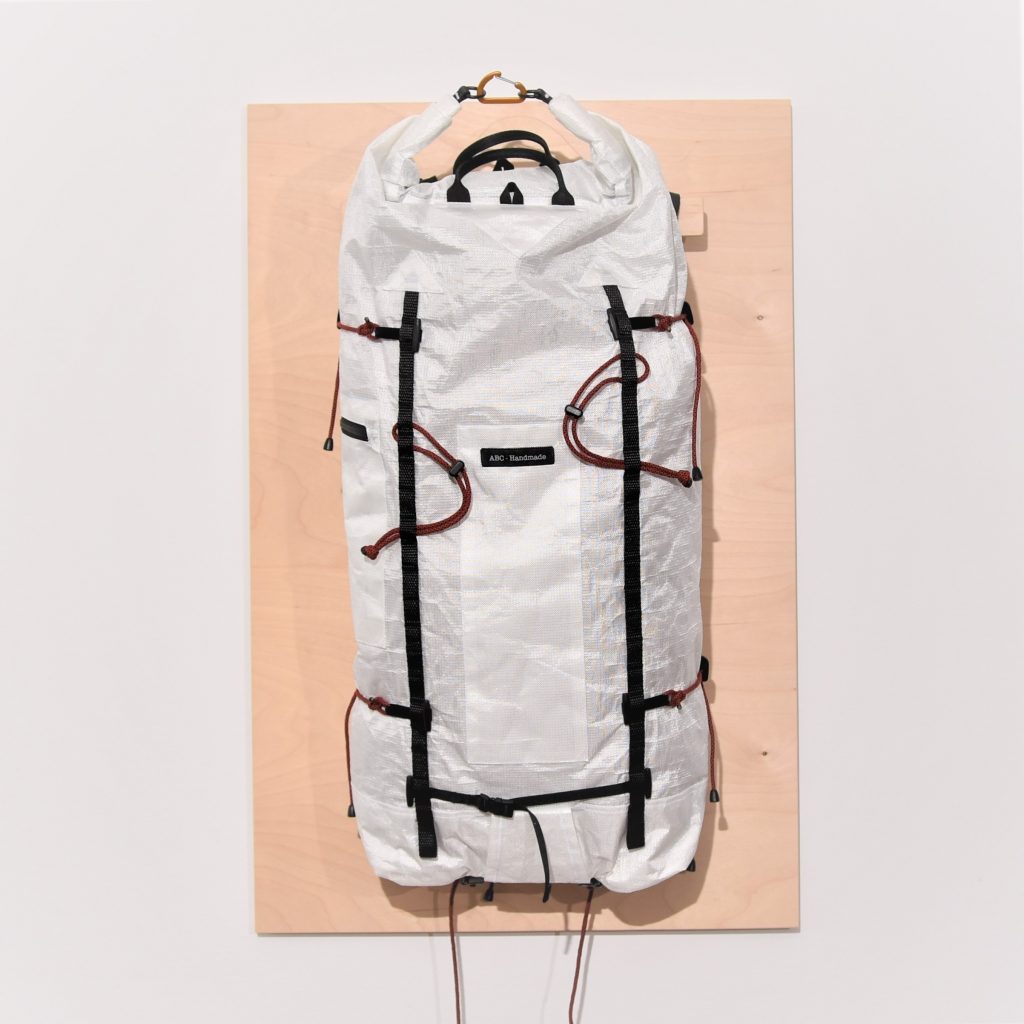
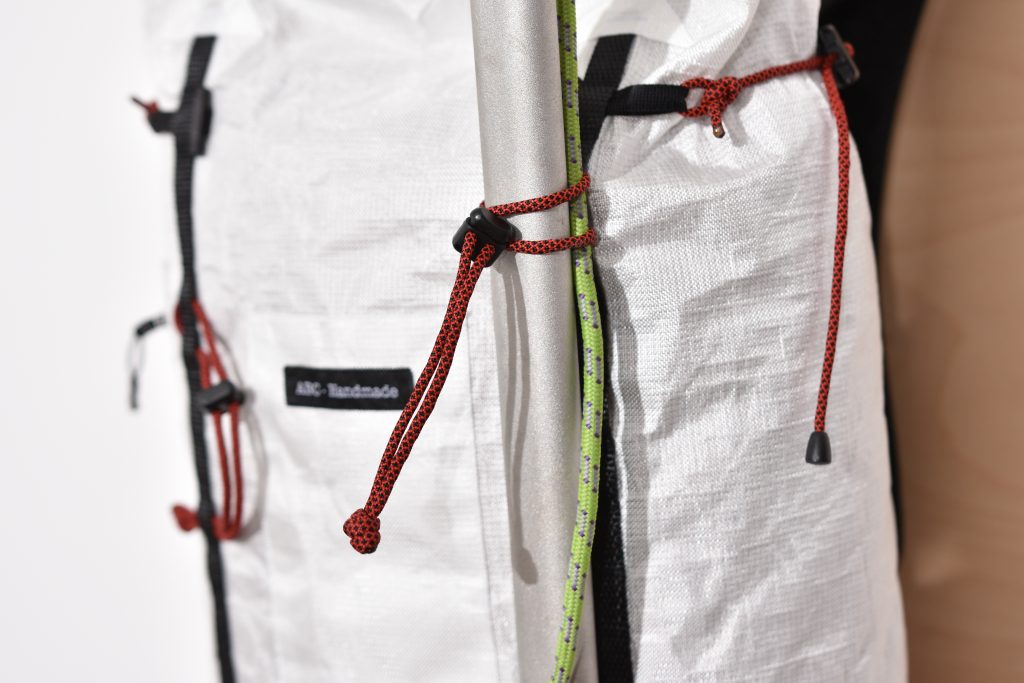
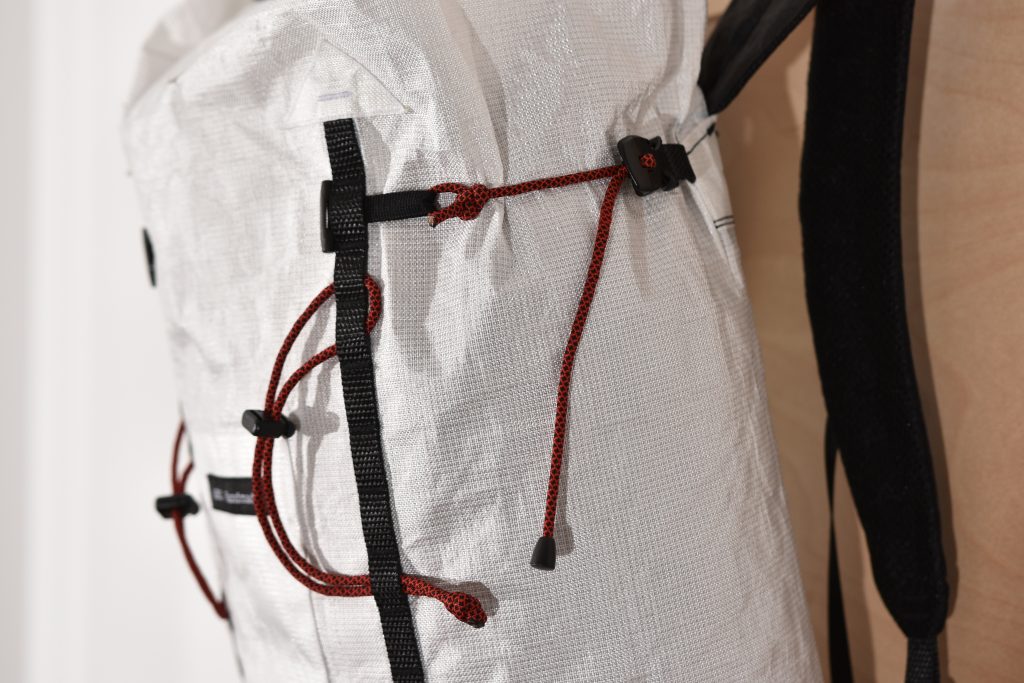
In order for the compression straps and ice-axe attachment to be replaceable and removable, I decided to use the daisy chains as the main static feature. Each of the removable element ties into them using T-bars. In the end, this also allows me to rearrange the attachments if I need a different configuration or longer compression cords for some reason.


In order for this to work though, the daisy chain spacing for each “loop” must be relatively small (about 22mm) which would potentially make it difficult to attach climbing equipment directly to it. Since this was not my primary concern, I went ahead with that design. You’d be surprised how much every detail counts in a design like this.
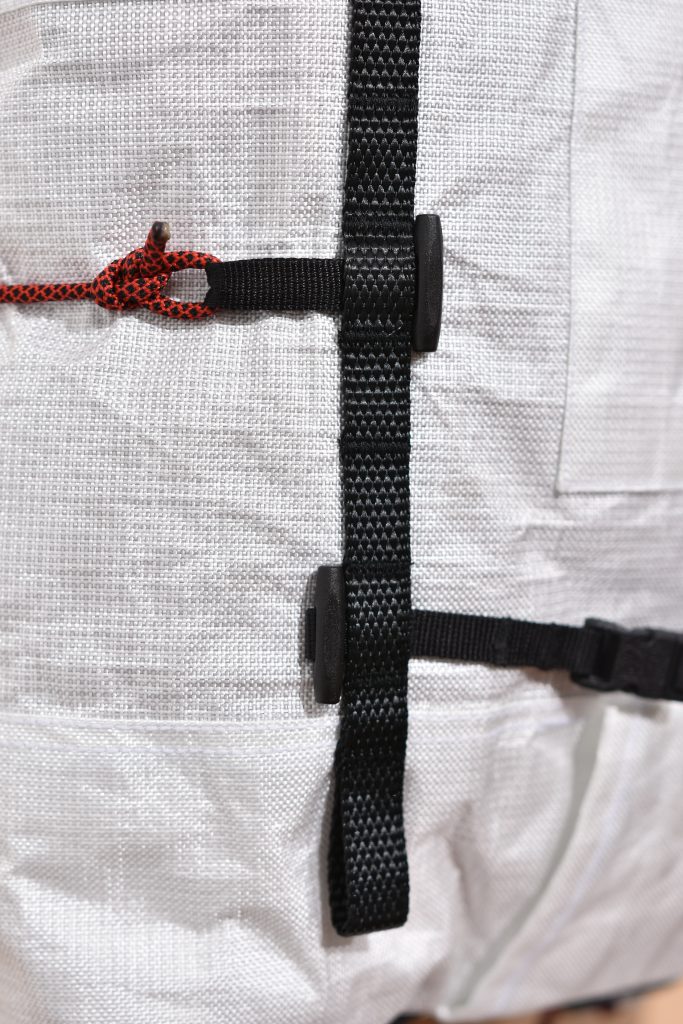
The side compression straps themselves do have a fixed point (non-removable part) where the quick-release LineLoc ties into the bag. But beyond that, the cord and the T-bar can be removed in a pinch.
On most bags, I do like to have one small quick-access pocket where I can store papers, energy bars, keys and so on. Since I still wanted to avoid any potentially snagging, I went for a very low profile design with a zipper closure. It will not hold much, but it will do the job and not protrude from the bag.


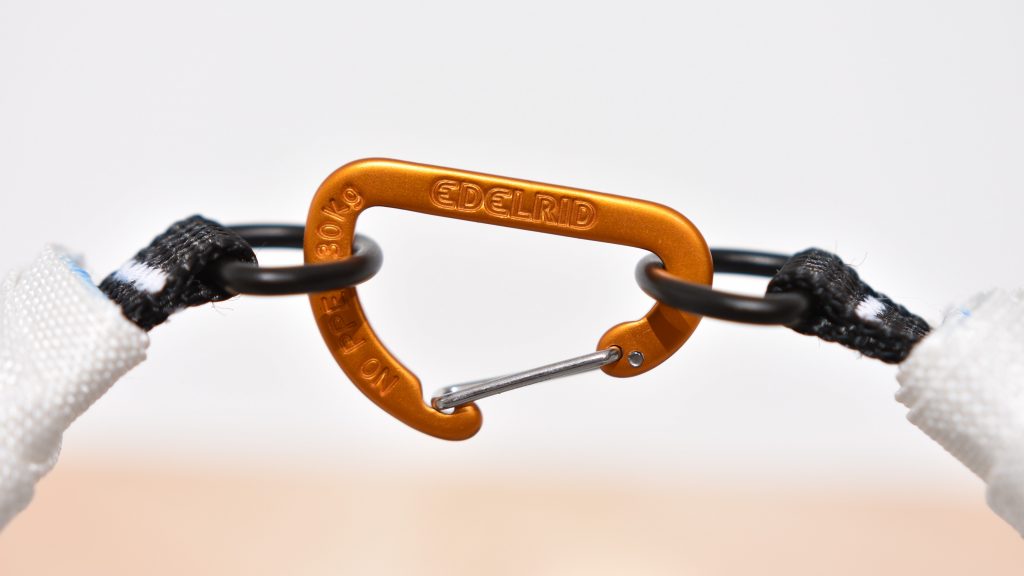
As we were talking about hauling earlier, I was debating options for a while. I always build strong roll-tops so I can carry my bags grabbing the loop they form. I use small high-end carabiners that can take up to 30kg of load and always use metal D-rings instead of the usual Nylon to make sure this won’t fail over time. I decided that would make a poor rope attachment point for hauling since the D-Rings are too small for a climbing carabiner and you could reach 30kg of pulling force on a bad day’s haul.
Instead, I went for a handle style carrying attachment that would fit the needs for hauling quite well and double as a handles if you prefer a straight roll-top rather than dry-bag style closure. Since I wanted the bag to stay levelled and haul straight, I decided to add symmetrical attachments so that the pack would be balanced. Each handle was tacked well and should be handling loads in the 20kg range without any problem.
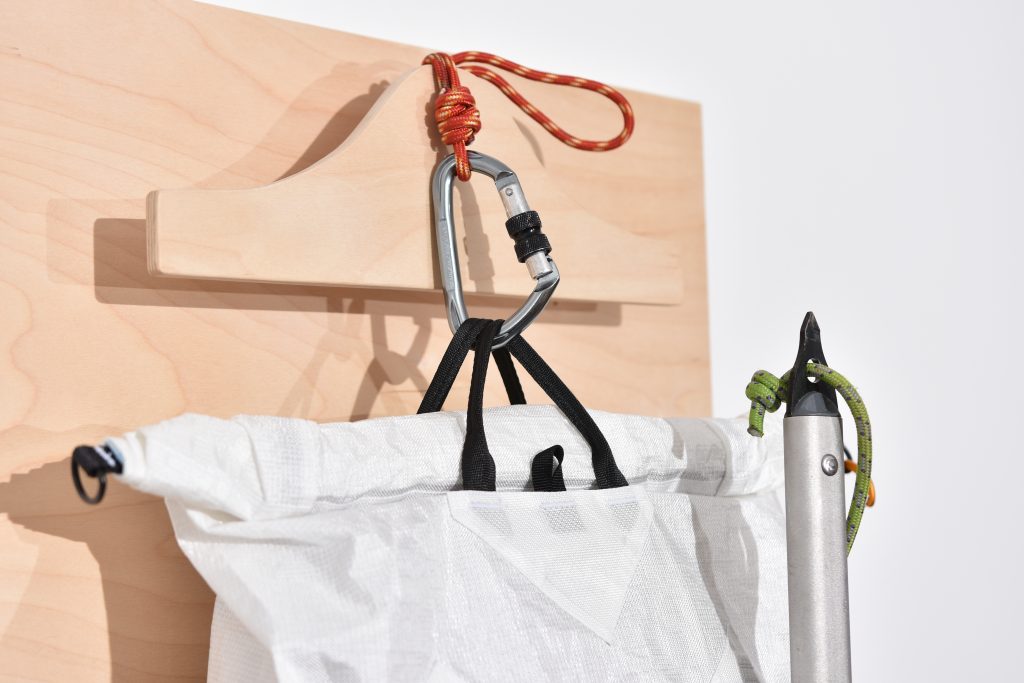
I would not expect the pack to be filled to the brim for a haul, but if it is, this design will not be ideal if the roll-top stands higher that the handles. In this case, one should haul with only one handle and hope for the best.
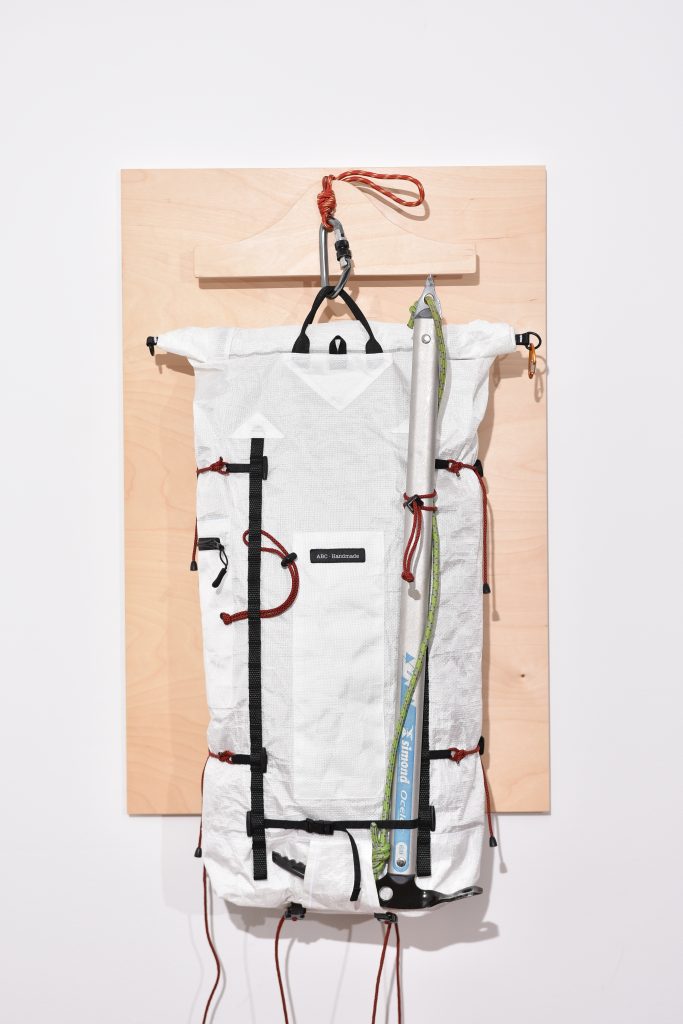
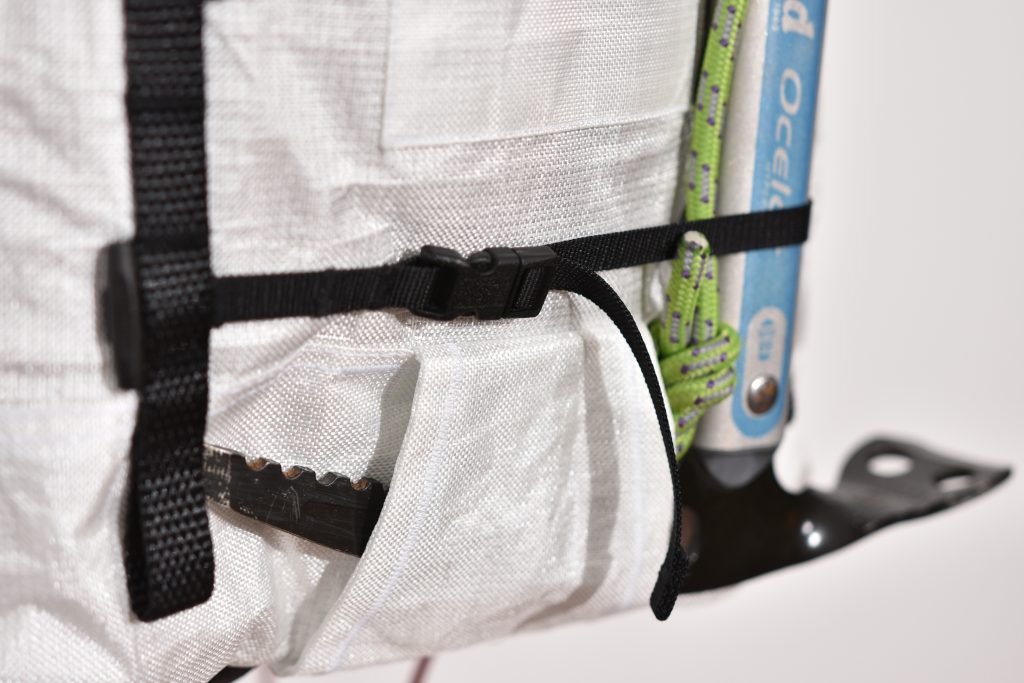
The last feature worth mentioning is probably the ice-axe attachment although there really isn’t much to talk about. It is a very simple design, tried and true. It can support a single axe or a hybrid setup (2 smaller axes). To secure the lower part of the axe, a simple webbing and quick release is tried between the two daisy chains. This strap can be lowered or raised depending on the axe configuration, but there is probably no need for this. I admit I was a bit worried about the strength of this puny little quick release that fits a 10mm webbing. After fiddling with it for hours, I figured it would do the job. It’s anyway easy to replace and upgrade but if anything ever fails on this bag, I assume this would be it.
Since we only talked about the front so far, it’s only fair to show you the back. The padding is minimalist, with some 3D mesh on the lower back, and the shoulder straps are lightweight as well. I rarely use foam in ultralight shoulder straps, but it also limits the maximum load that one can comfortably carry. Everyone is different, but for me these stay comfy up to about 7kg.
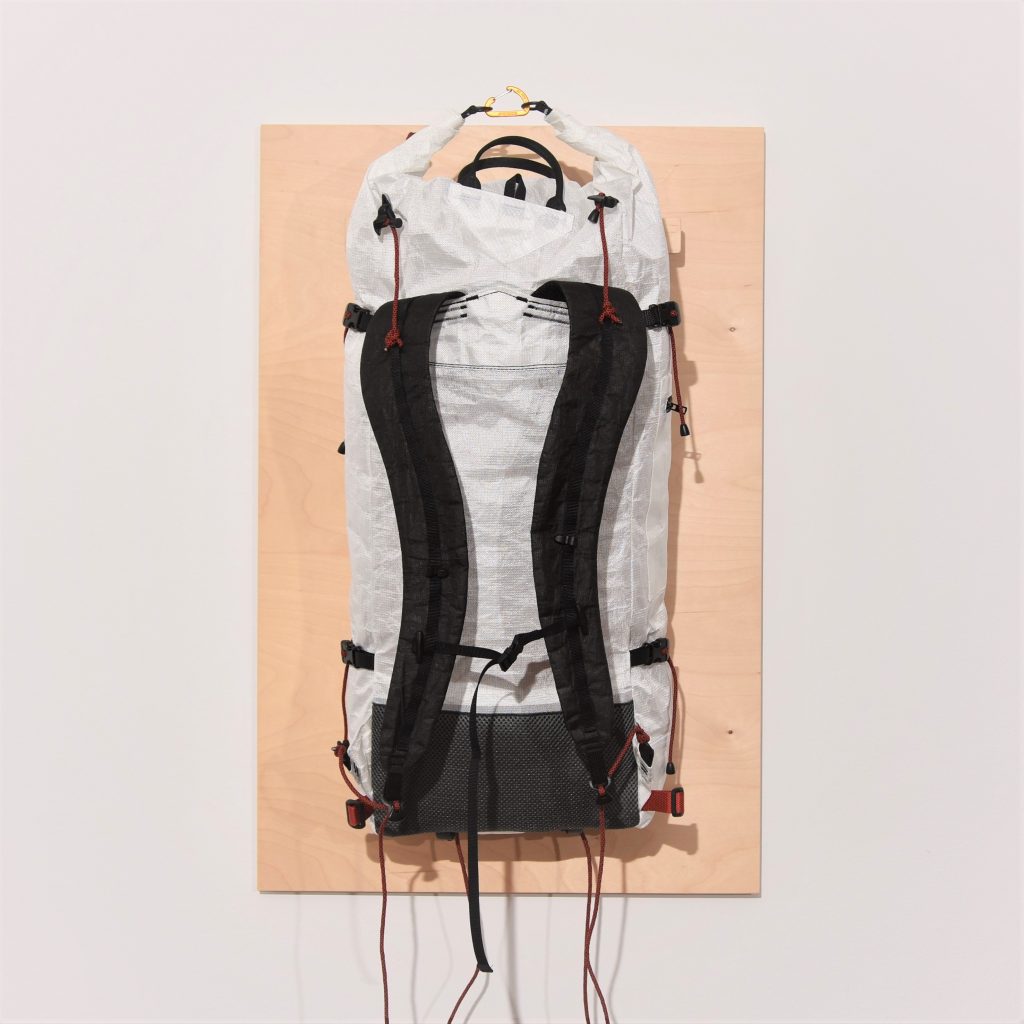
And the best part is, it only weights in at 410 grams. Ok, now enough with the talking, let me just dump a boatload of pictures! Stay tuned for more detailed discussion about this bag!


