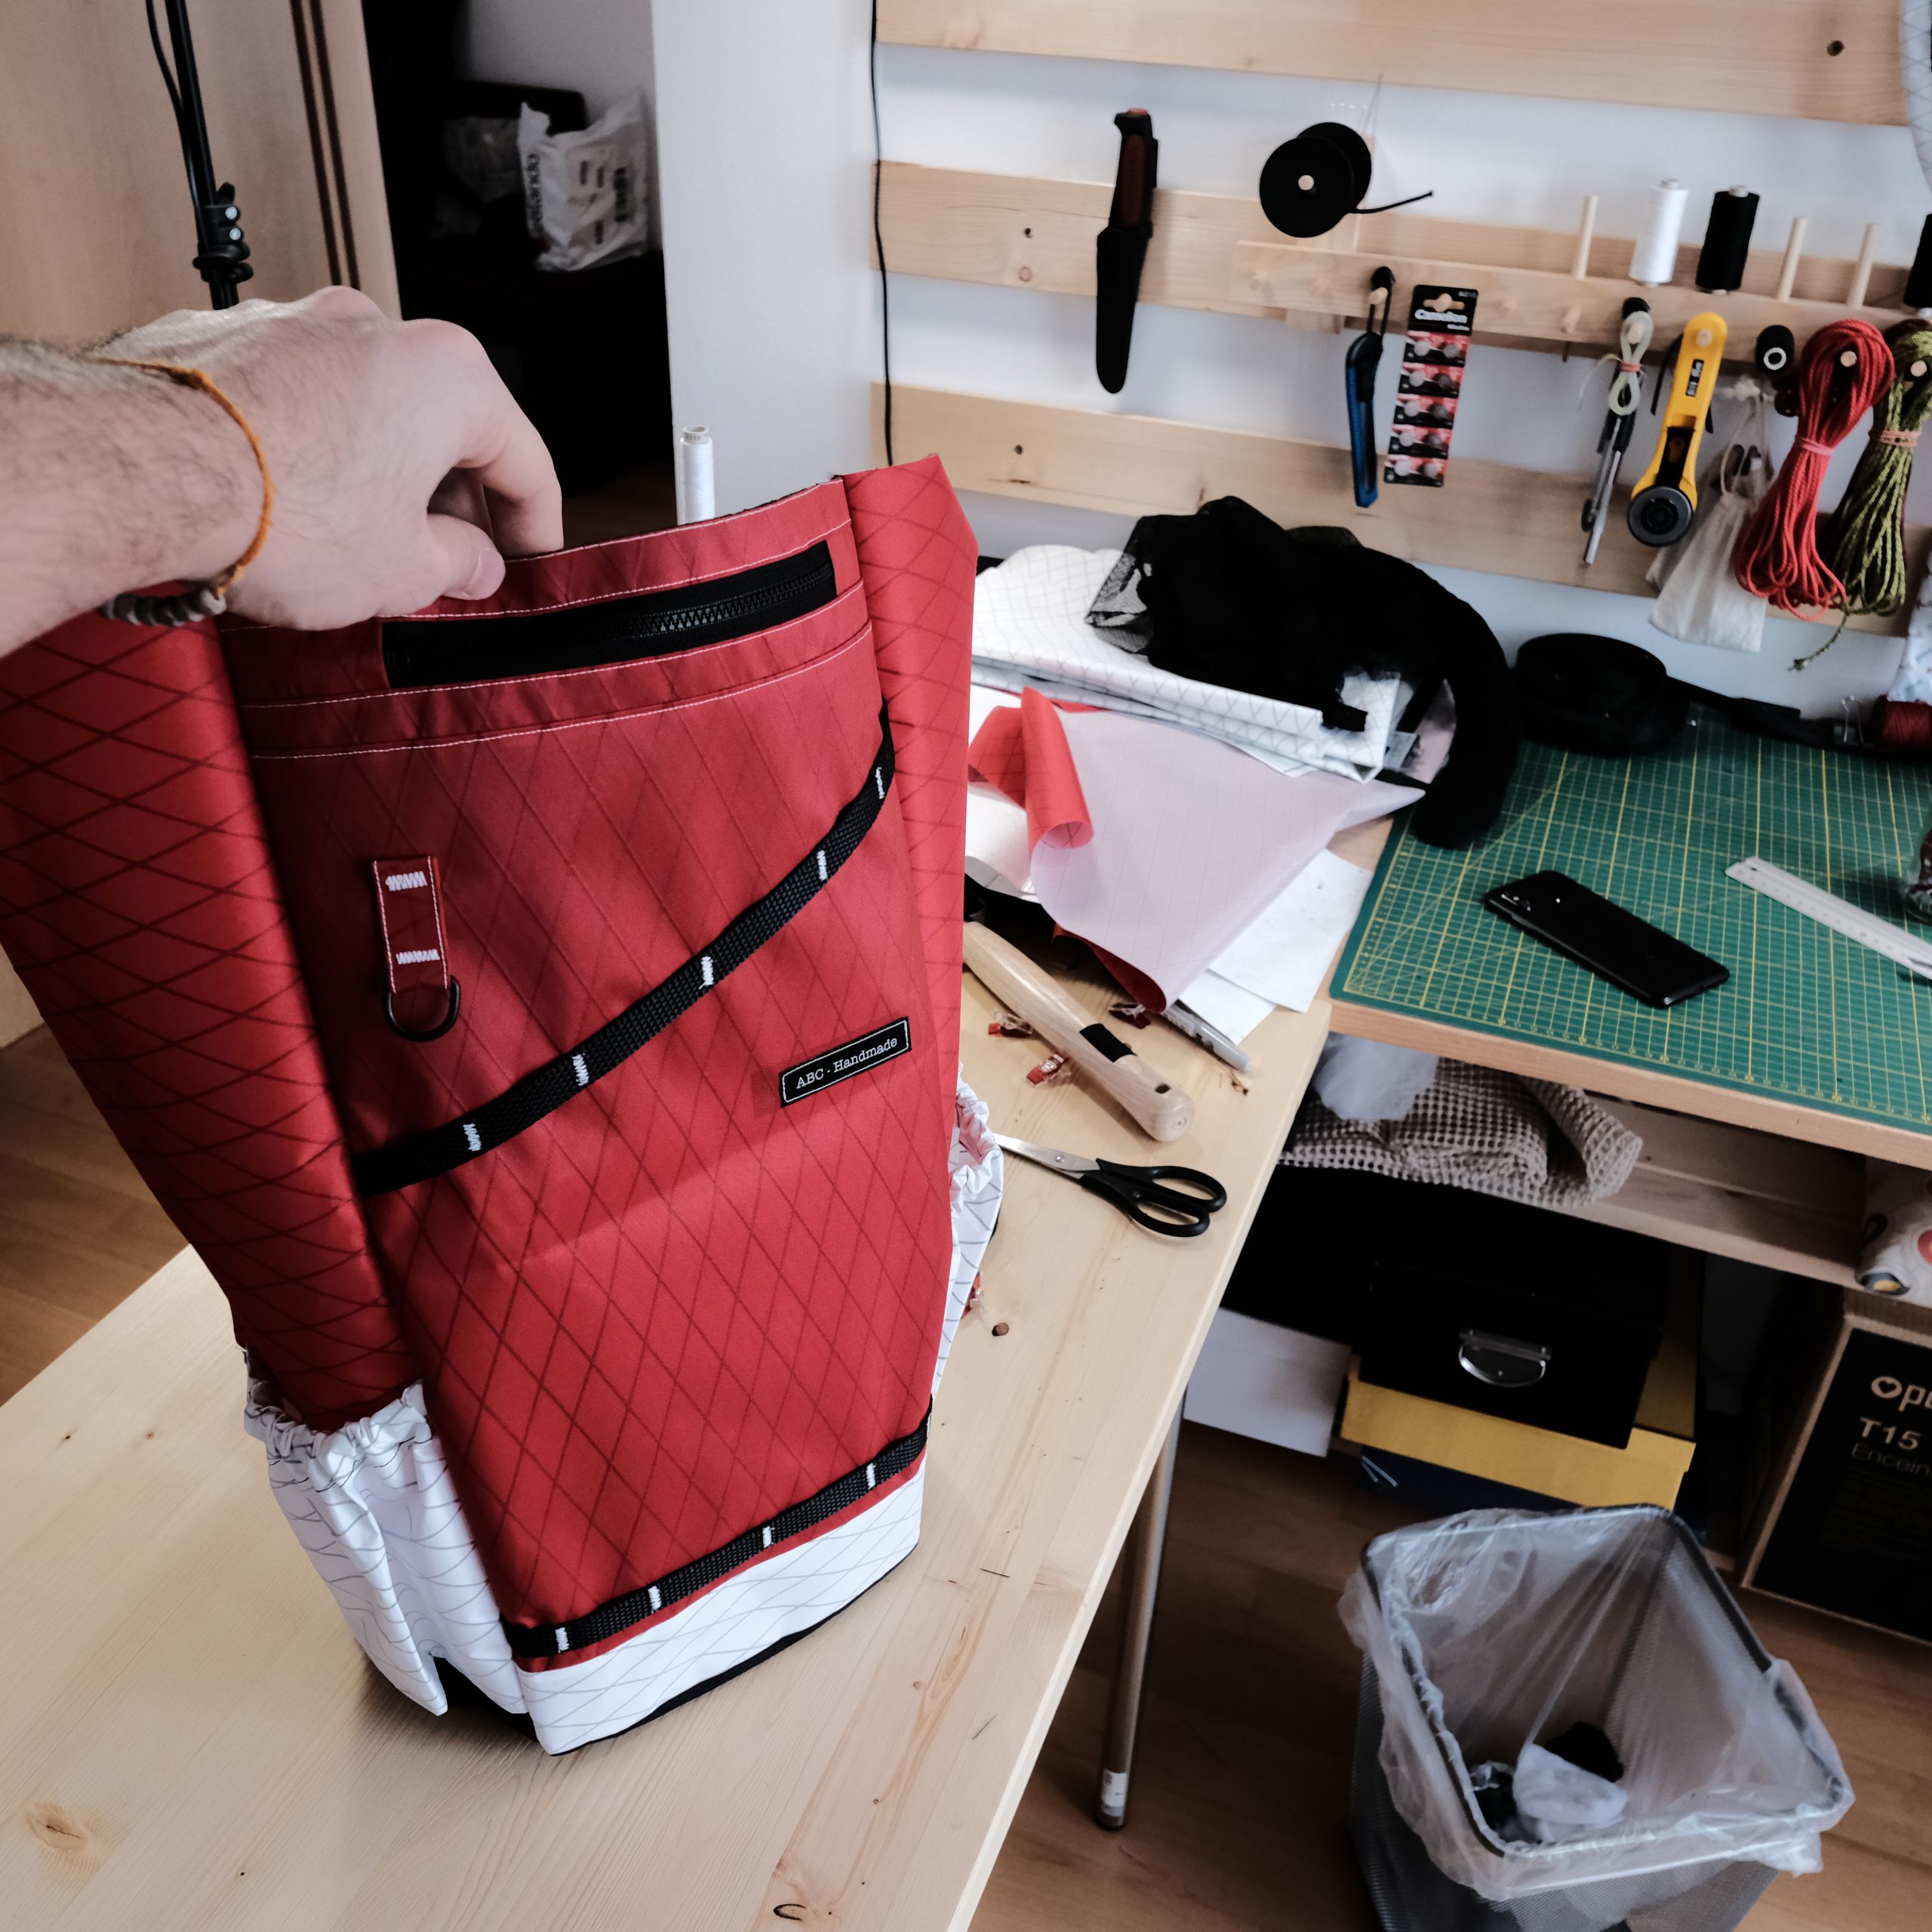
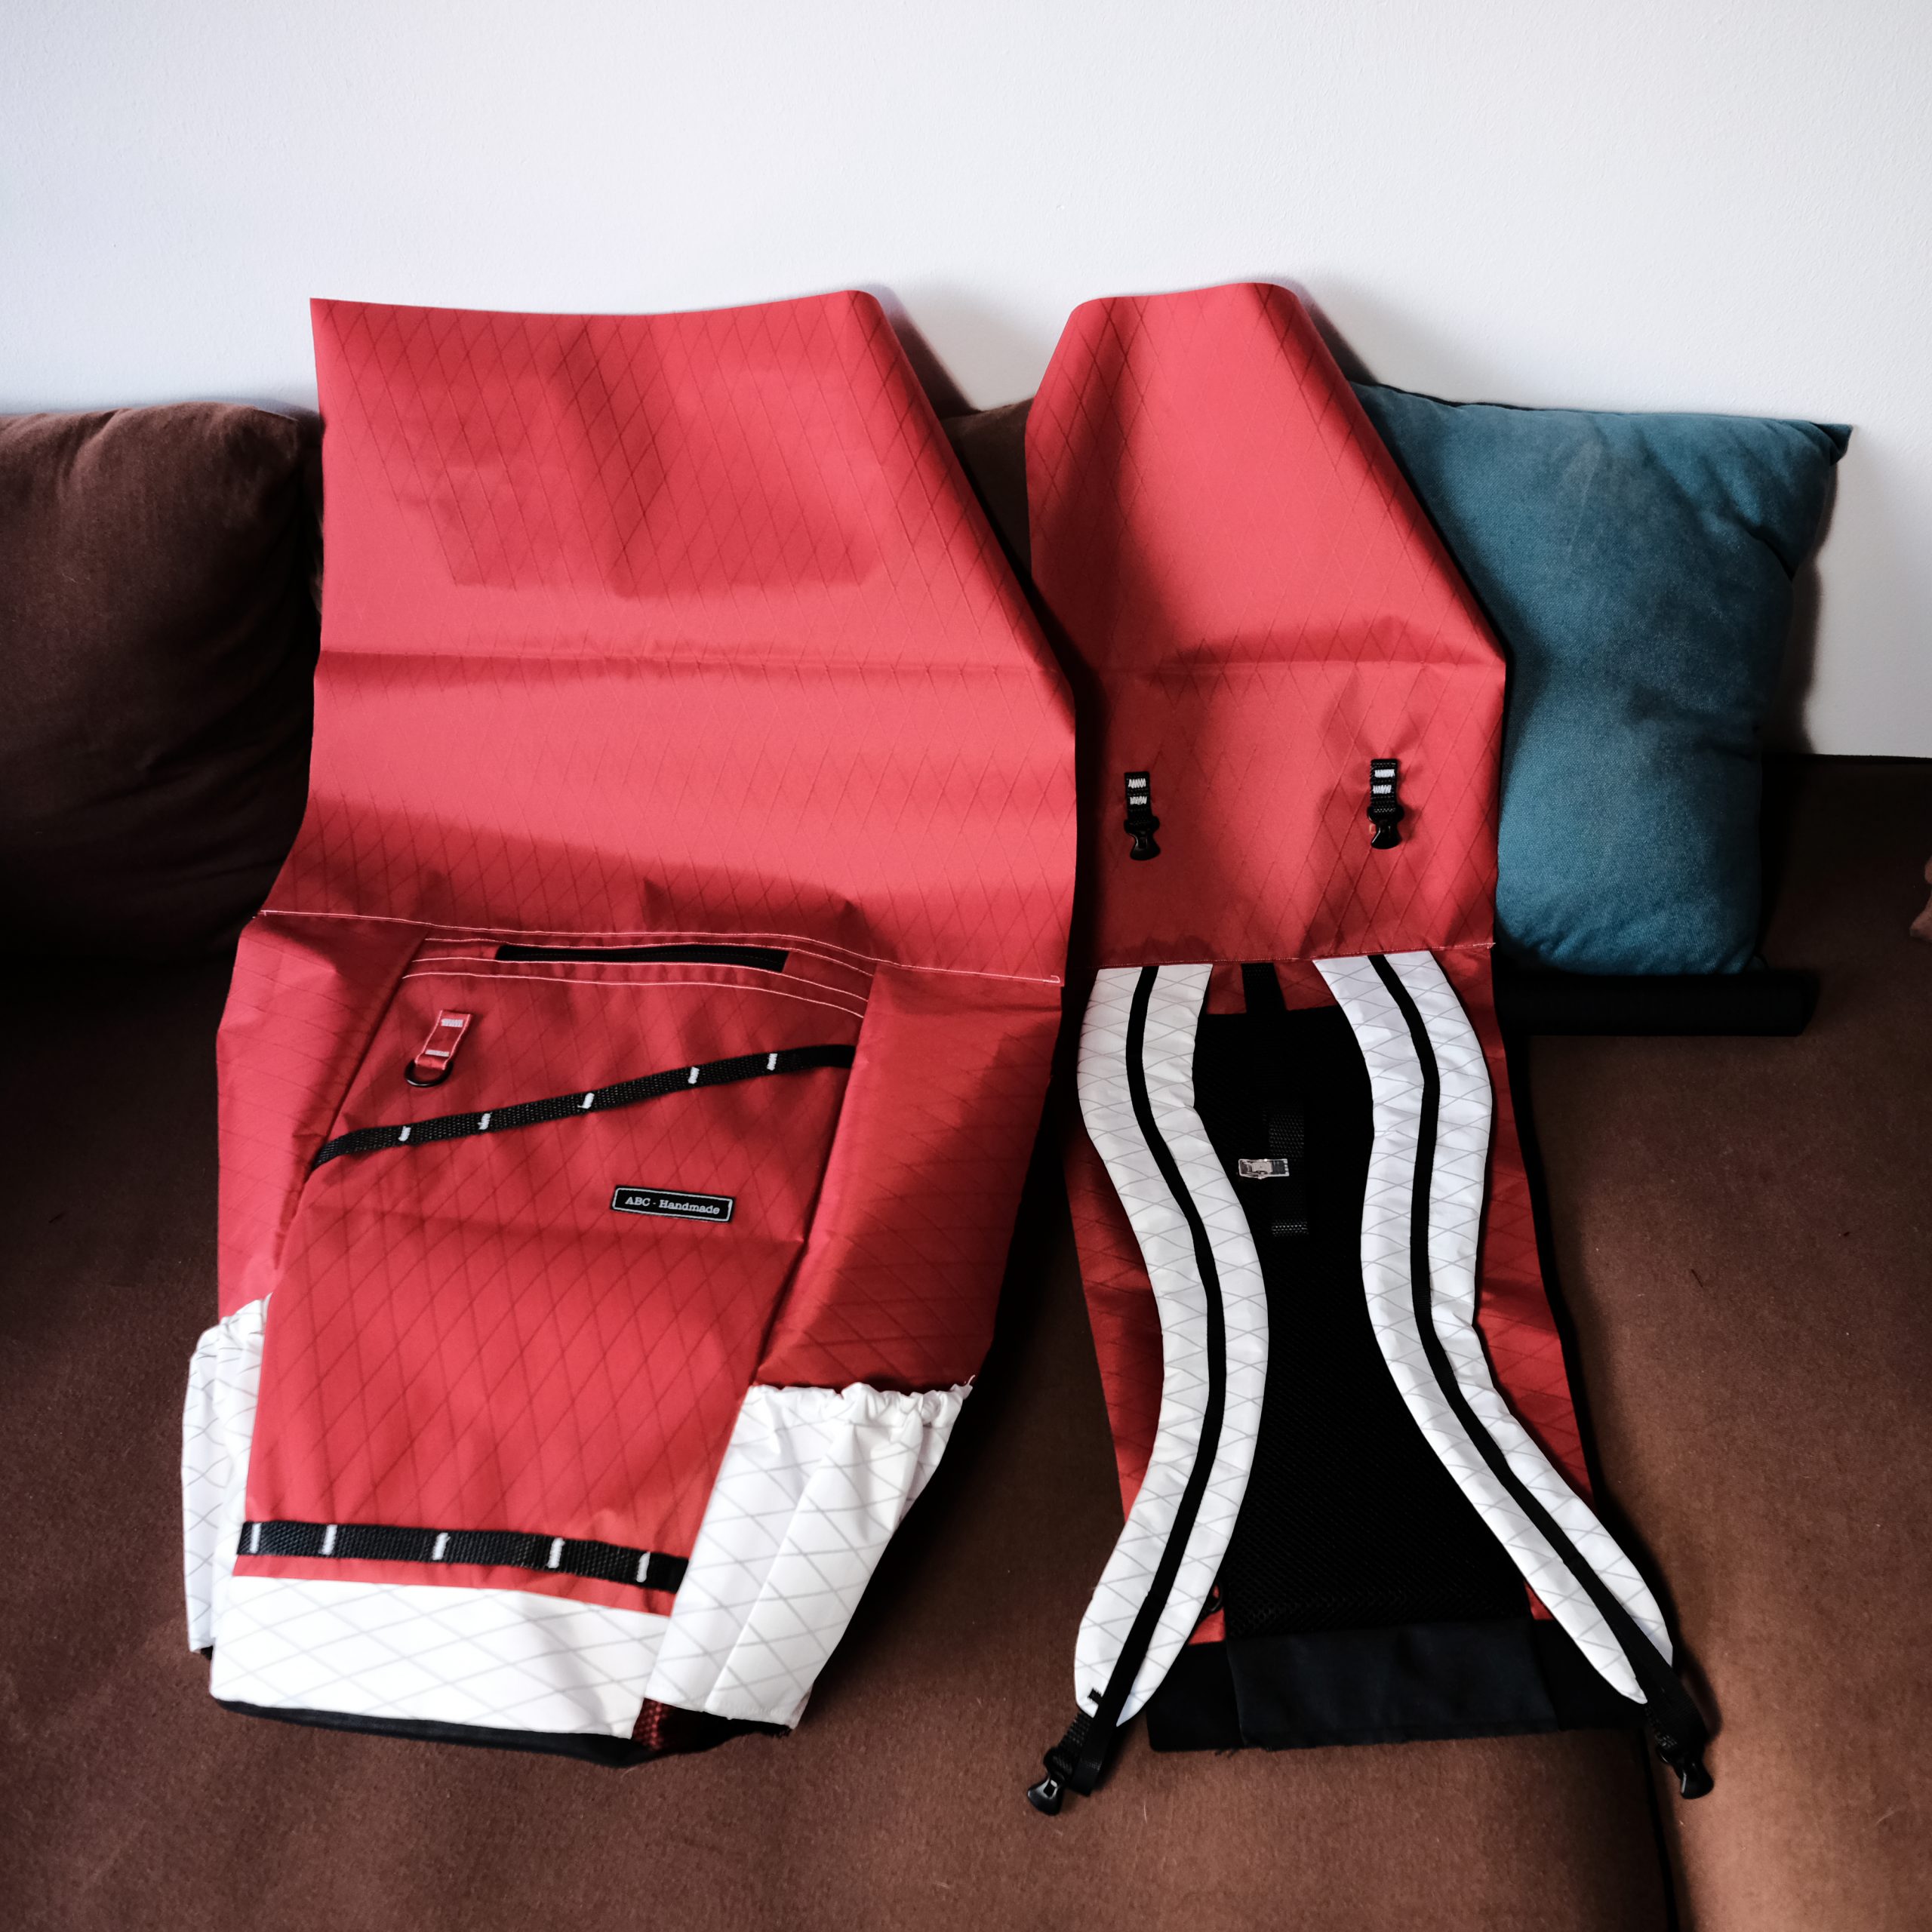
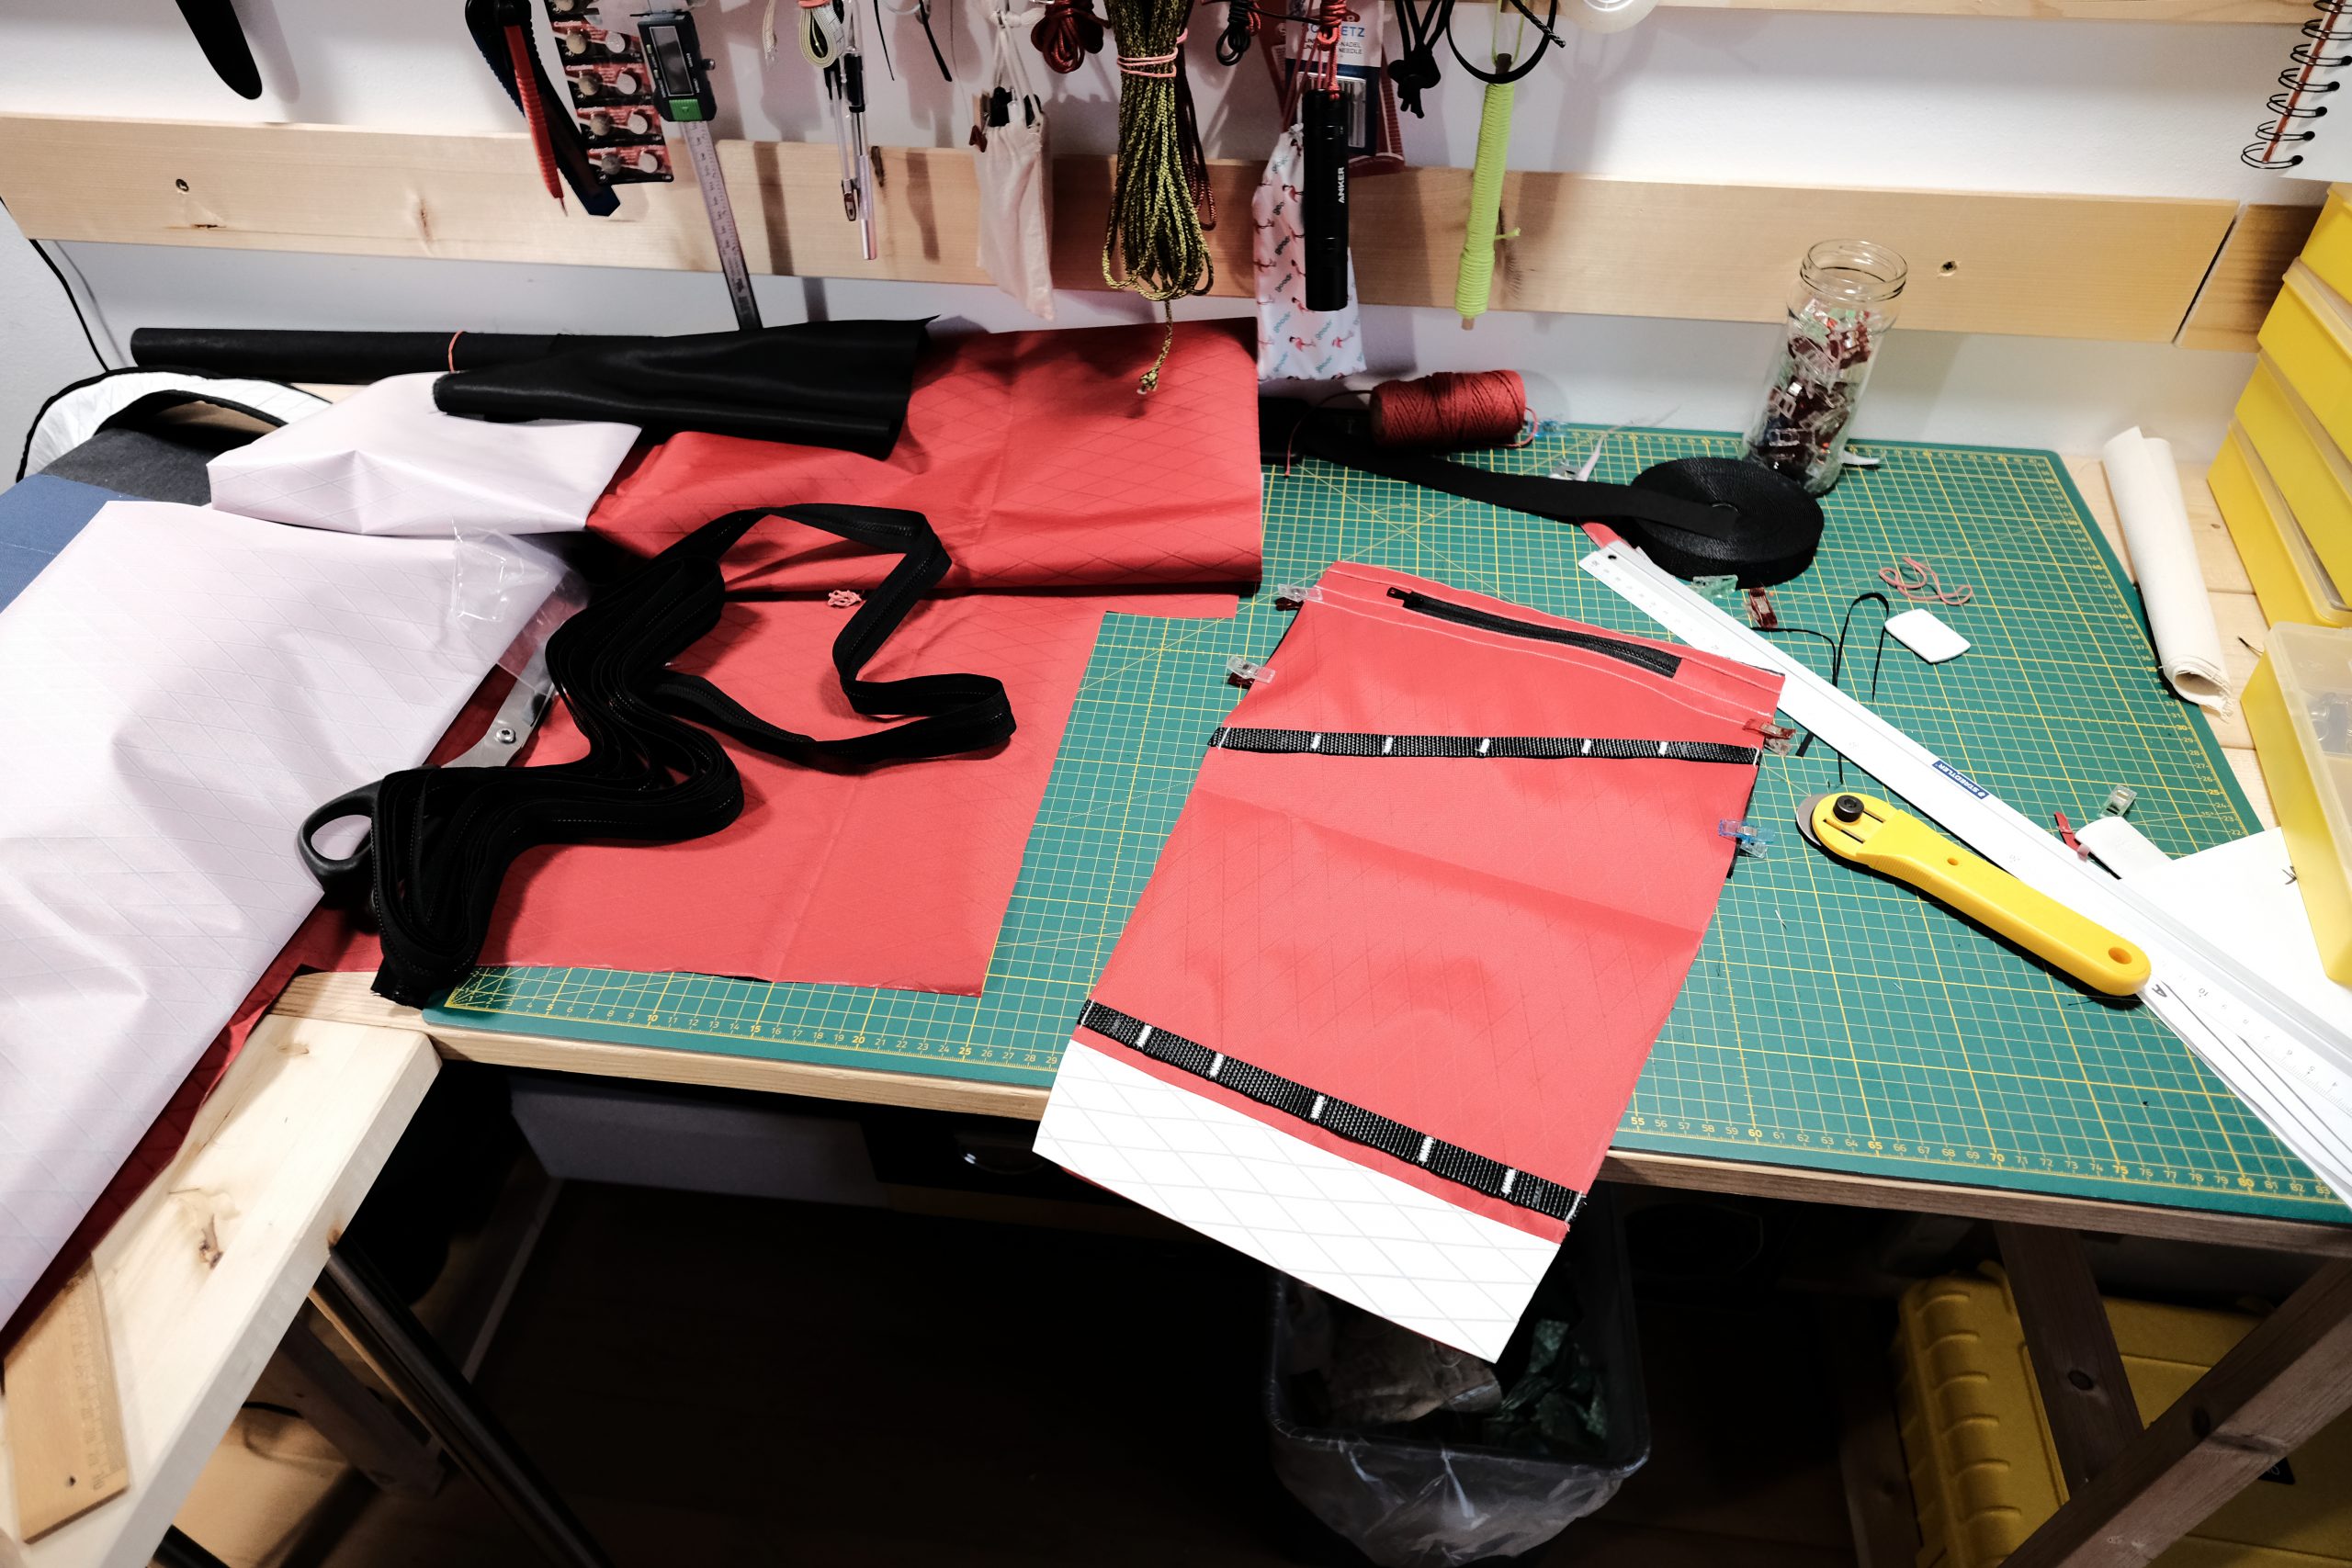
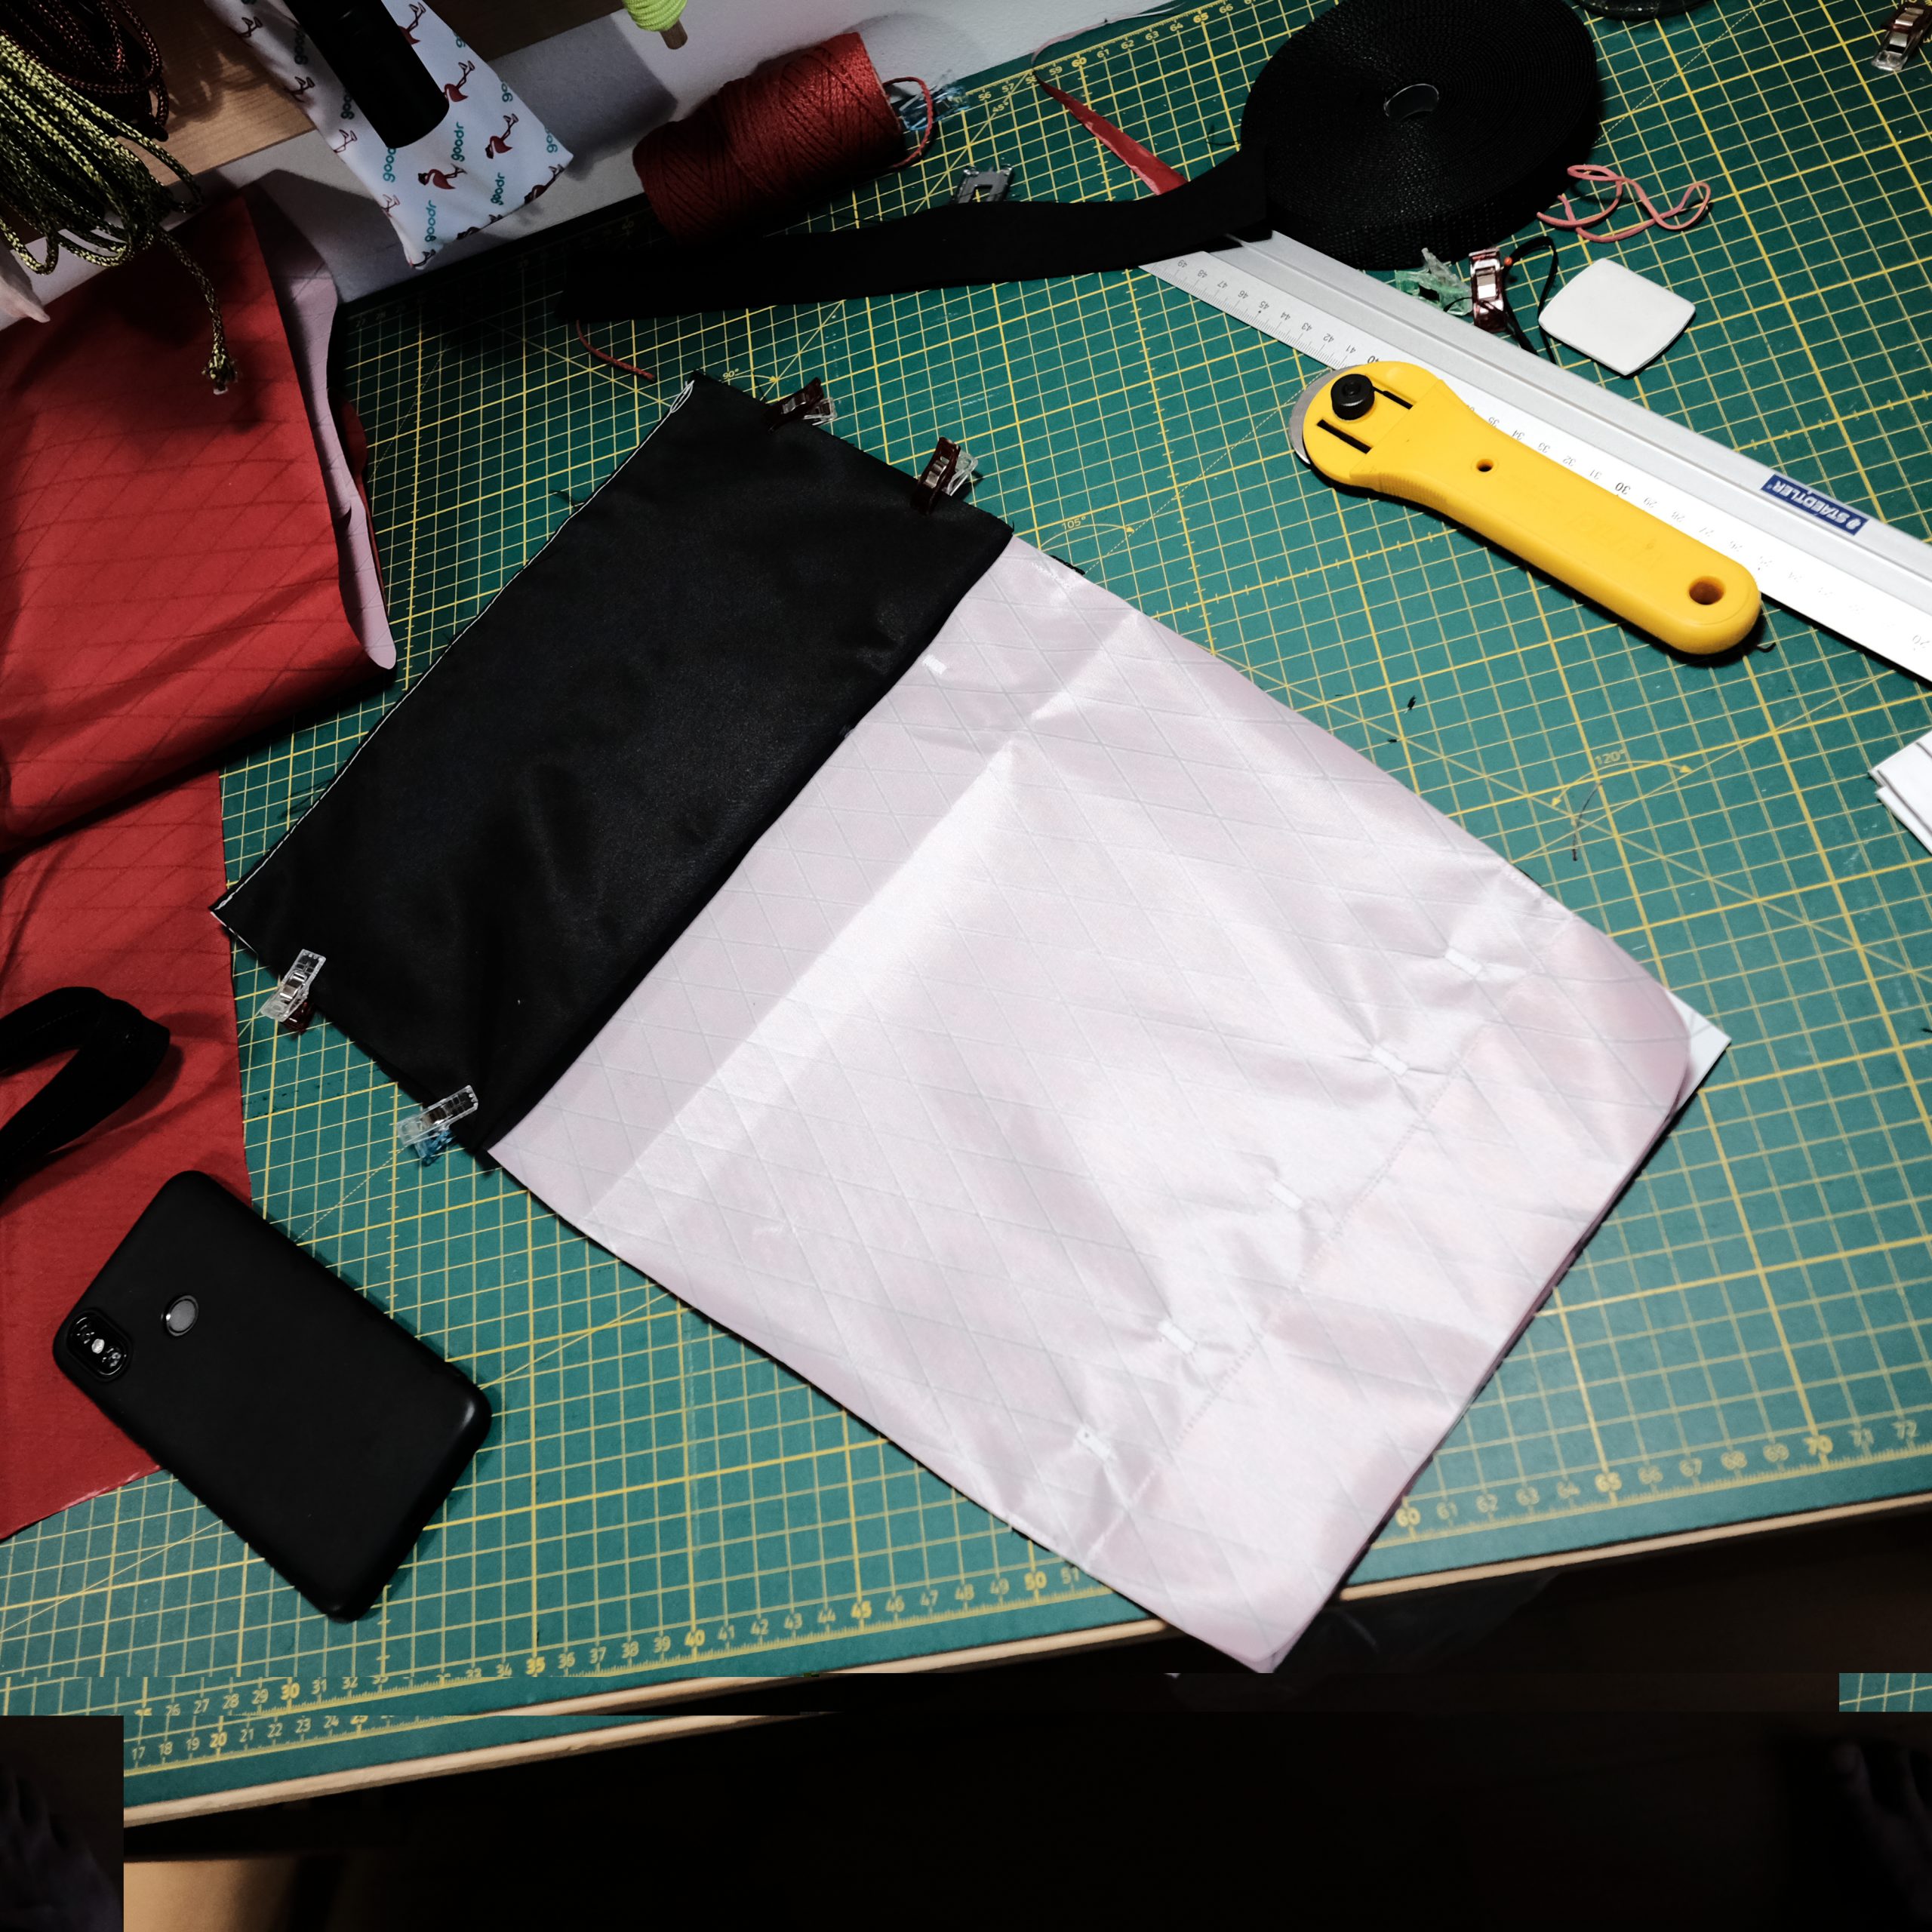
The back panel of the Ski Touring pack

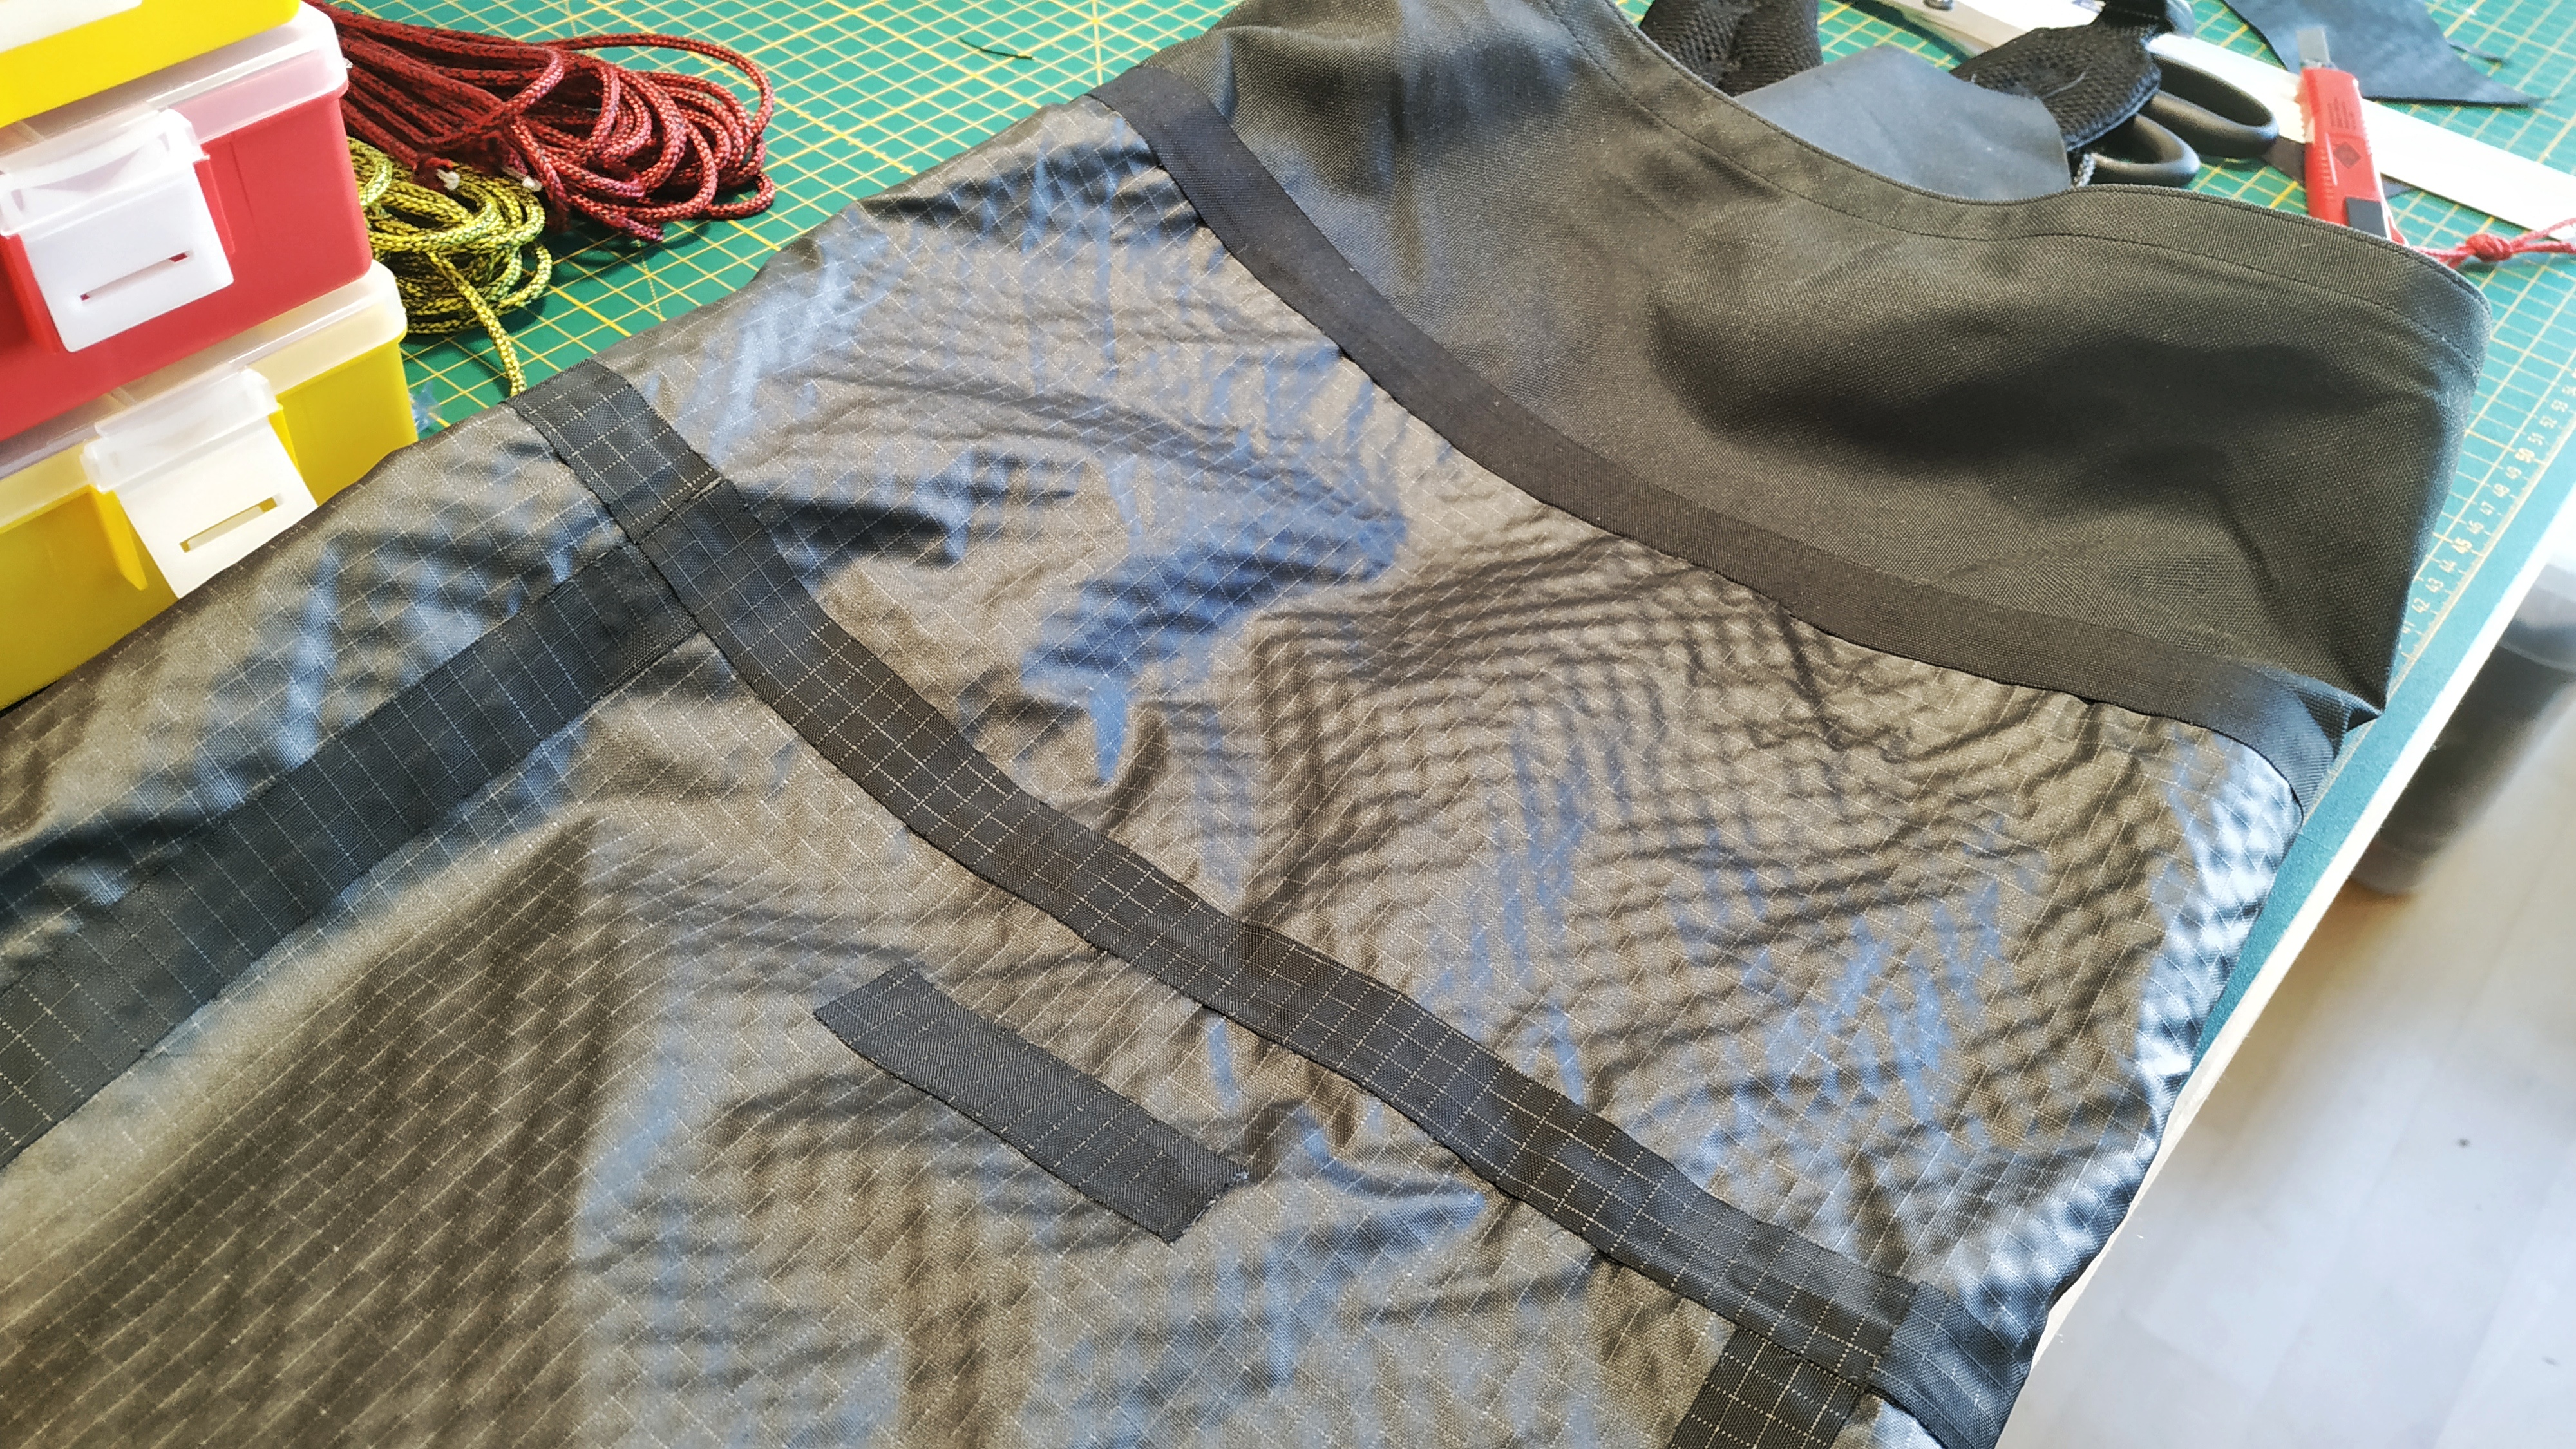
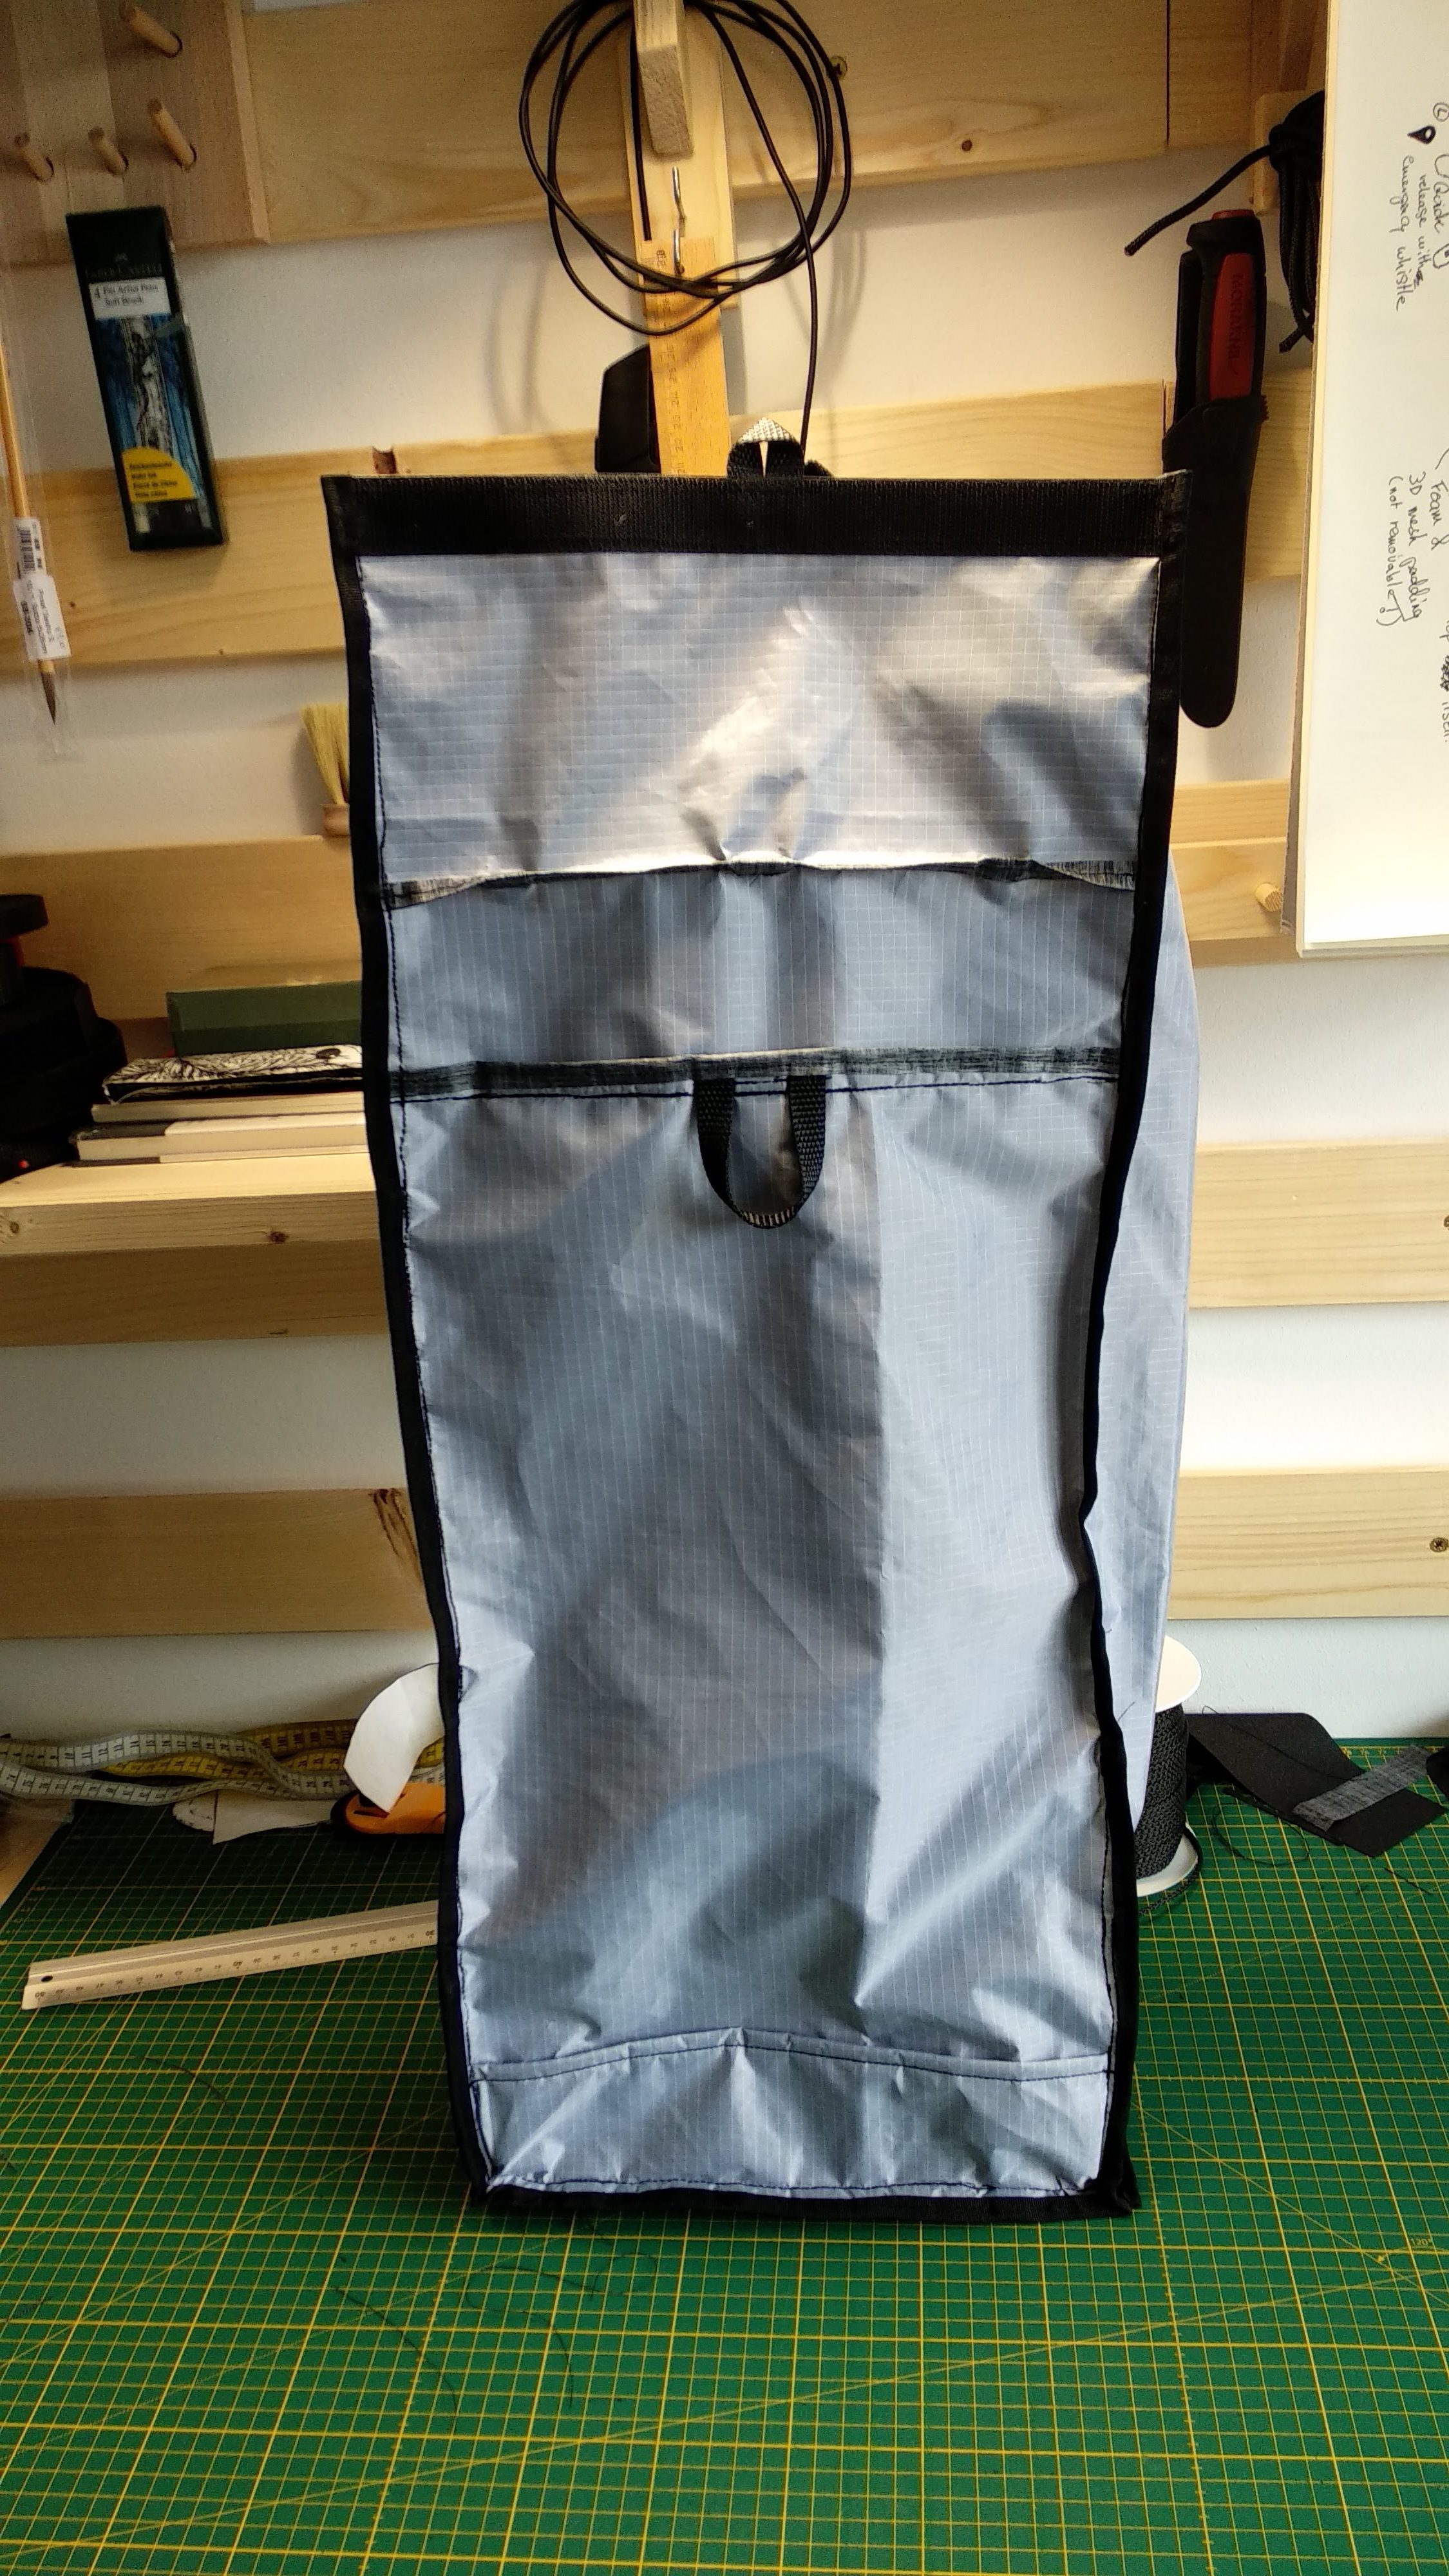
The back panel is probably the most interesting part of that pack. Since it is an ultralight children’s pack, I added a shoulder strap’s height adjustment option to let the pack grow with the owner.
The back panel also contains a padding sleeve with a hook and loop tape closure to be able to add a foam pad and some more structure is required.
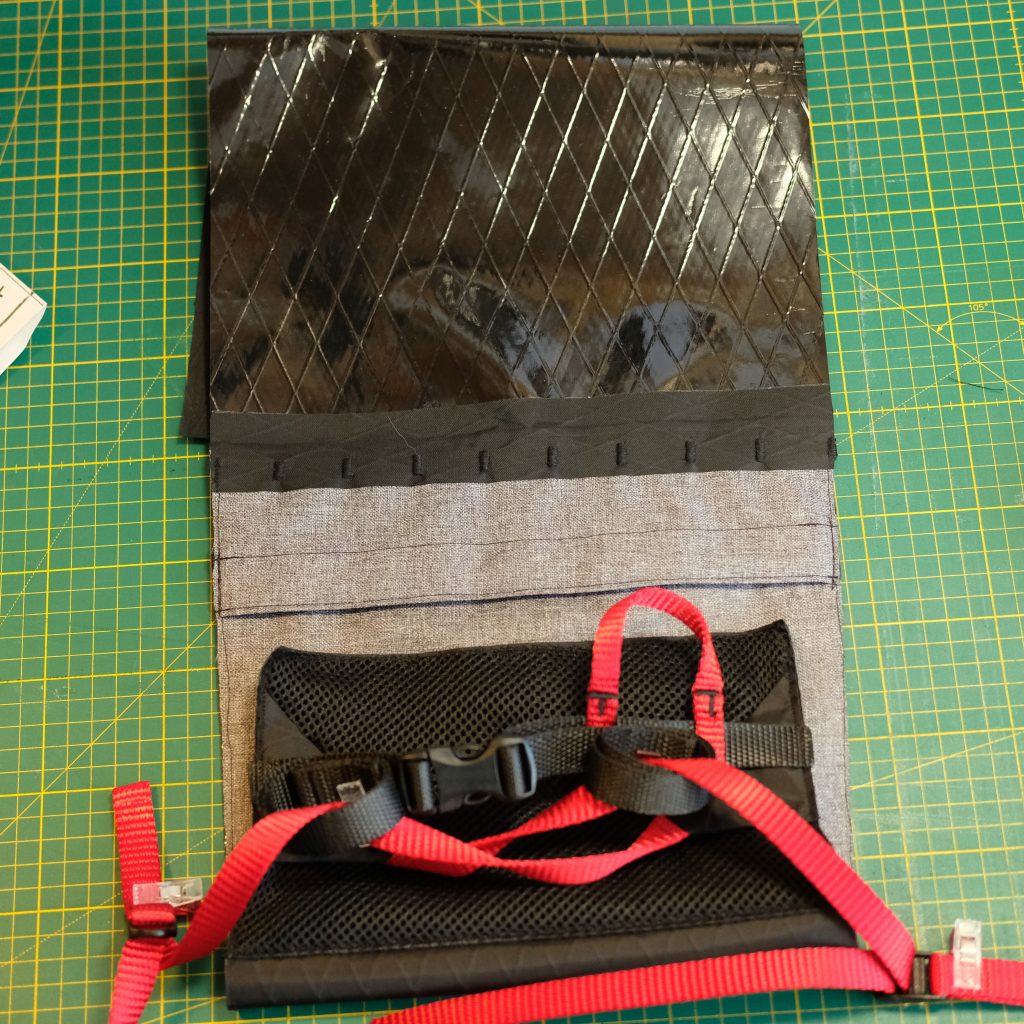
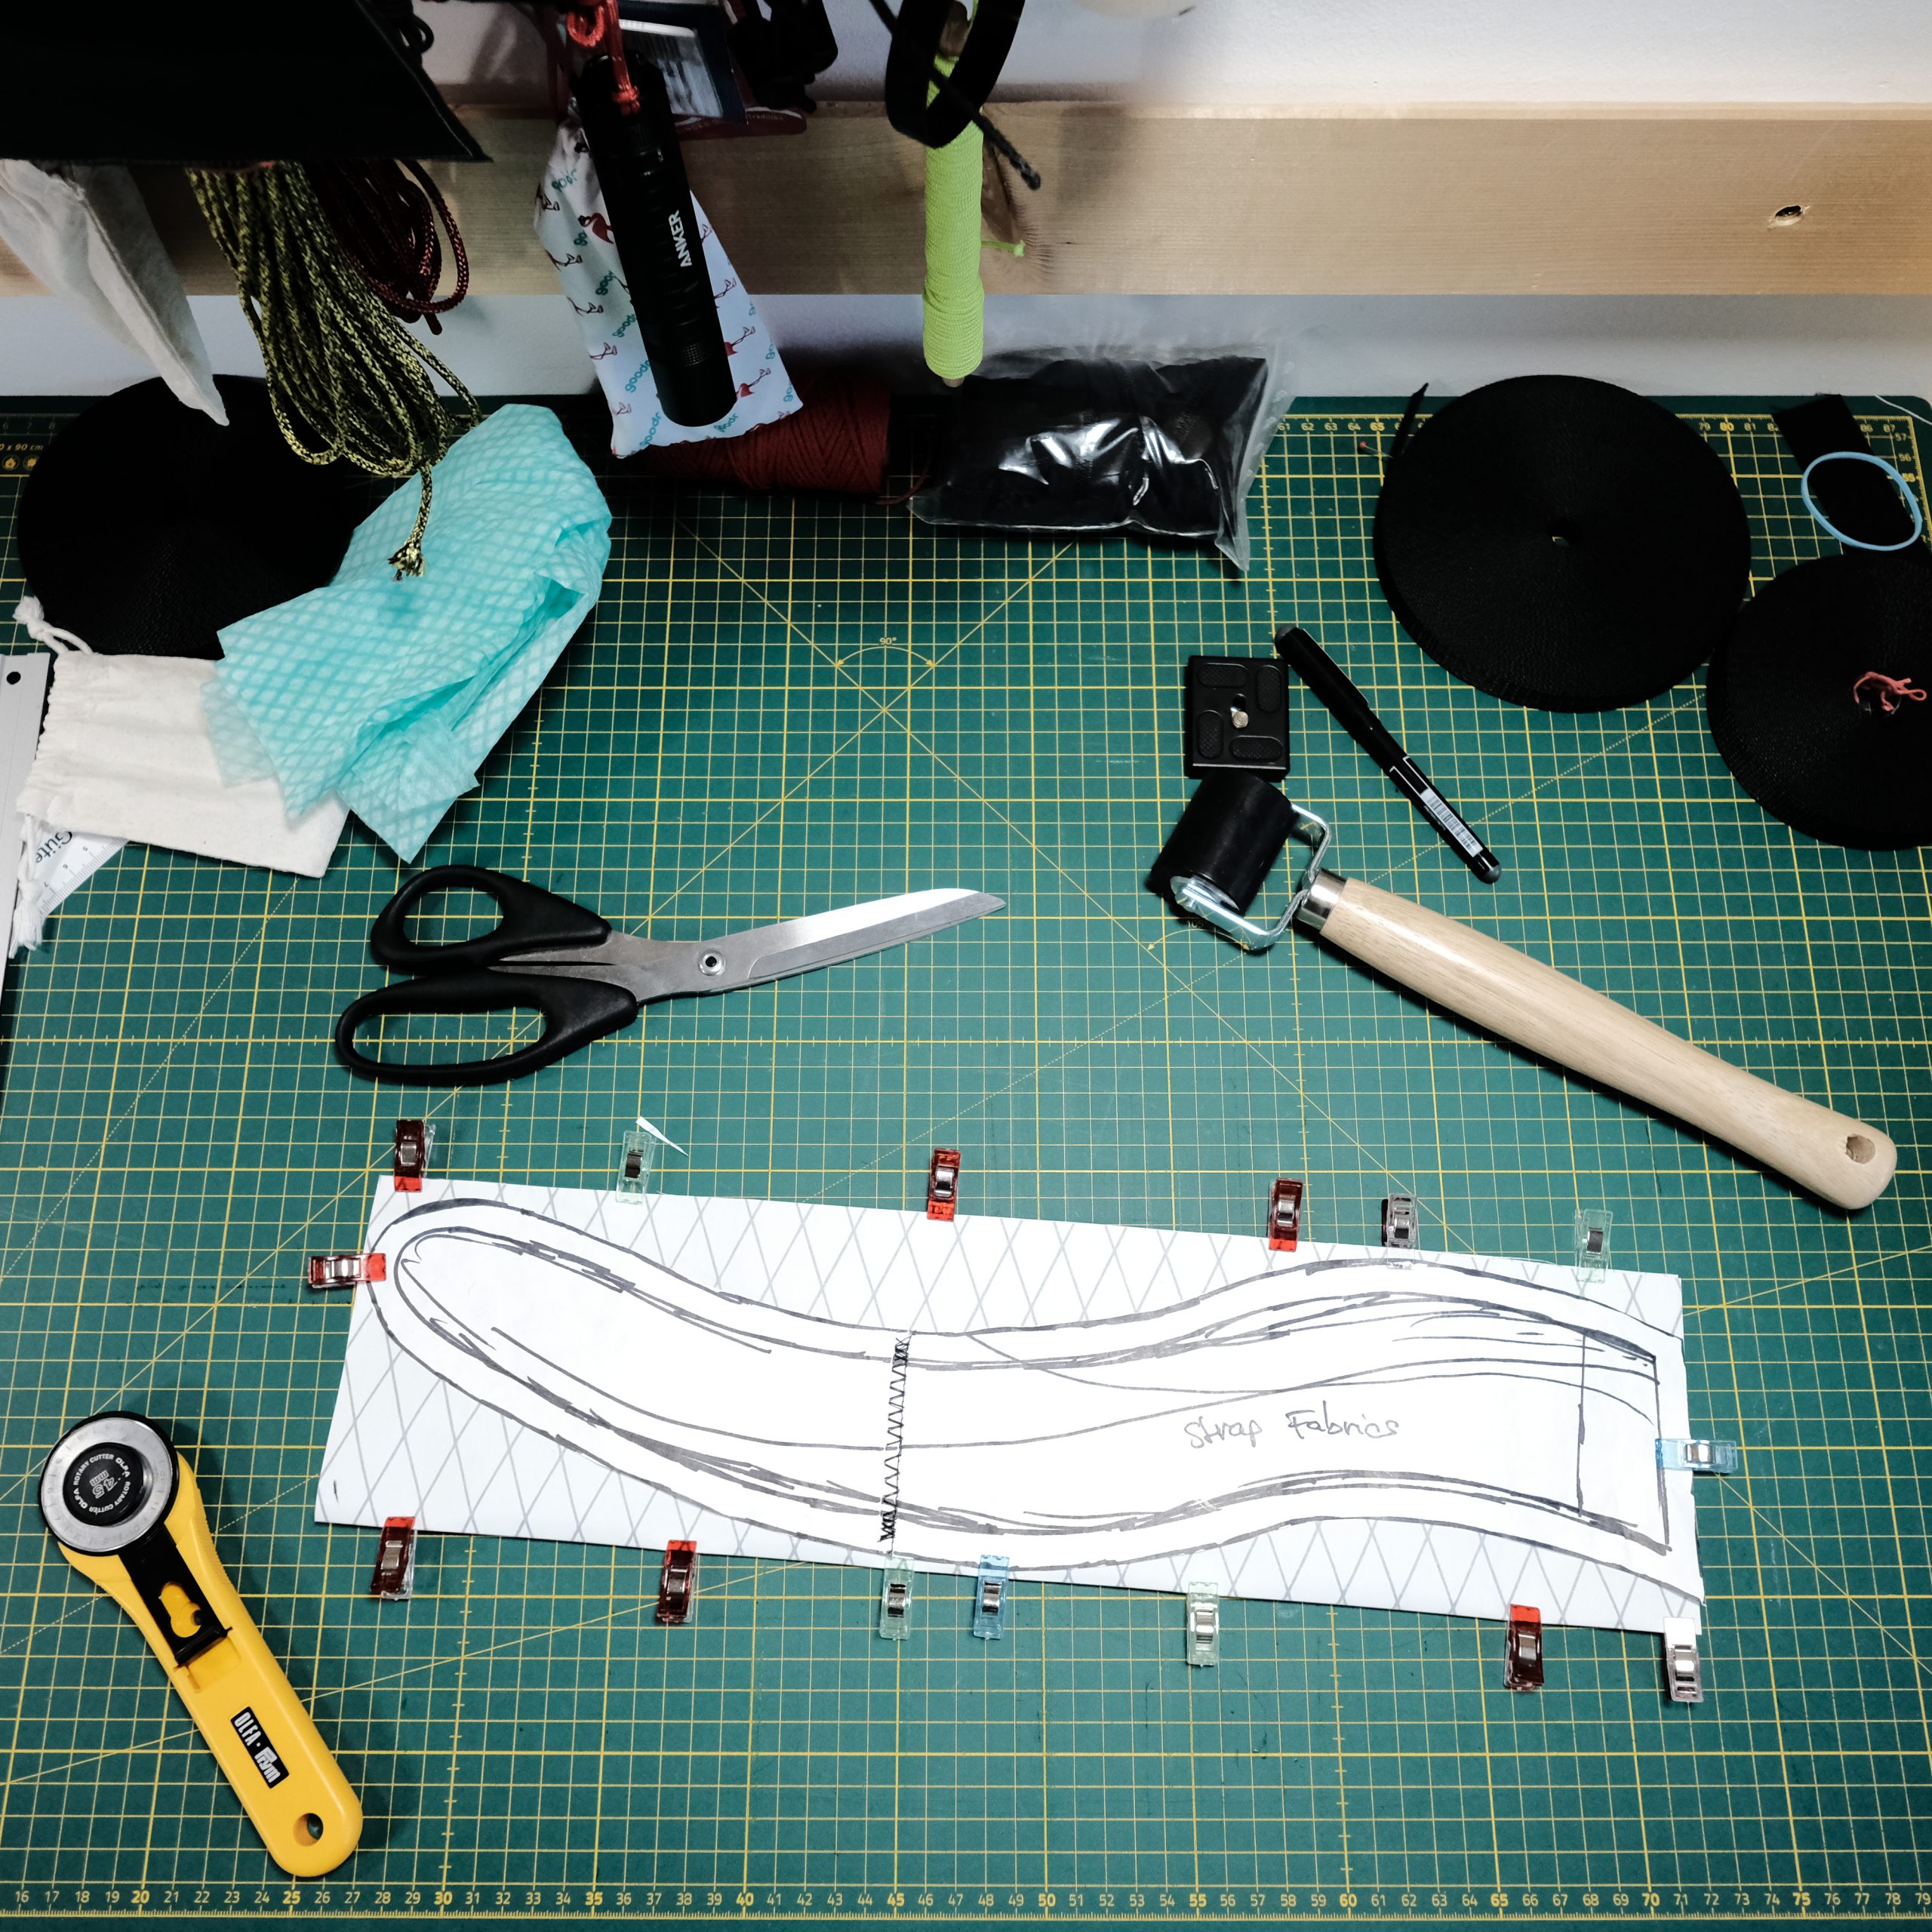
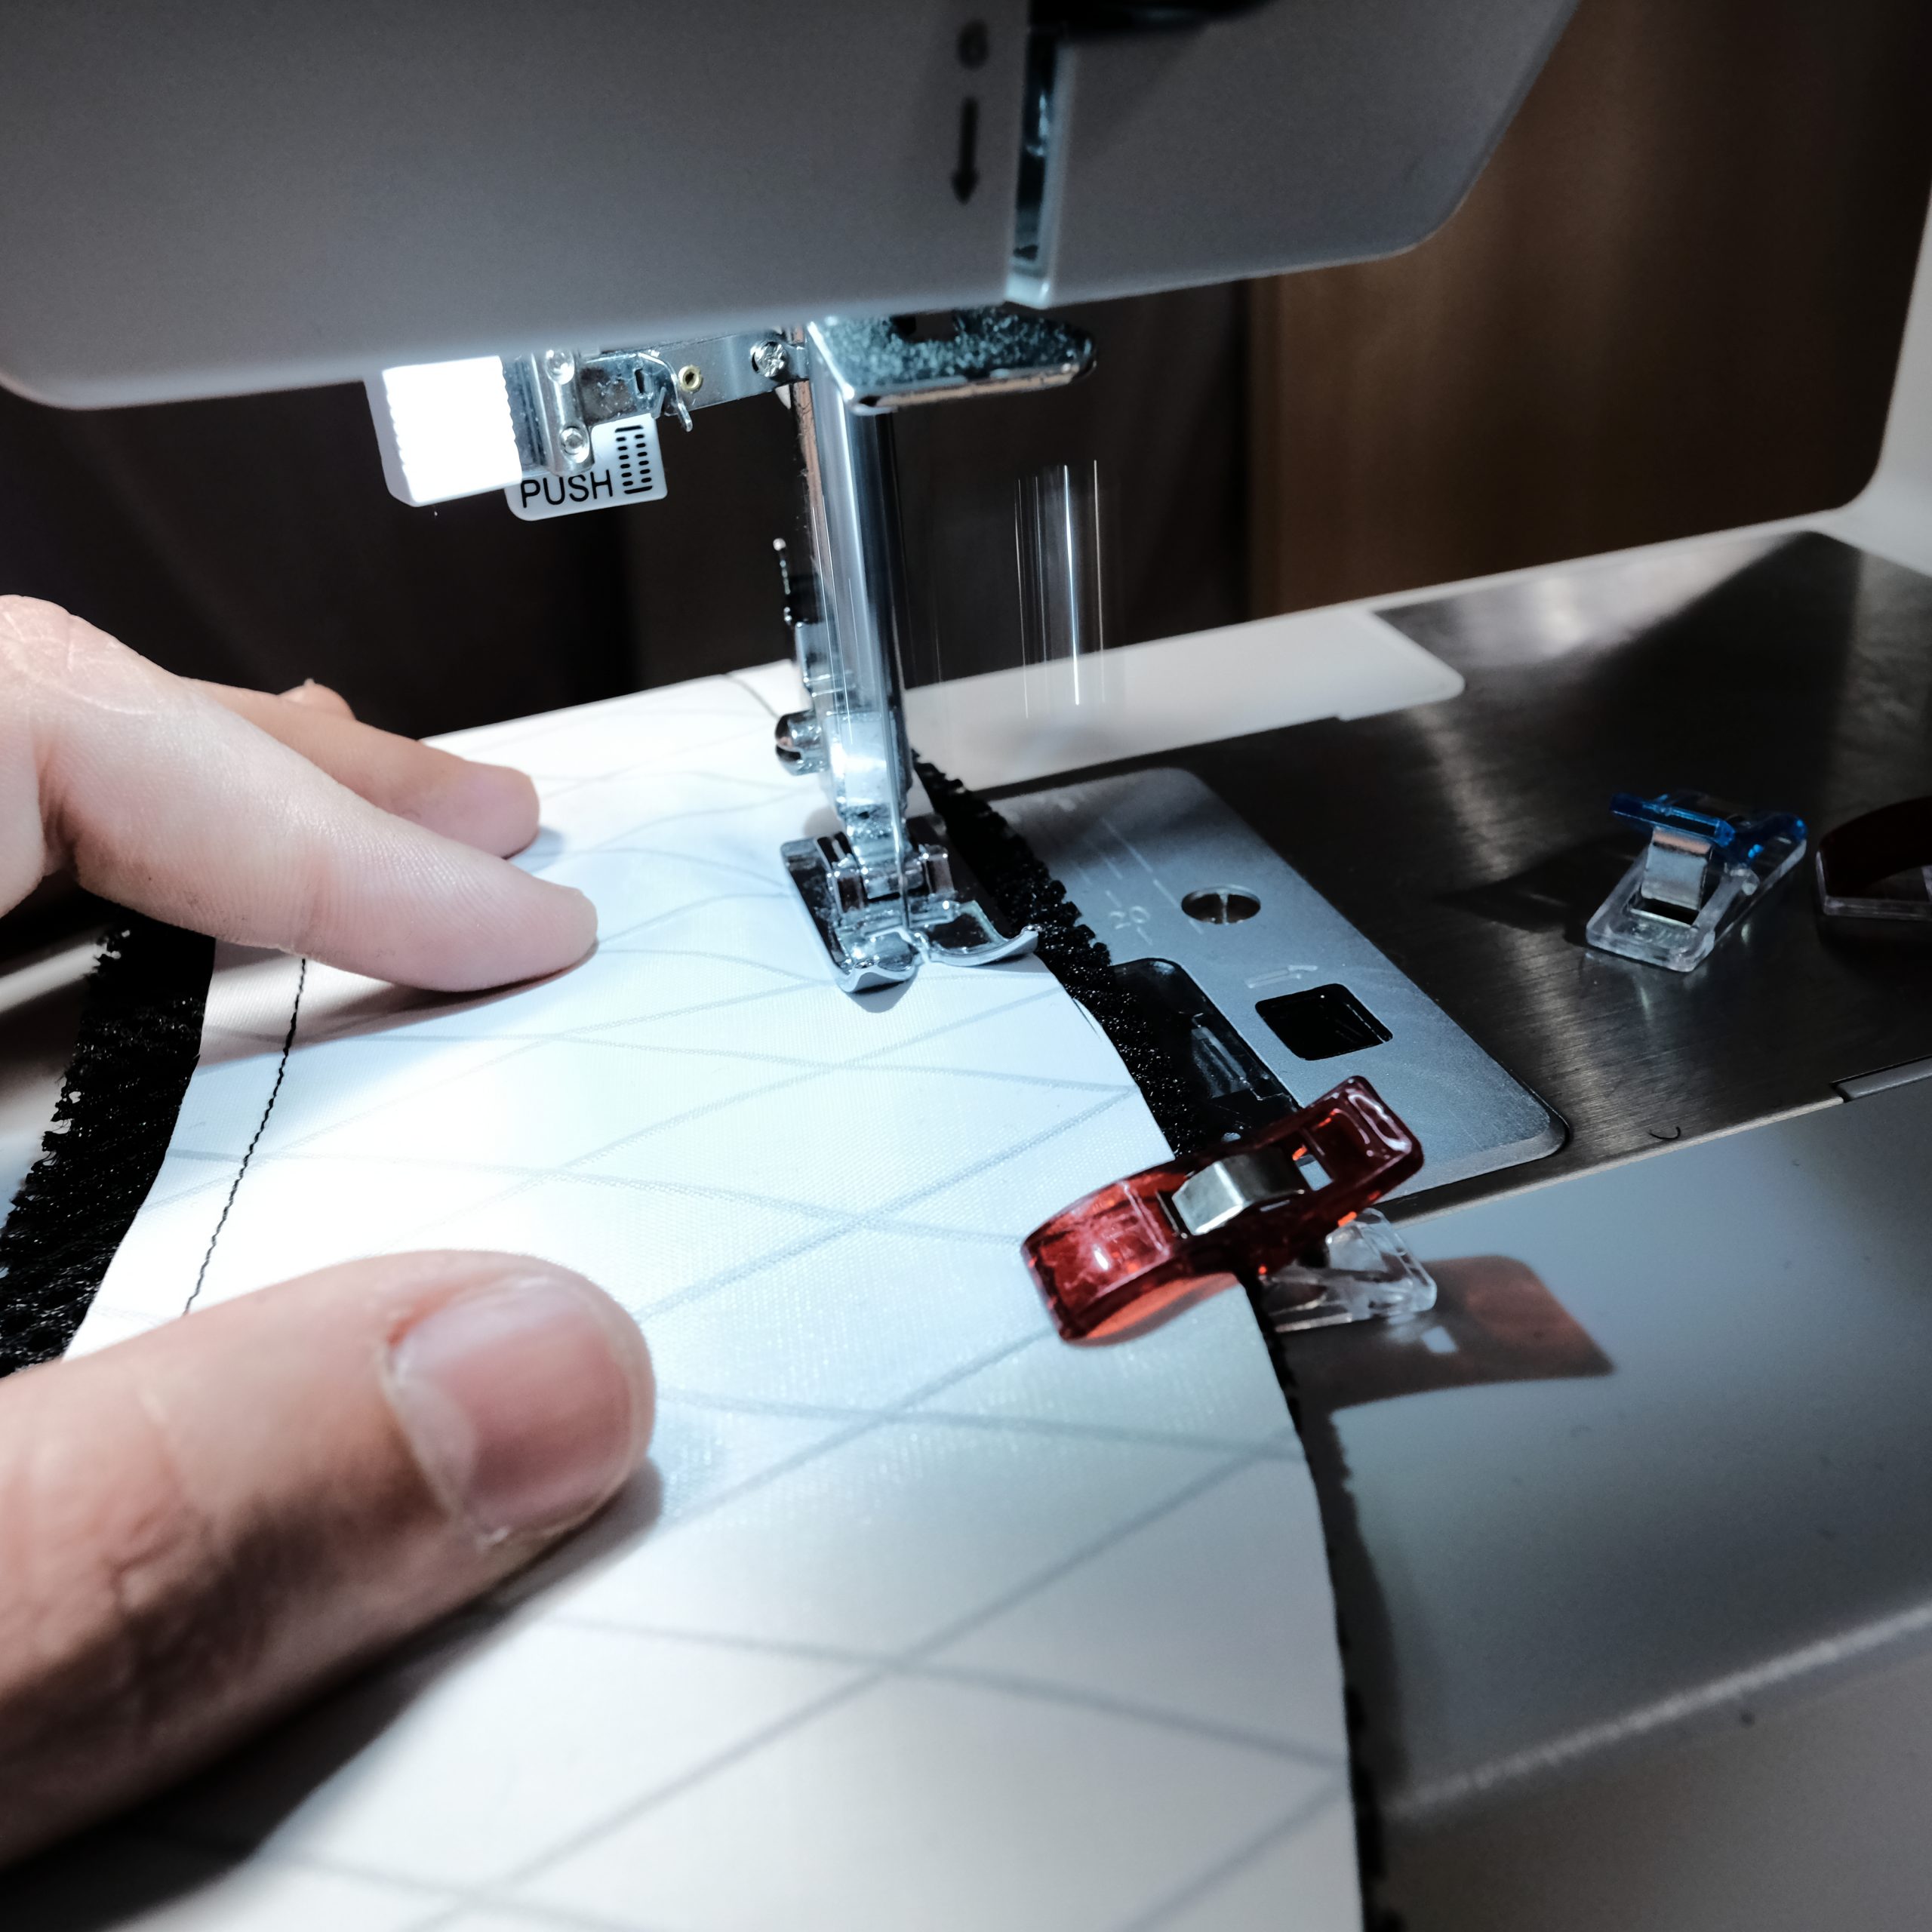
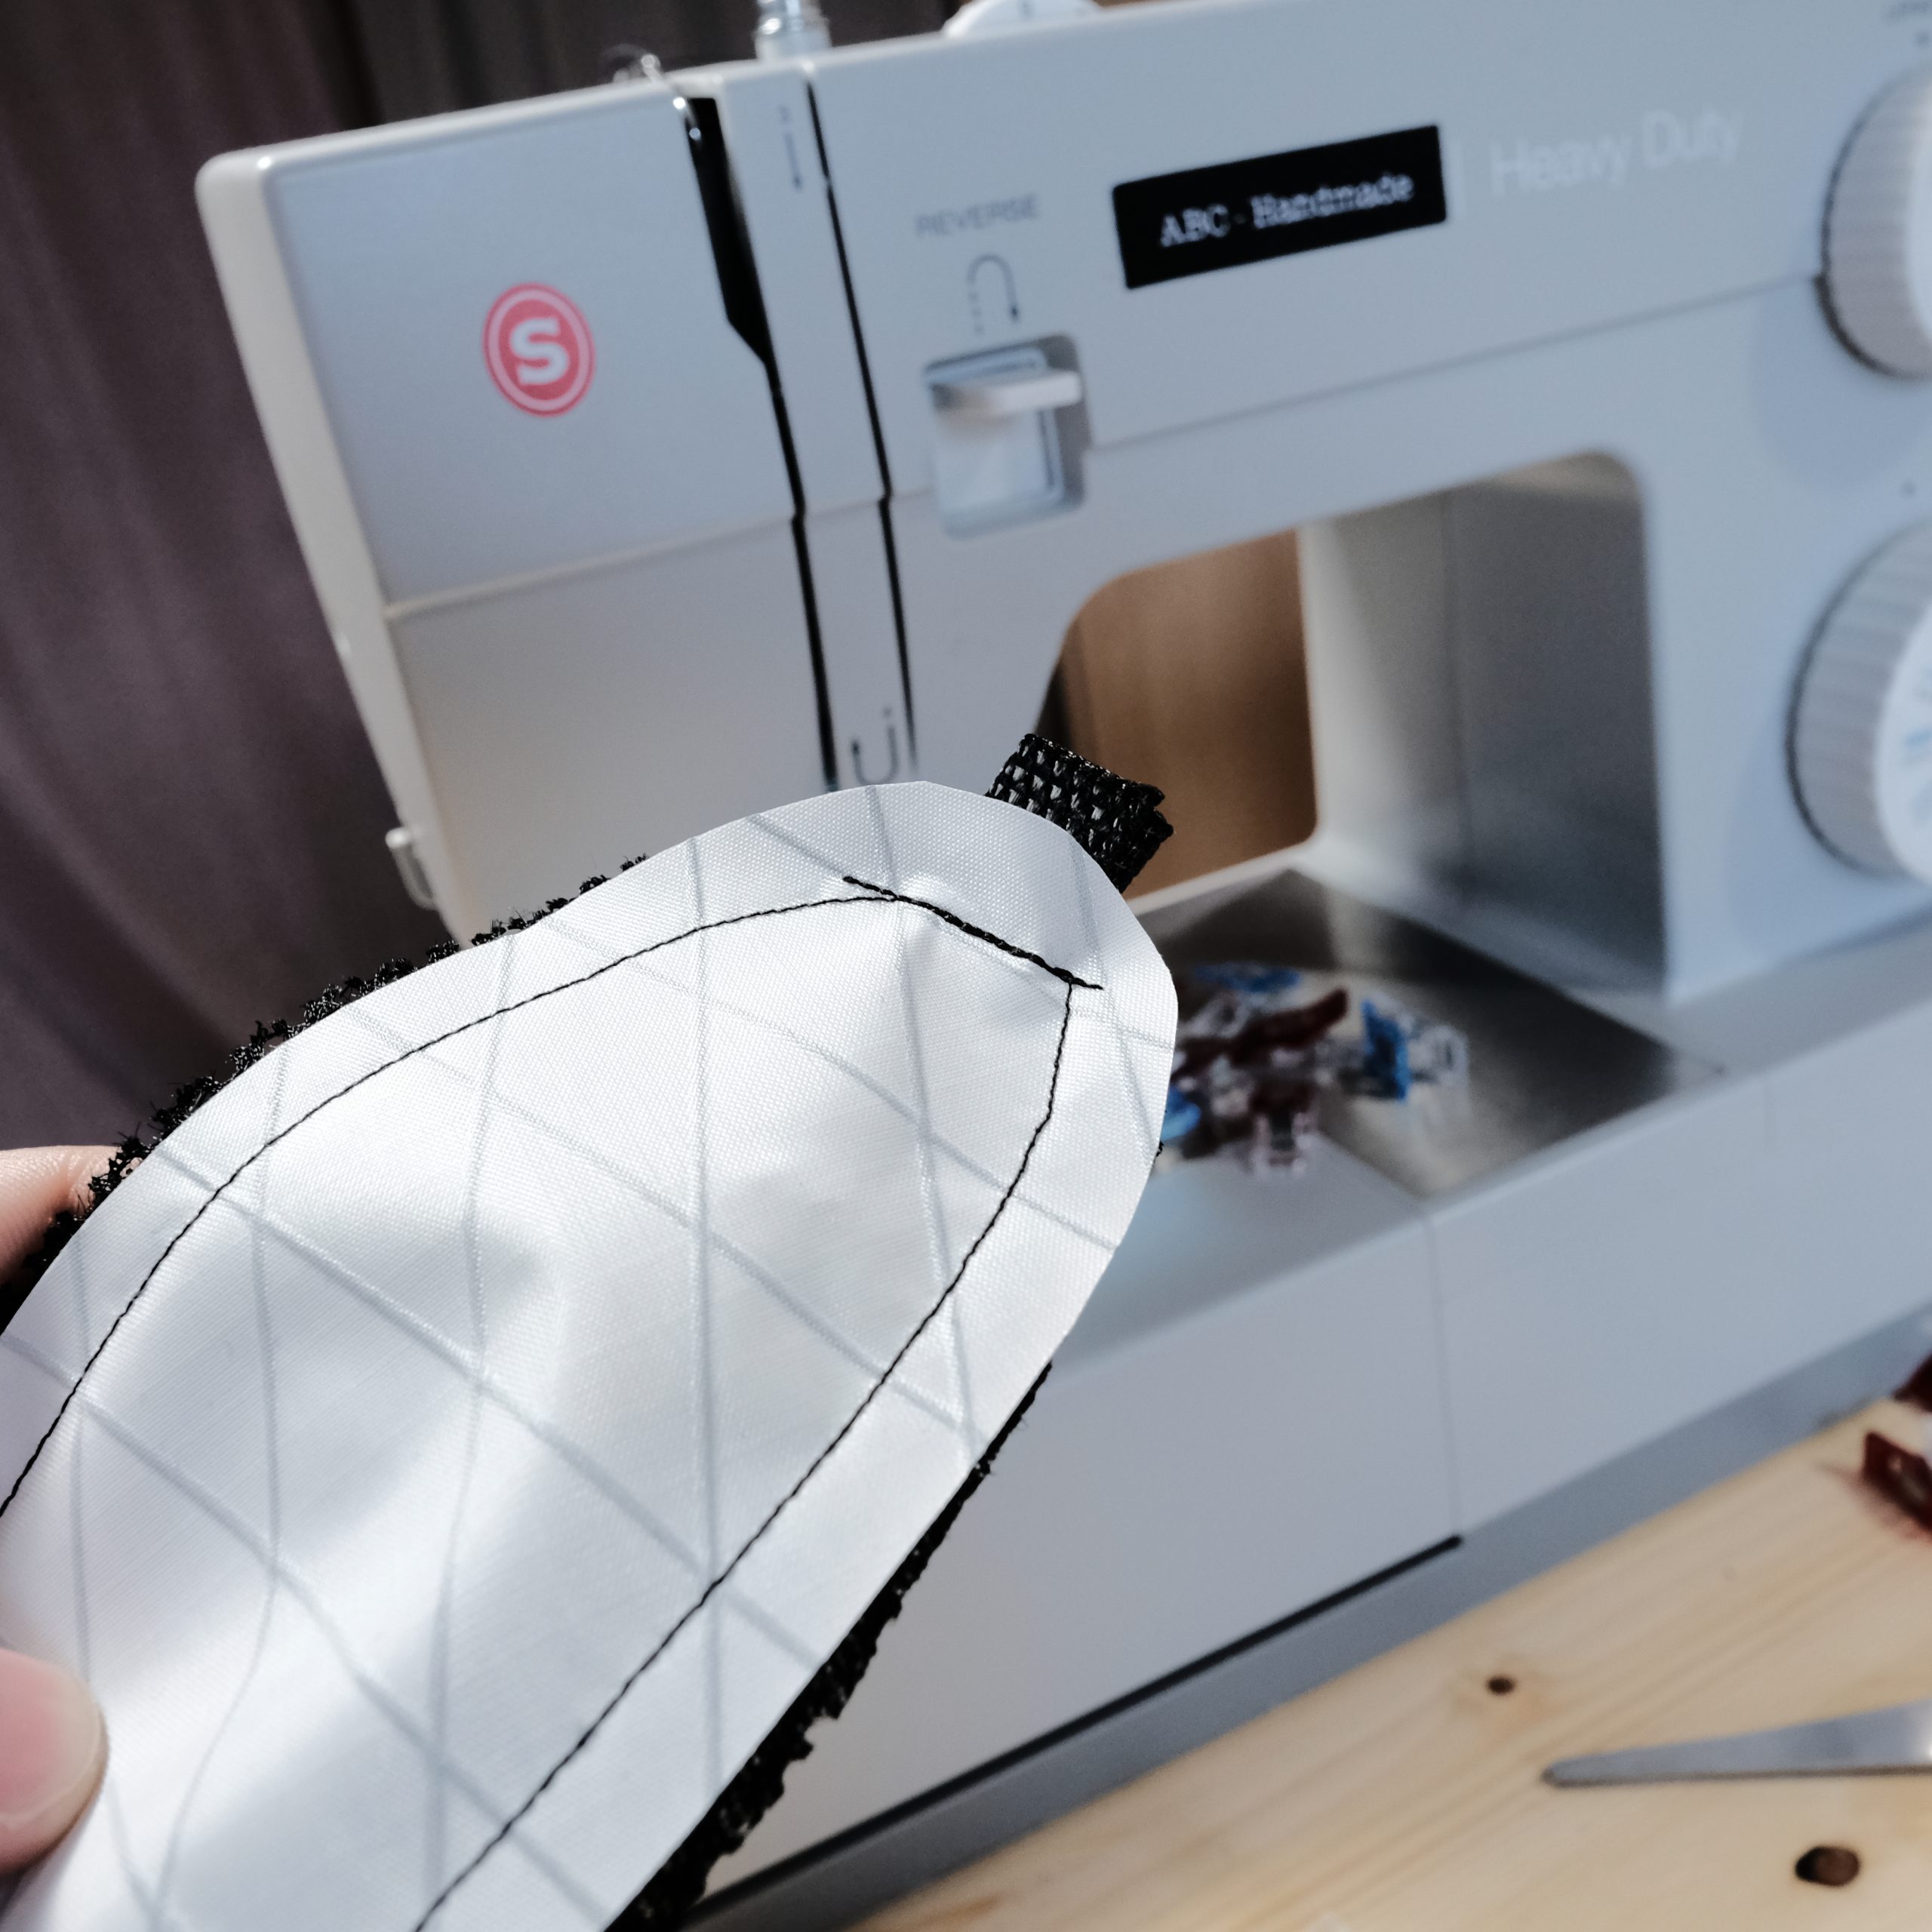
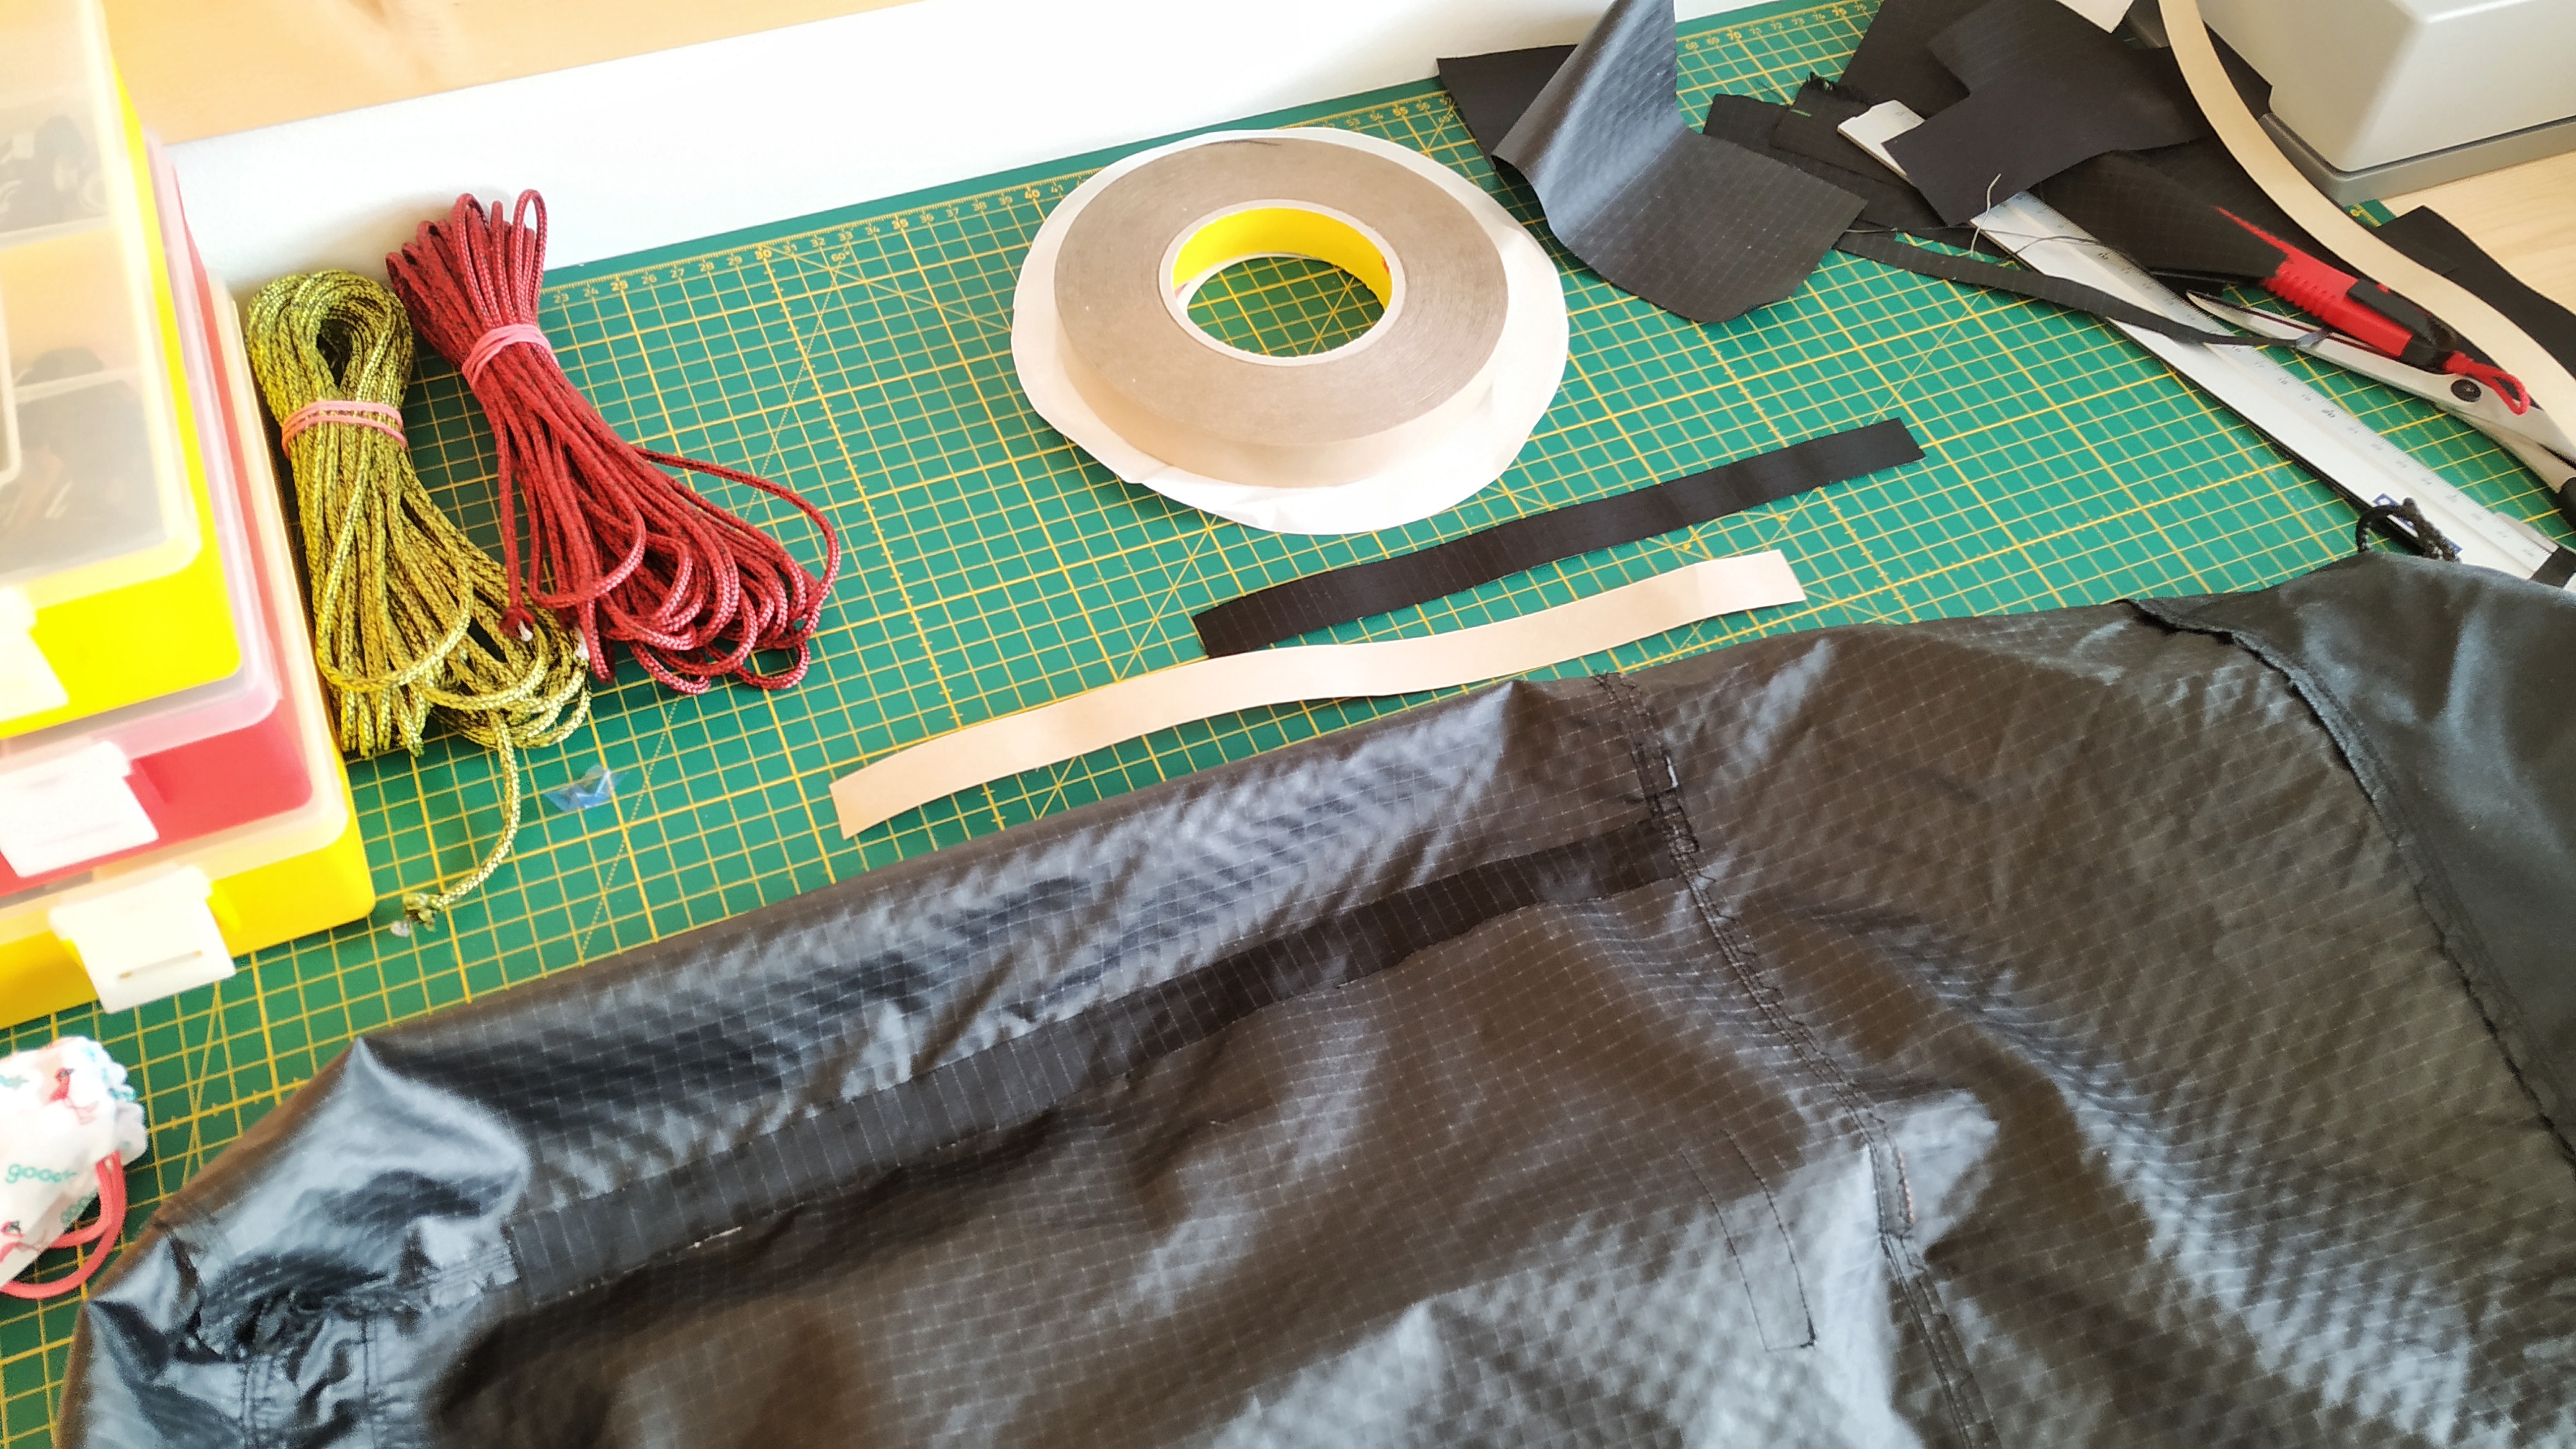
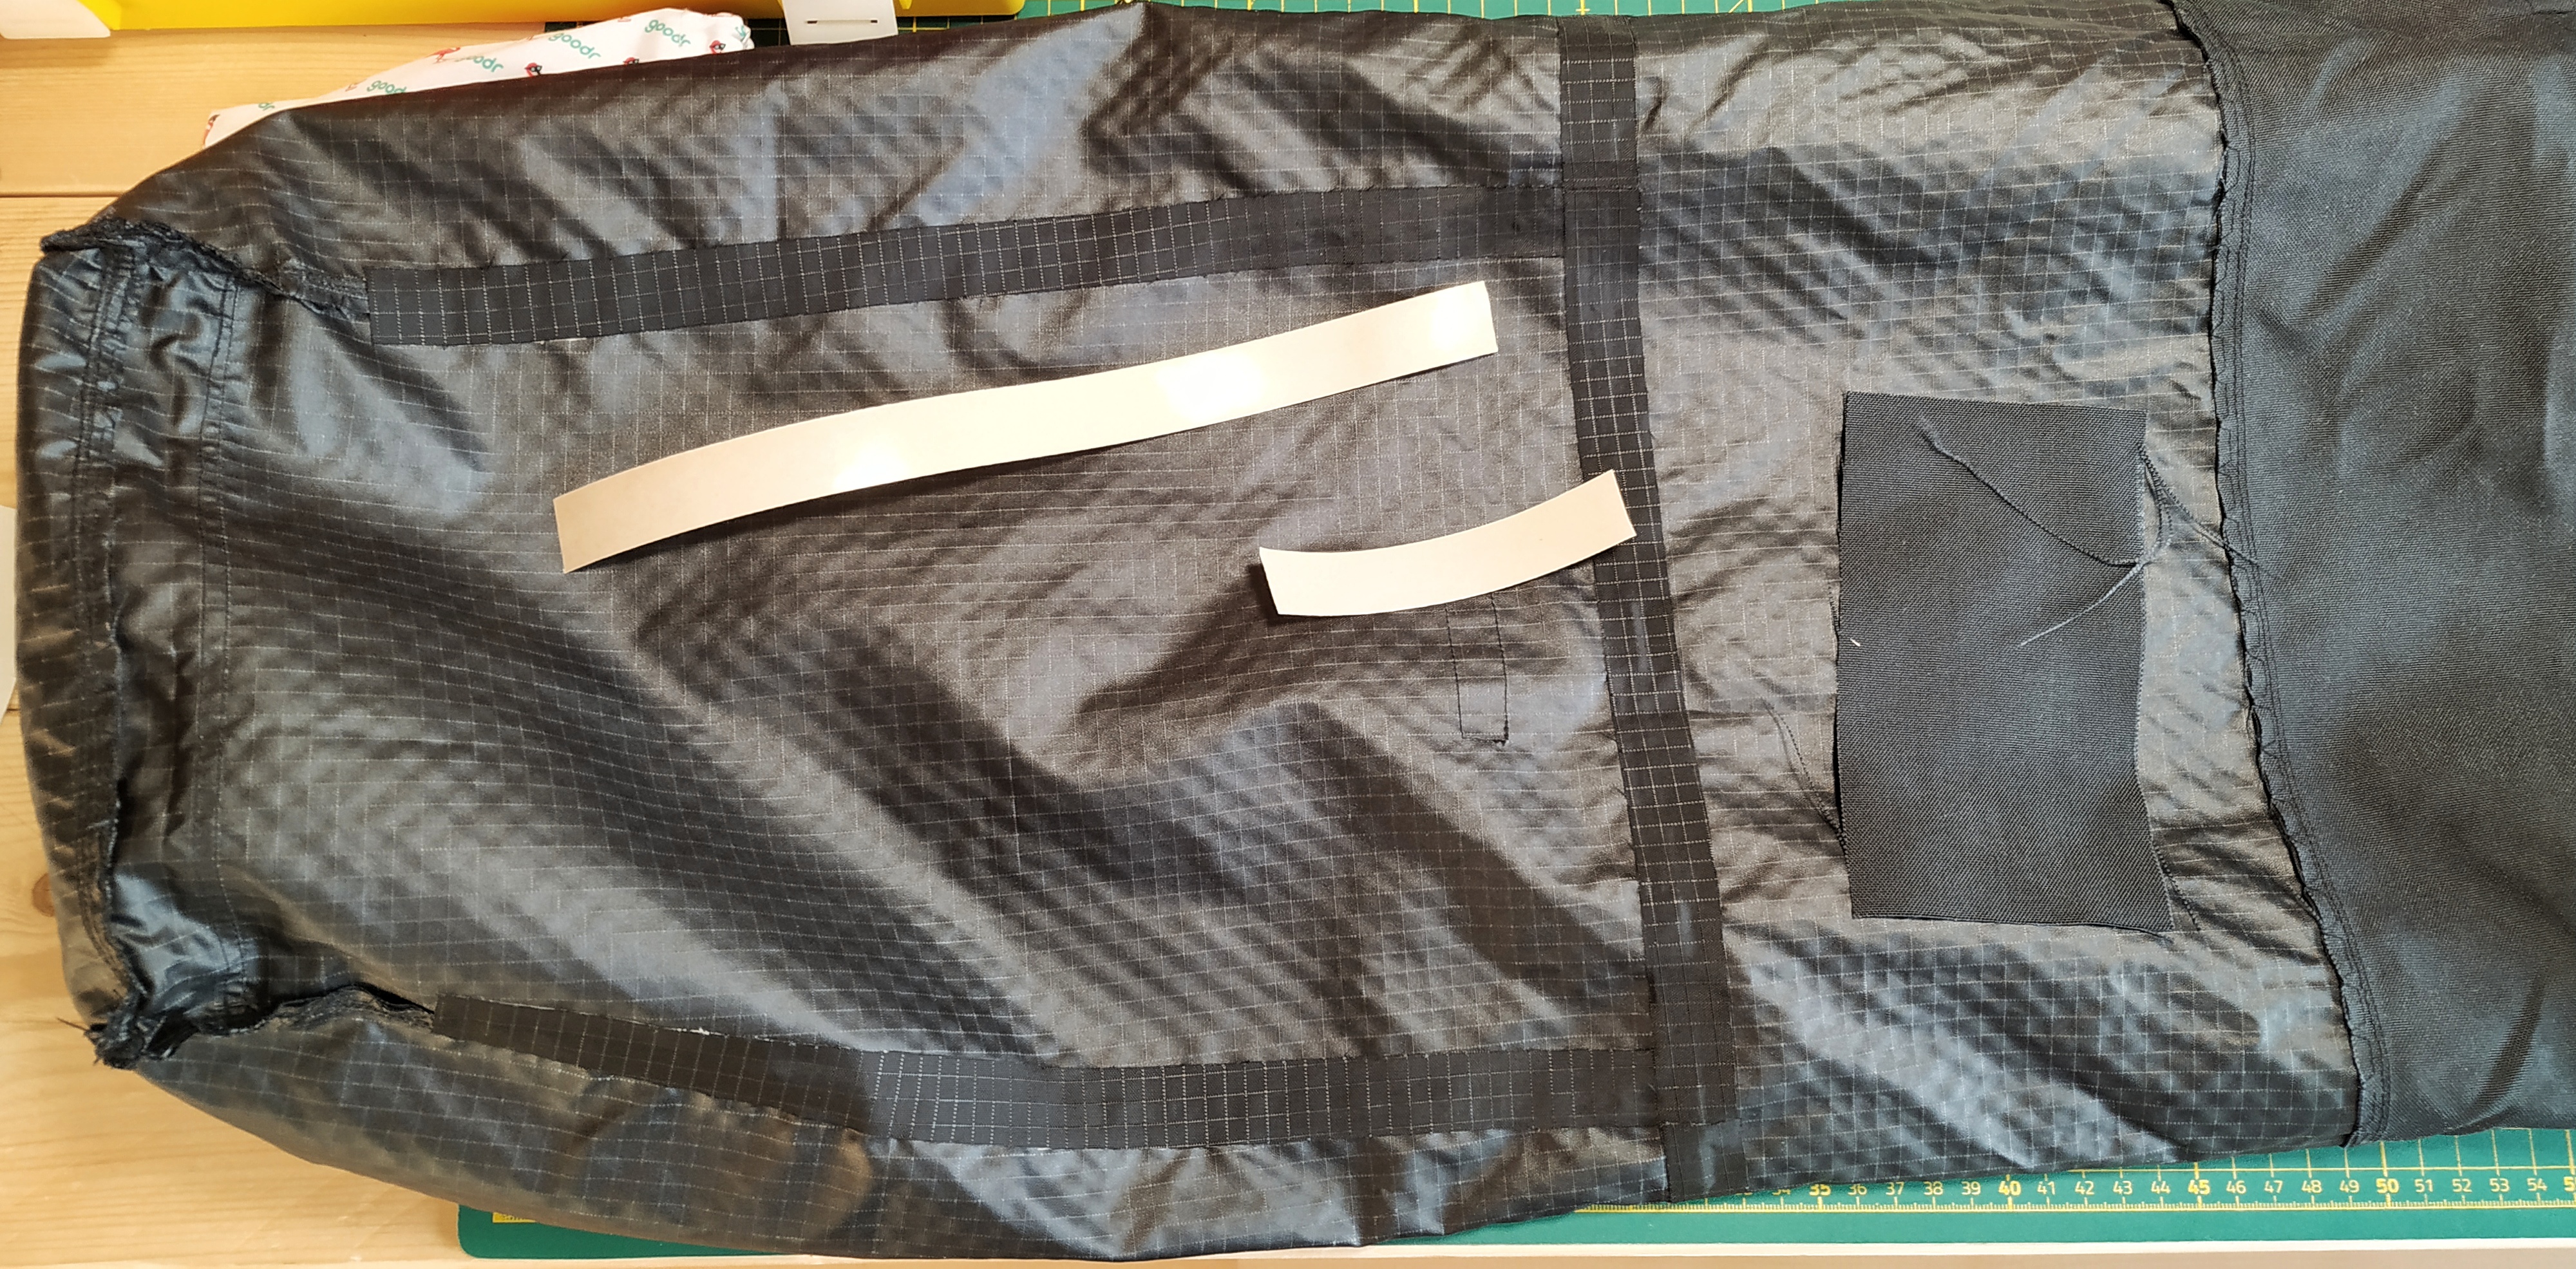
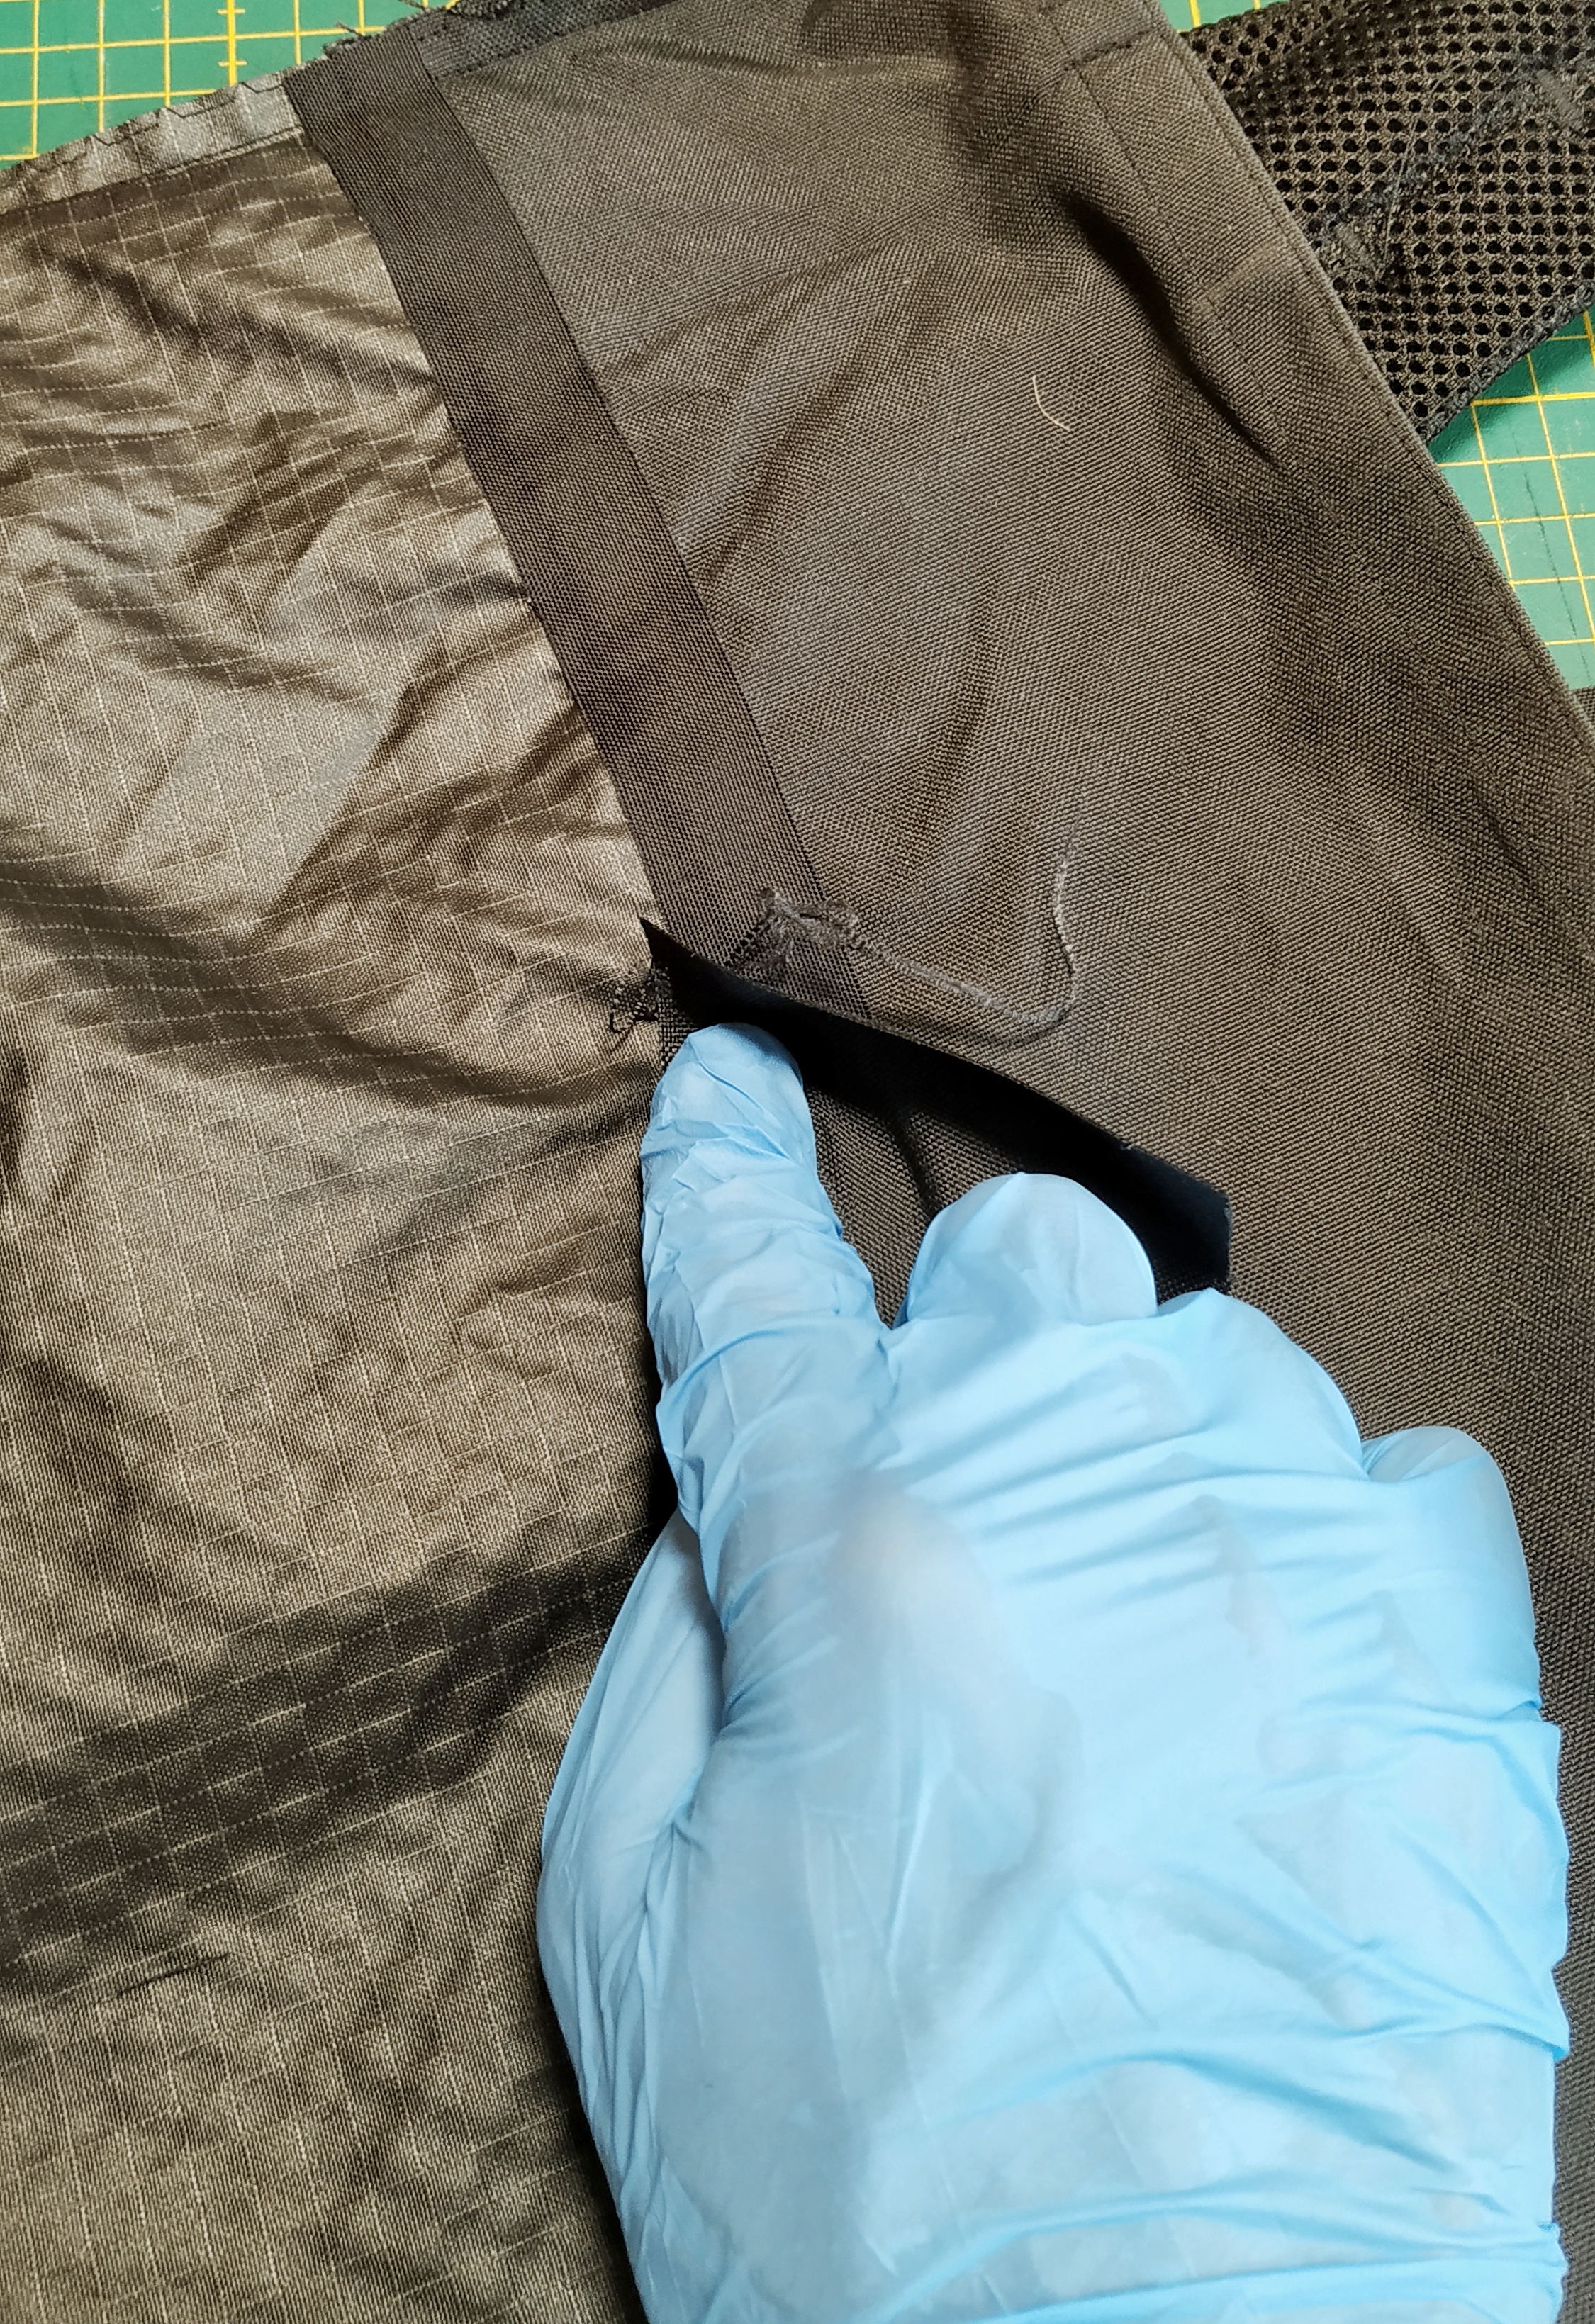
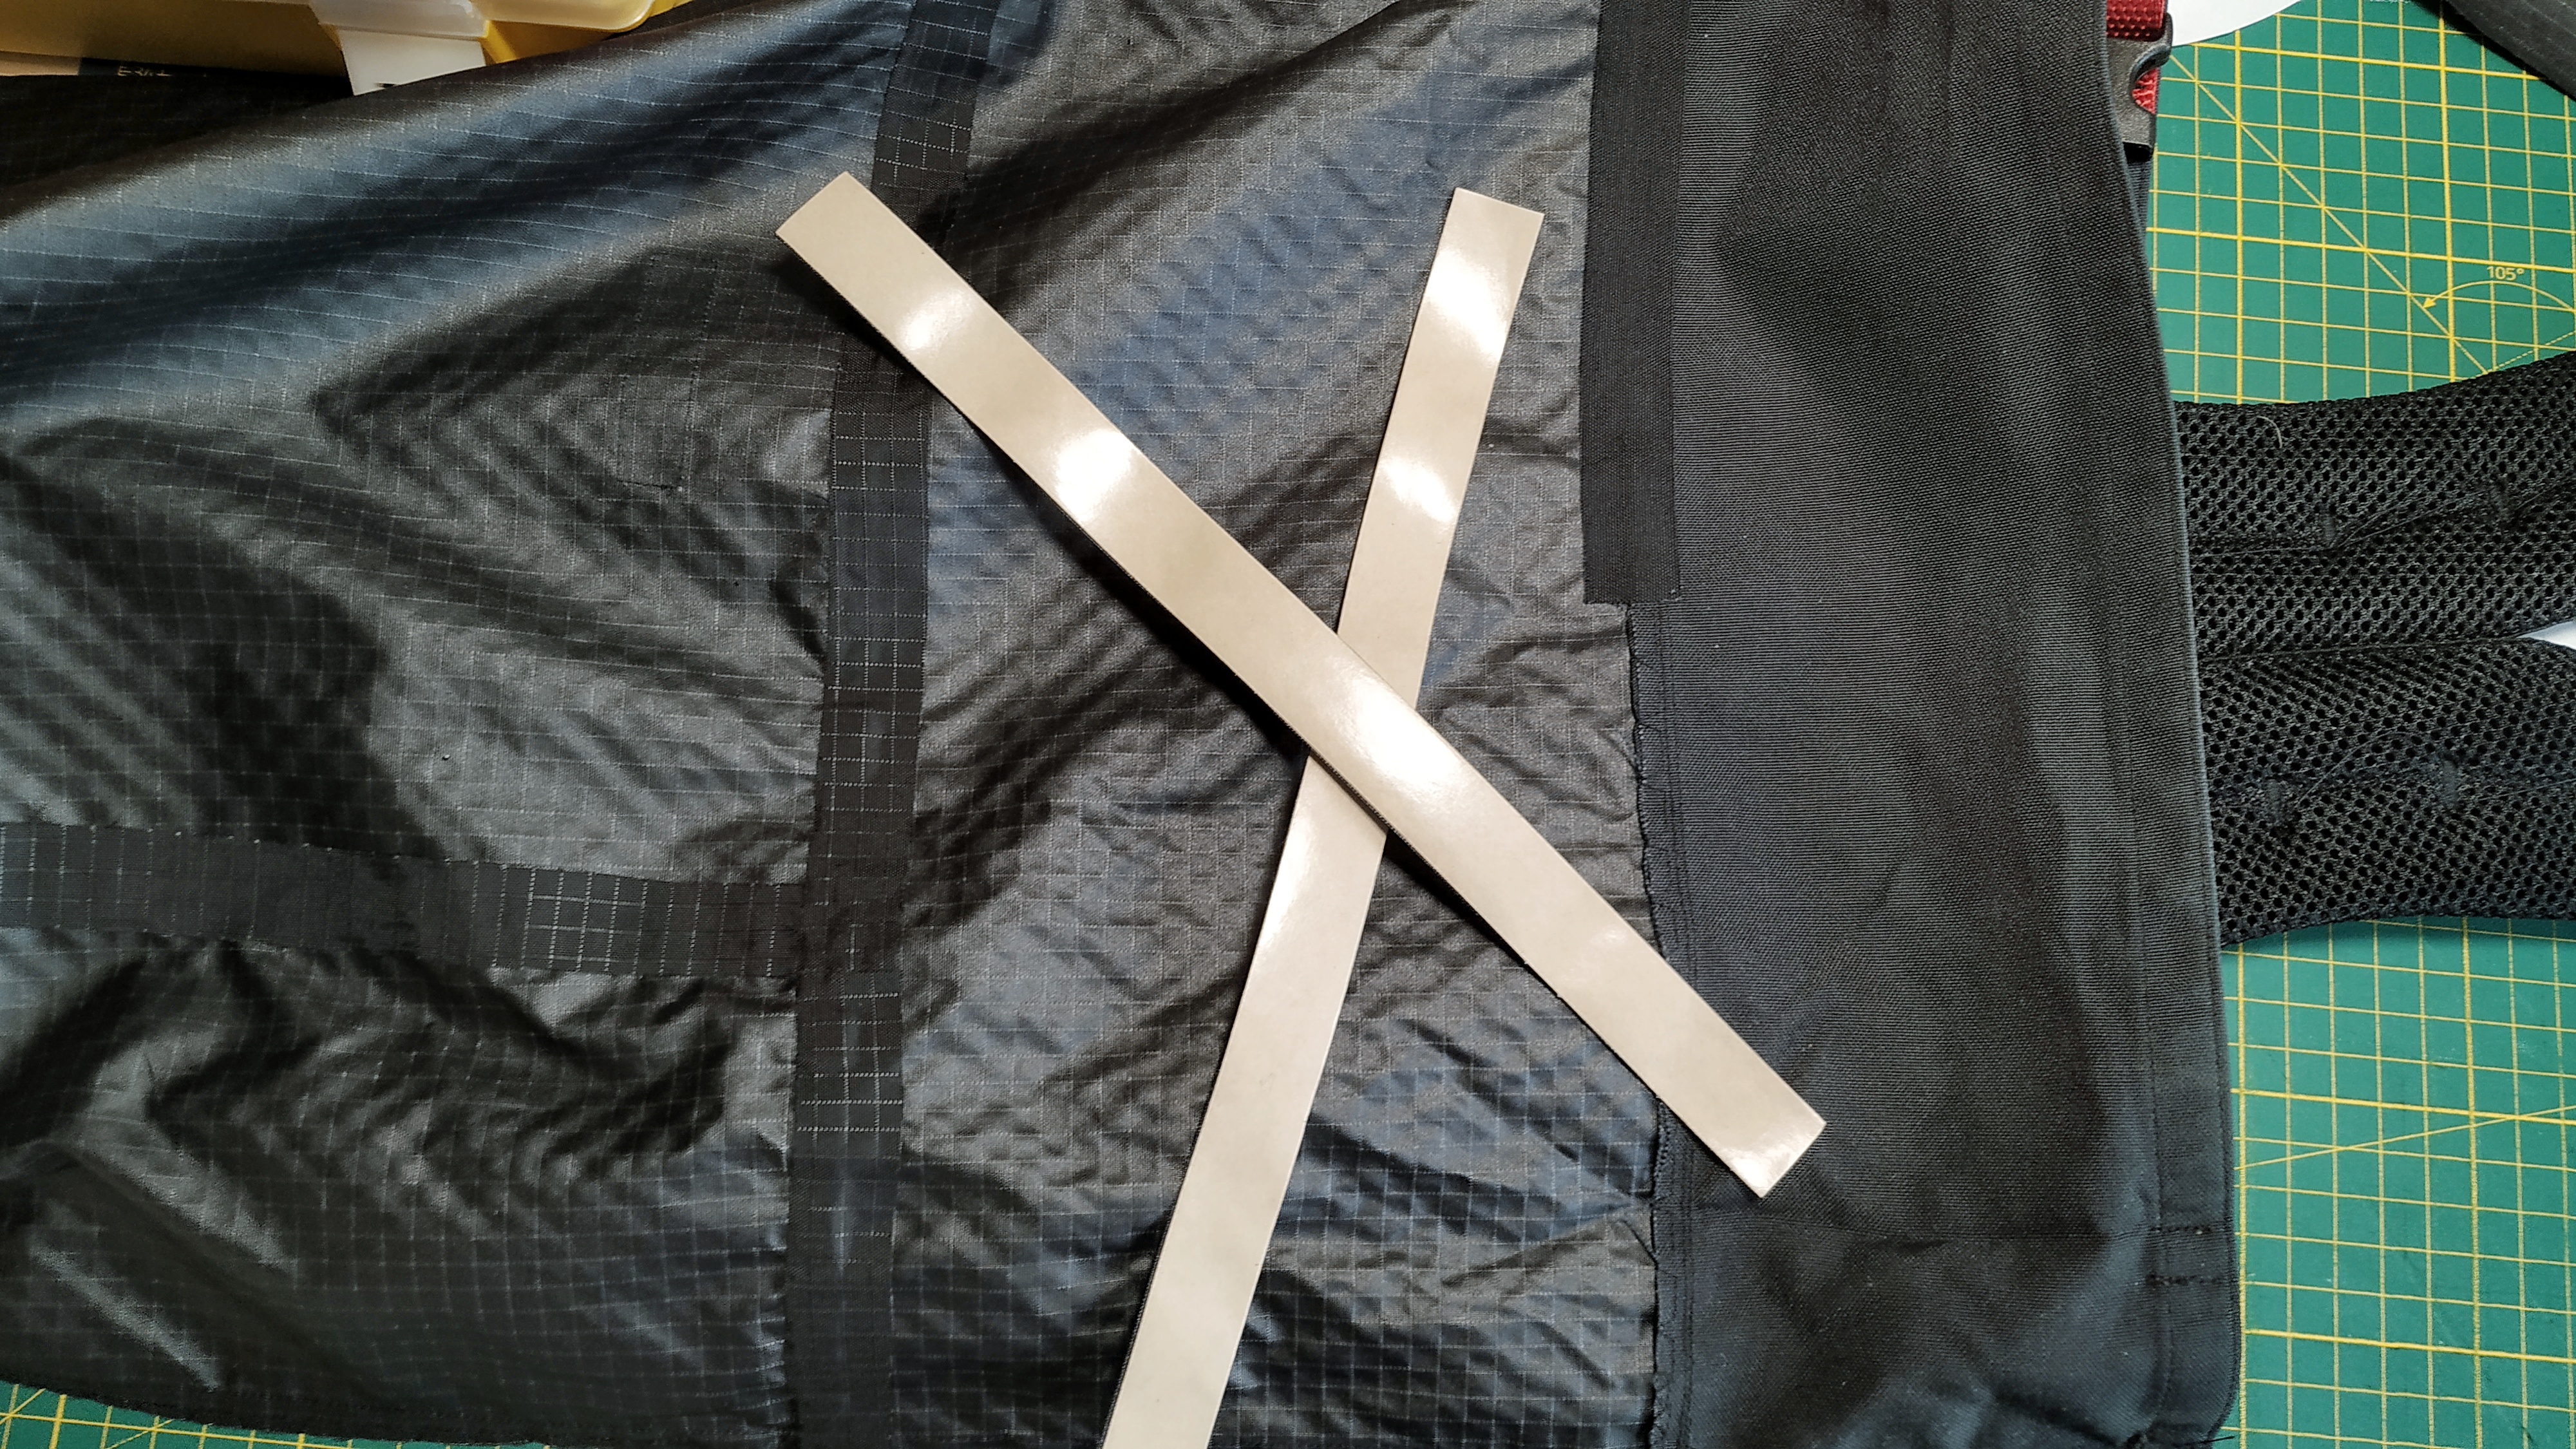
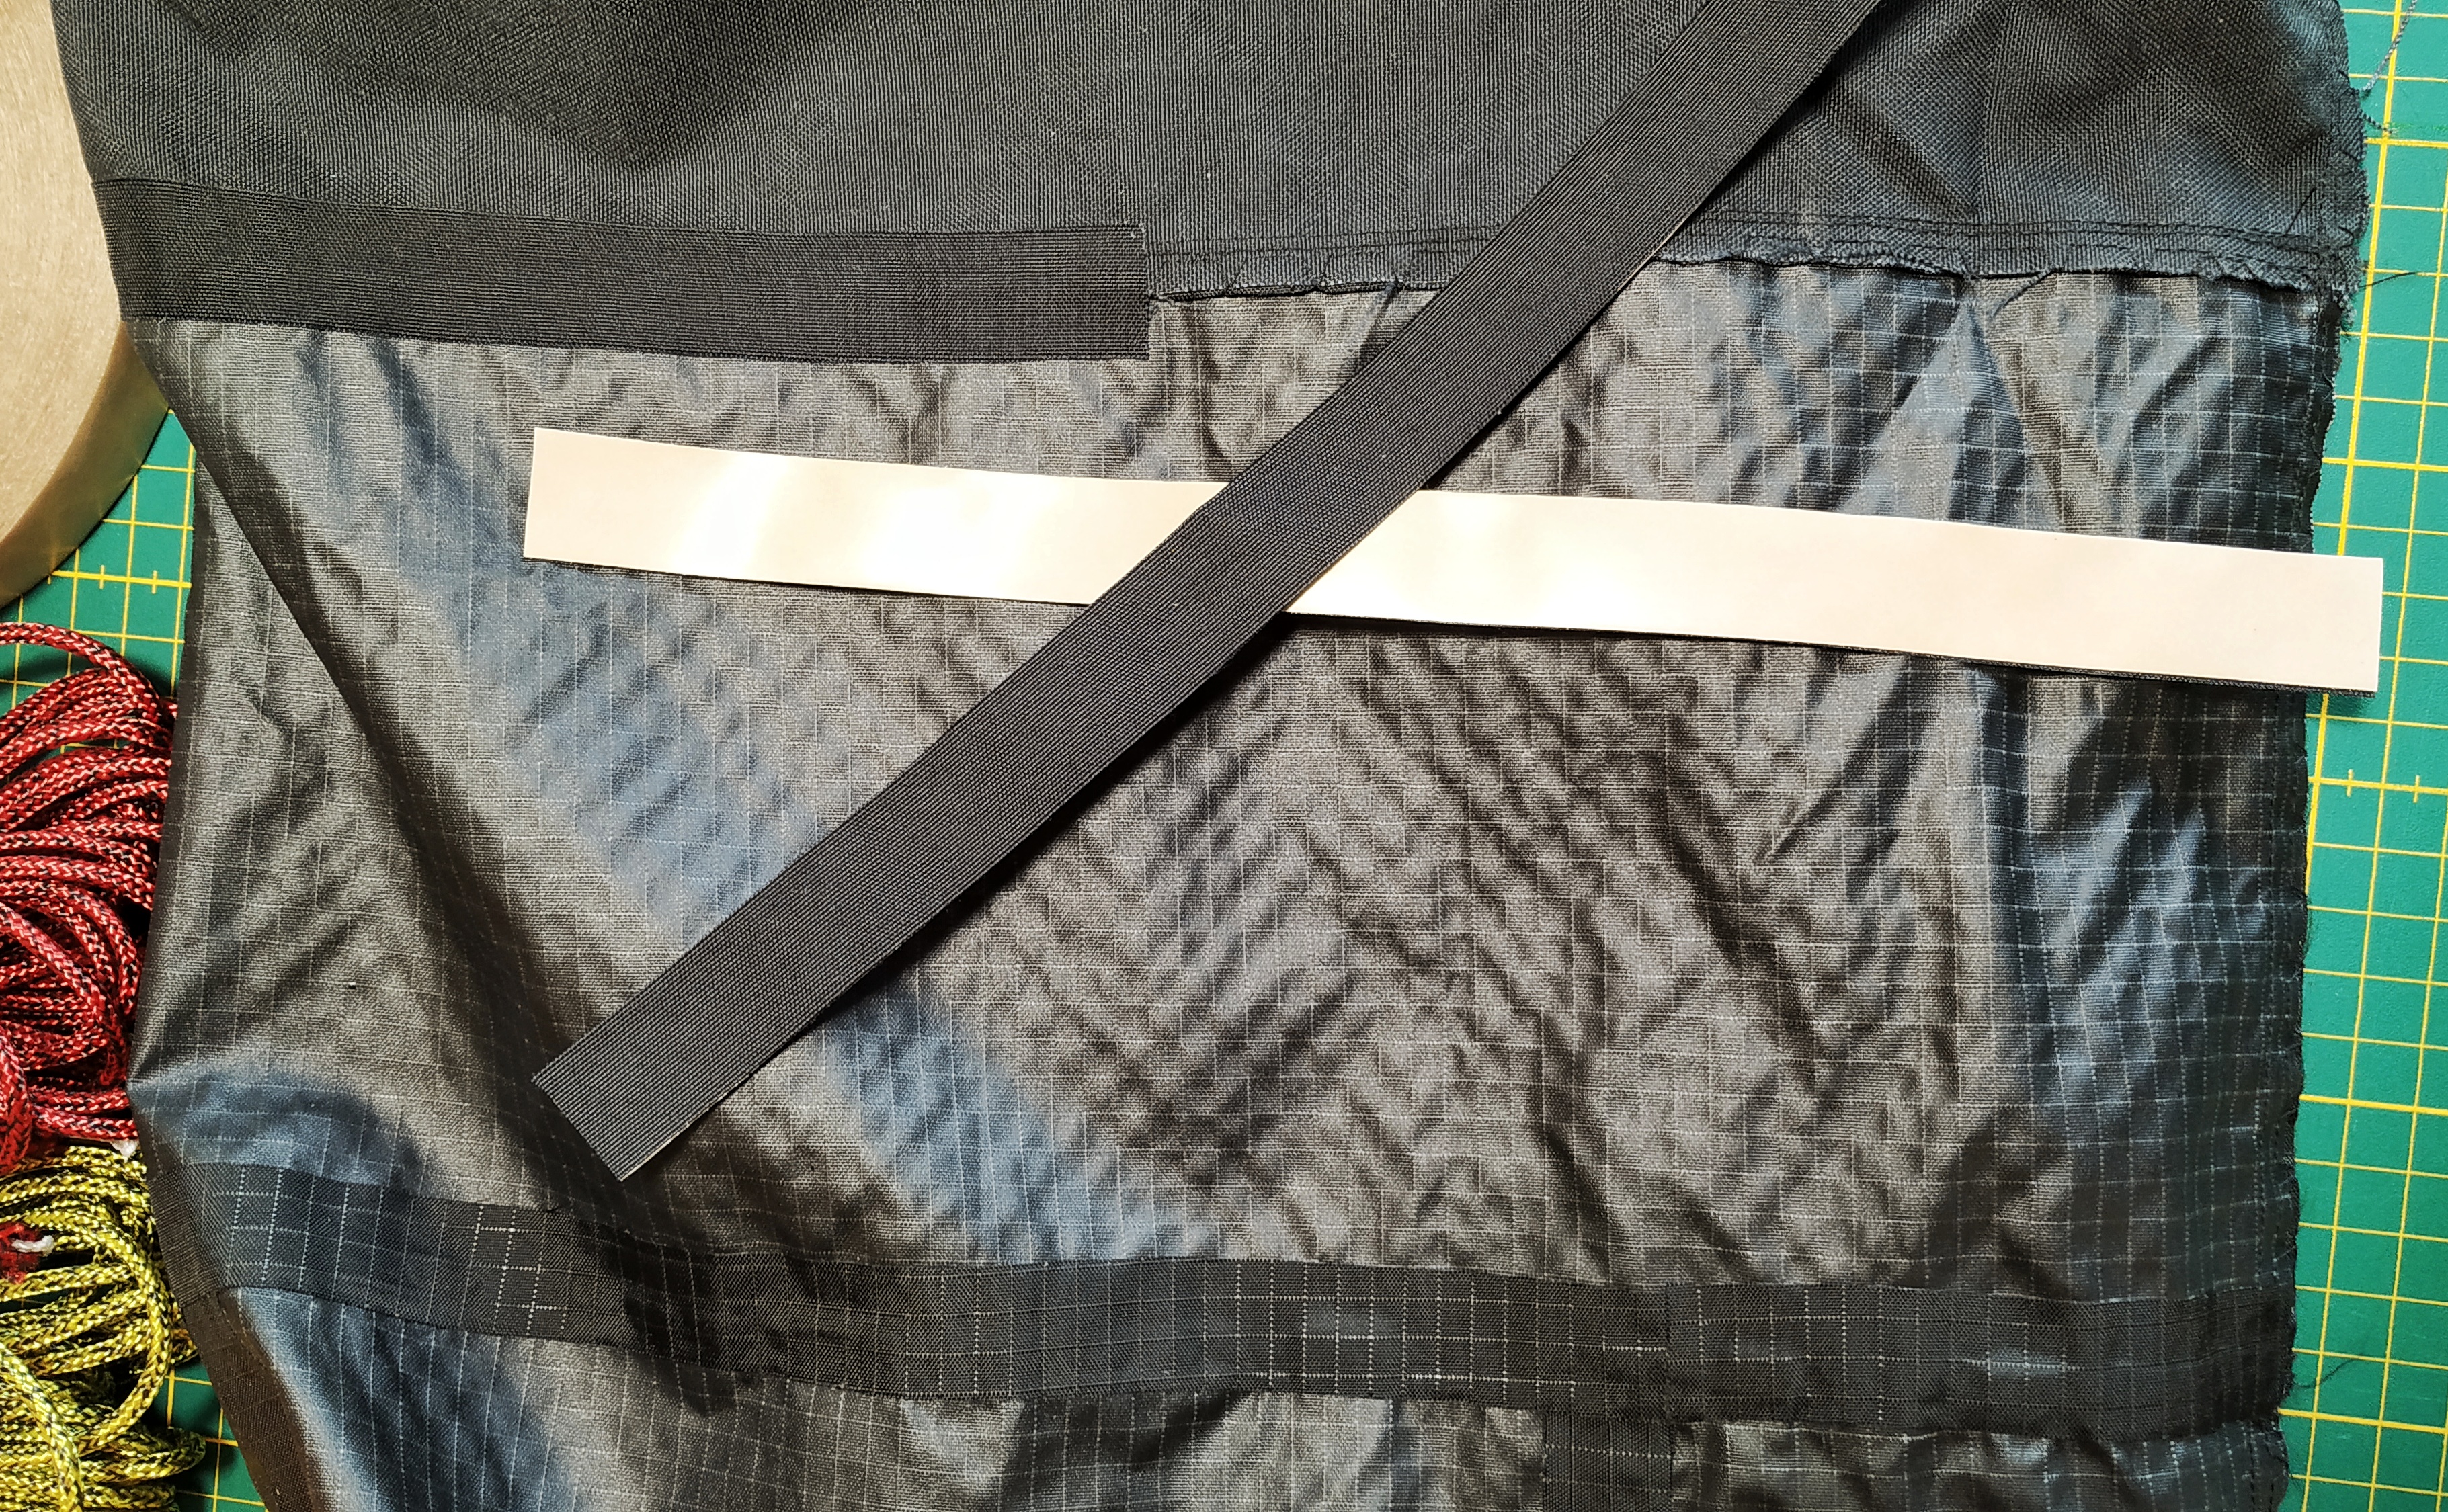
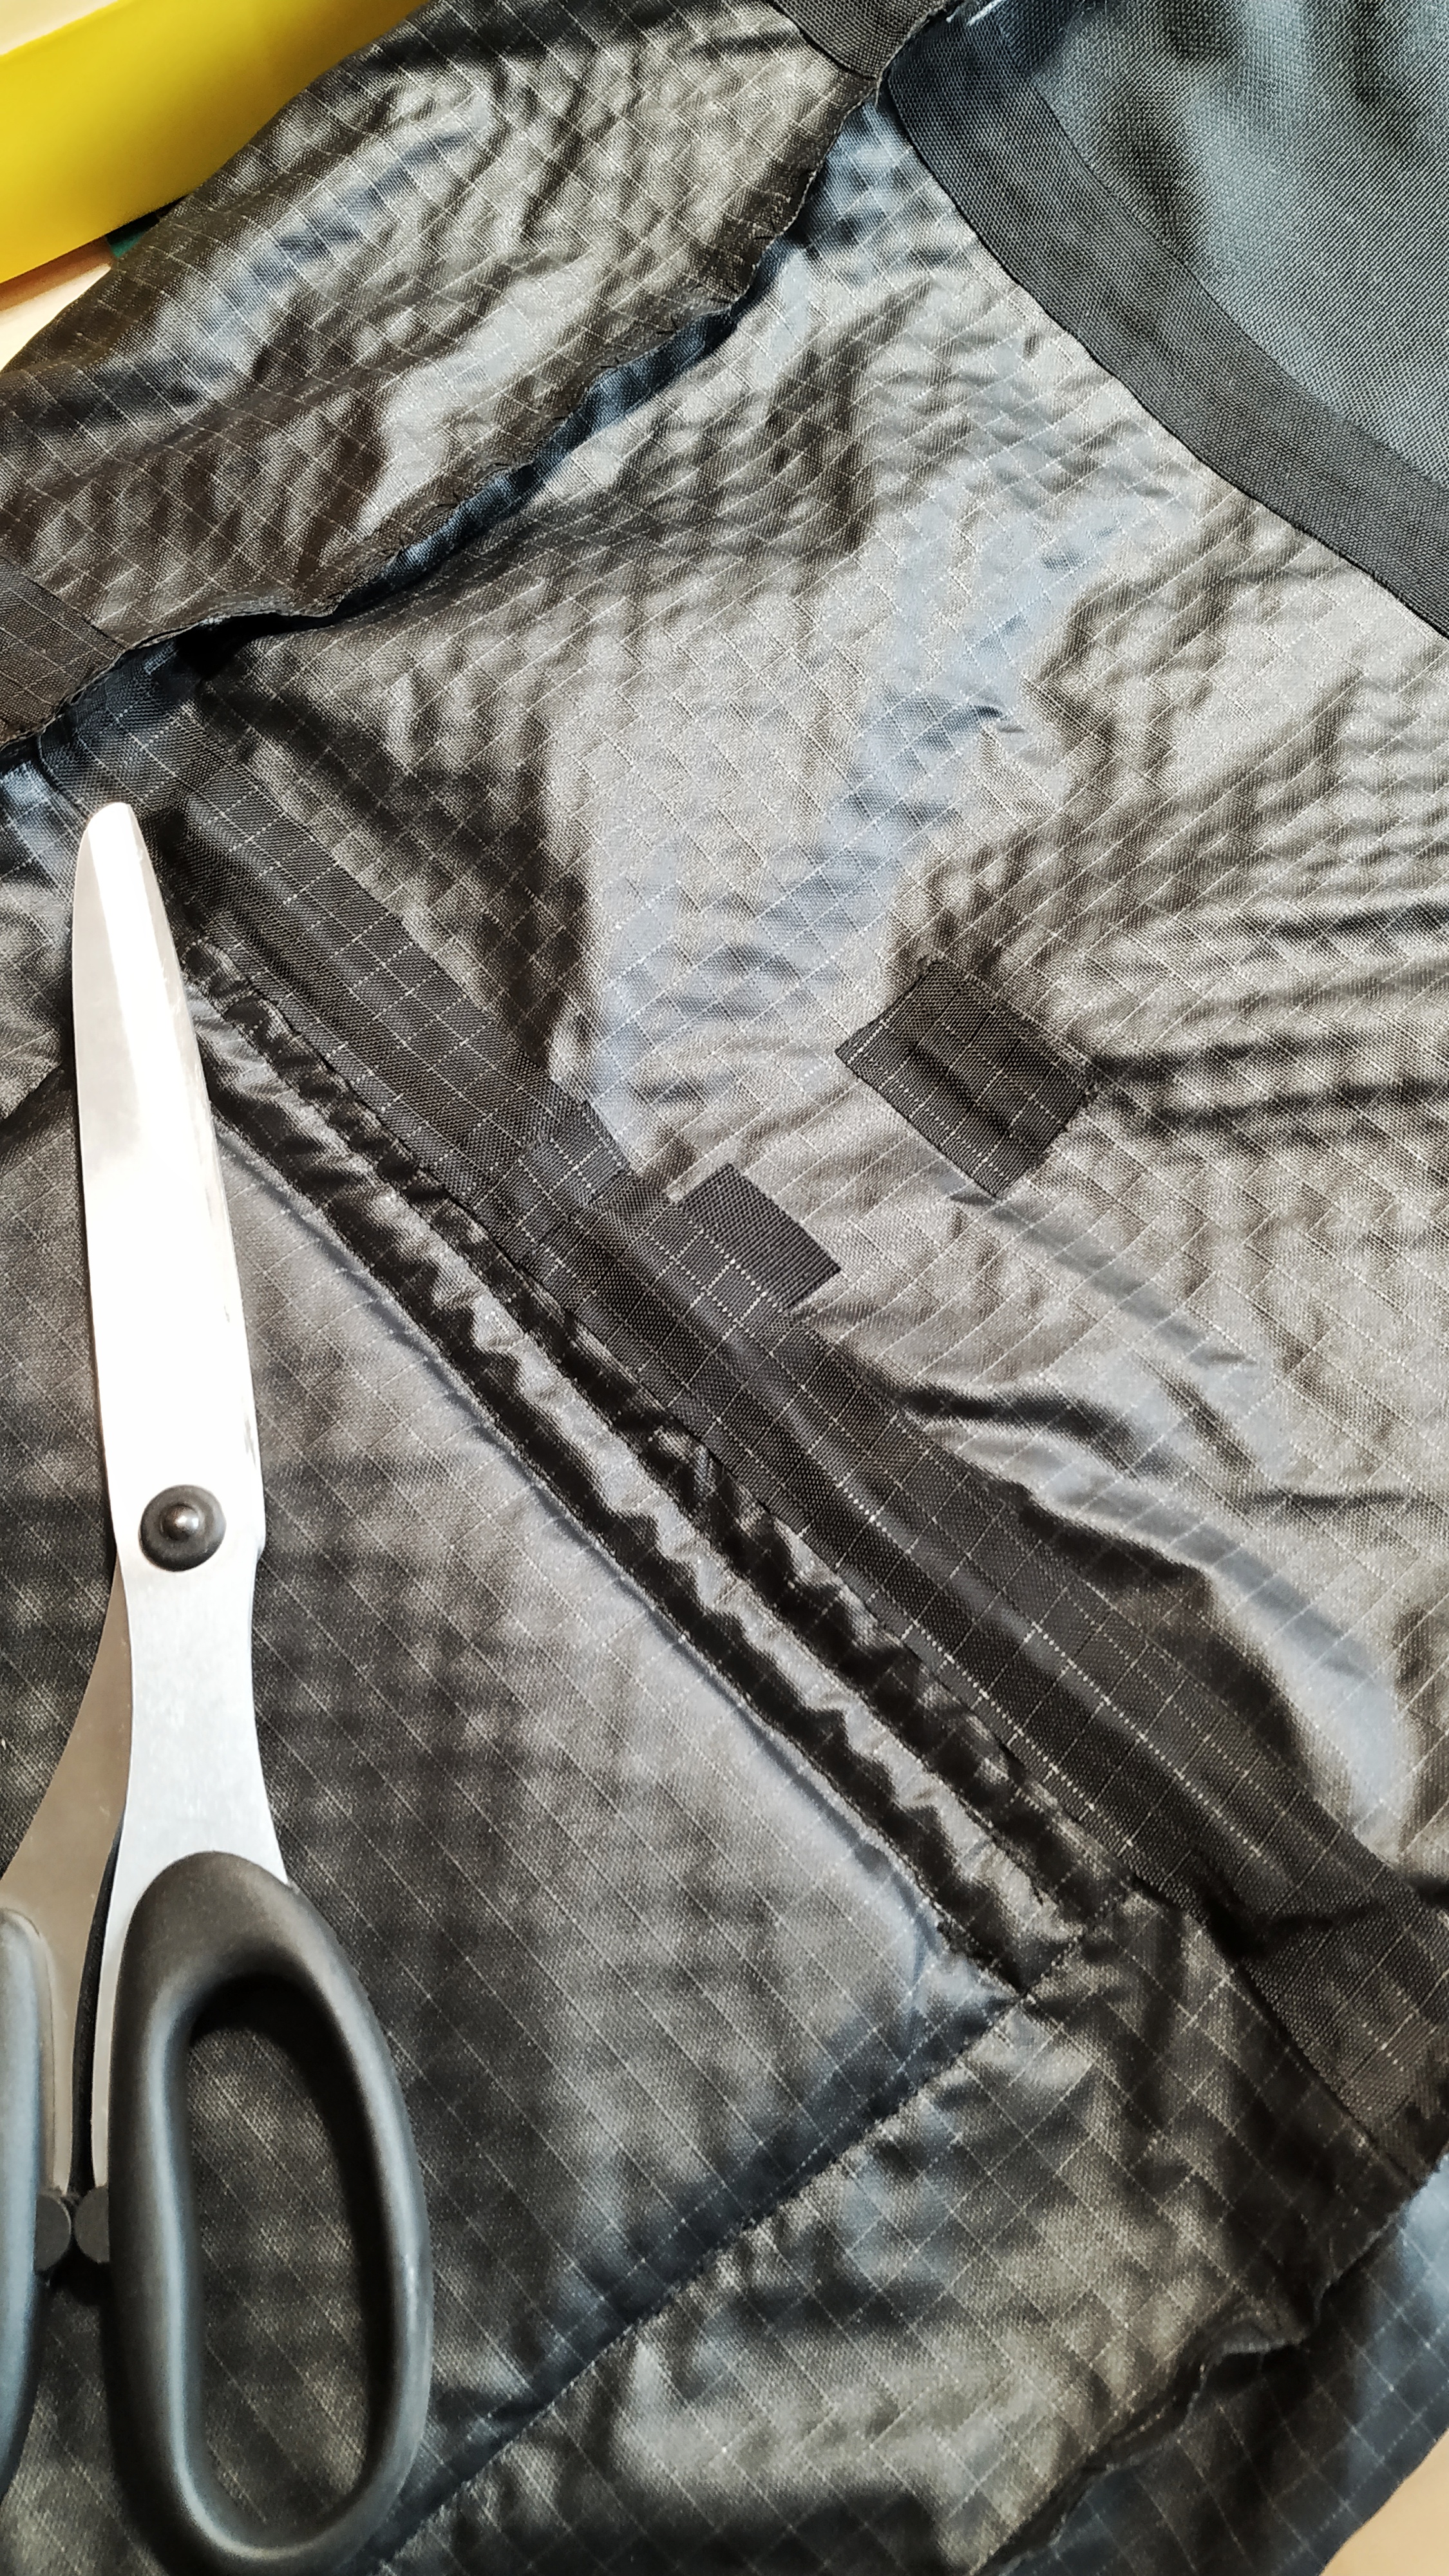
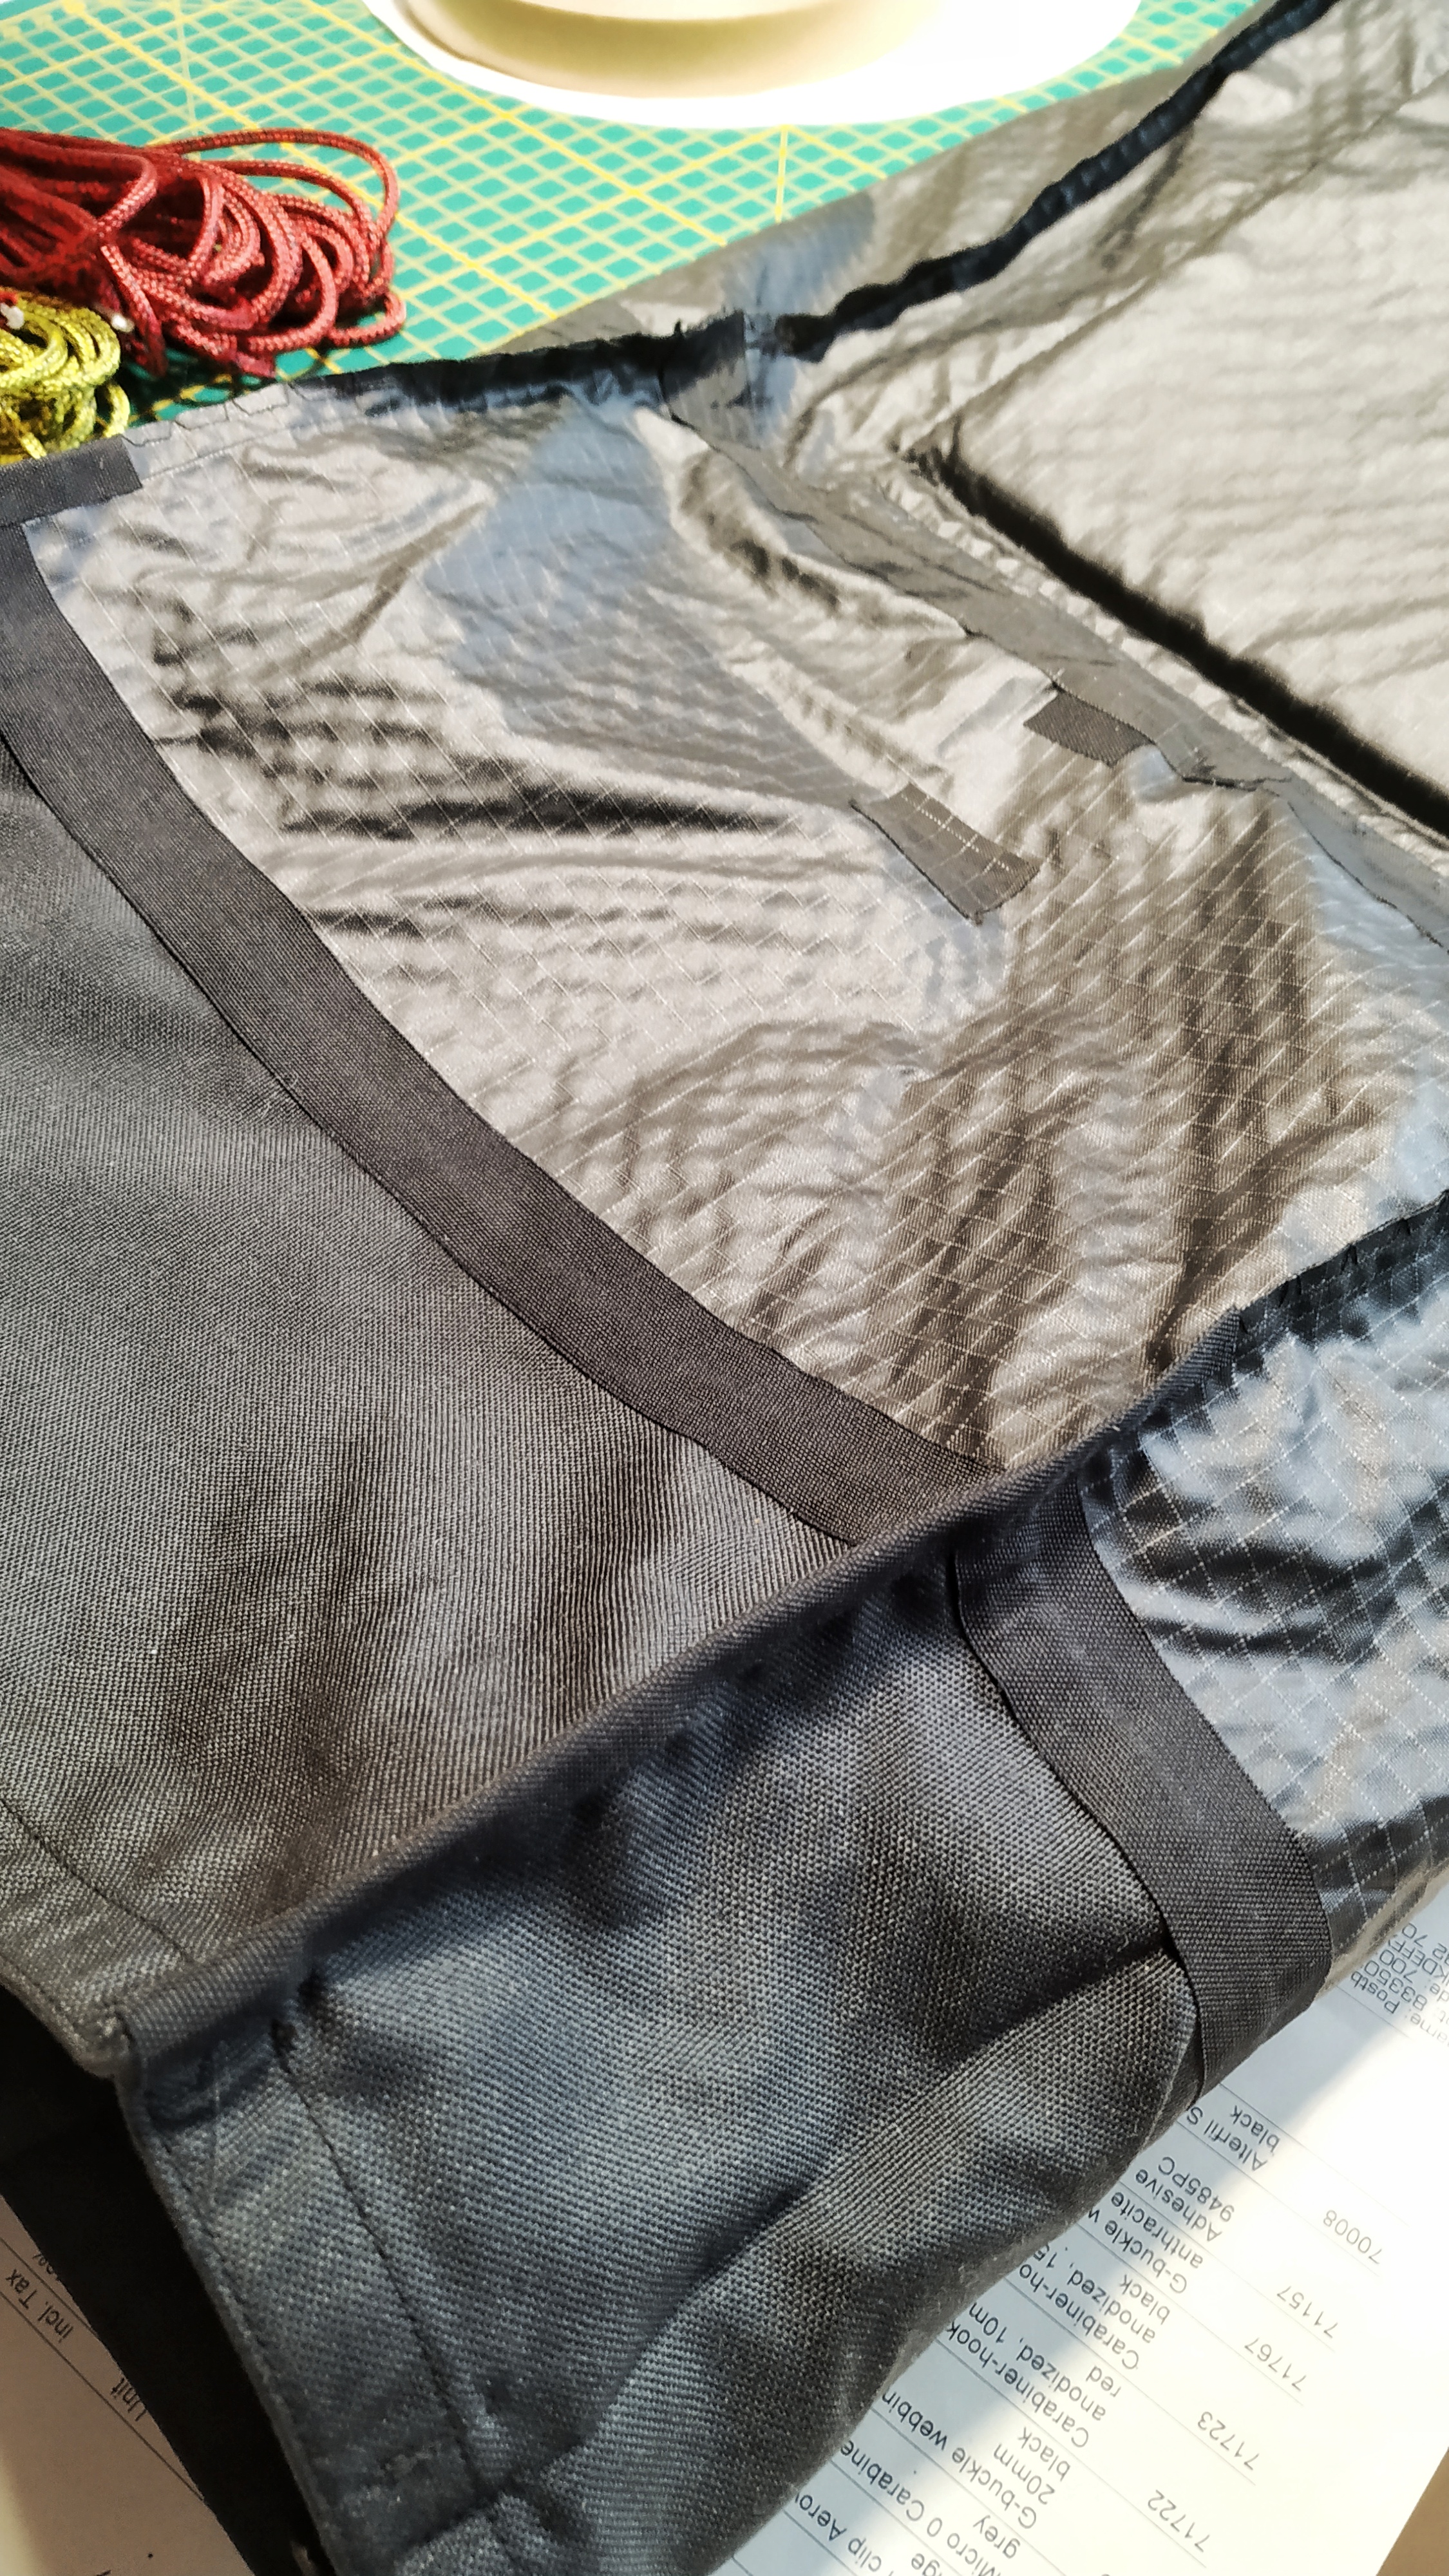
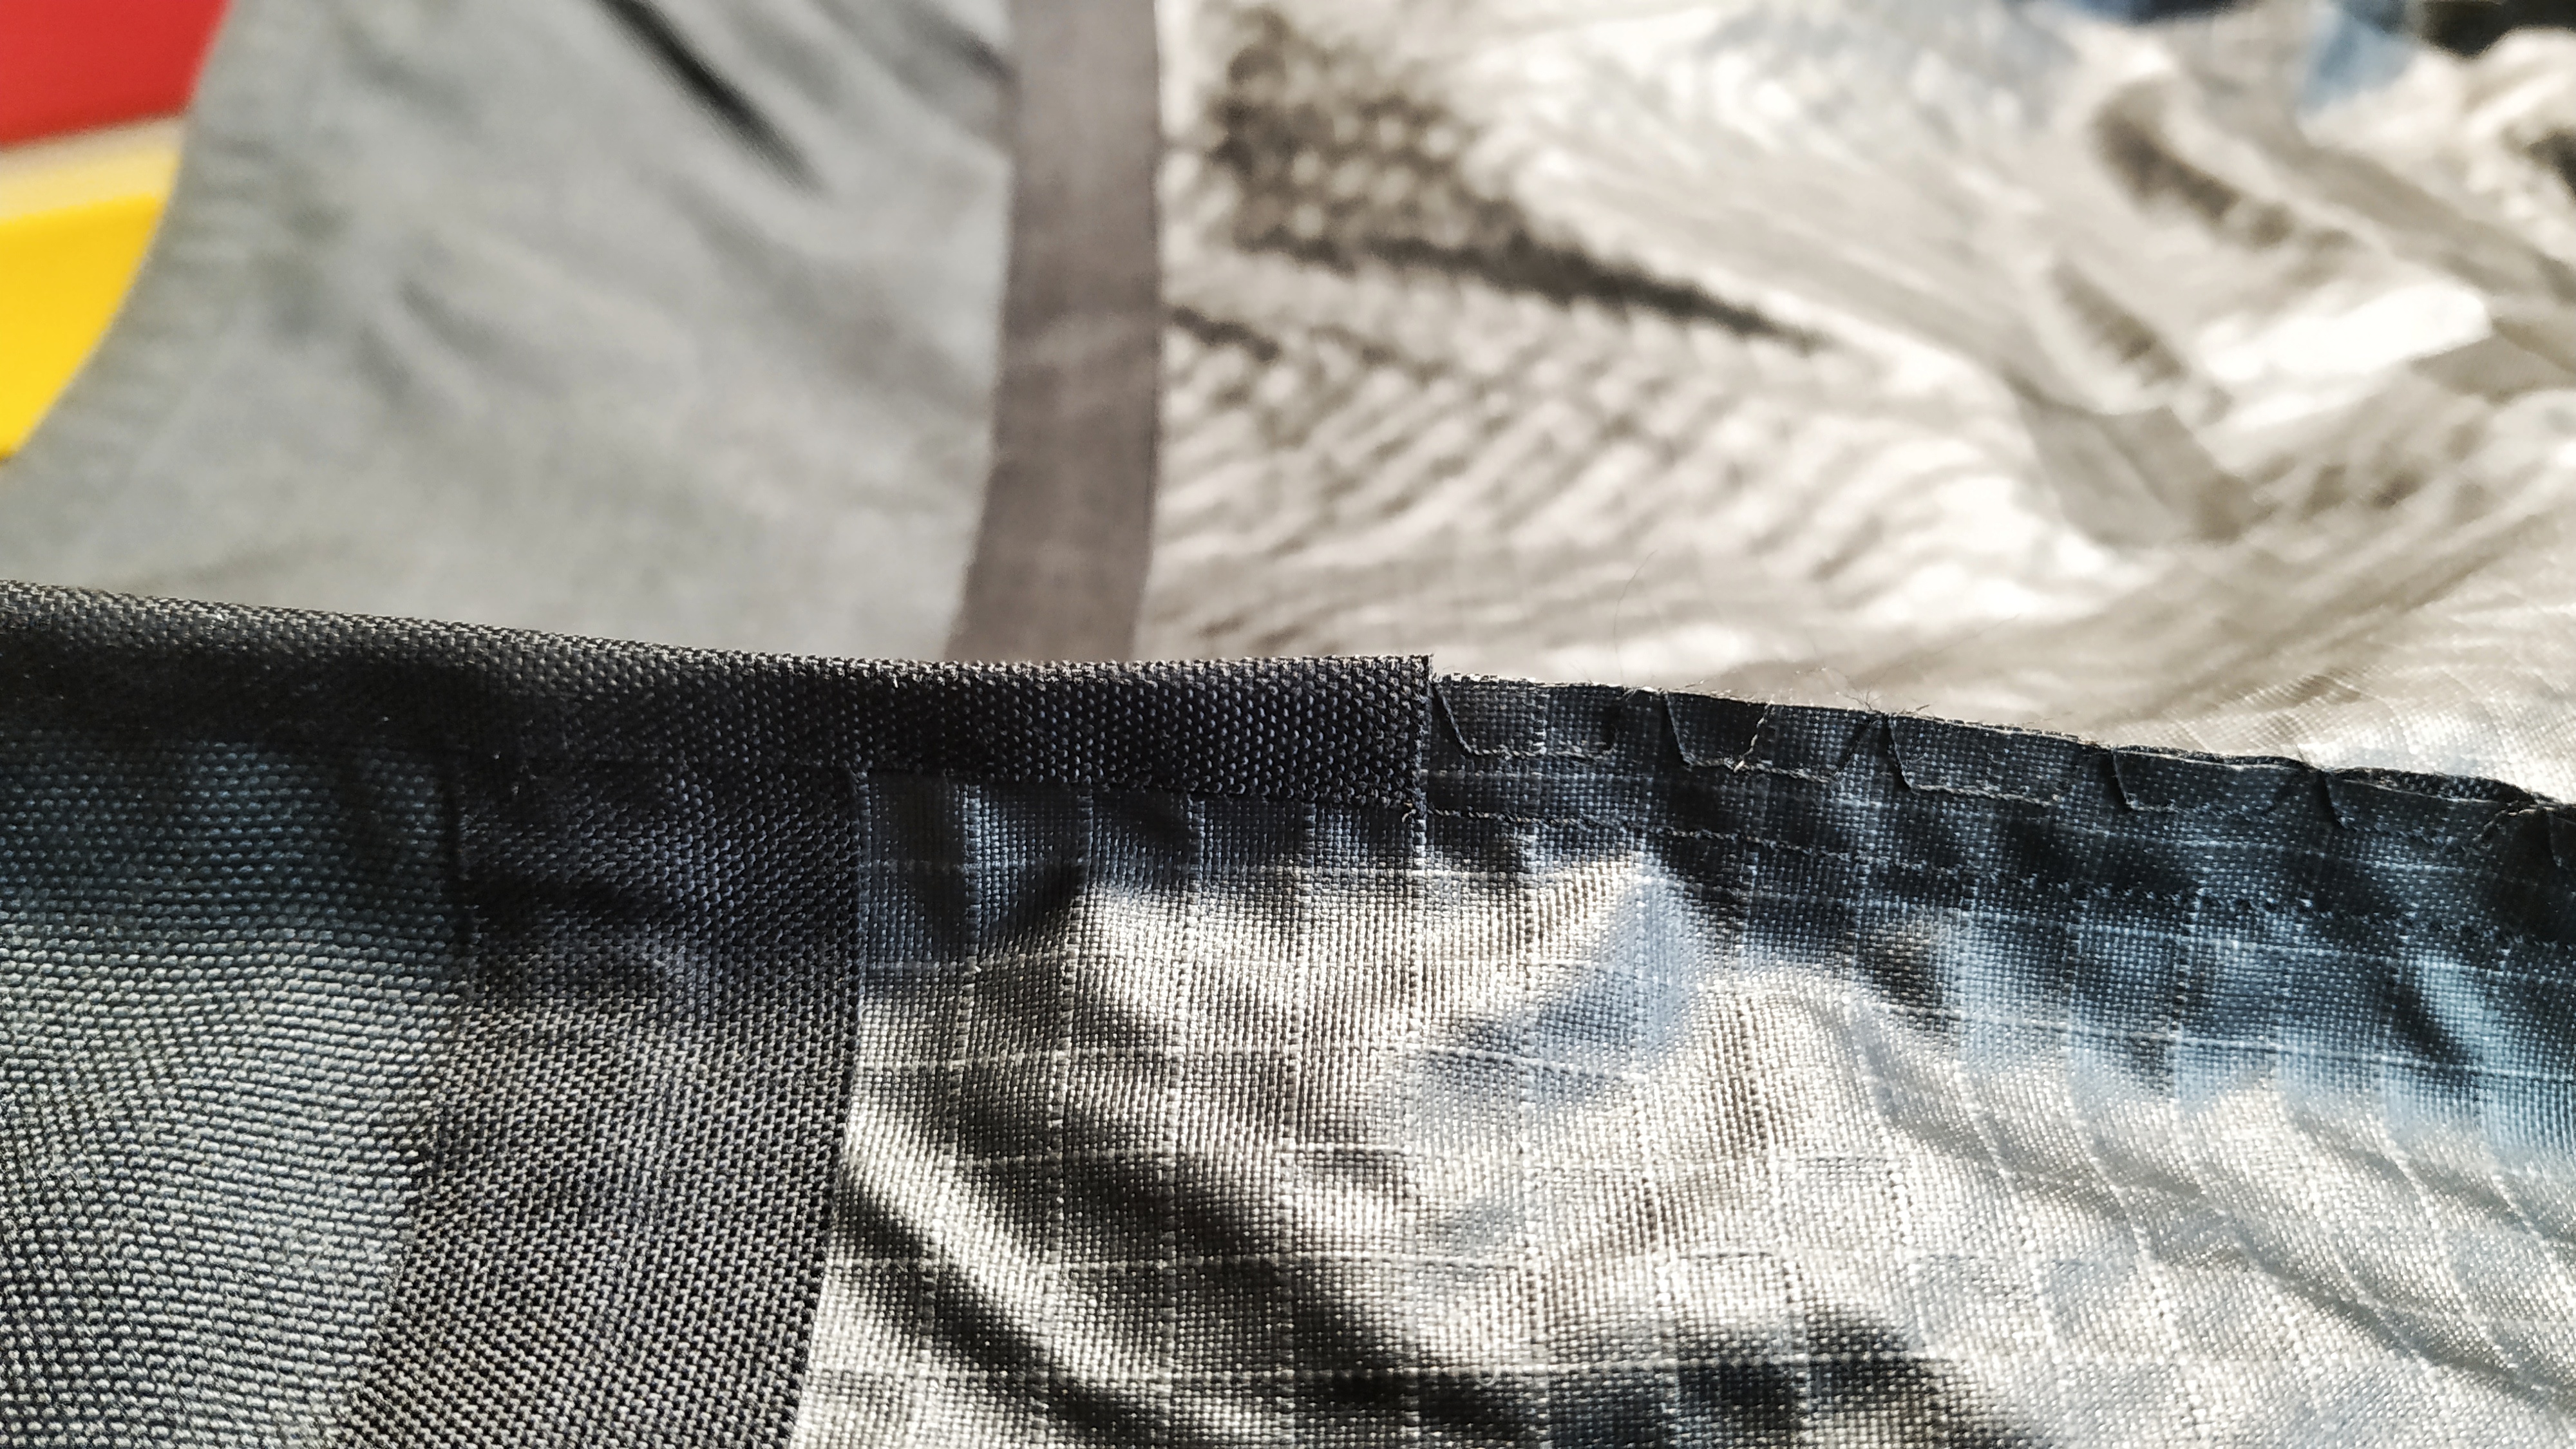
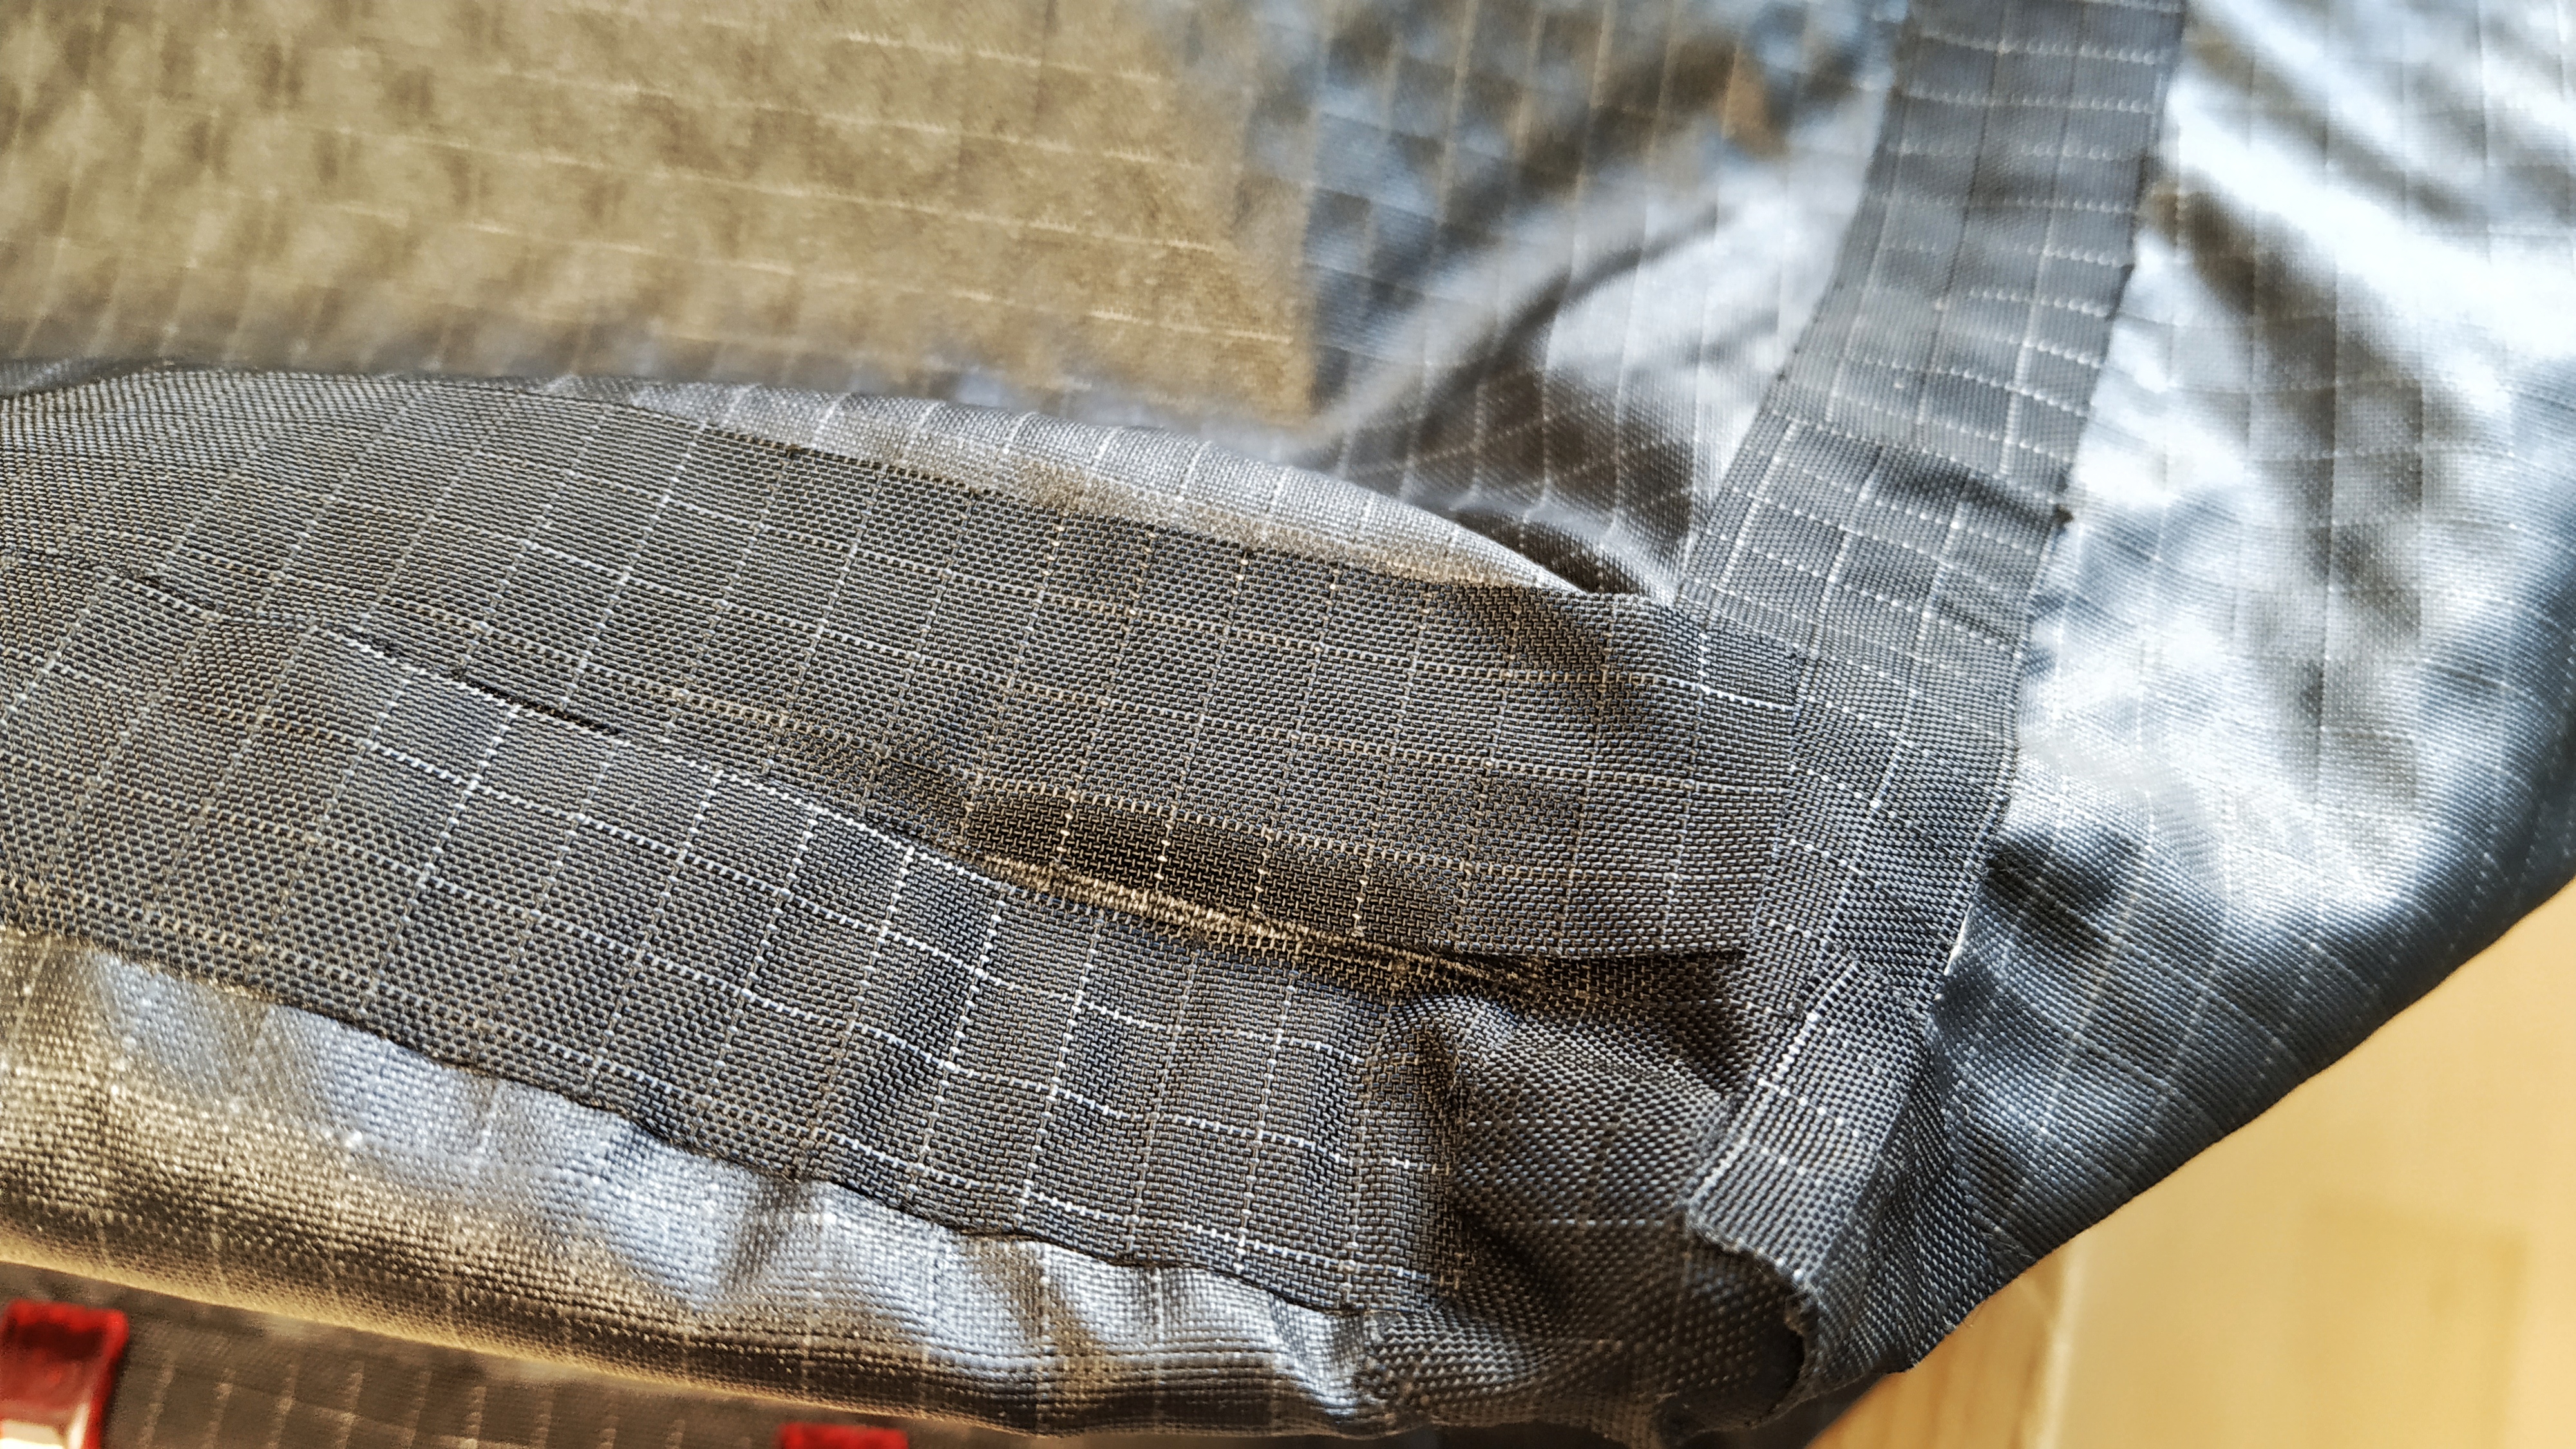
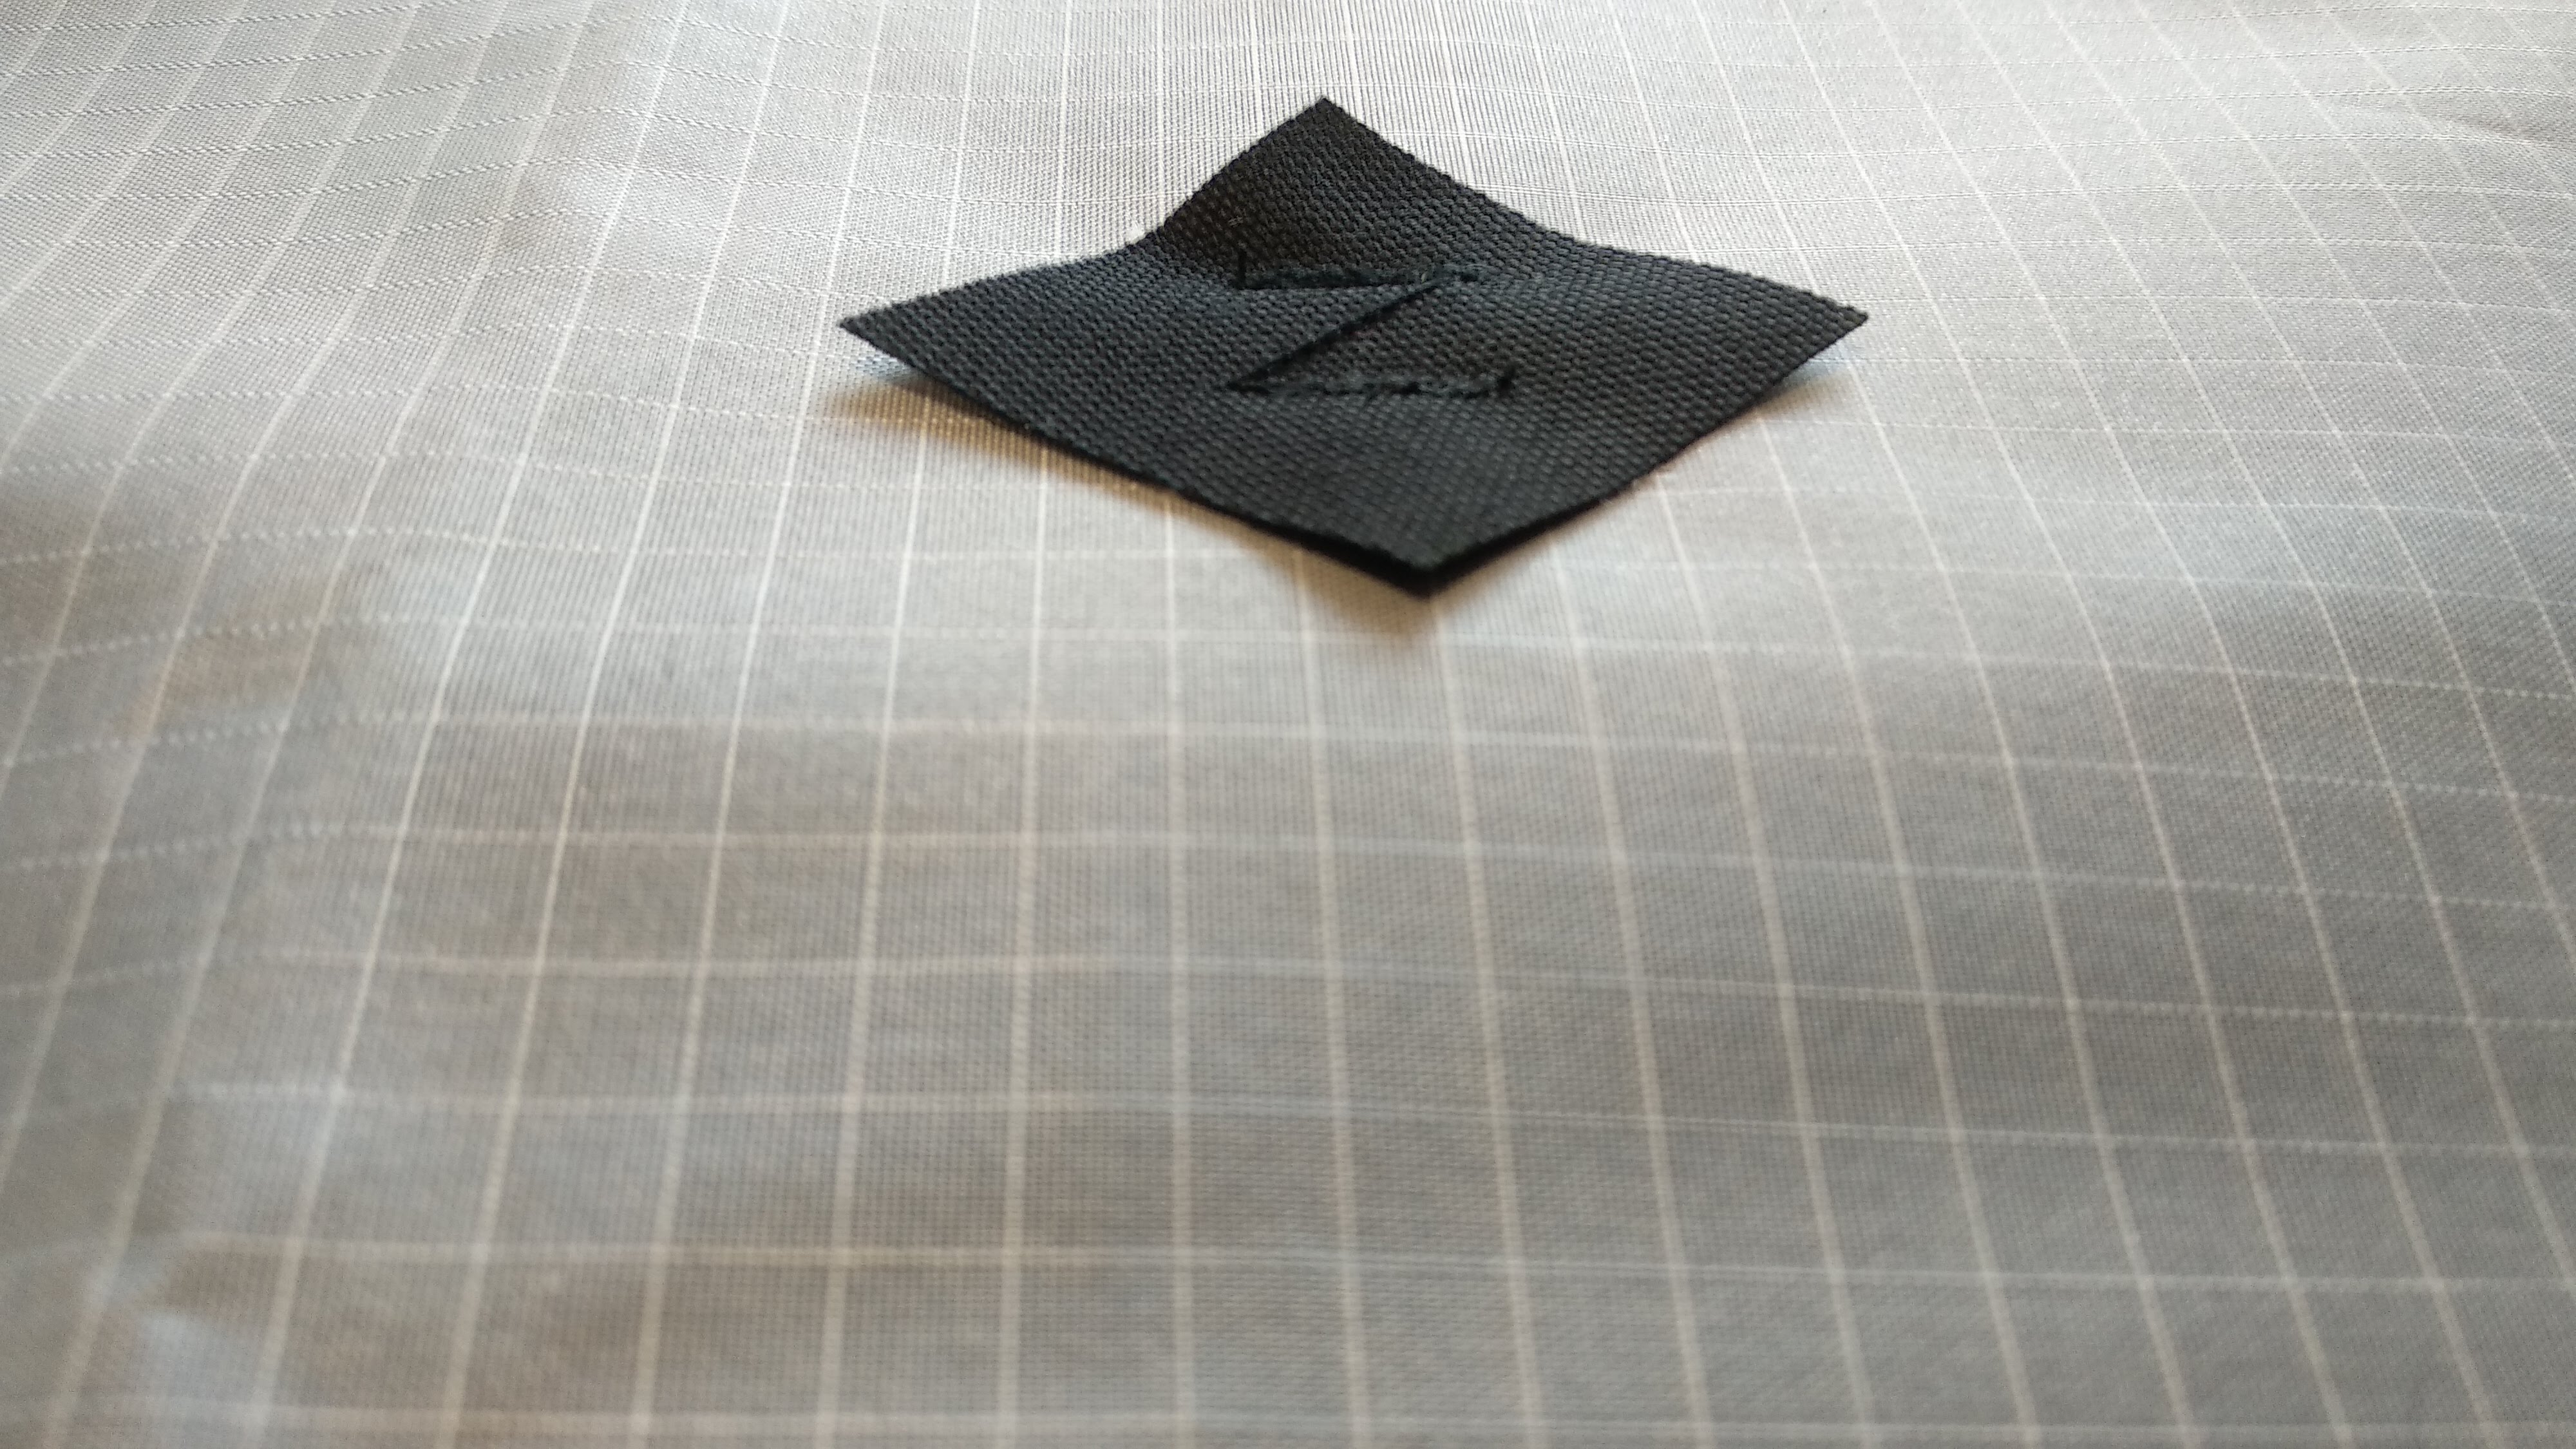
The daisy chains will be taking some serious load when the pack is full and skis are hanging on its sides. So the daisy chains will need to hold under strain. The achieve that, the pack’s fabric is carefully strengthened along the daisy chain. In the following pictures, the daisy chain is blending with a folded seam. It also is the point where the padding sleeve is sewn into the back panel, which backs the fabric without any specific weight penalty. Nonetheless, the seam is sealed and hidden with a strip of VX21 RC, which also adds strength to the bartacks, totaling the layers of fabrics to 3 behind the webbing.

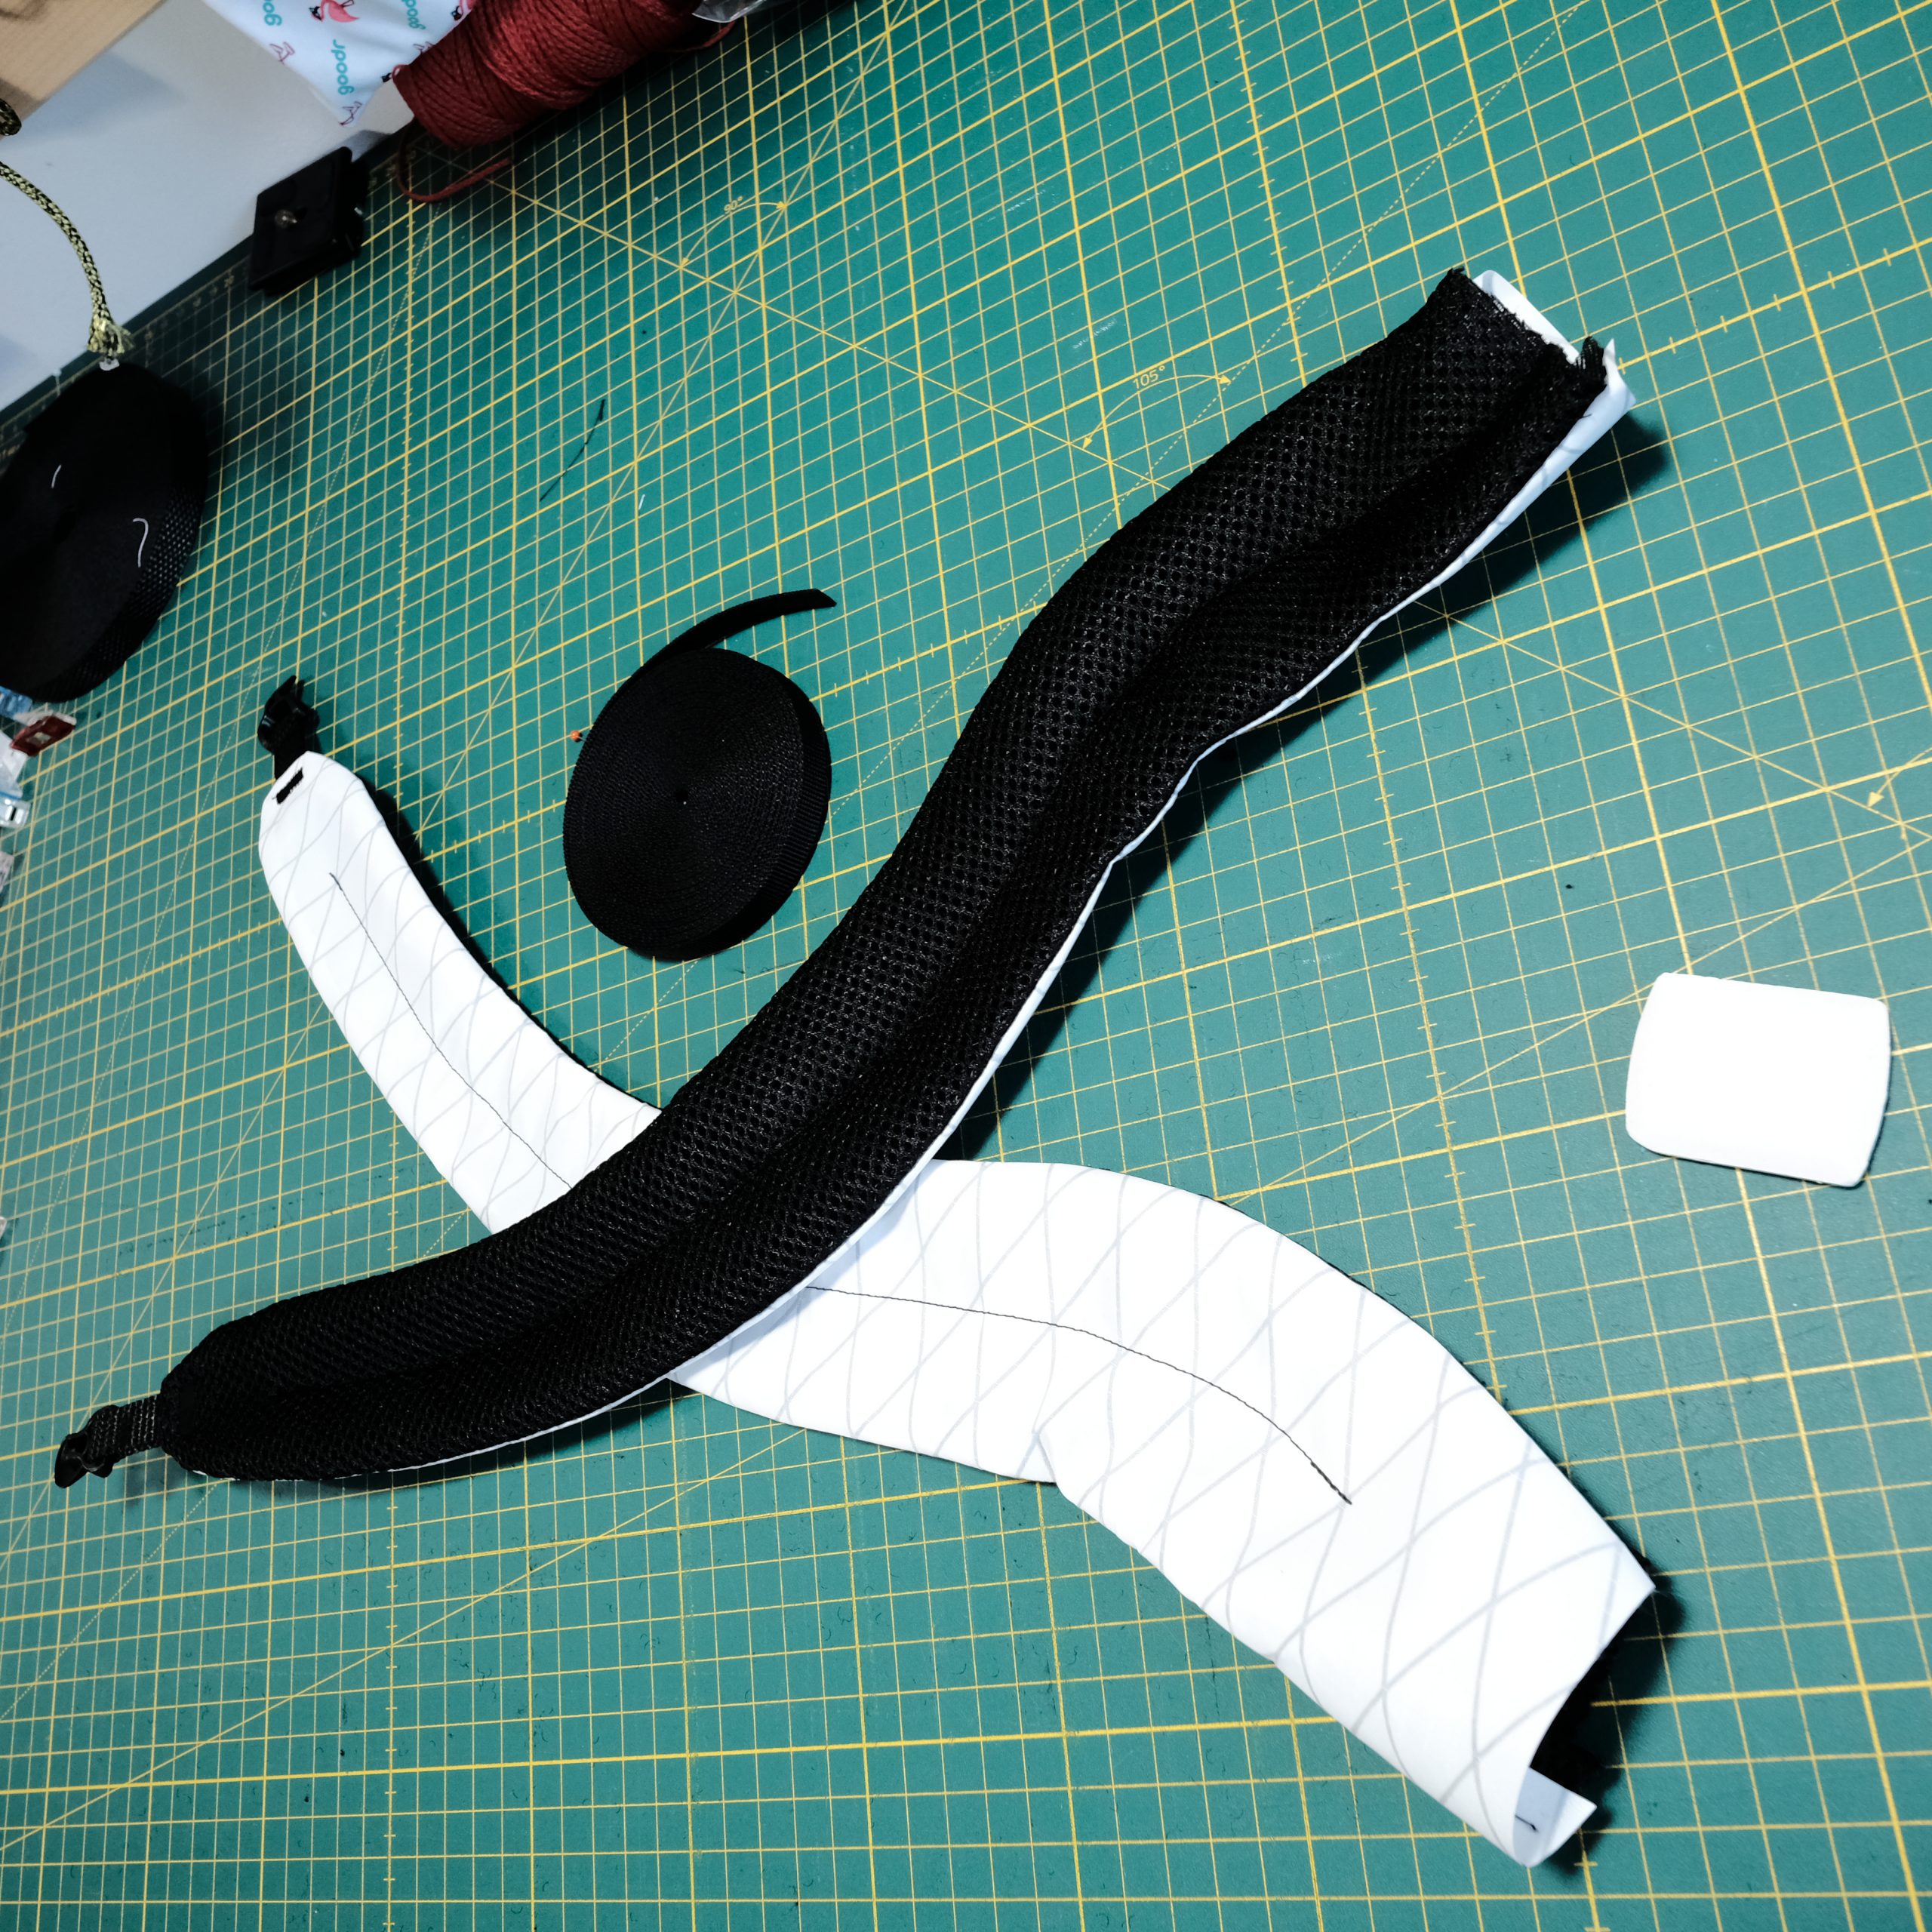
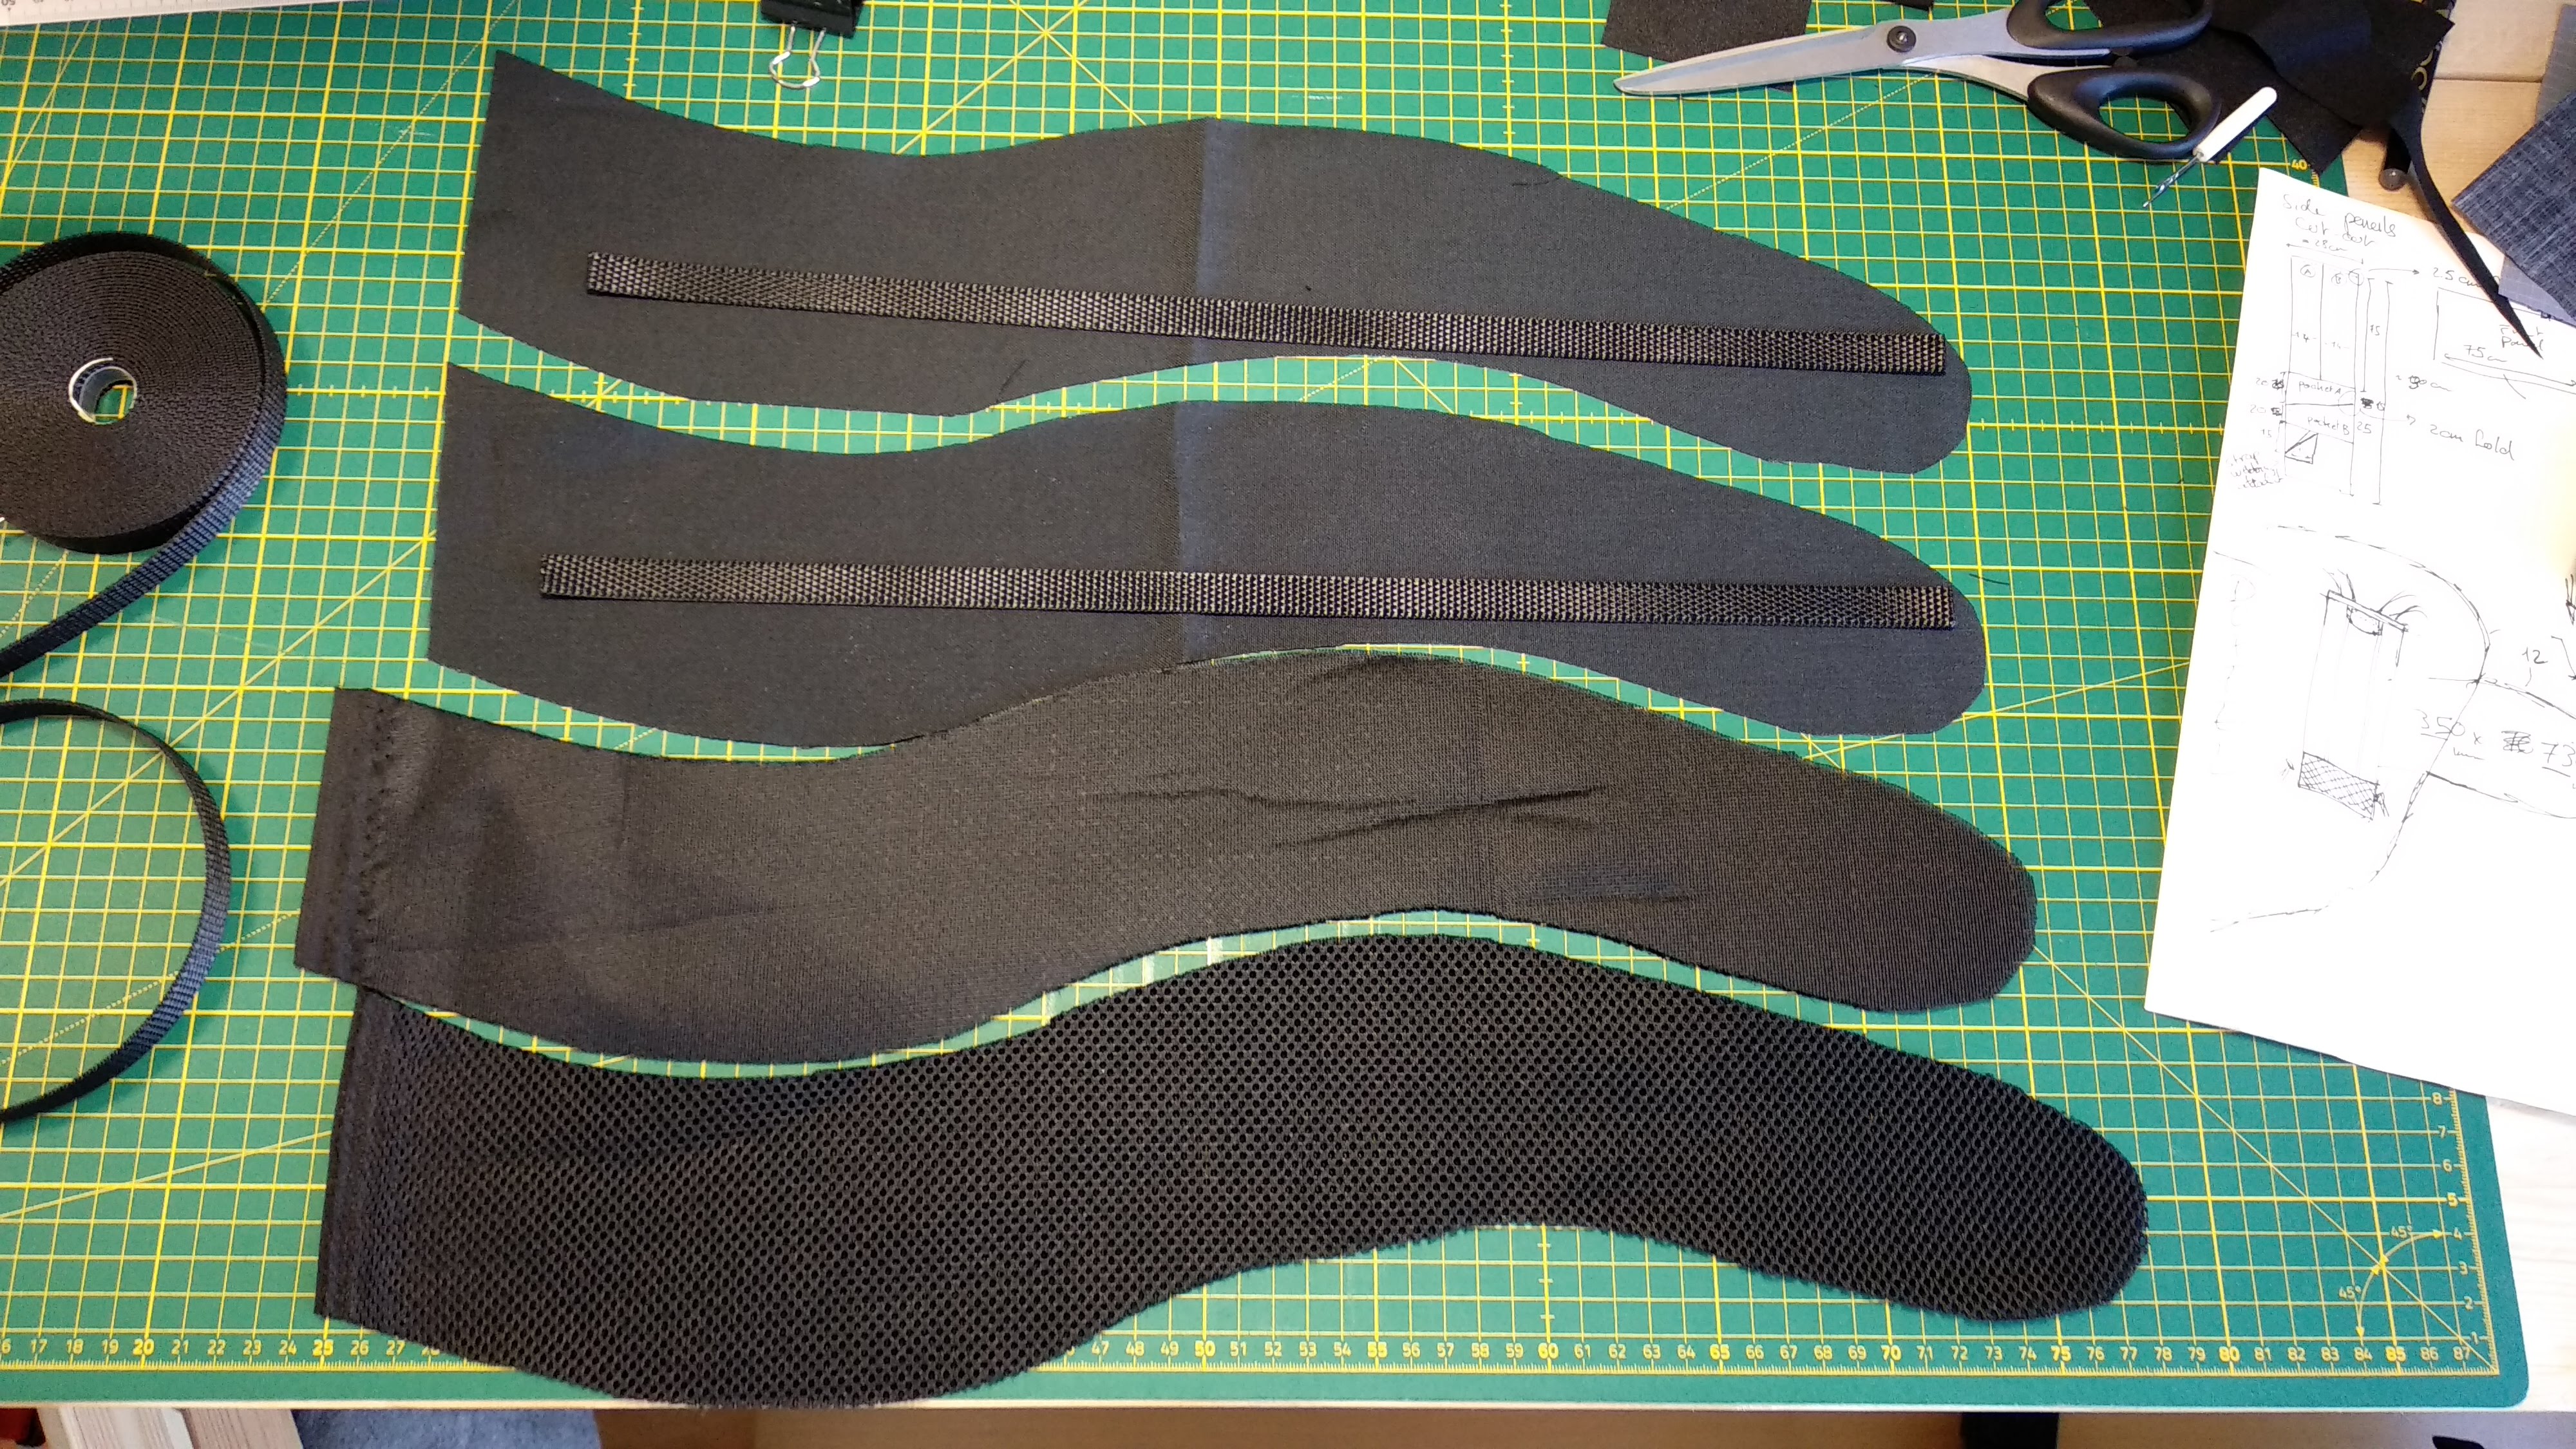
The rest of the back panel is relatively simple. Thee is a thin layer of closed-cell foam and 3D mesh on the lower part, decorated with a mountain-top pattern.

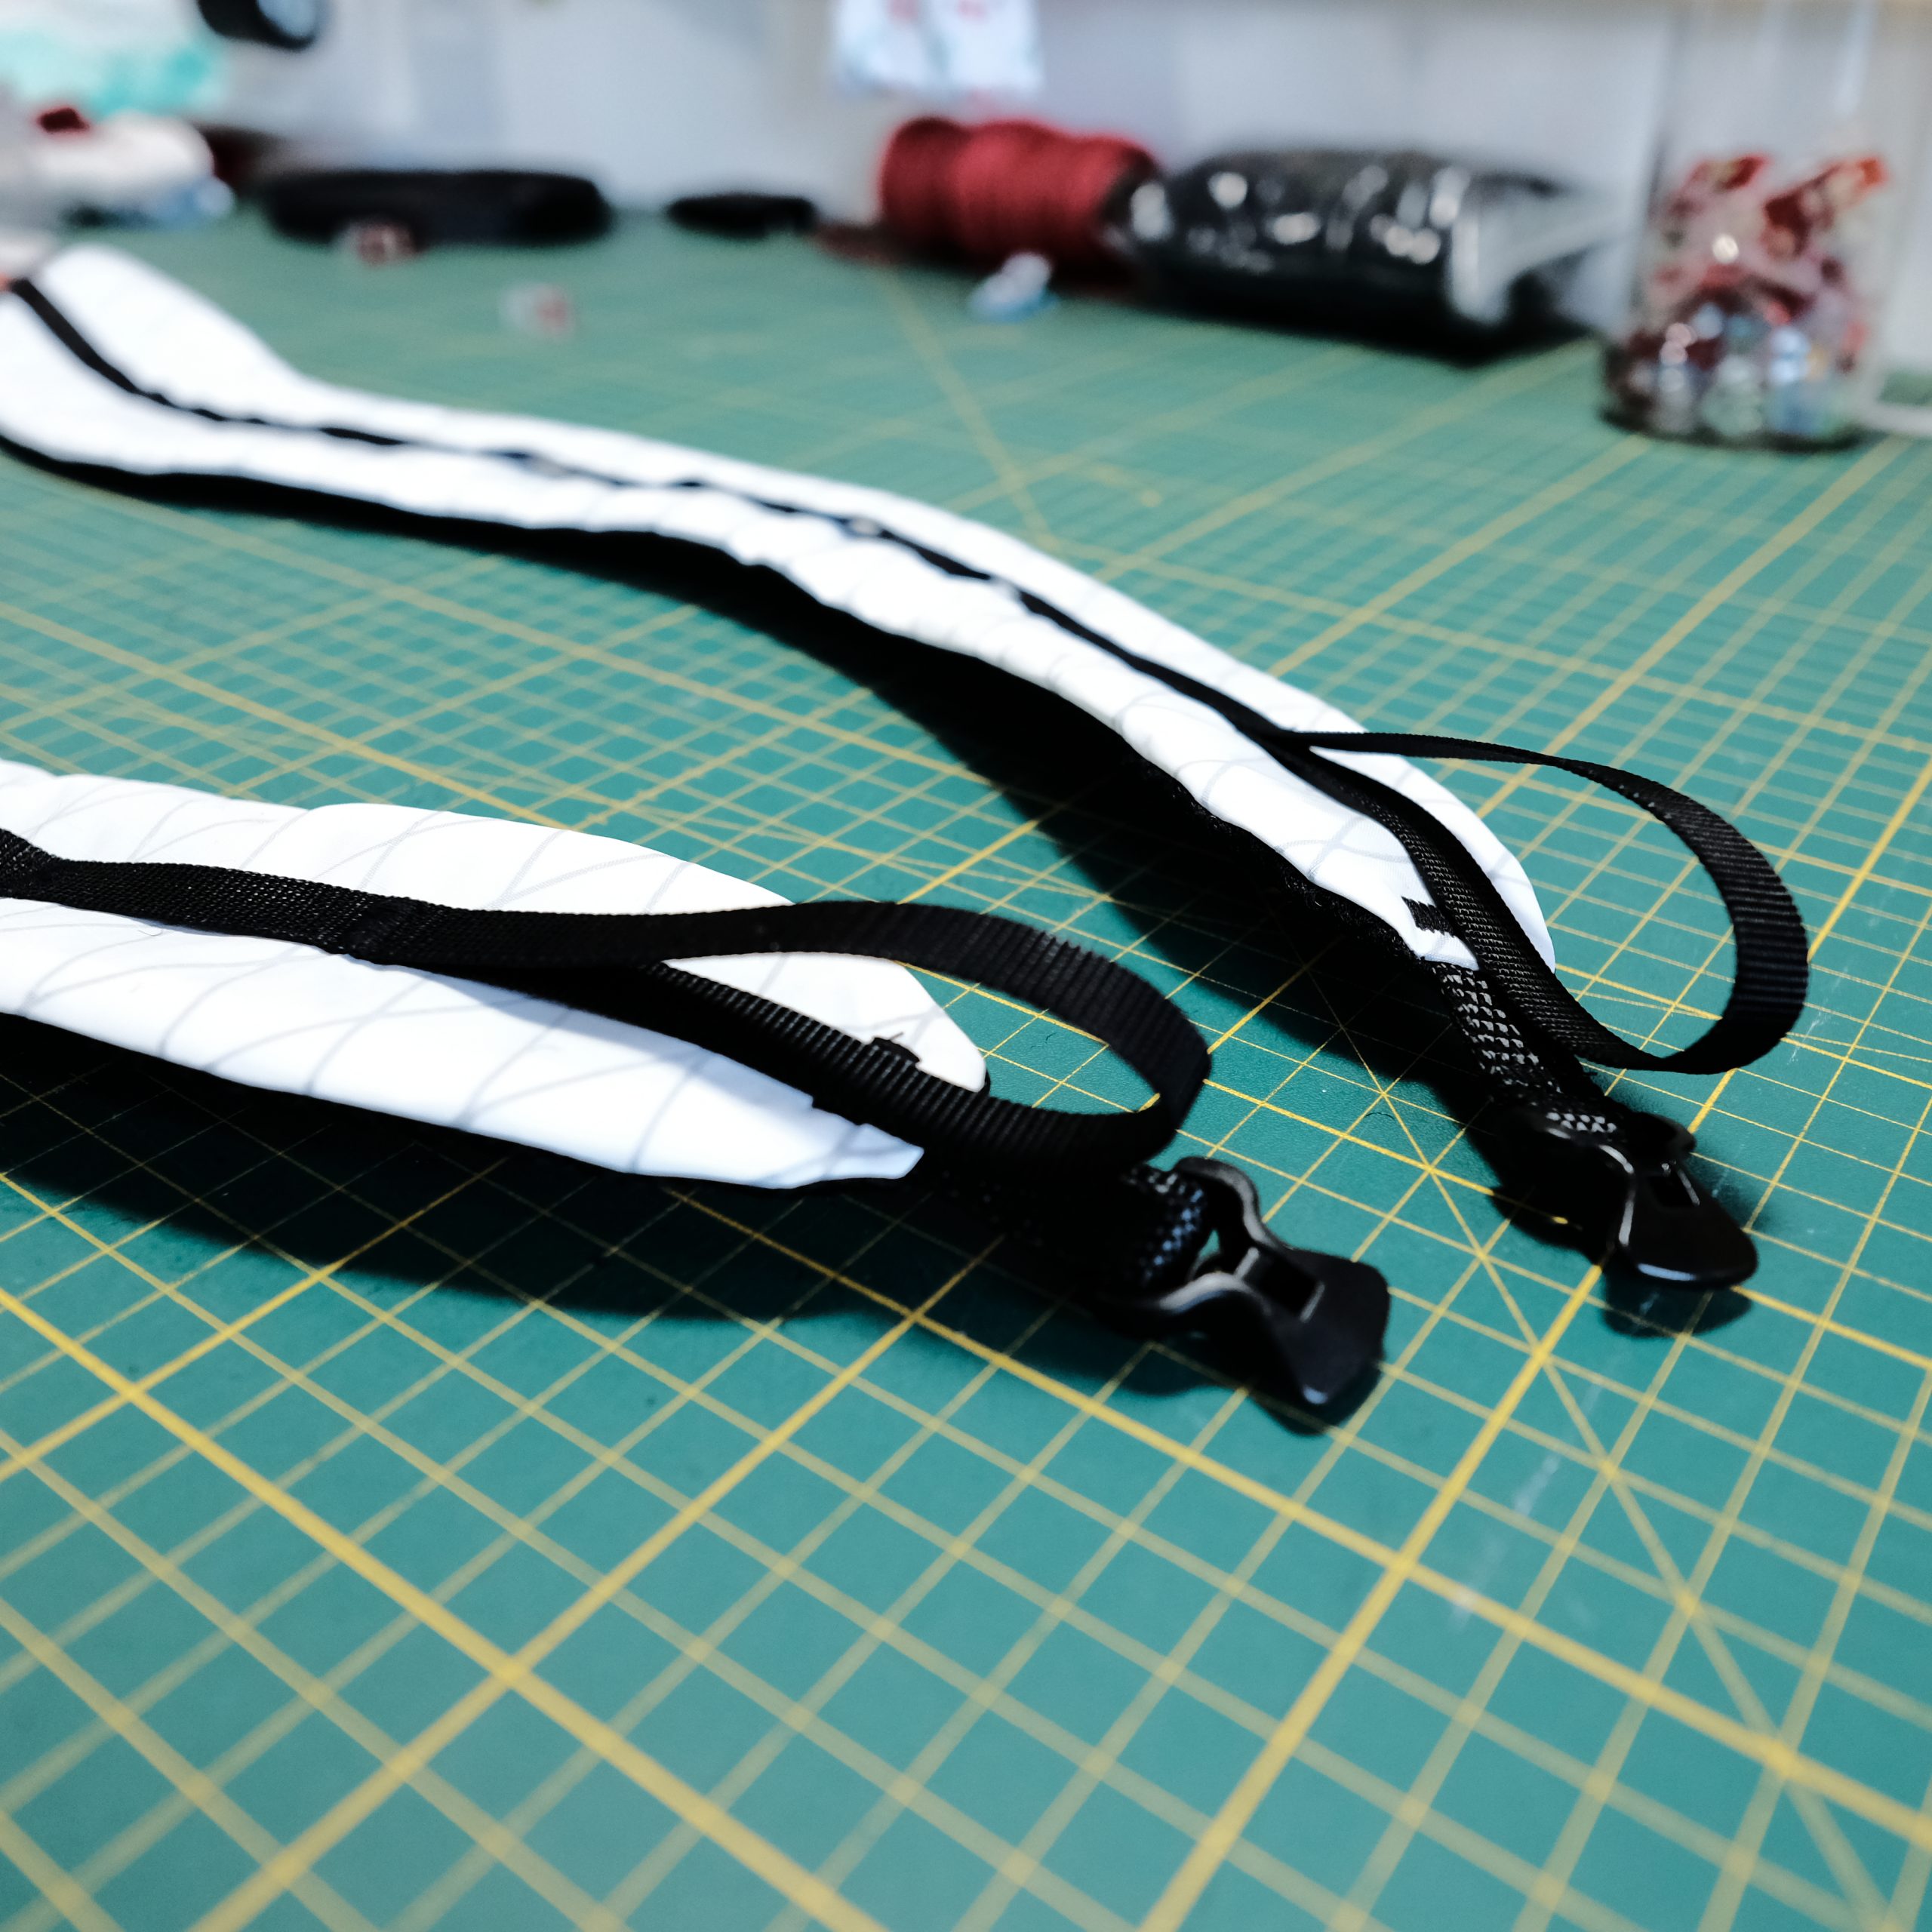
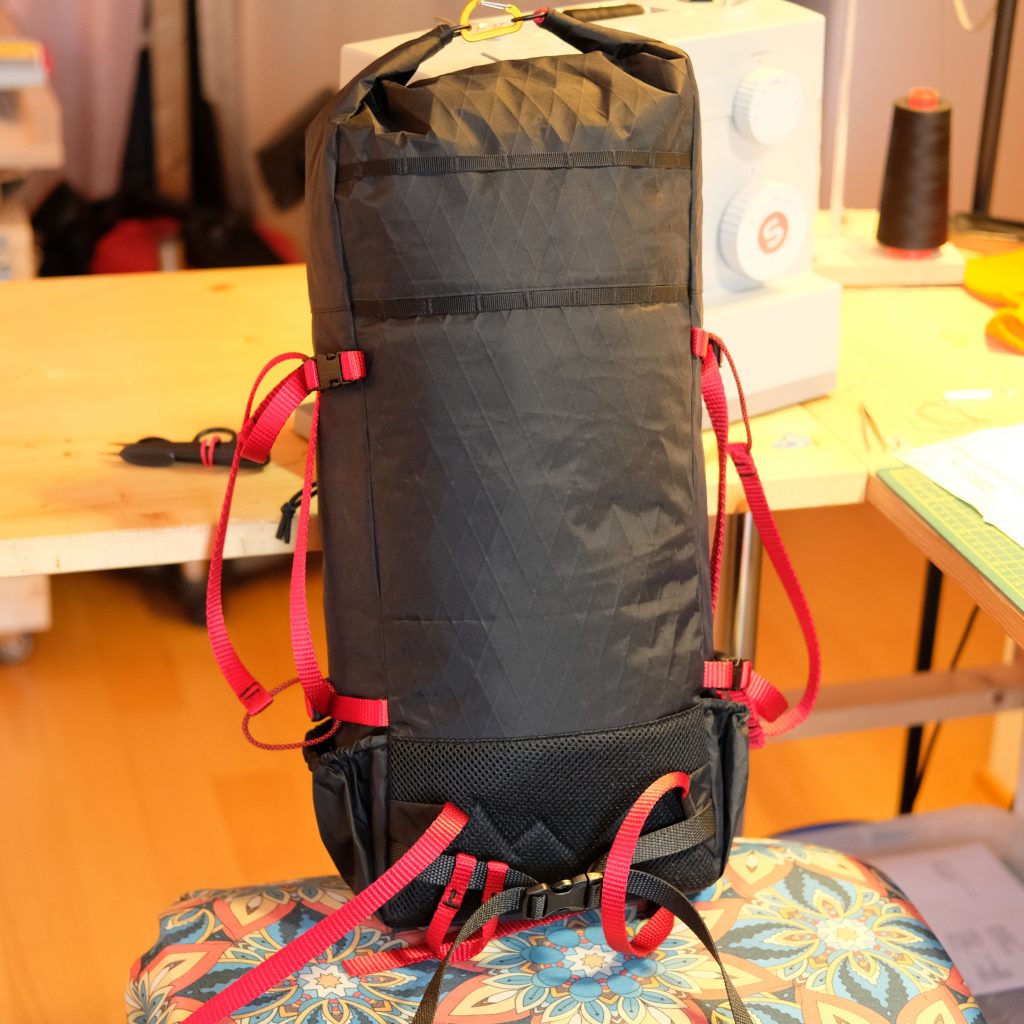
The shoulder straps lower attachment is a standard load-bearing triangle and webbing designed to use with a nylon ladder-lock buckle. A lightweight hip belt is also important, since the pack loaded with skis would have an unusually low center of gravity. I added a removable gear loop on the hip belt

There you have it! These were the most important details of the pack’s back panel.

Since you read it until the end, here are a couple of bonus pictures that did not make the cut.

Have a great day!
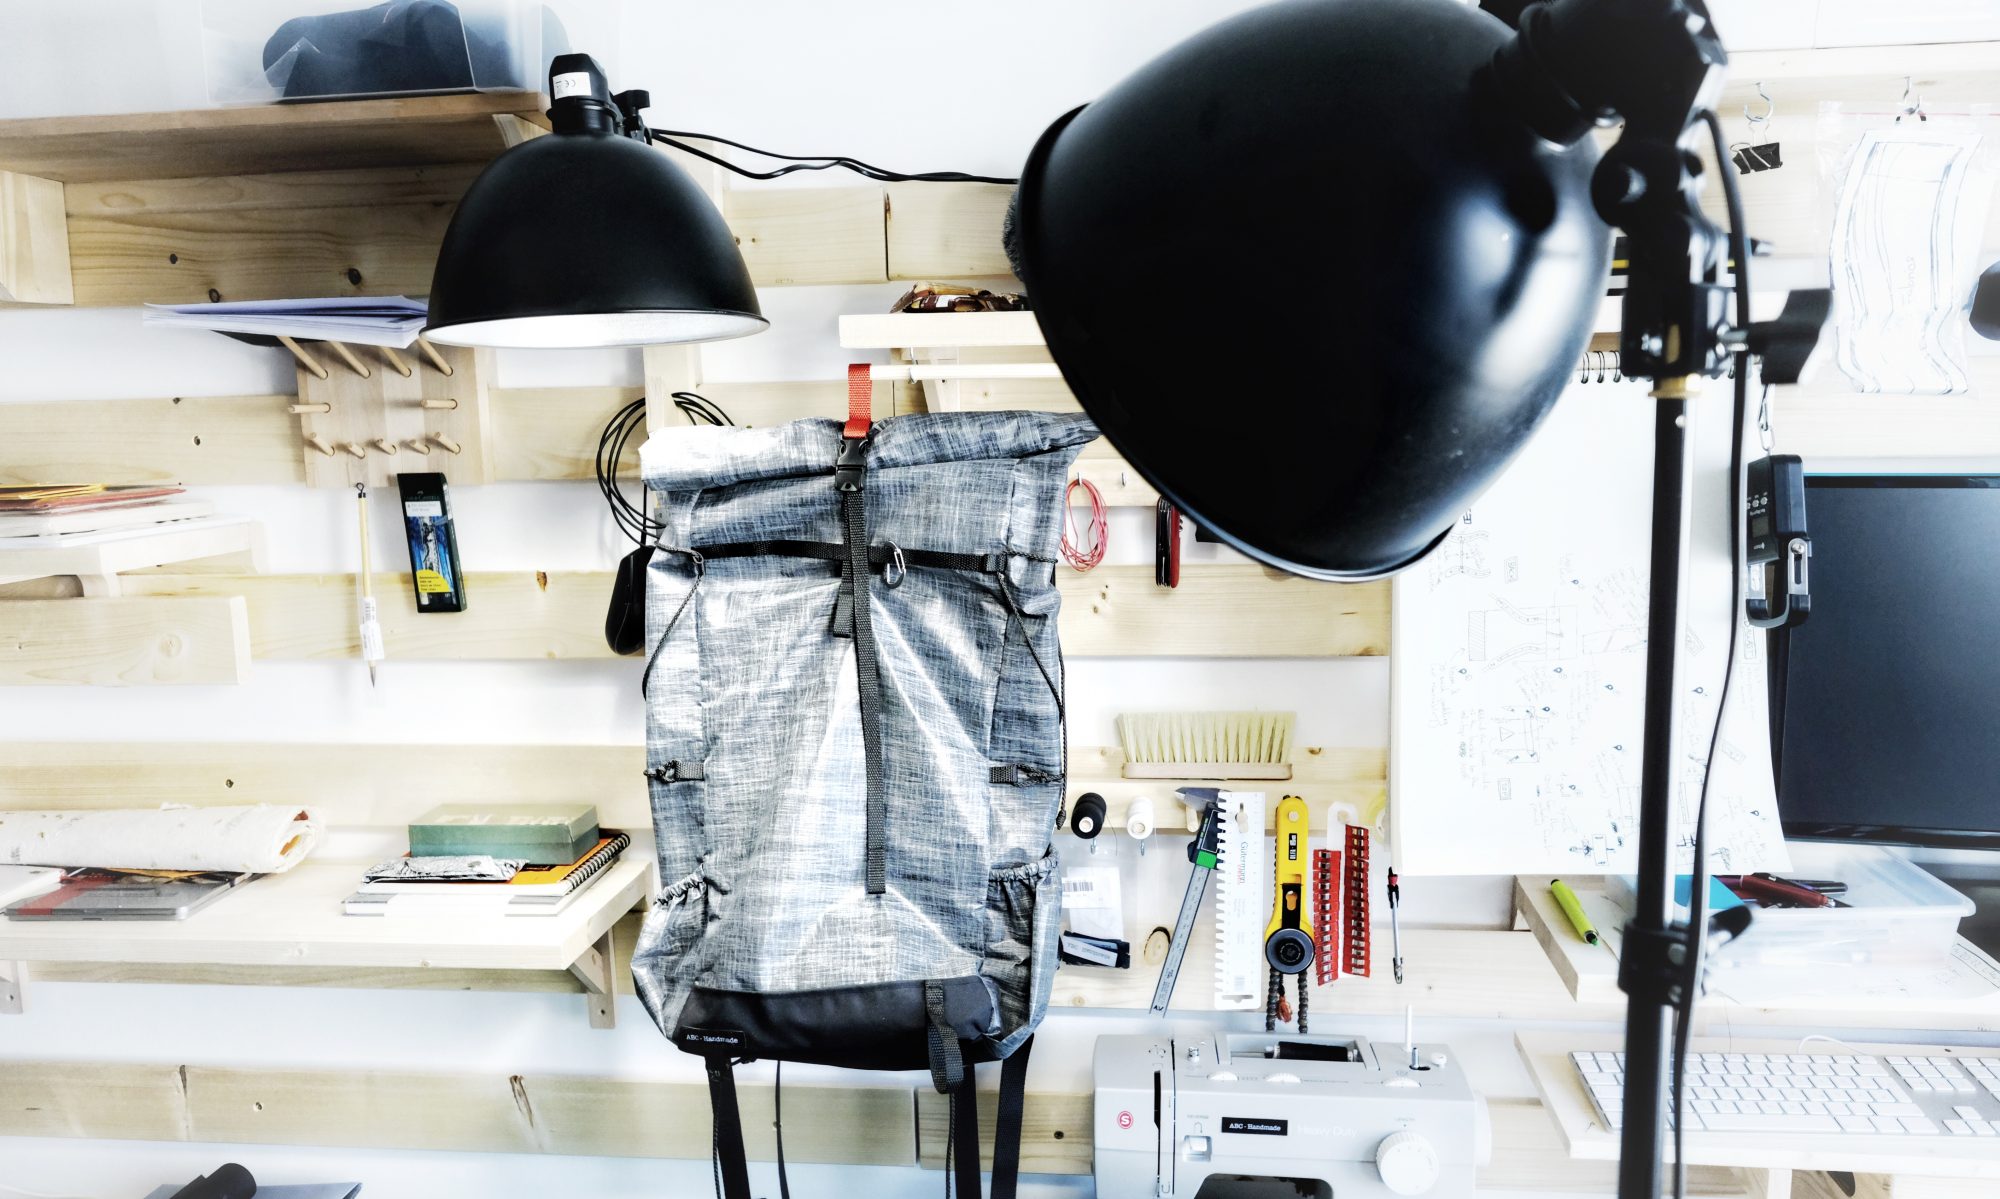
Make the Winter Pack from White X-PAC VX07

I have already covered all of the techniques I used to build the Winter Pack in other posts so I will not dwell on the details too much. The pack is relatively simple in terms of features, it has an almost vertical daisy chain, a side zipper pocket, a roll-top closure and a padded back. Plus some quality of life details.

For most of my builds, I design the front (1) and back (2) panels first, then I sew on the side panels (3, 4) to the front panel. The last pieces of the puzzle are to set the height of the roll-top with multiple parts if required, and only after that do I sew on a wide panel for the roll-top across the 3 front and side sawn panels.

Representation of the cut panels (not to scale)

The bottom panel itself is more often than not the last thing I put together, and stitch it to the front and side panels before finishing the pack by attaching the completed back panel (2,5,6).

I wanted a decent back padding for this pack since I might have to carry pointy or uncompressible gear (water bottles, alcohol stove) and not a lot of temporary padding. I went for an inversed T-shaped pad with 8mm closed cell foam topped with 3D mesh. All directly sewed on the back panel to keep every light and water resistant. To avoid wasting a lot of mesh, I decided to stitch two parts together with a flat-felled seam. The foam itself ended up being a three parts piece.

To secure the shoulder straps, I usually embed the ends in between separate panels (2, 5). I also use the same technique to add the load-lifters and the roll-top compression strap (2,5,6). The smaller pieces of the back panel will define the height of the last roll-top piece (7).

The shoulder straps are just my usual design, with an outer shell out of Cordura and 3D mesh inside. I always add daisy chains to to the full length of the shoulder straps to attach the chest strap, or smaller equipment. For this build, I went with ladder-lock buckles instead of Lineloc buckles since weight was not a huge concern.

There isn’t much else to talk about really. The front panel is very lean, with just the daisy chain attached to the main fabric without reinforcements (if the daisy chain was planned to attach heavy equipment, I would back the VX07 fabric to avoid future tear outs.

The pocket itself is just a flat pocket sewn onto on side panel. Since I am right handed, the most logical side to put the pocket on was on the right side (when wearing the pack) so I can slide the bag on one shoulder and access the pocket while walking.

That’s it! I did not cover the side compression straps since there is really nothing special about it. Enjoy!

A Pack for Practice

There is never a good reason not to make something. But the truth is, sometimes one simply does not have enough time to spend making. Well, these are times when you might just need to take a step back and think. So I did, and figured if I only had 2 hours in front of me, I could still pull a rabbit out of the bag, or a bag out of the rabbit. So I brewed myself a cup of coffee, grabbed what was lying around the workshop and just went for it.

I ended up building the Graffiti pack out of only 2 panels, each one 60cm height and 30 cm wide which makes for a relatively small pack of about 10 liters when assembled. I had a sample of printed polyester canvas waiting for such on occasion but felt like the pattern would be just a tad too much, so I added a plain black front zipper pocket to break the pattern and dial it down a notch.

The rest of the pack did not take long to finish after that. The shoulder straps were put together with some simple webbing and ladder lock buckles.

I added some scrap webbing to reinforce the roll-top and then sewed the two panels together with straight stretch stitch. The canvas itself was fraying quite a bit, so I blind hem stitched it for good measure. Unfortunately, when one works in a hurry, one sometimes gets some nice spaghetti stitching to show for. It does not usually impact the stitch strength or the function of the pack, but it sure makes a maker feel bad about it. Oh well, that’s life.

And there you have it, a simple pack that can make Misses ABC happy. All done under 120 minutes.

Time for a Custom Christmas Pack

Although I’ve had limited time to work on new designs in the last months, I still had one goal for Christmas! Make Santa’s carrying sack . So I got my hand on some bright red X-Pac VX-21 which I knew was going to do the trick, and had some white VX-07 on hand for the smaller details!

Red and White is the only choice.

The first step to designing a new pack is – for me – always about sketching a few ideas on a piece of paper to get a feel of what I could do and whether or not I will achieve what I set out to do. I started out with the shape and curves of the Skinny, but wanted to get more volume out of it, so I bumped the dimensions a bit and especially worked on extending the roll-top. I was hoping I could bring in different features that would make this pack first and foremost a day-pack, but also make sure this would still be a suitable choice for a hike. So I considered a bunch of options such as a cargo pocket, daisy chains for attachments, lightweight but decent back padding, among other things. I drew a few options and quickly settled on one look. You’ll see it when I post the project pictures.

Sometimes, sketches are just a 5min decision medium.

Note – Keep in mind that the dimensions written here are just bread crumbs I left myself before even starting, and I more often than not readjust them while cutting things out. So don’t take these too seriously.

Stay tuned!

Bricks can’t go wrong. Greeblies come later.

A lot of bags follow a relatively simple “brick-like” construction. These bags might not have the best looks, but they are definitely the easiest to build without a lot of experience, and you’ll get a perfectly functional bag. I ended up using this one for a 10 days solo trip above the arctic circle and it got me there and back.

When in doubt, always cut straight! You can always add curves and greeblies later.

The two side panels are almost identical. The pockets have different slopes and sizes.
The front and back panel are also assembled out of multiple smaller panels to form clean rectangles.

At the end, the final assembly starts from the side panels aligned to the bottom panel, then “closing” with the front panel as the last big step. Final trims and tidying up the top will hide any misalignments or small dimensional issues.

Just need to add the front panel now.

The final bag is documented under https://abcpacks.com/the-ballast-pack.

The Skinny Pack’s Pattern

You might be wandering what the “buffers” are for. I added them to the pattern so that even with even seam allowance, you should end-up with more fabrics on the tricky parts, which you can then trim later during the pack build.

As always, go slow, and use clips!

If you don’t have a printer to print patterns, that’s fine. I don’t have one. Instead, I take some thin Tyvek, and I draw the patterns by hand. Why Tyvek? It very durable, so I have a pattern I can abuse, clip, tape, and reuse for ever.

Seam-sealing the Skinny Pack

Let me share with you some afterthoughts on my first foray into seam-sealing. I did a bit of digging, and opted to use 3M 9485PC double sided transfer tape. Overall, it’s a great product to work with, but I think the fabric used here, (Dyneema®/Nylon Ripstop) is too heavy and does not bend well enough to really work as a the internal face of the seam sealing. If I was to do it again, I would probably go for DCF.

3M 9485PC tape and prepared strips with Dyneema®/Nylon Ripstop fabric on one side.

One interesting learning I made, is that on lightweight silicon-coated Nylon fabric (60g/m²), this tape did not stick at all! I wasted a good strip. I don’t have the reference anymore, but I would assume the Dyneema®/Nylon Ripstop fabric that really worked well was PU coated. Beware!

This experiment taught me one important thing: I will not seam-seal my pack except in very specific circumstances. It’s just too much of a hassle.

Here are a few pictures of the construction process behind building the Skinny pack. If you are wondering why I am wearing gloves in some of the pictures, it’s because I wasn’t sure how sticky the stuff is. I turned out to be utterly unnecessary, and I quickly removed them.

Thick Foam in Shoulder Straps

I love building backpacks. I just do. But the one thing that I enjoy the least, is building padded shoulder straps. Between the threads making a mess, the clearance below the presser foot not being enough, and the needle breaking because of tensioning issues, I moved away from padding shoulder straps entirely. Nonetheless, here is a example of what you can do with some patience. And I will also throw in some other pictures of the complete build for the city hiker pack.

Building one panel at a time

There is something to be said about simple designs. In this case, building the Slumber pack as a very simple “brick” shape made the construction of each panel a breeze, and completely independent from one-another, at least until the final assembly.