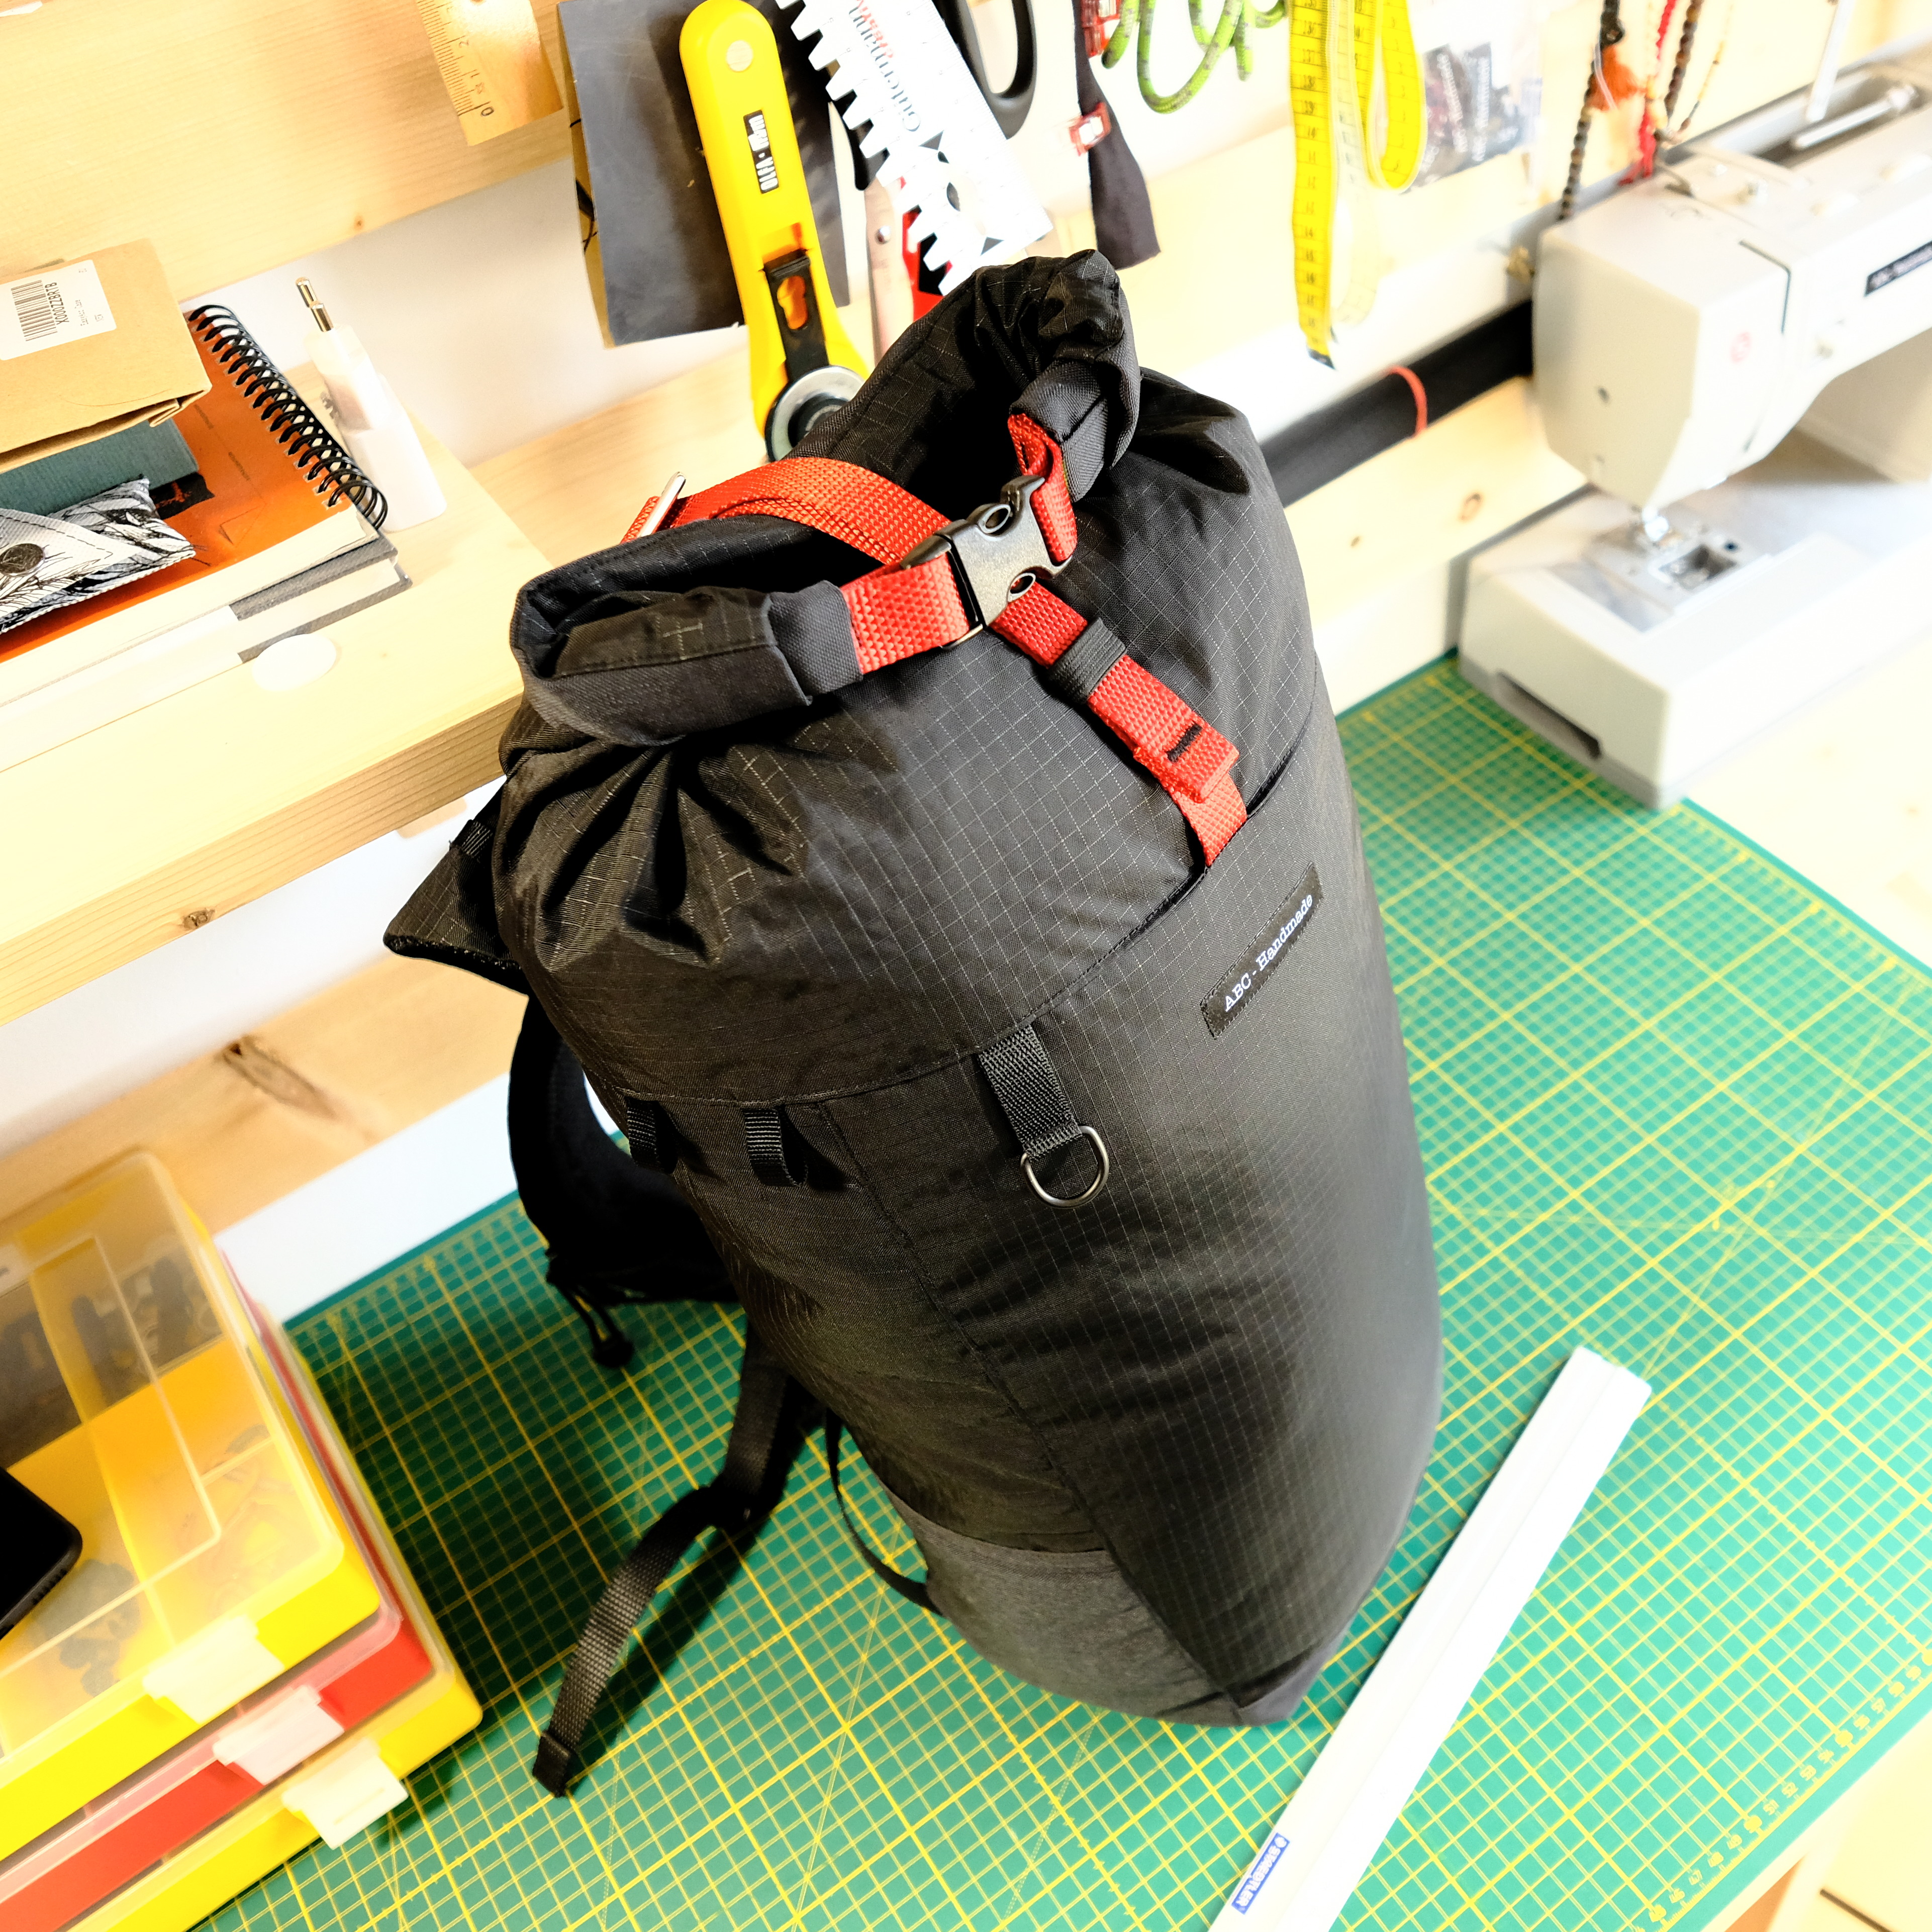
The Alpine Pack

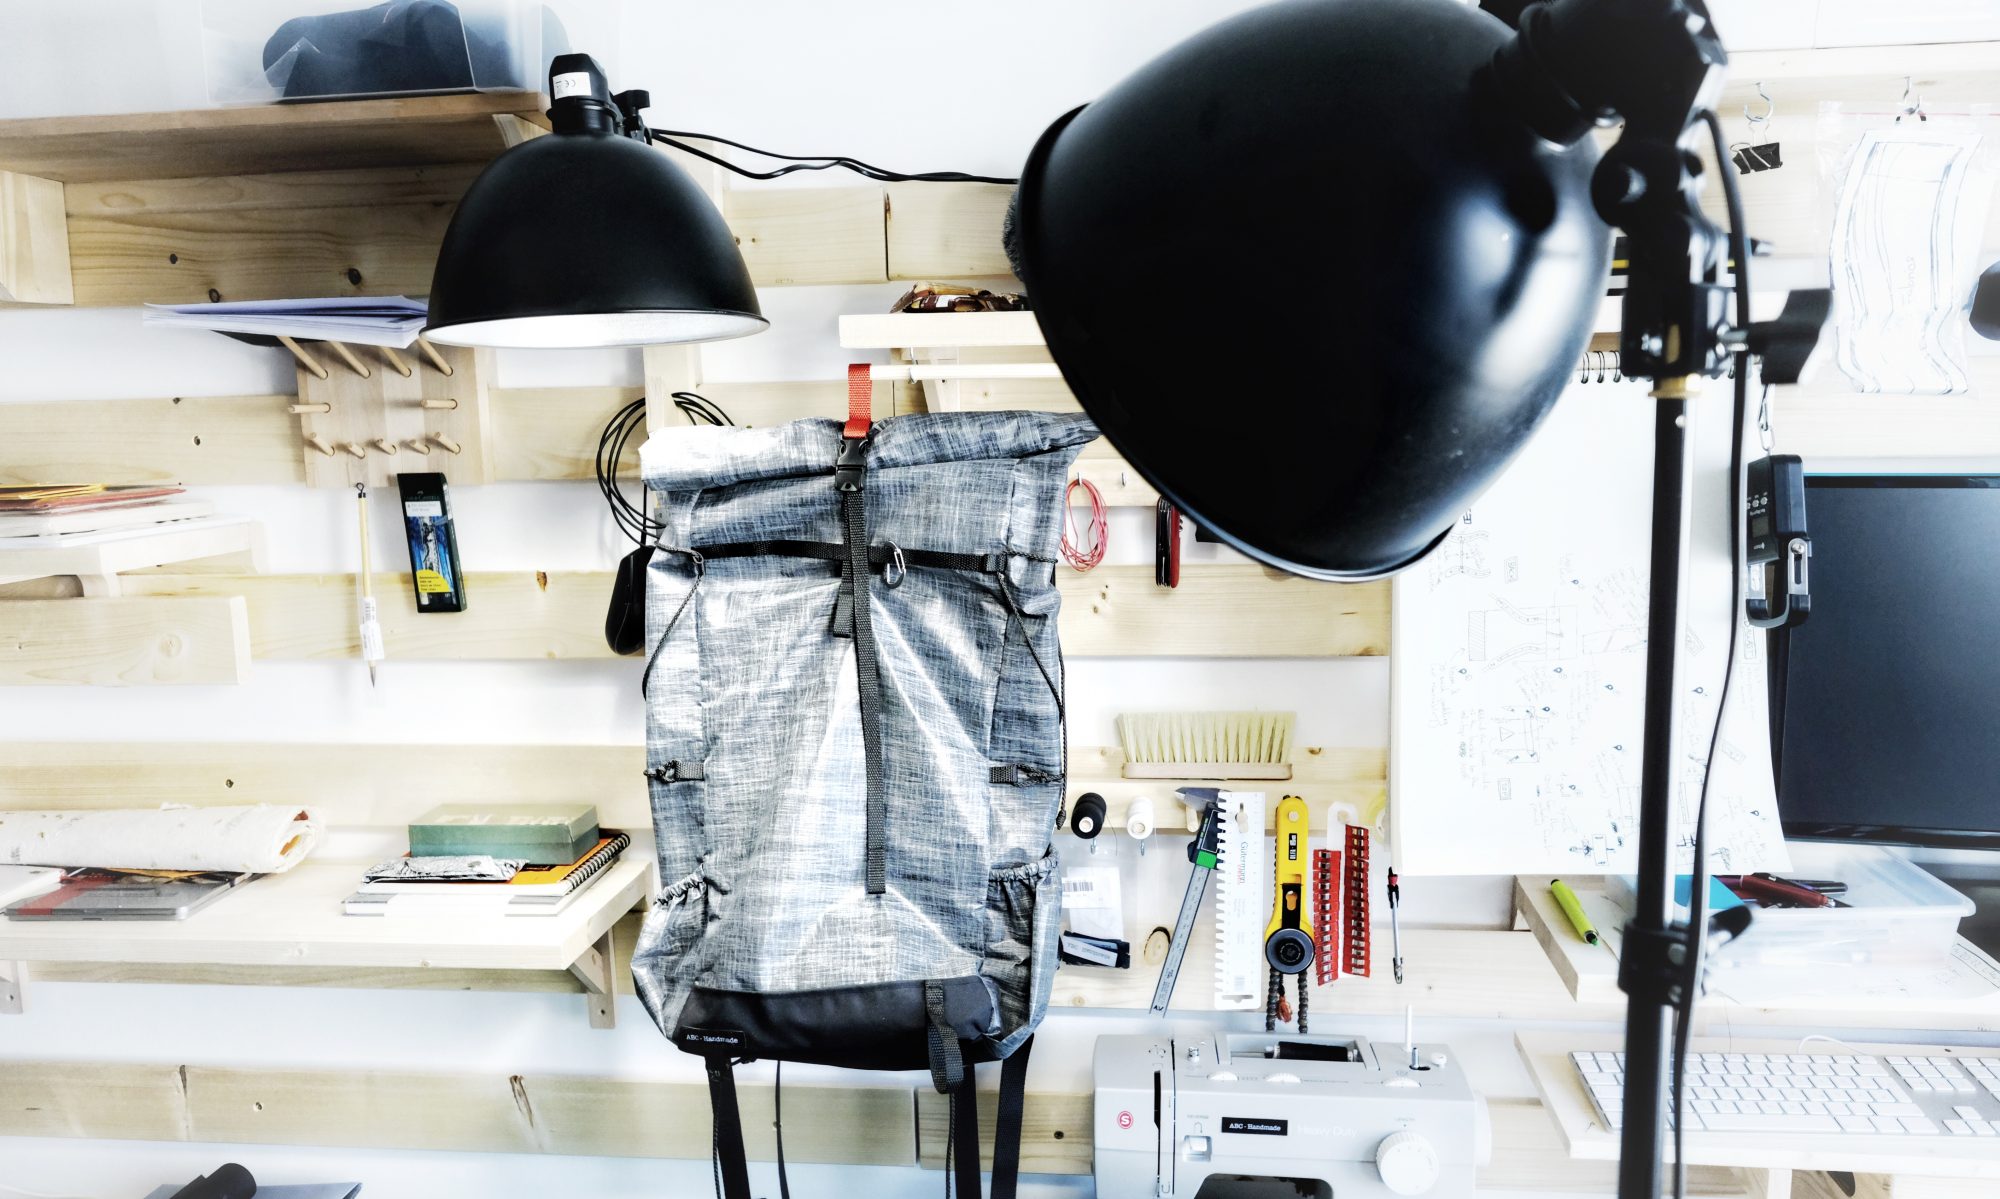
I’ve been thinking about making a specialised alpine pack for a long time now. There are a couple of considerations to take such as weight, abrasion resistance, equipment attachment points and all without impeding the wearer’s freedom of arm movements.
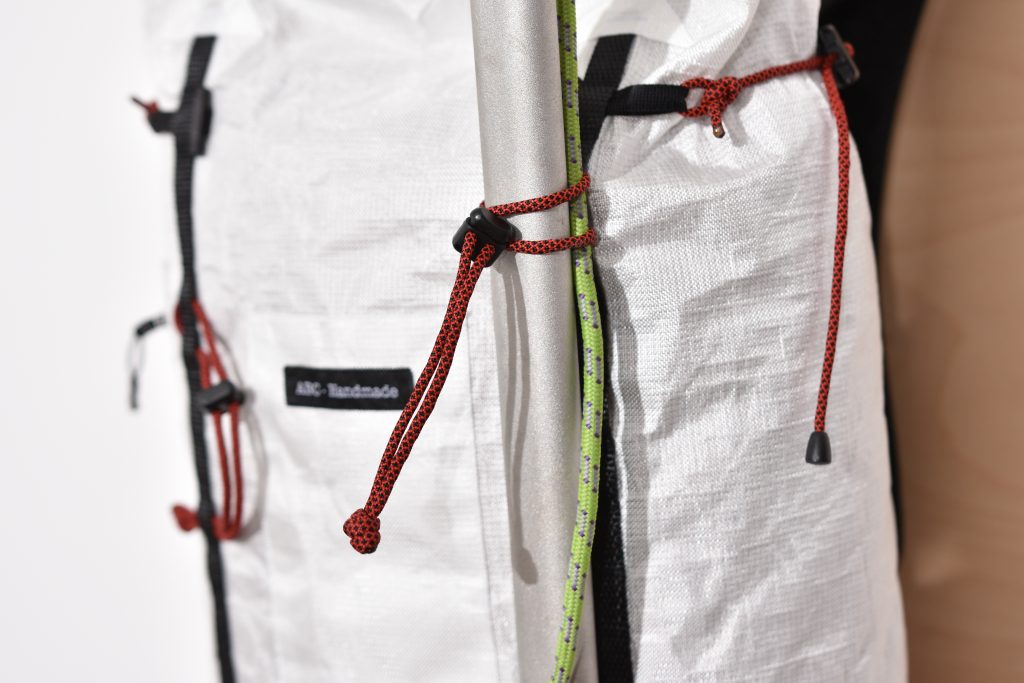
I’ll cover the reasoning and building process in more details in some future posts, but to achieve a decent ratio of weight to material strength, I selected a tough woven UHMWPE fabric (ultra high molecular weight polyethylene more popular name is Dyneema). These woven fabrics are extremely resistant to wear and tear. In the end, I settled for a relatively new fabric from Challenge Sailcloth called Ecopak Ultra EPL 400. The future will tell if this was the right choice, but after working with it, I like it a lot.

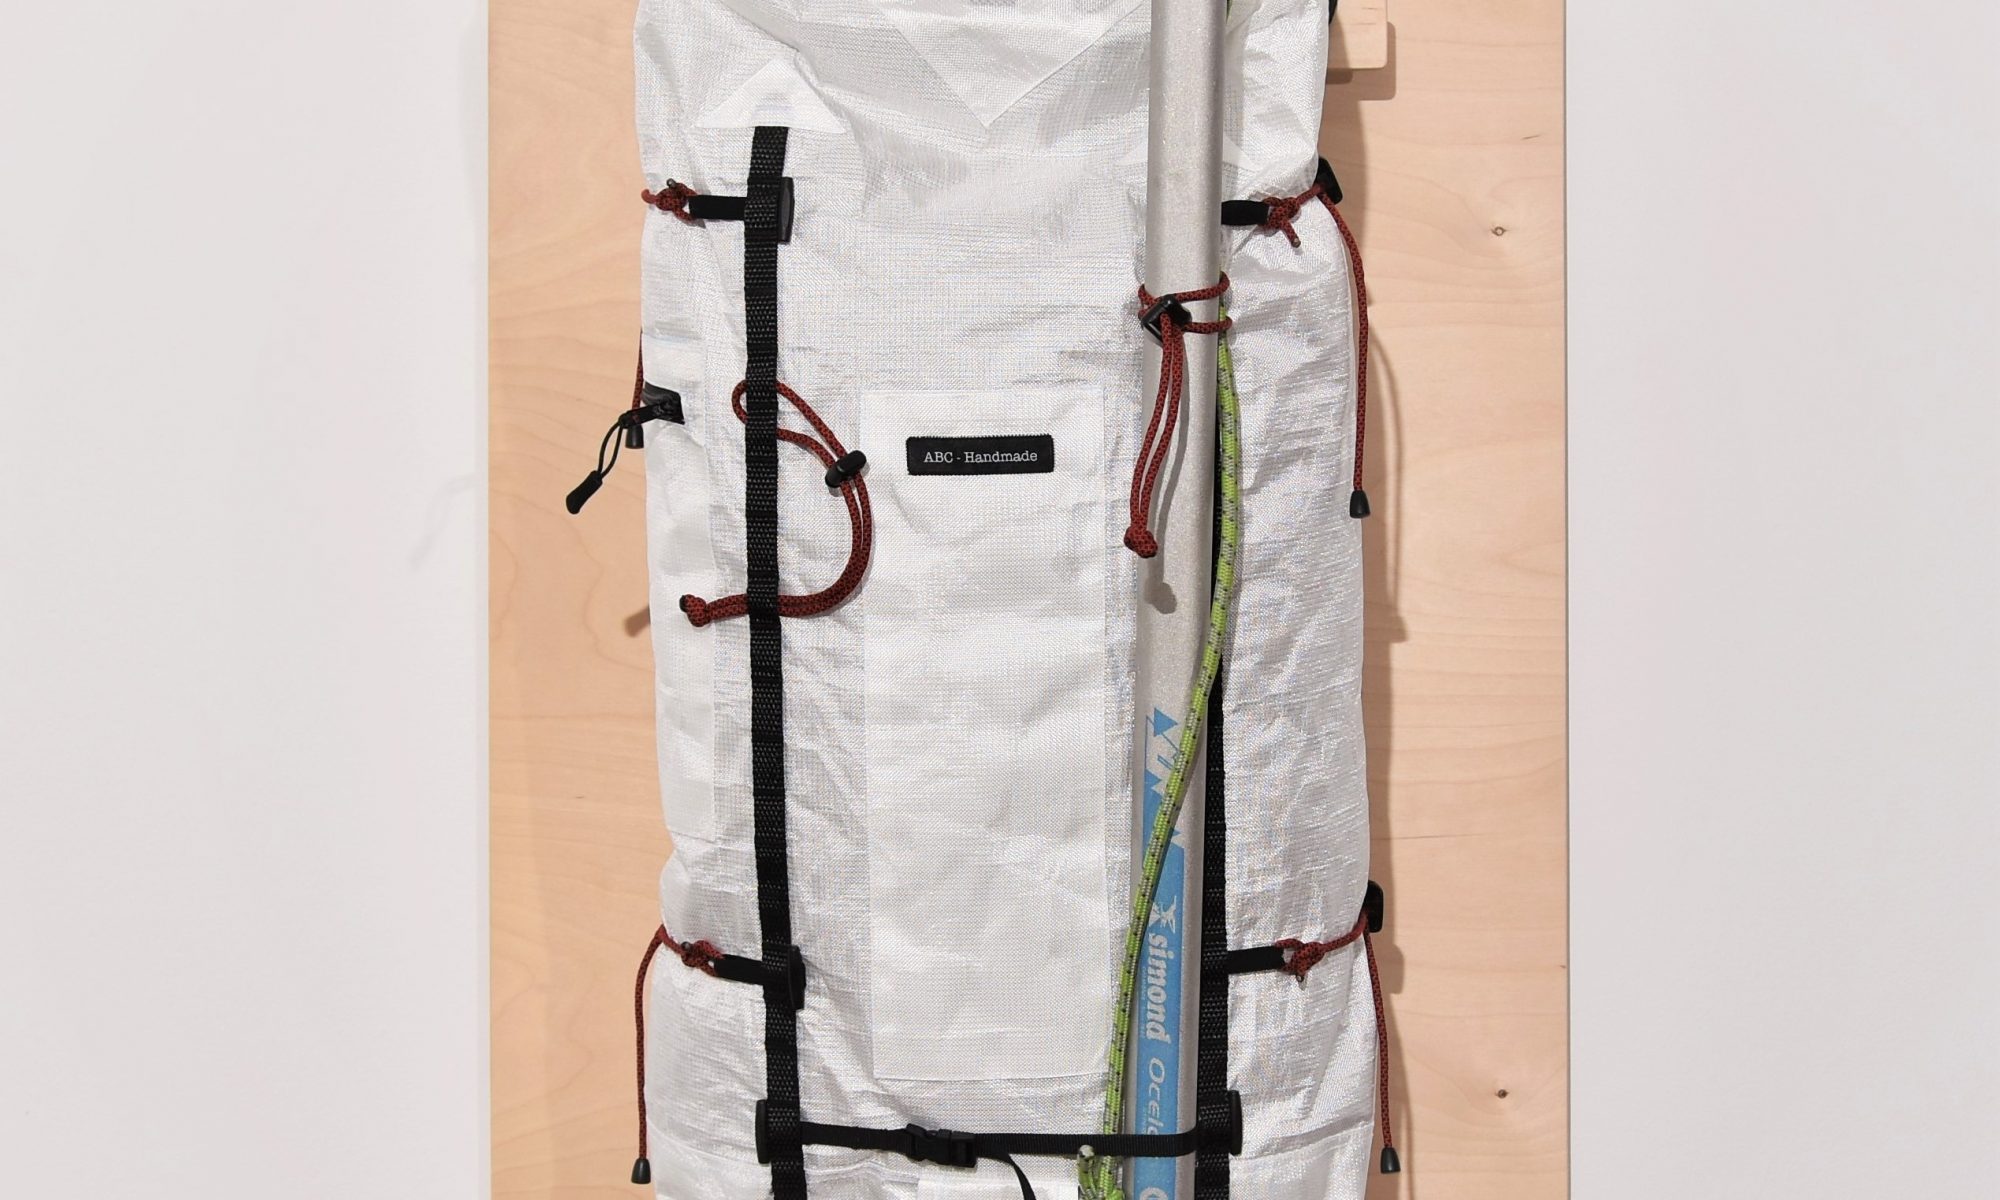
Since Alpine packs get more abuse than most bag – if you ever had to haul a pack up a wall, you know – I wanted to be able to remove most of the straps and cords in a pinch to replace them, or to be able to prevent snagging in more difficult conditions. I also reinforced the most exposed parts to prevent critical failures during an expedition.
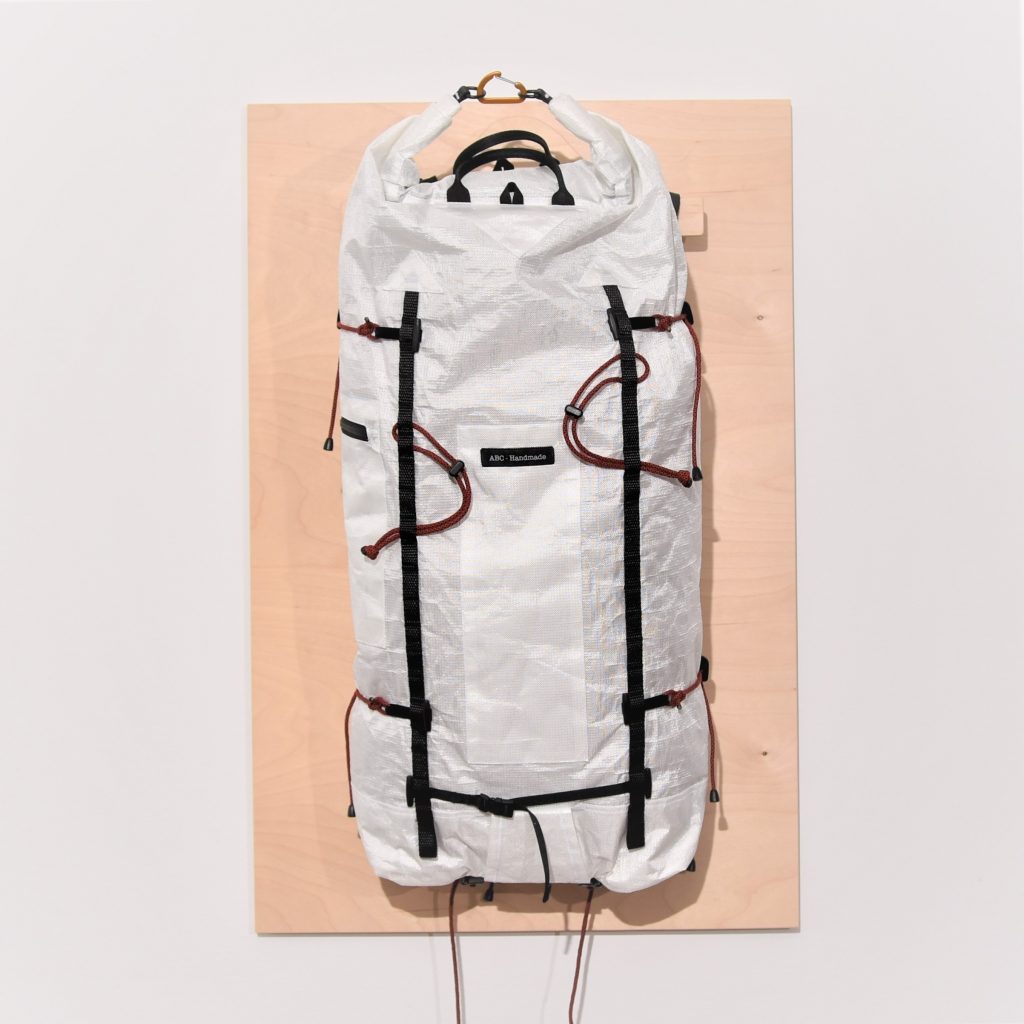
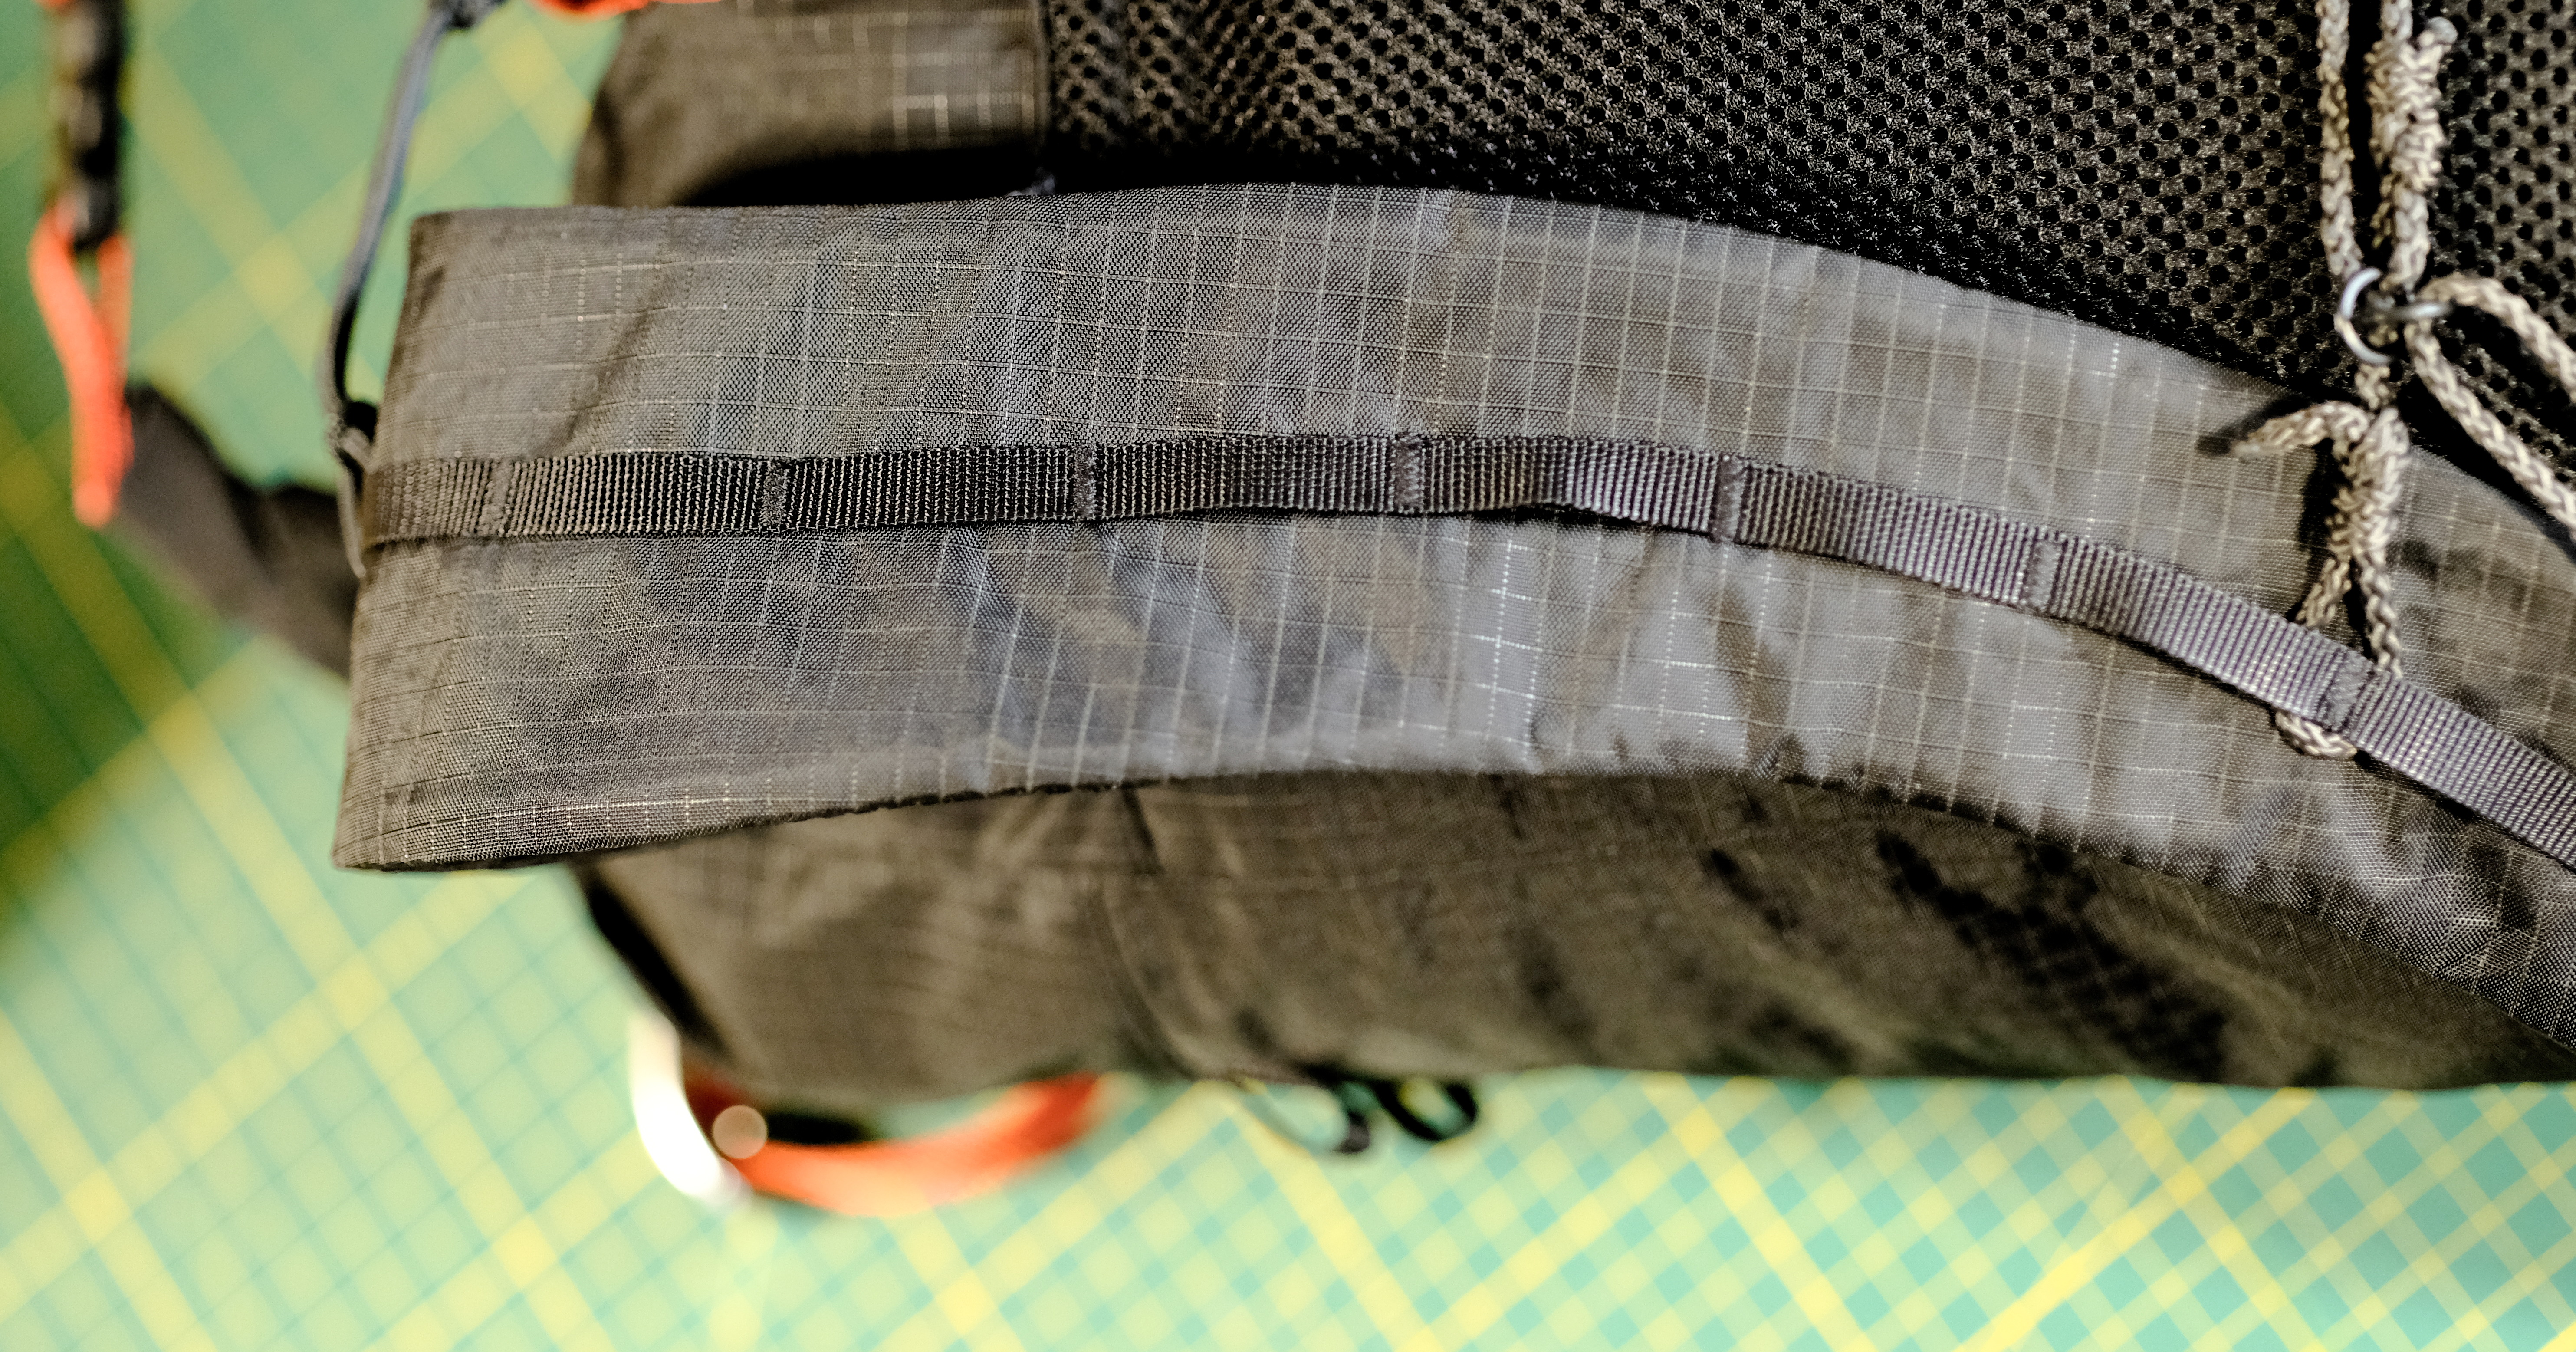
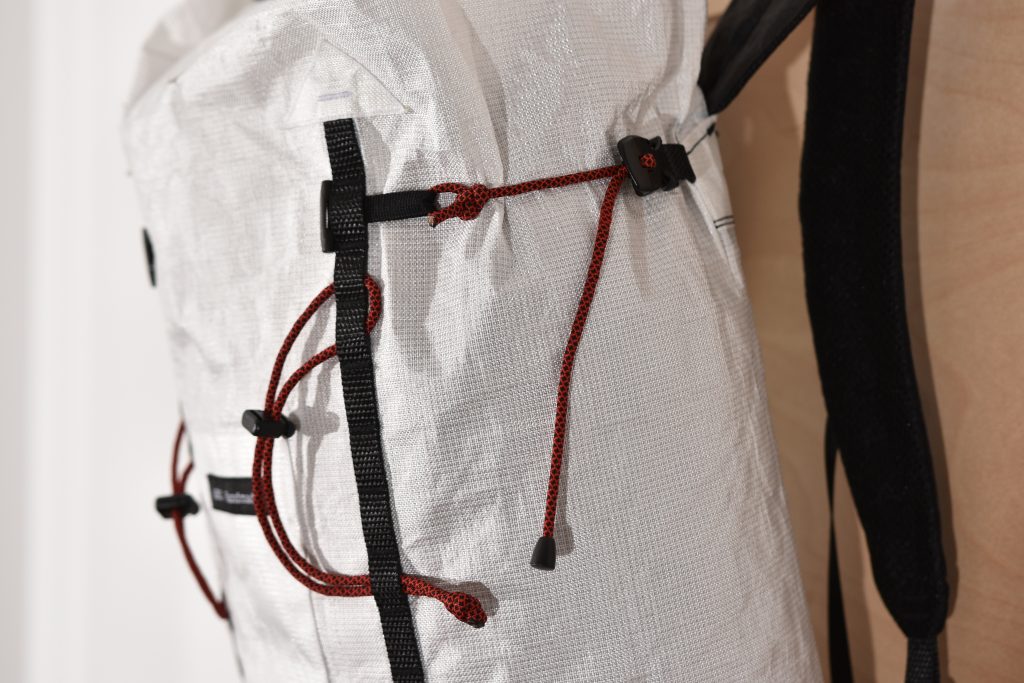
In order for the compression straps and ice-axe attachment to be replaceable and removable, I decided to use the daisy chains as the main static feature. Each of the removable element ties into them using T-bars. In the end, this also allows me to rearrange the attachments if I need a different configuration or longer compression cords for some reason.

In order for this to work though, the daisy chain spacing for each “loop” must be relatively small (about 22mm) which would potentially make it difficult to attach climbing equipment directly to it. Since this was not my primary concern, I went ahead with that design. You’d be surprised how much every detail counts in a design like this.
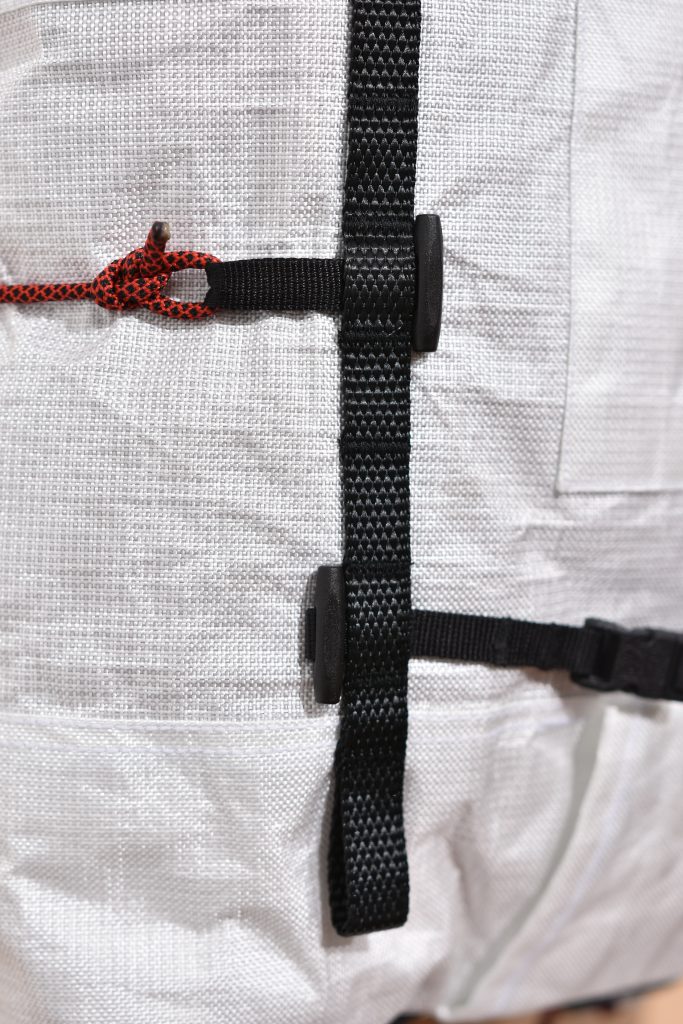
The side compression straps themselves do have a fixed point (non-removable part) where the quick-release LineLoc ties into the bag. But beyond that, the cord and the T-bar can be removed in a pinch.
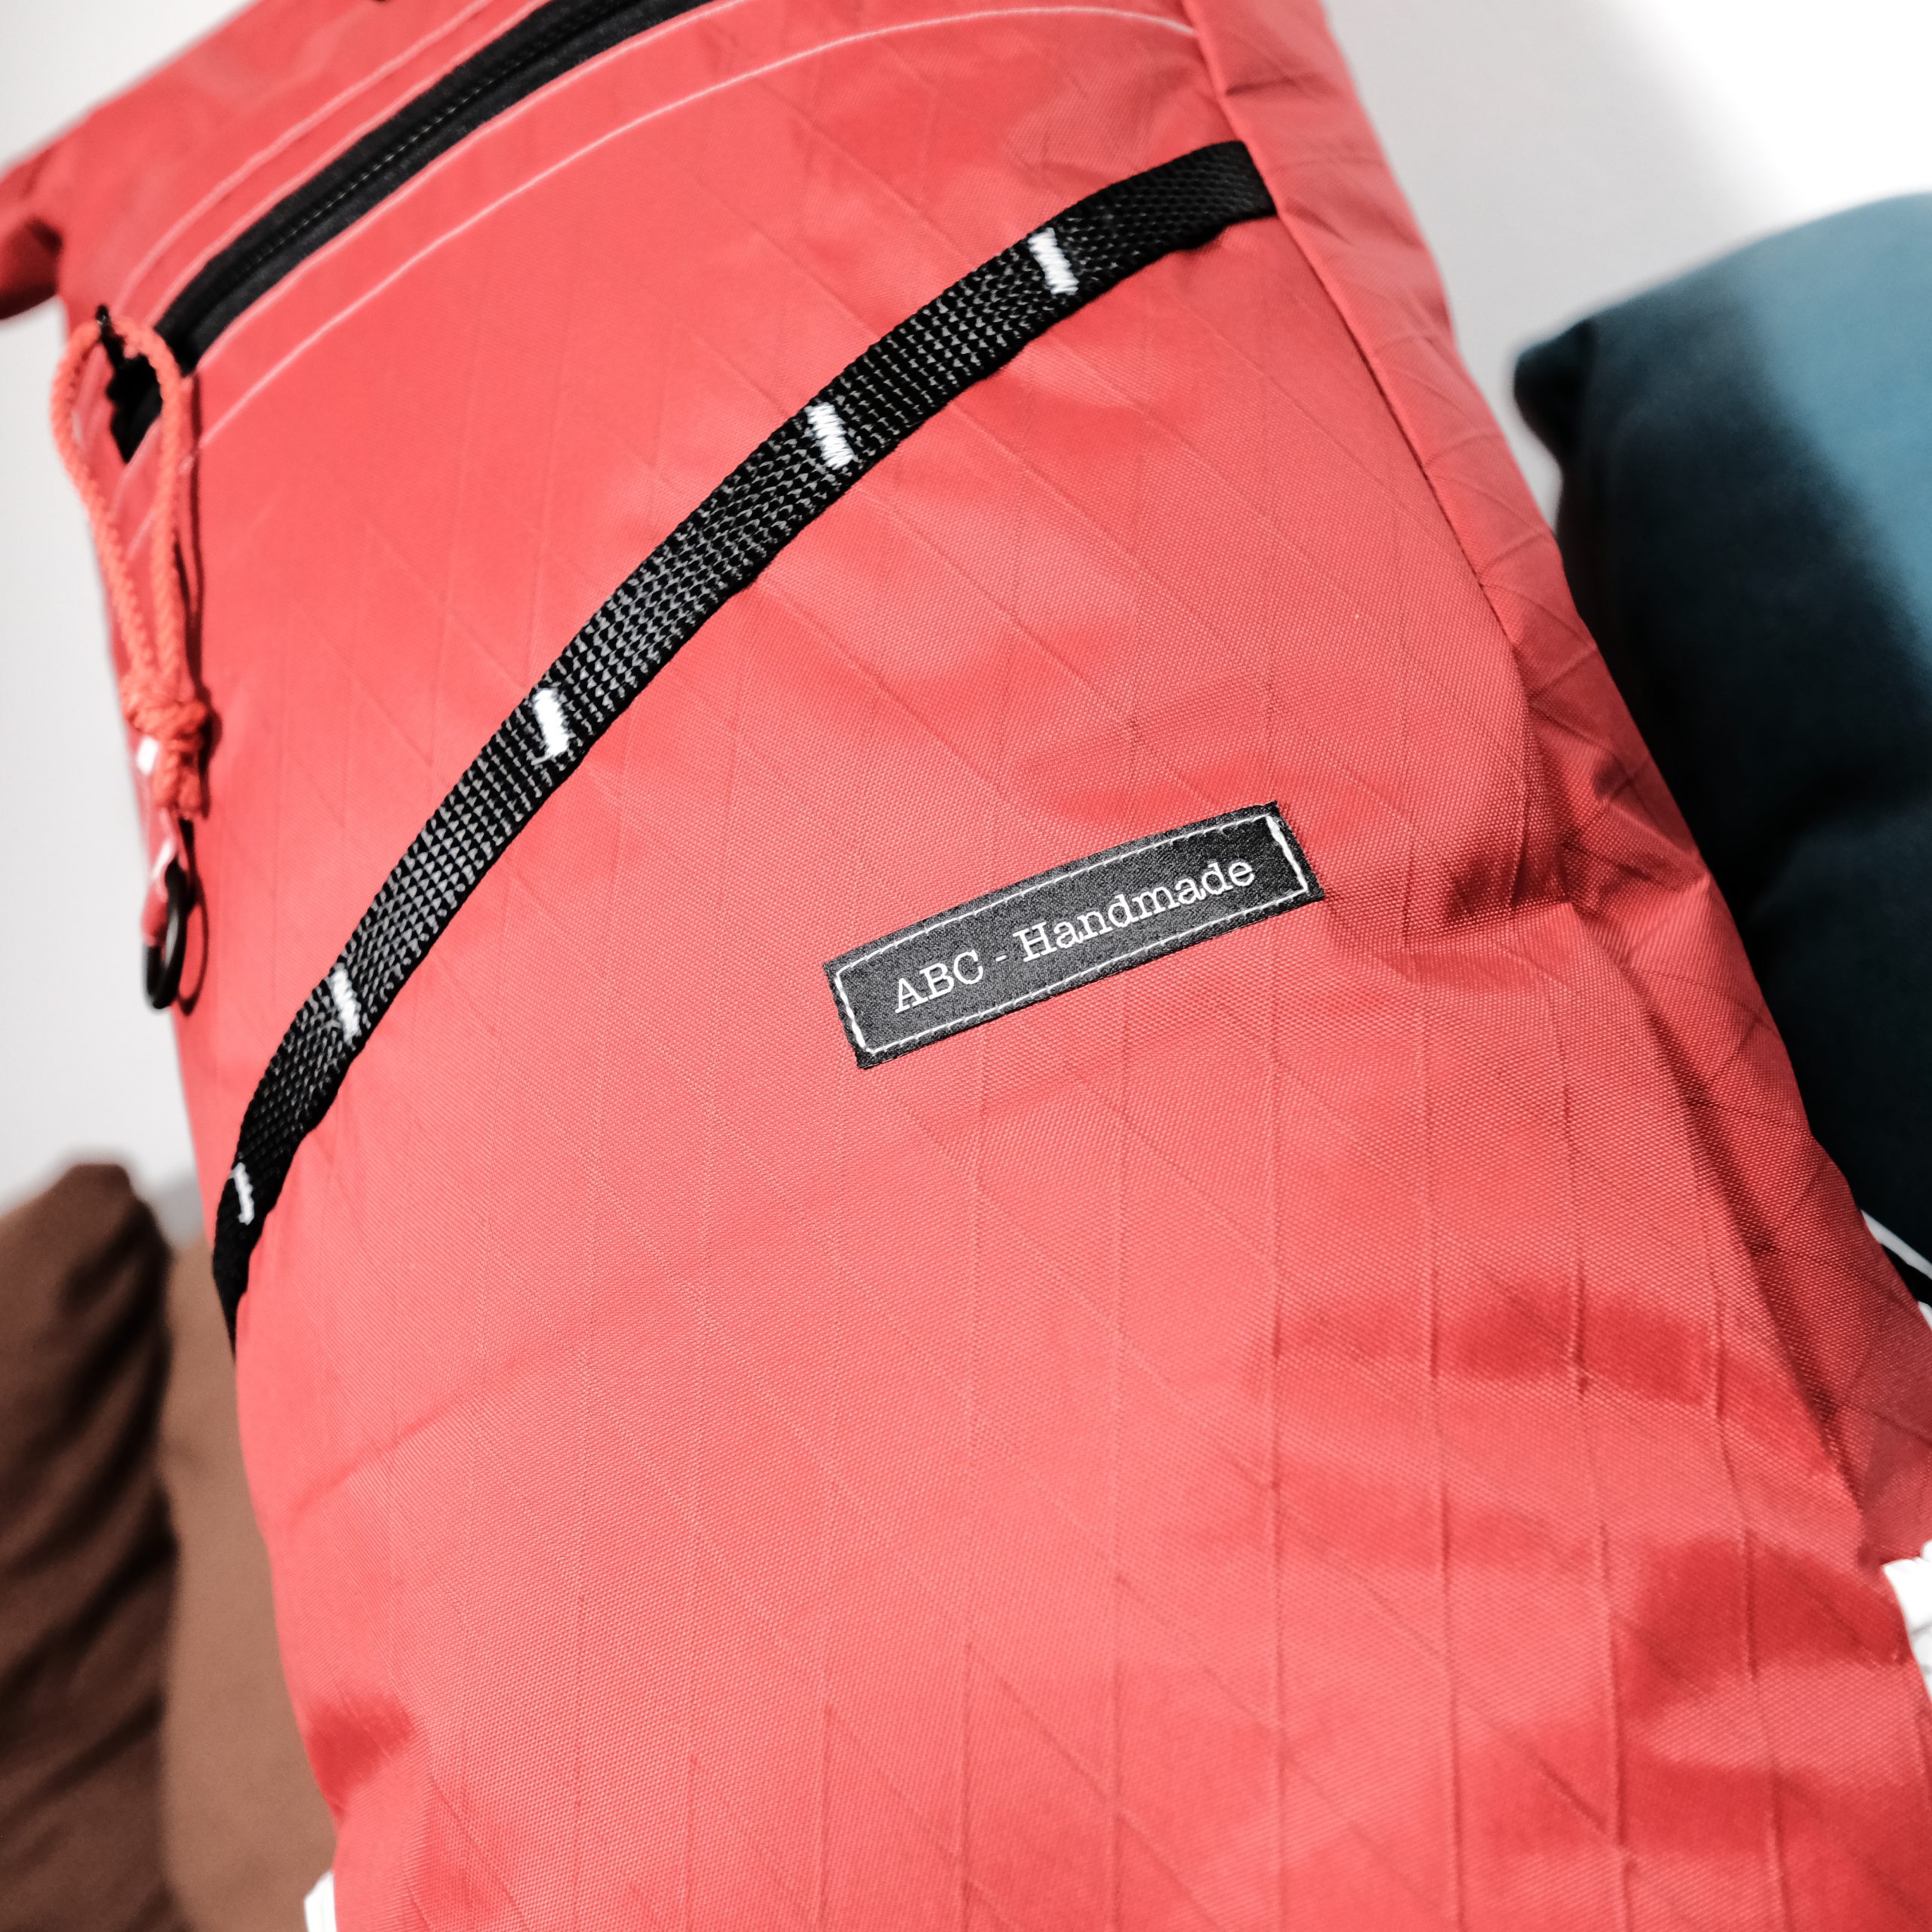
On most bags, I do like to have one small quick-access pocket where I can store papers, energy bars, keys and so on. Since I still wanted to avoid any potentially snagging, I went for a very low profile design with a zipper closure. It will not hold much, but it will do the job and not protrude from the bag.

As we were talking about hauling earlier, I was debating options for a while. I always build strong roll-tops so I can carry my bags grabbing the loop they form. I use small high-end carabiners that can take up to 30kg of load and always use metal D-rings instead of the usual Nylon to make sure this won’t fail over time. I decided that would make a poor rope attachment point for hauling since the D-Rings are too small for a climbing carabiner and you could reach 30kg of pulling force on a bad day’s haul.
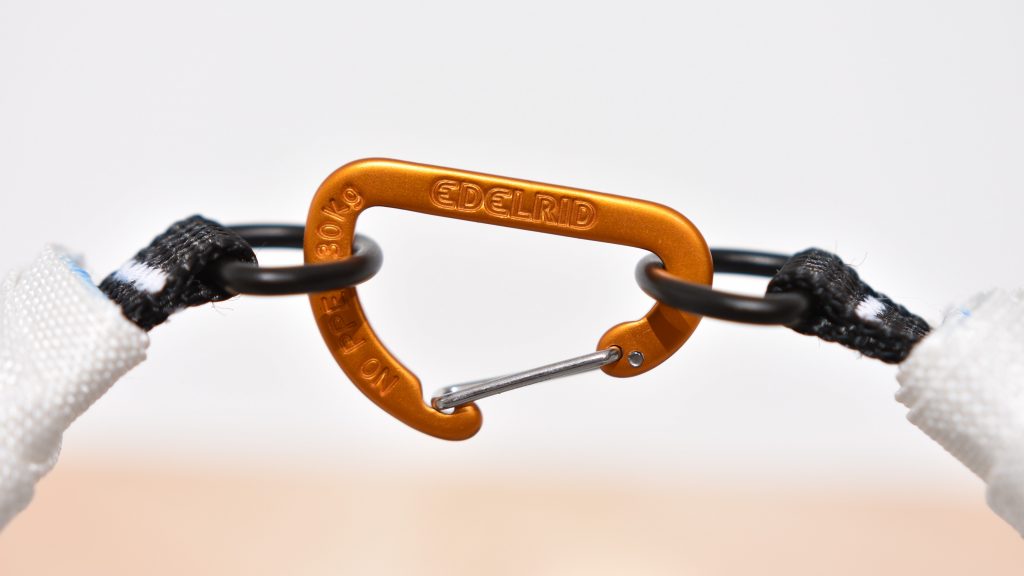
Instead, I went for a handle style carrying attachment that would fit the needs for hauling quite well and double as a handles if you prefer a straight roll-top rather than dry-bag style closure. Since I wanted the bag to stay levelled and haul straight, I decided to add symmetrical attachments so that the pack would be balanced. Each handle was tacked well and should be handling loads in the 20kg range without any problem.
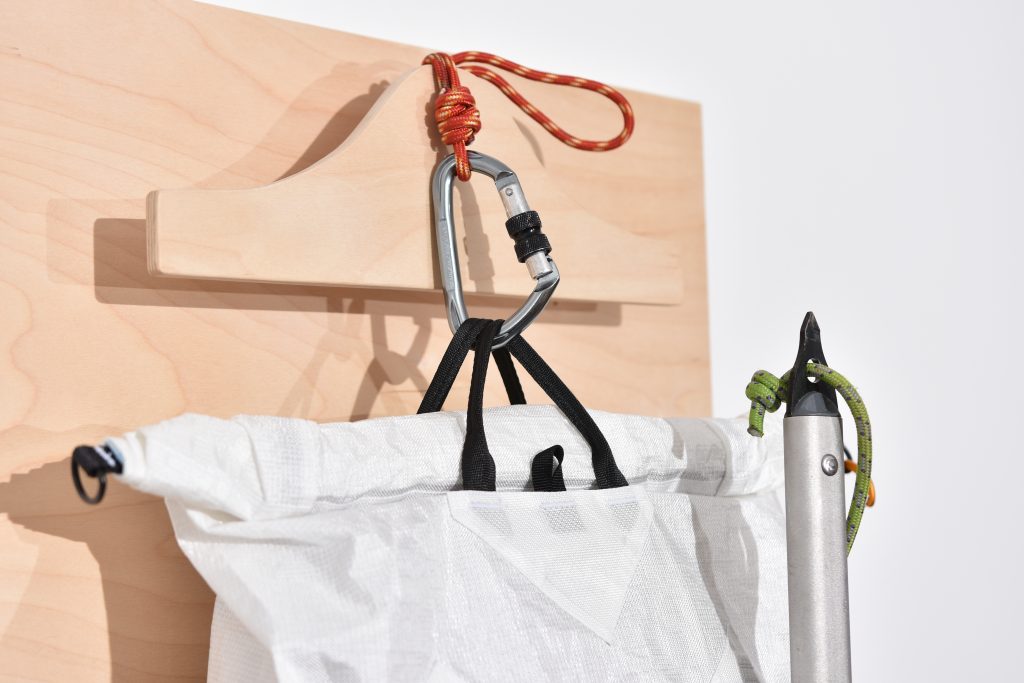
I would not expect the pack to be filled to the brim for a haul, but if it is, this design will not be ideal if the roll-top stands higher that the handles. In this case, one should haul with only one handle and hope for the best.
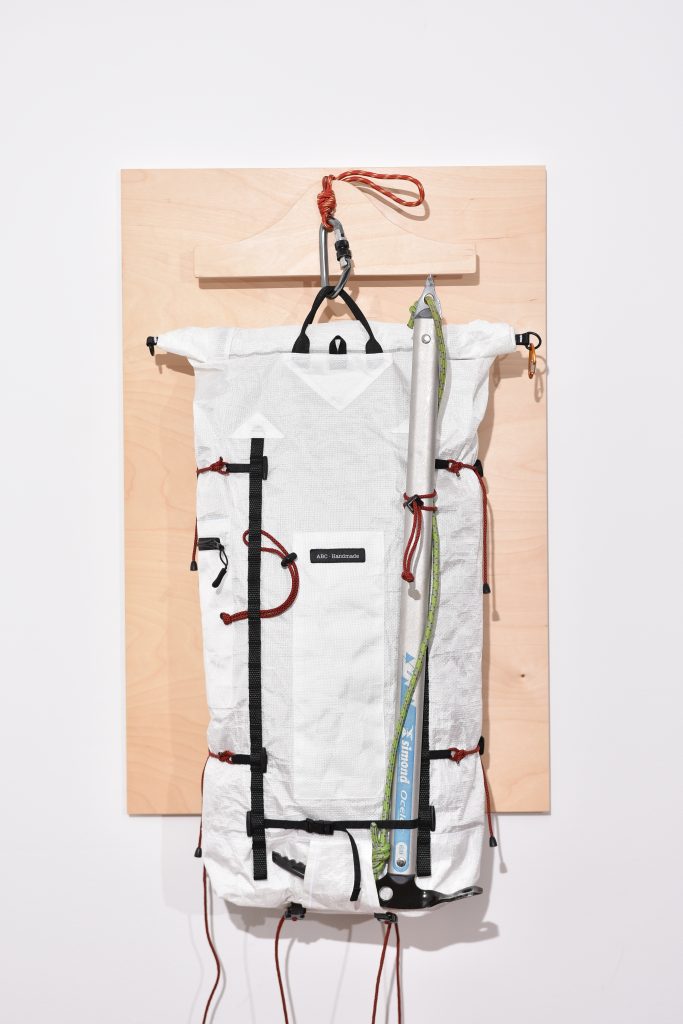
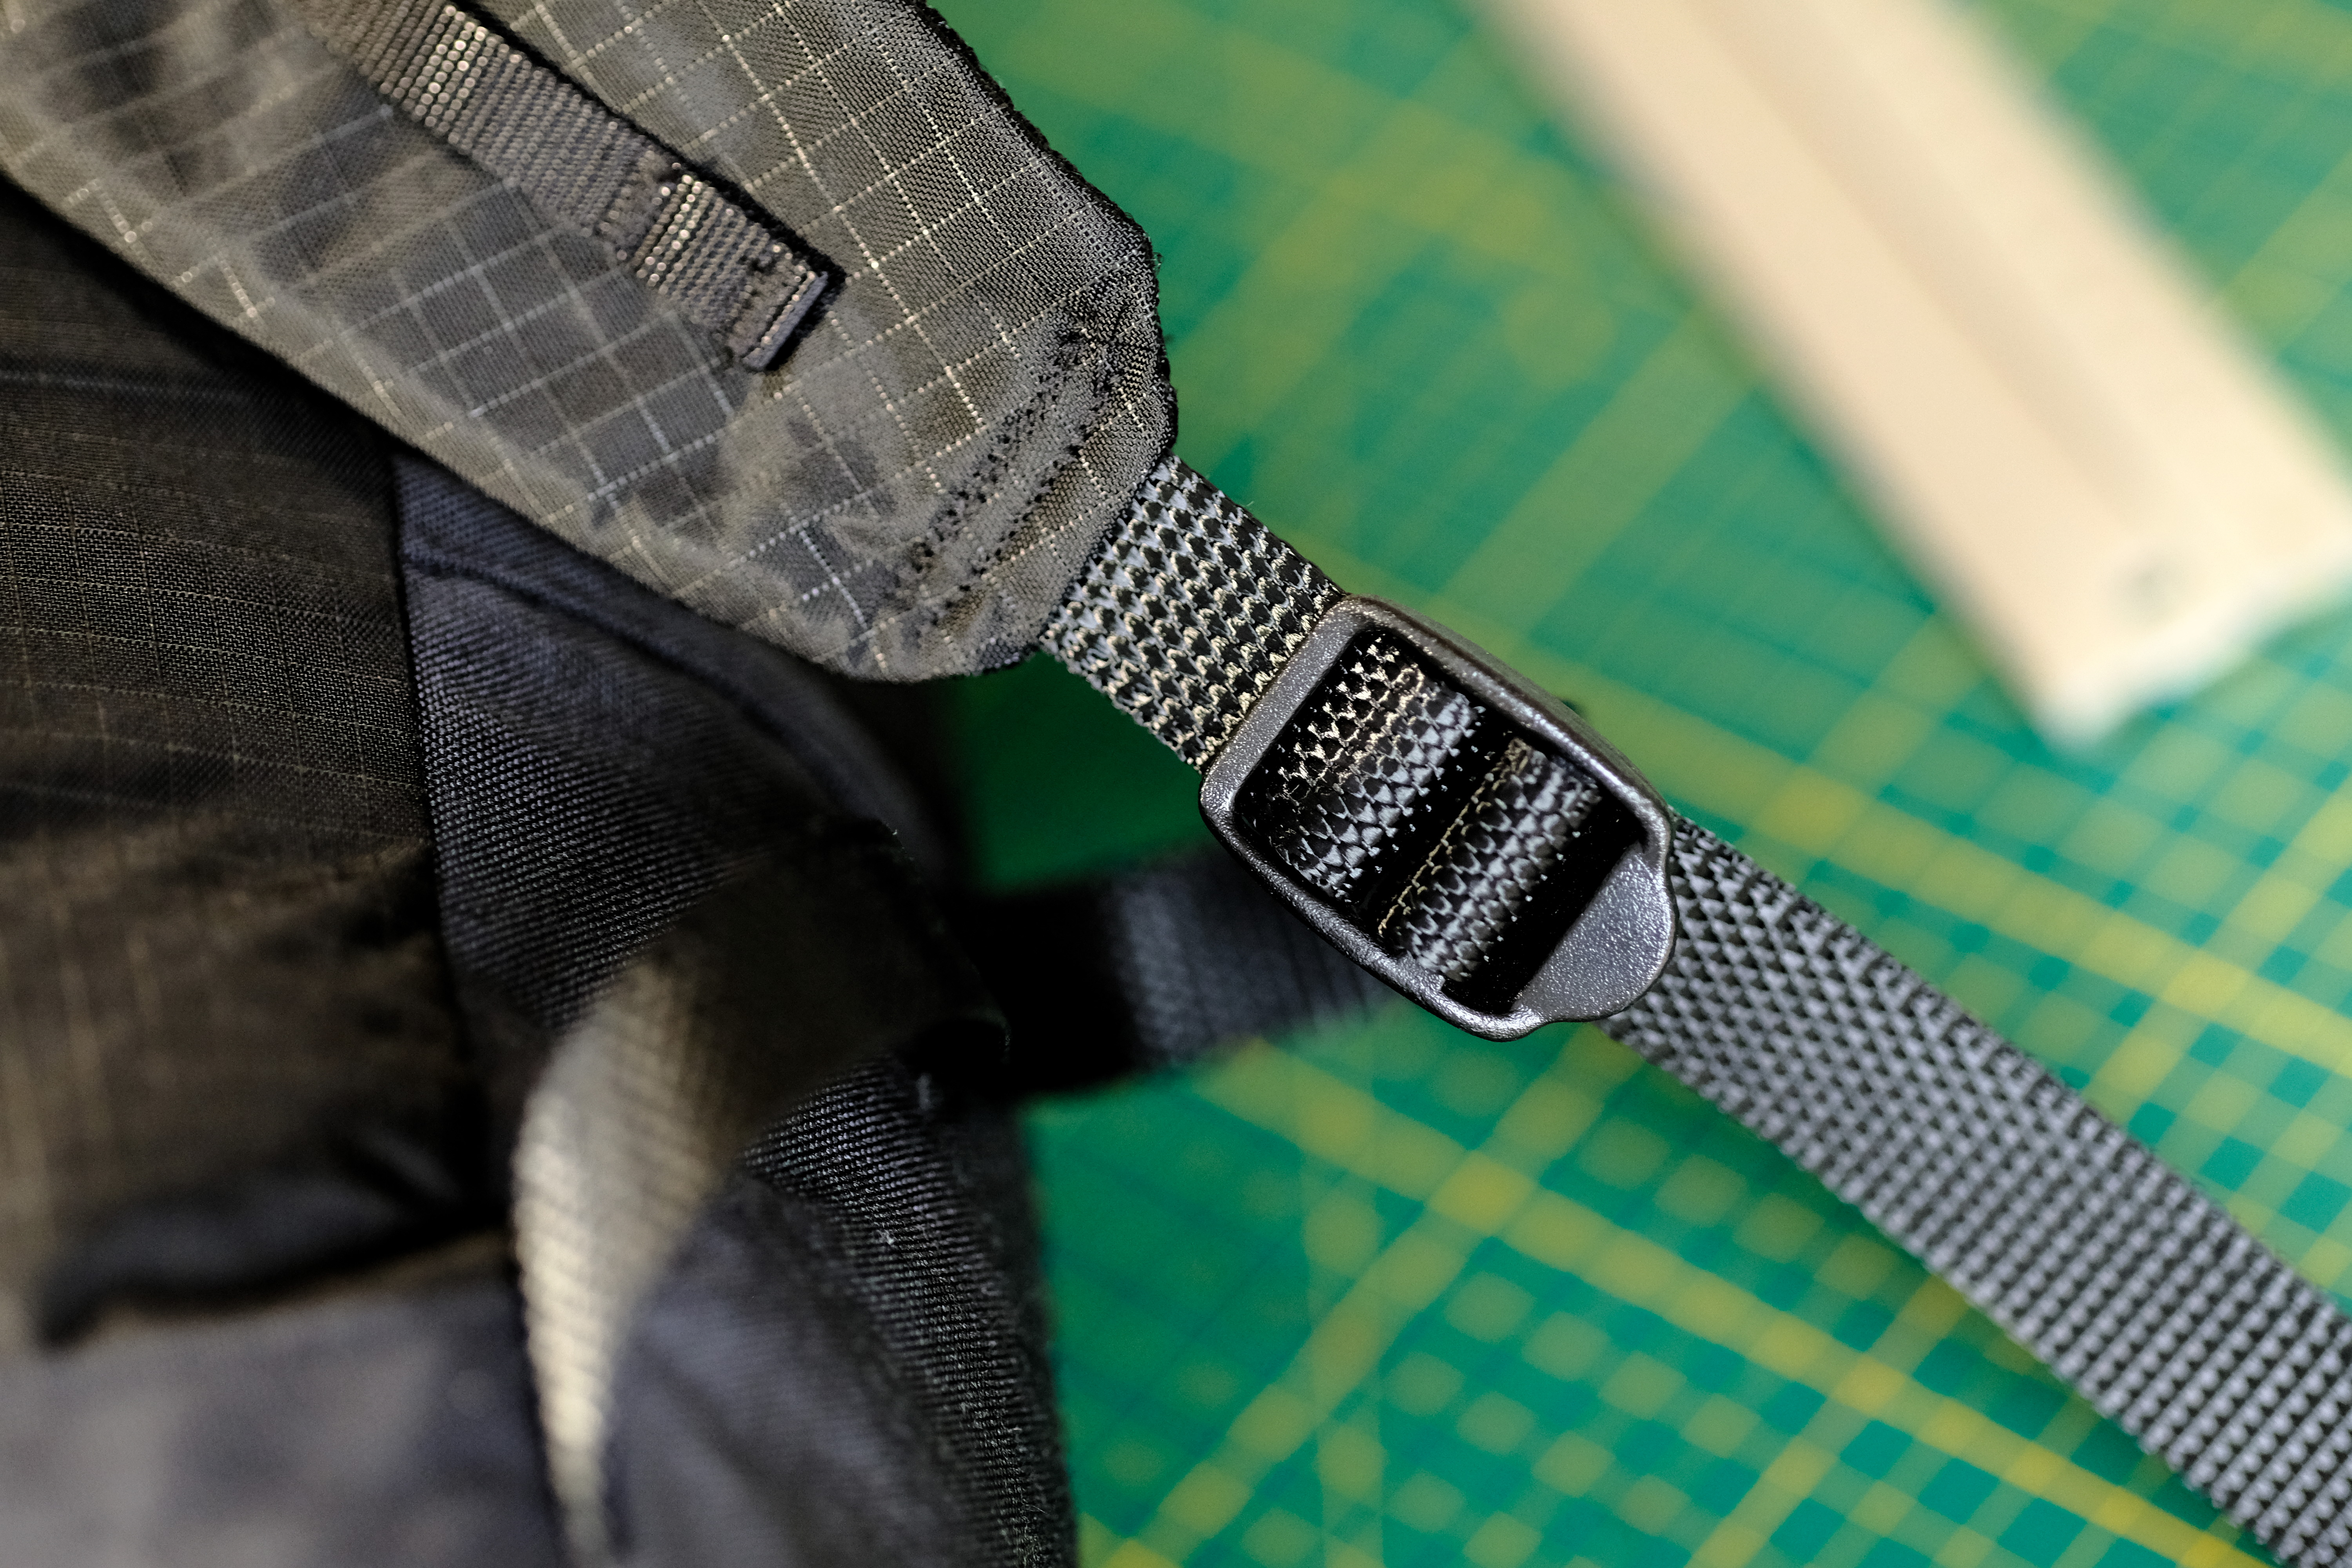
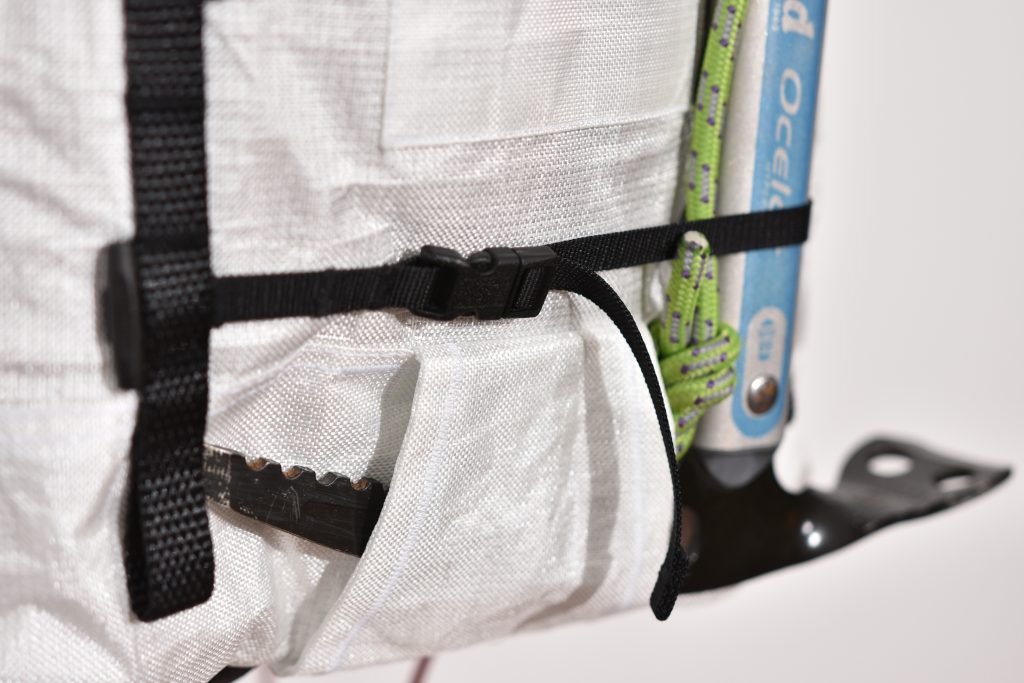
The last feature worth mentioning is probably the ice-axe attachment although there really isn’t much to talk about. It is a very simple design, tried and true. It can support a single axe or a hybrid setup (2 smaller axes). To secure the lower part of the axe, a simple webbing and quick release is tried between the two daisy chains. This strap can be lowered or raised depending on the axe configuration, but there is probably no need for this. I admit I was a bit worried about the strength of this puny little quick release that fits a 10mm webbing. After fiddling with it for hours, I figured it would do the job. It’s anyway easy to replace and upgrade but if anything ever fails on this bag, I assume this would be it.
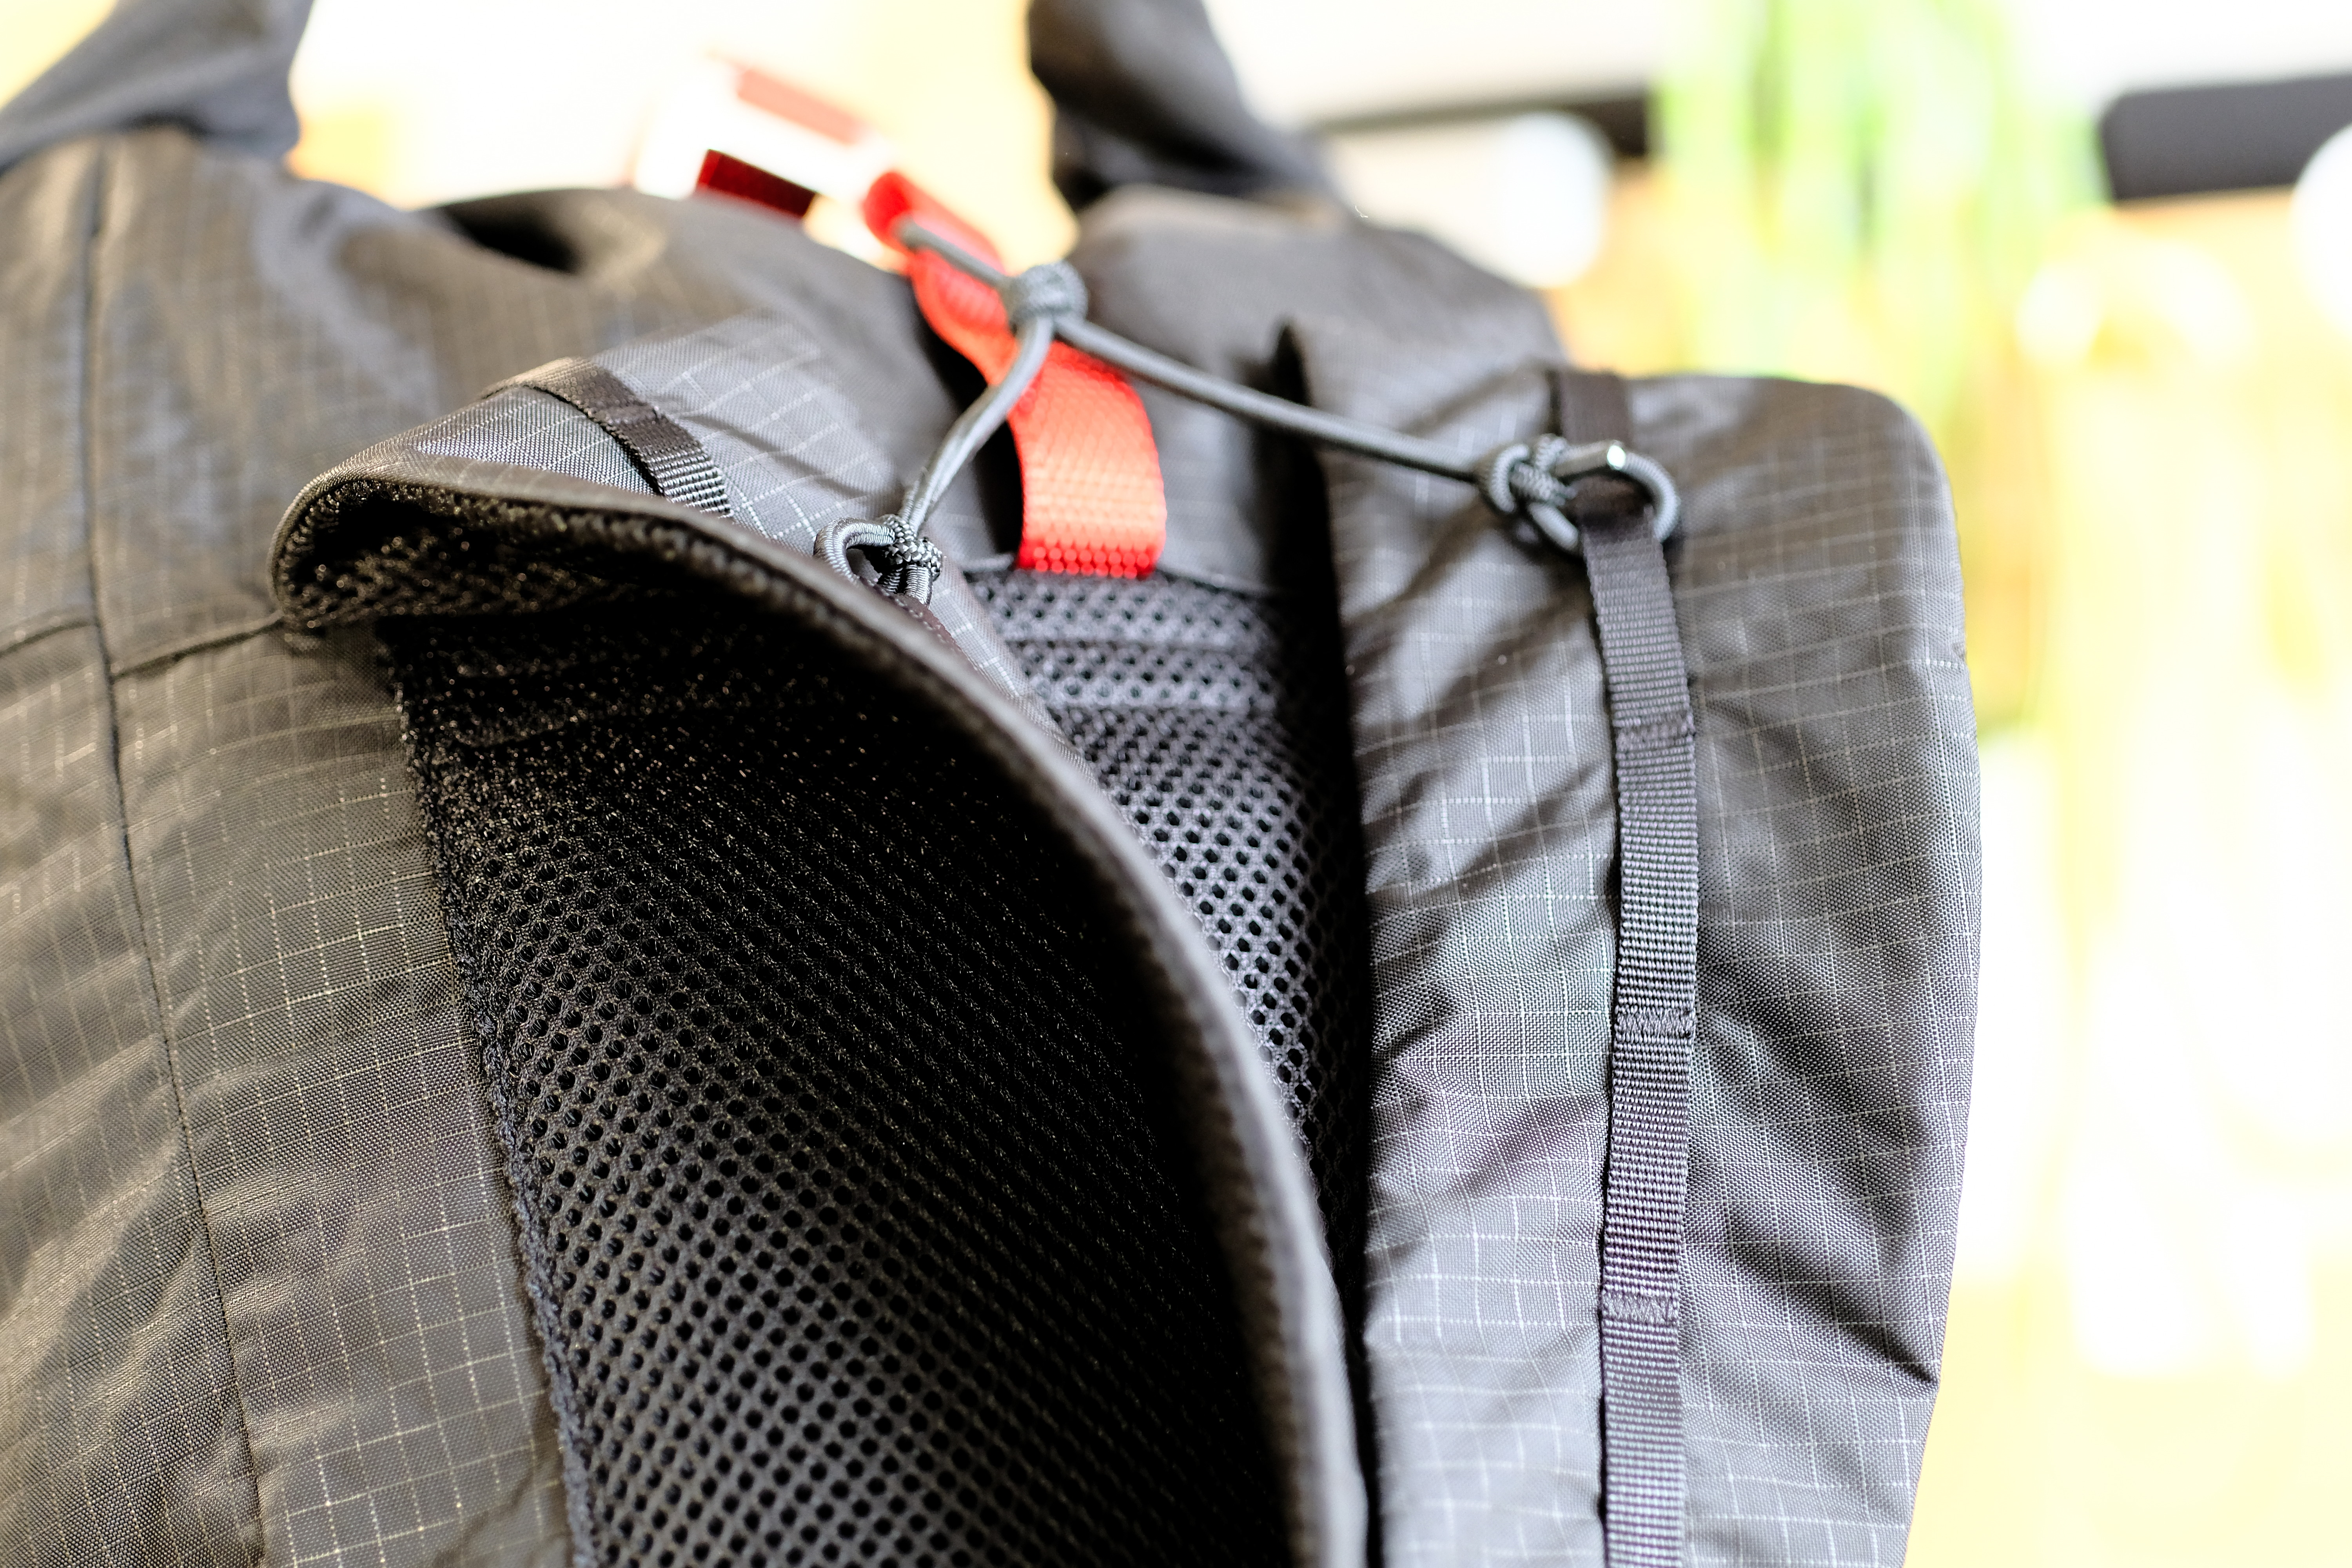
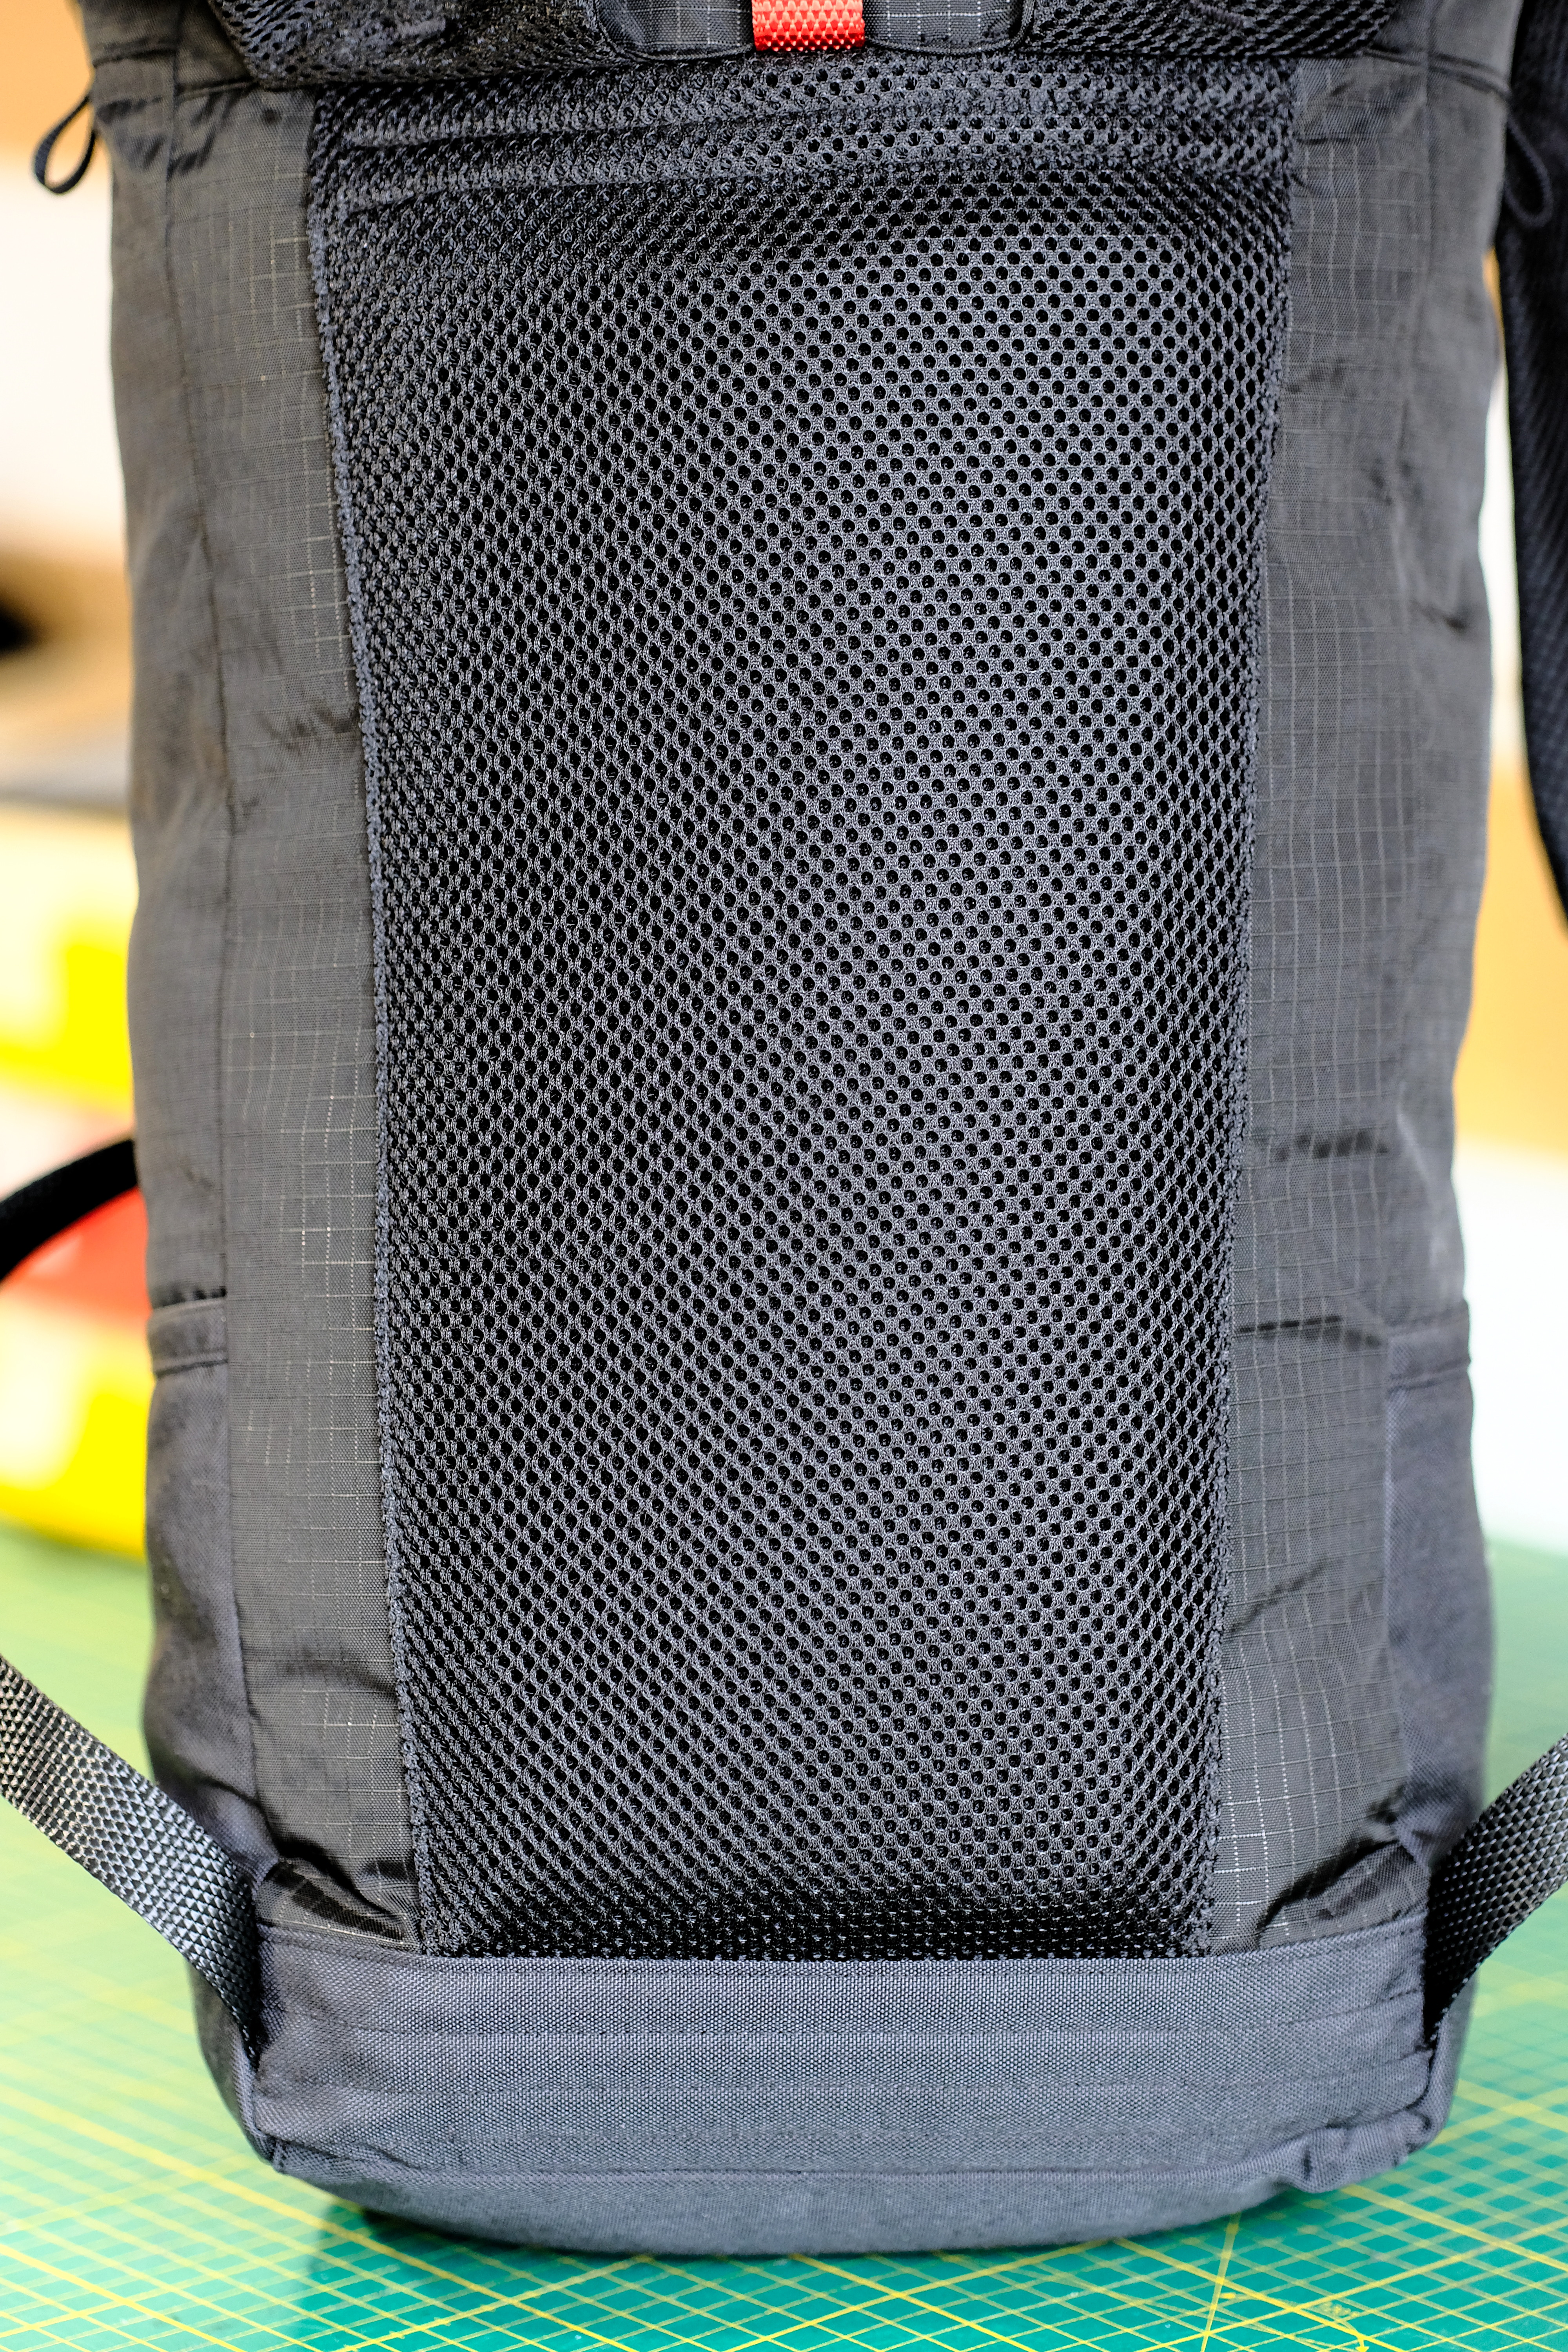
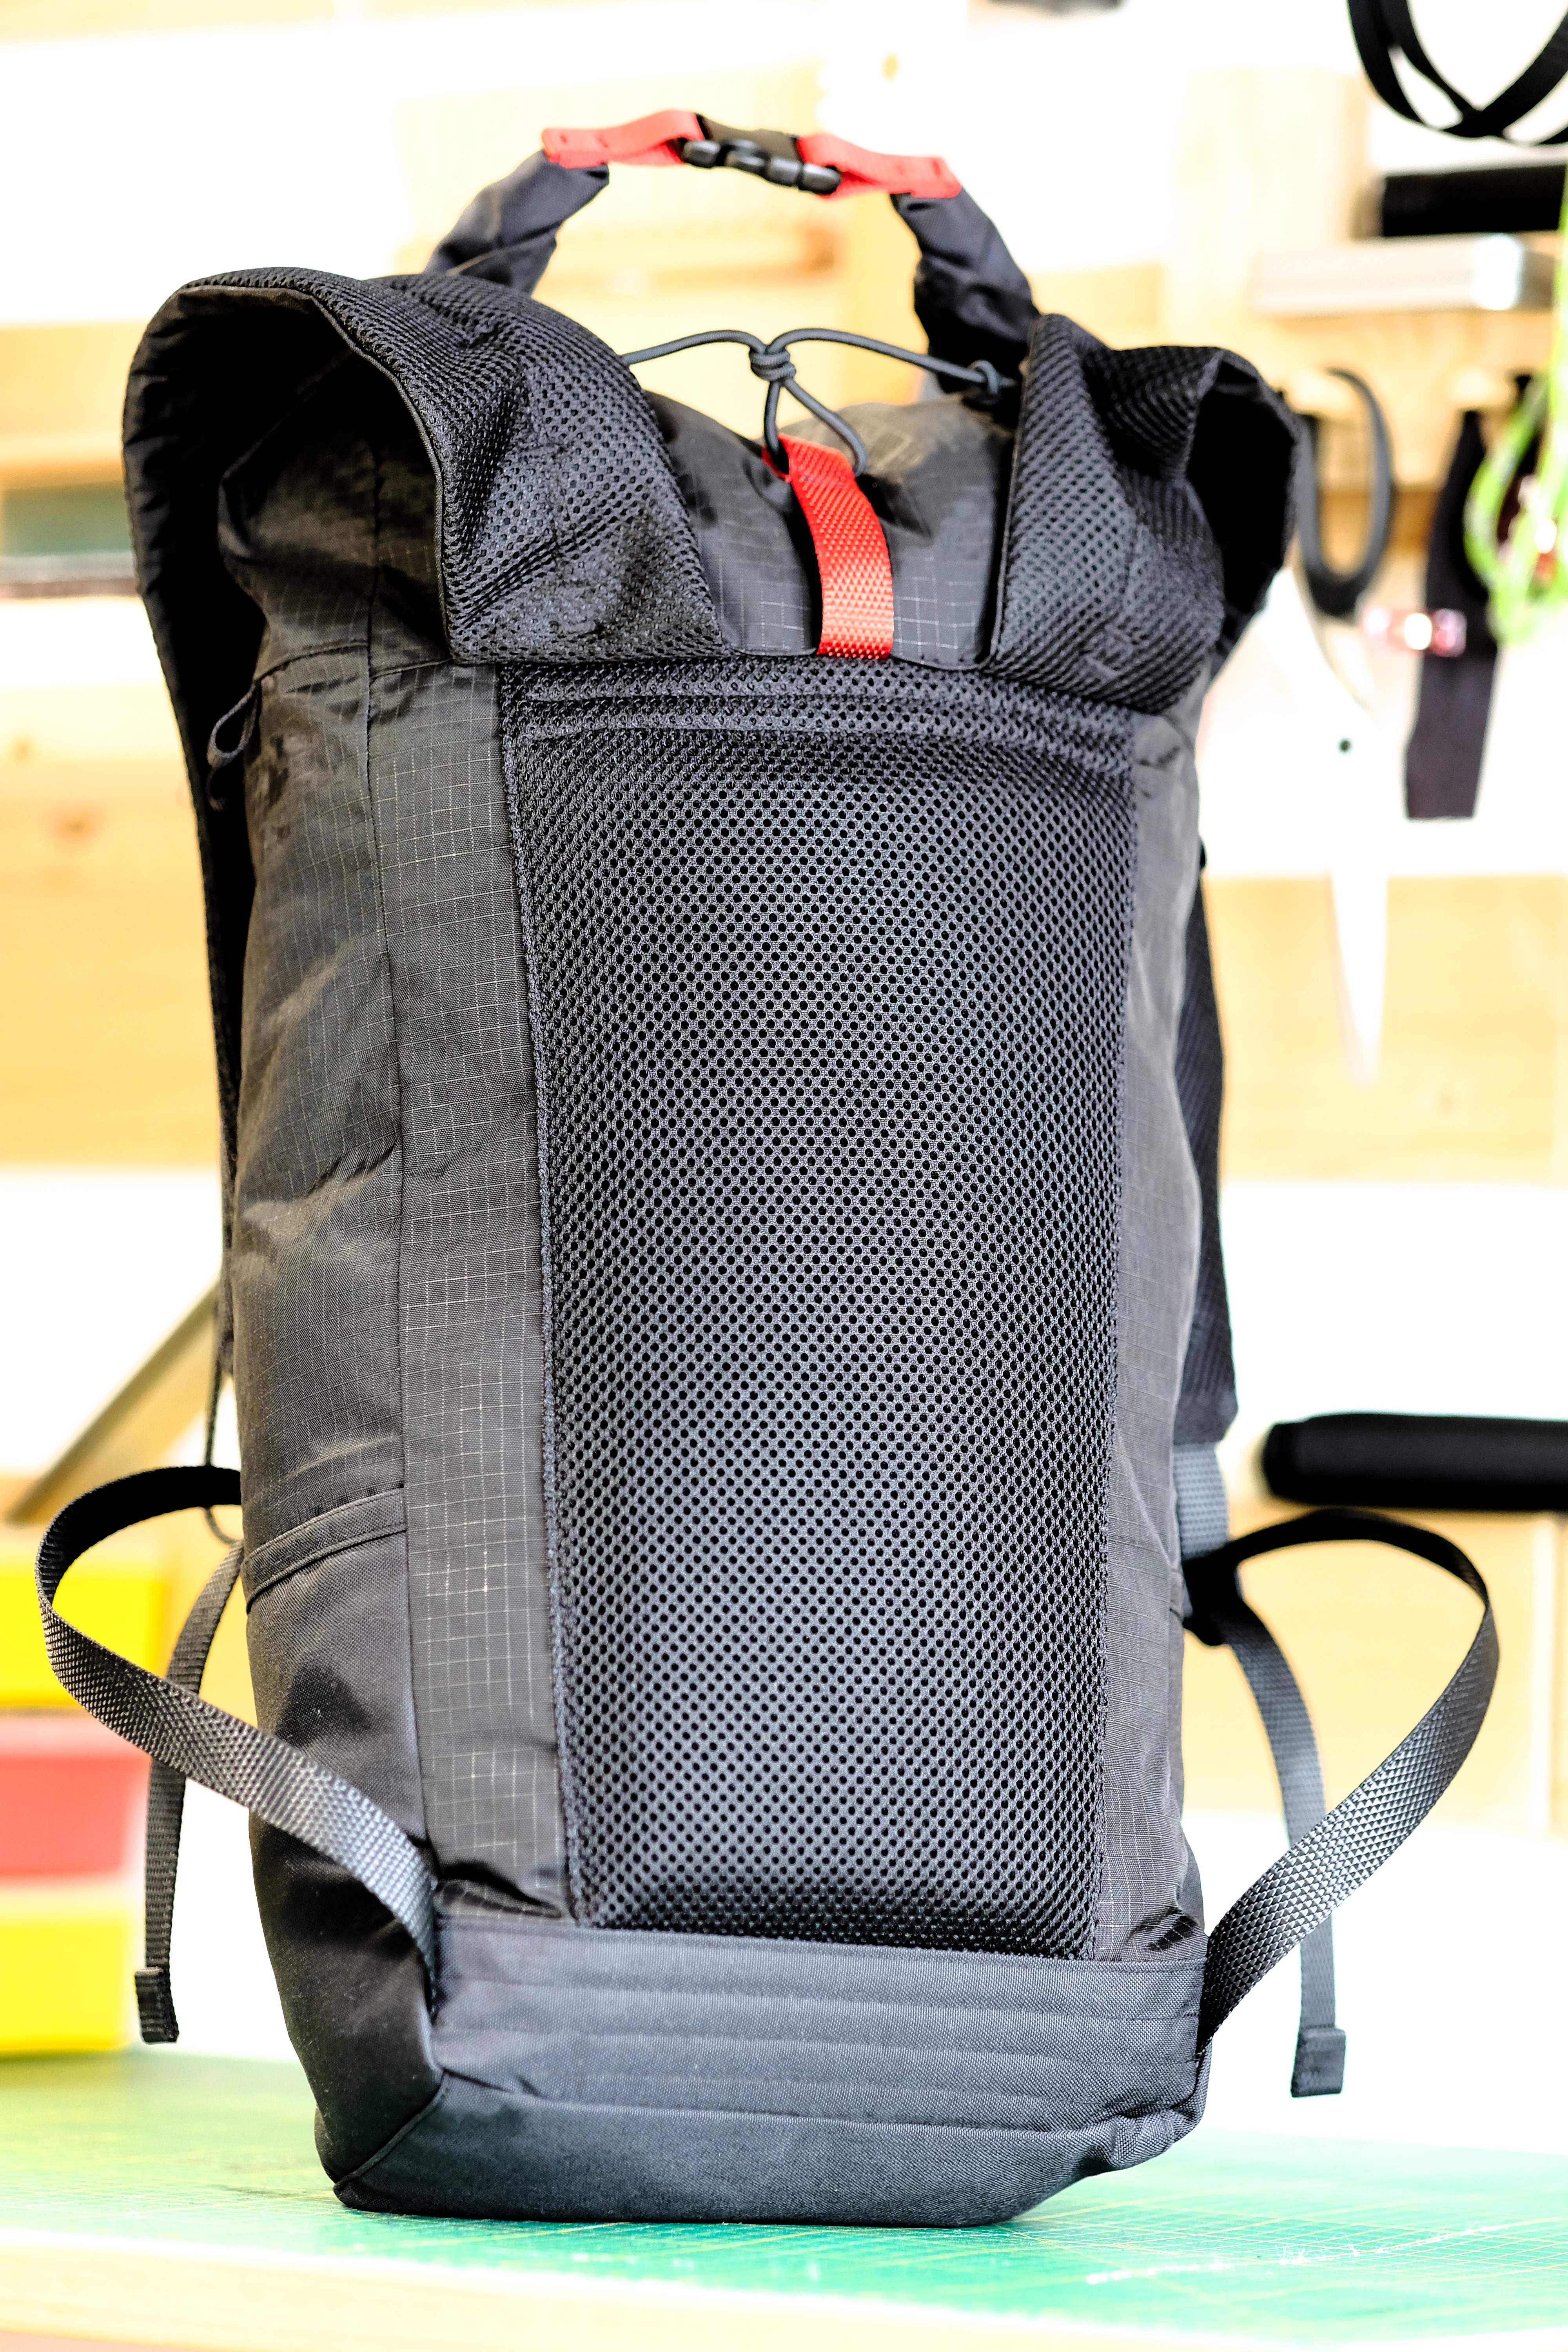
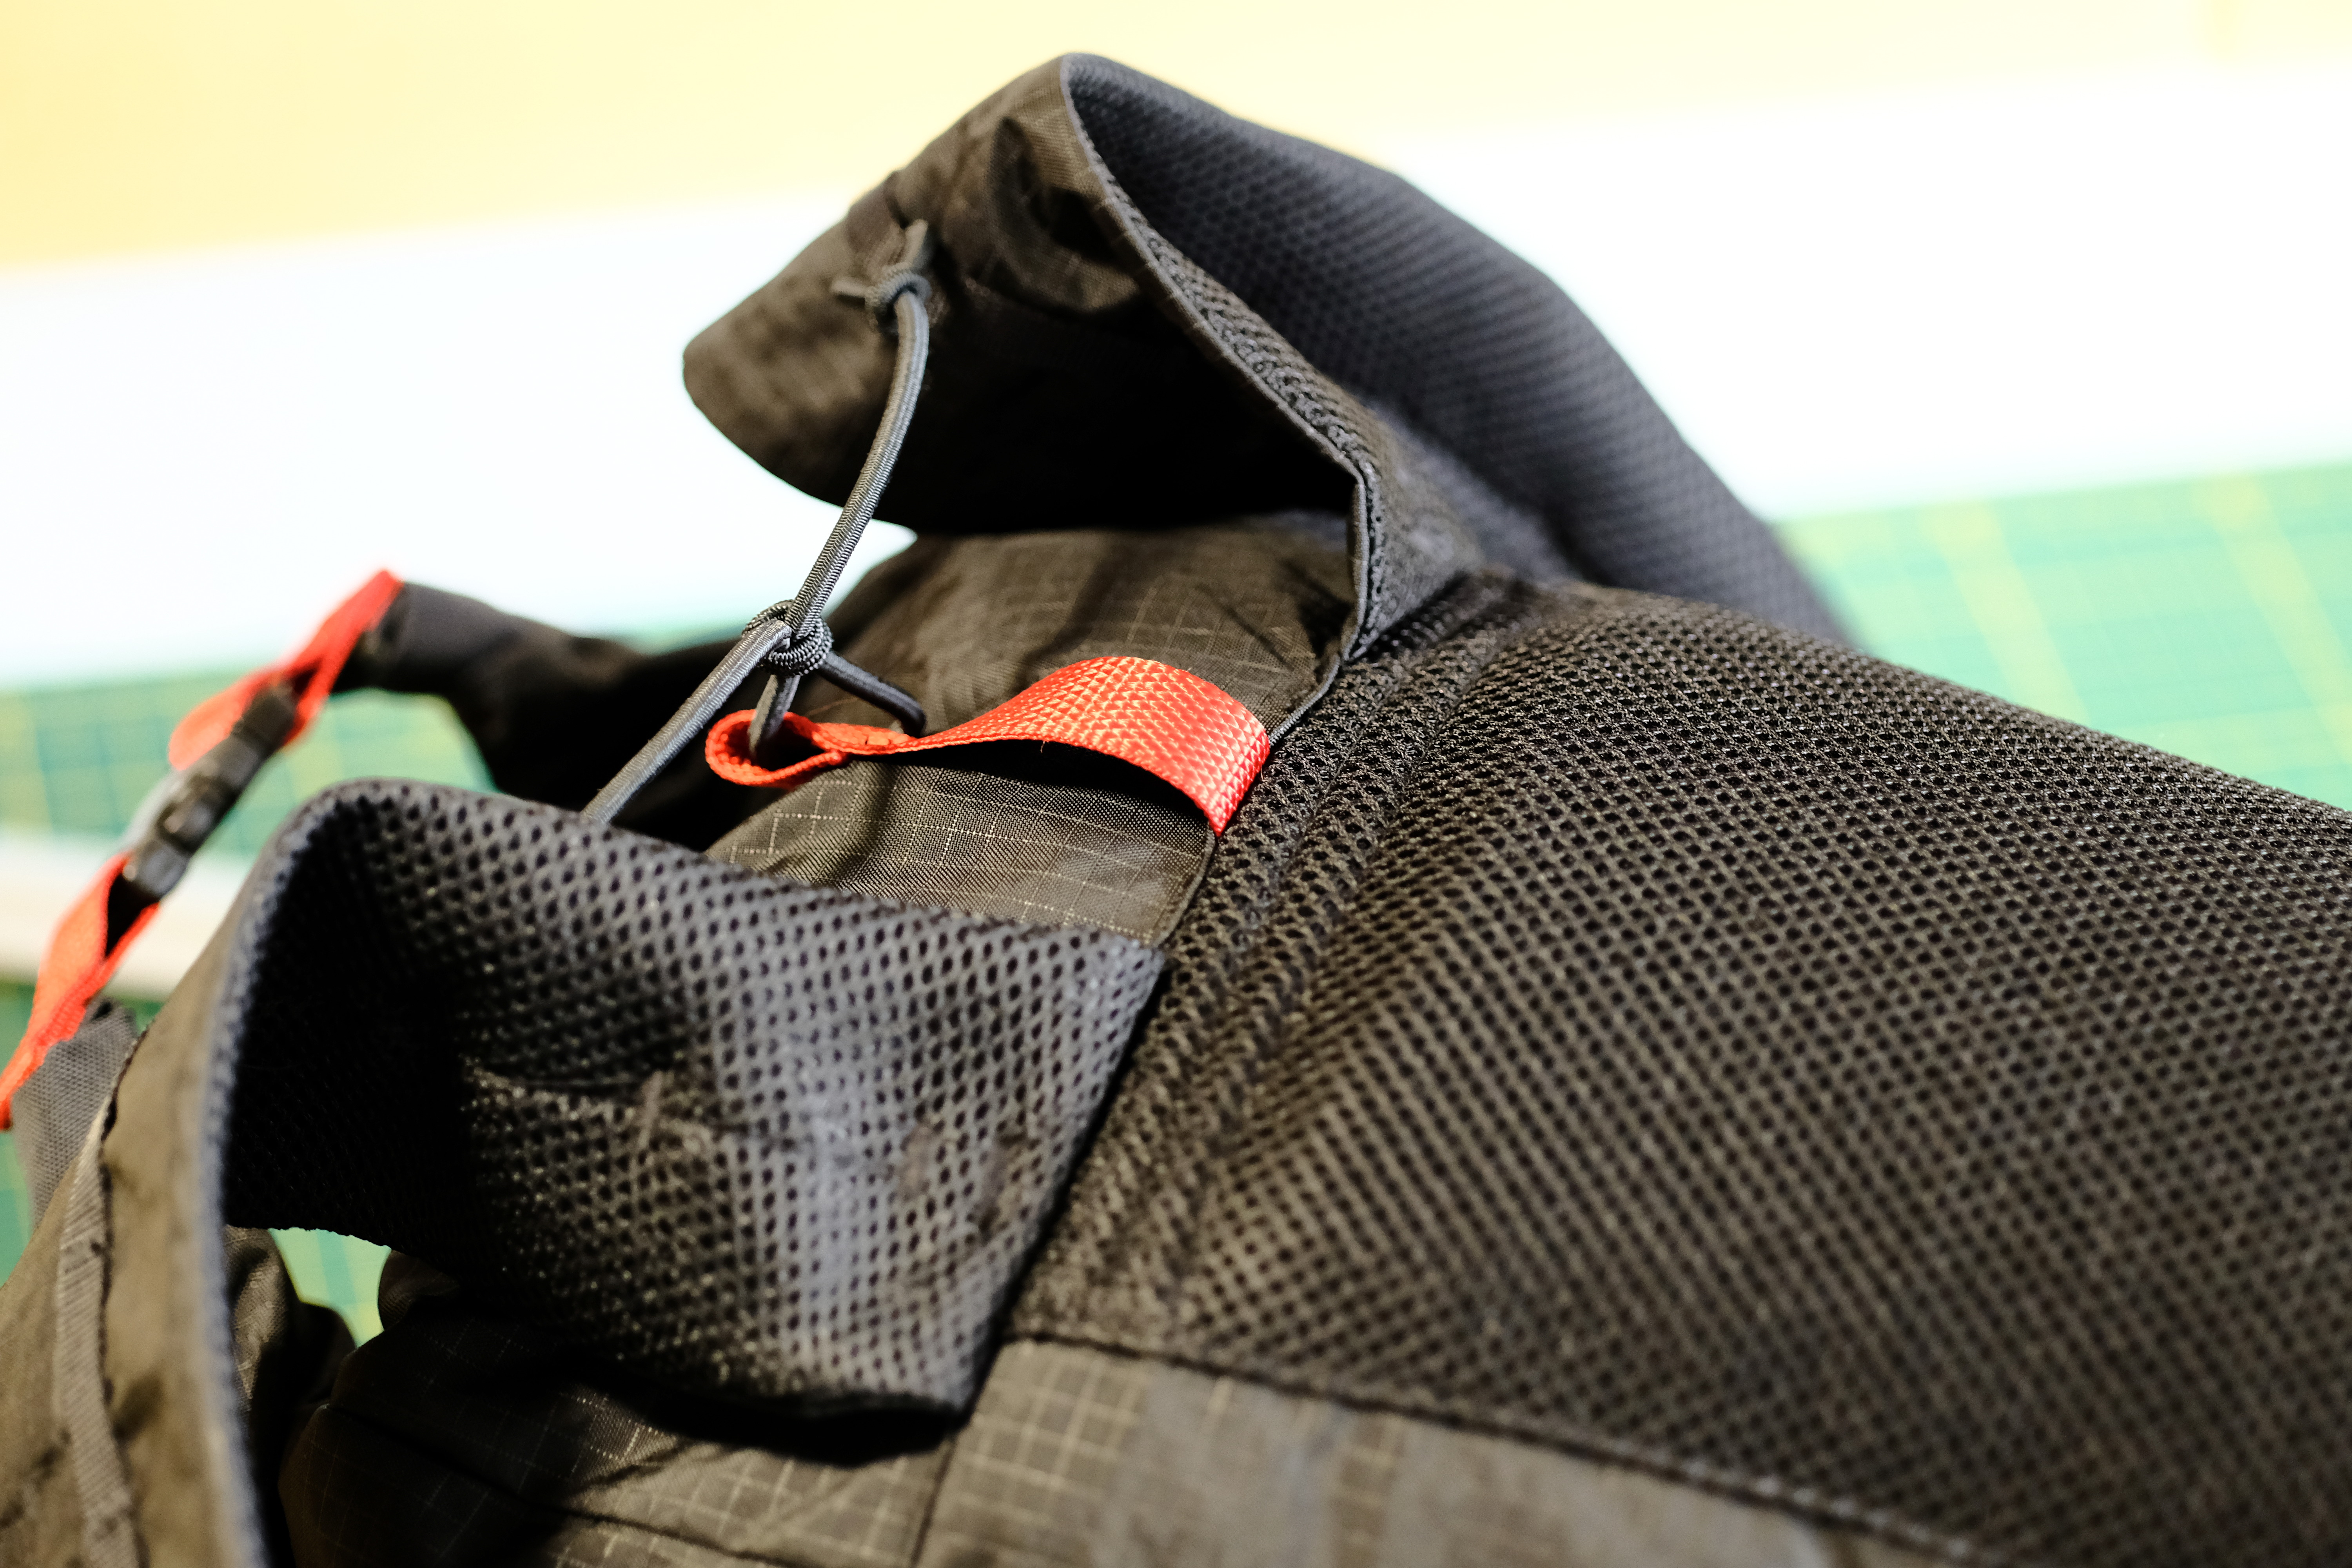
Since we only talked about the front so far, it’s only fair to show you the back. The padding is minimalist, with some 3D mesh on the lower back, and the shoulder straps are lightweight as well. I rarely use foam in ultralight shoulder straps, but it also limits the maximum load that one can comfortably carry. Everyone is different, but for me these stay comfy up to about 7kg.
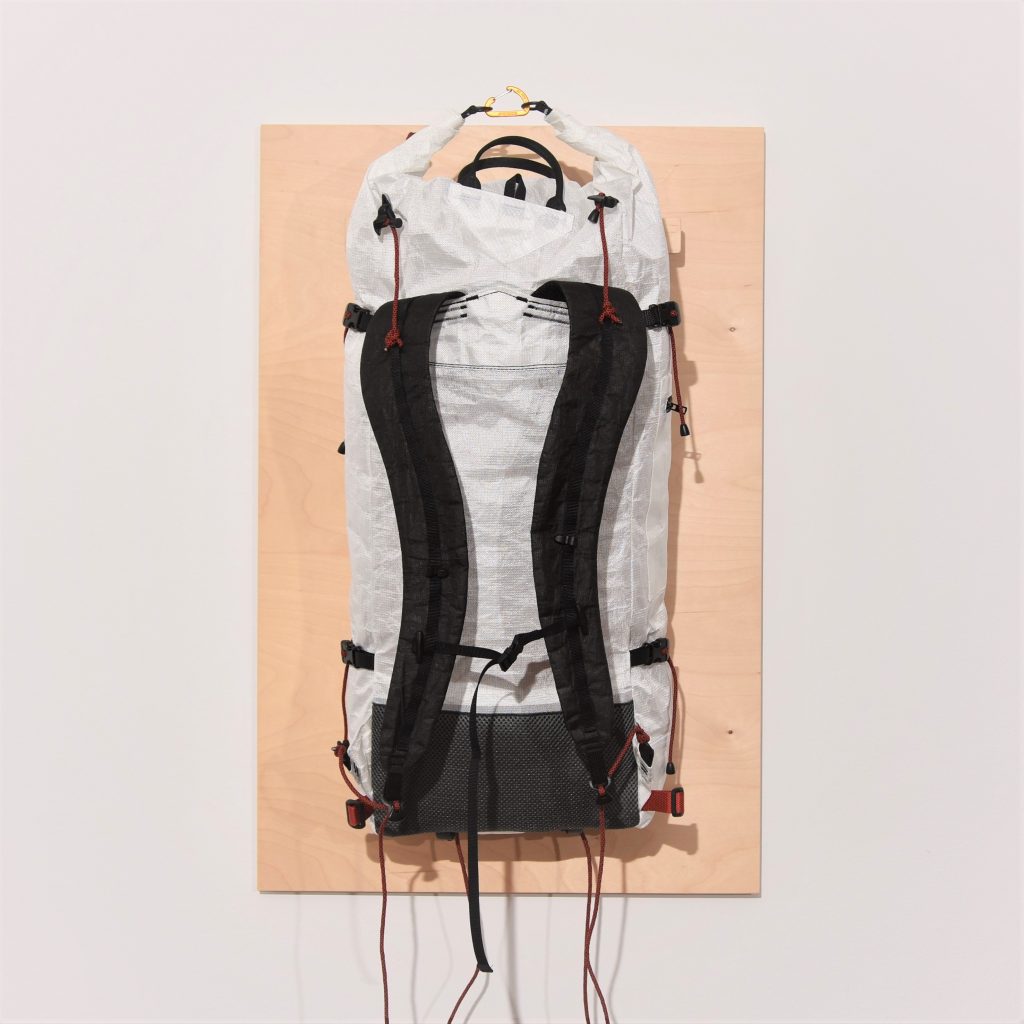
And the best part is, it only weights in at 410 grams. Ok, now enough with the talking, let me just dump a boatload of pictures! Stay tuned for more detailed discussion about this bag!

The Ski Touring Pack

When a friend asked me to design a pack for his young son, I knew I had to give it a try. Little did I know that I would be designing an ultralight Ski Touring pack for a young outdoor aficionado! I mean, what a responsibility!

I wanted to experiment with the ski attachment options and figured I could design the side compression straps with the option to run them across the pack. My original intent was to either hang one ski on each side of the pack attached with the compression straps in a standard configuration or secure the pair to the front of the pack with one side of the compression straps reaching to the other side. Eventually, the choice would befell the future owner of the pack.

Apart from this little experiment, we designed the rest of the pack together, and settled on two front daisy chains and a relatively big zipper pocket. There are also some low-profile side pockets on each side for commodity, but since the main idea is to carry skis on the sides, the pockets are not a main feature. I just find that the weight penalty is small enough to warrant the extra functionality when you need it. Here are some more photos of the complete pack body.

The idea for the shoulder straps was to make a set of test straps first and try the fit, since I was not very confident fitting straps to a child on the first try. Since children grow fast, I wanted the pack to grow with him. Otherwise the pack won’t be useful for very long.

In order to keep this simple and as lightweight as I could, I thought the shoulder straps could attach to a daisy chain instead of being permanently sewed onto the back panel. That way I can add additional daisy chains to allow for higher attachment points and I can make new straps when these ones get too small.

The weight penalty of the adjustable height shoulder straps is not negligible in this weight category, but can be later reduced when adjustment are no longer necessary. A set of “grown-up” straps can be permanents attached to the higher daisy chain and the attachment hardware and webbing can be completely cut-off then. In this scenario, the horizontal daisy chains would remain.

The shoulder straps themselves are actually quite small. In the pictures, these are test straps, which will eventually get replaced after a couple of trips, and are just a way for me to figure out how the wearer wears the pack. The construction is similar to my usual straps except these do not have an S-shape but rather a J-shape.

I can’t wait to see the pack getting some mileage.

The Very Merry Christmas Pack 🎄

Here we are, pack is finished and ready to be gift wrapped. I think words speak less than pictures, so I will now paste some pictures! Unfortunately, I had little time to take snapshots before wrapping it up and leaving for vacation. But stay tuned, since I do have a mountain of behind the scene pictures coming up.

Thank you for the great support this year! See you in 2020! 🍾

Walkthrough building Santa’s Pack

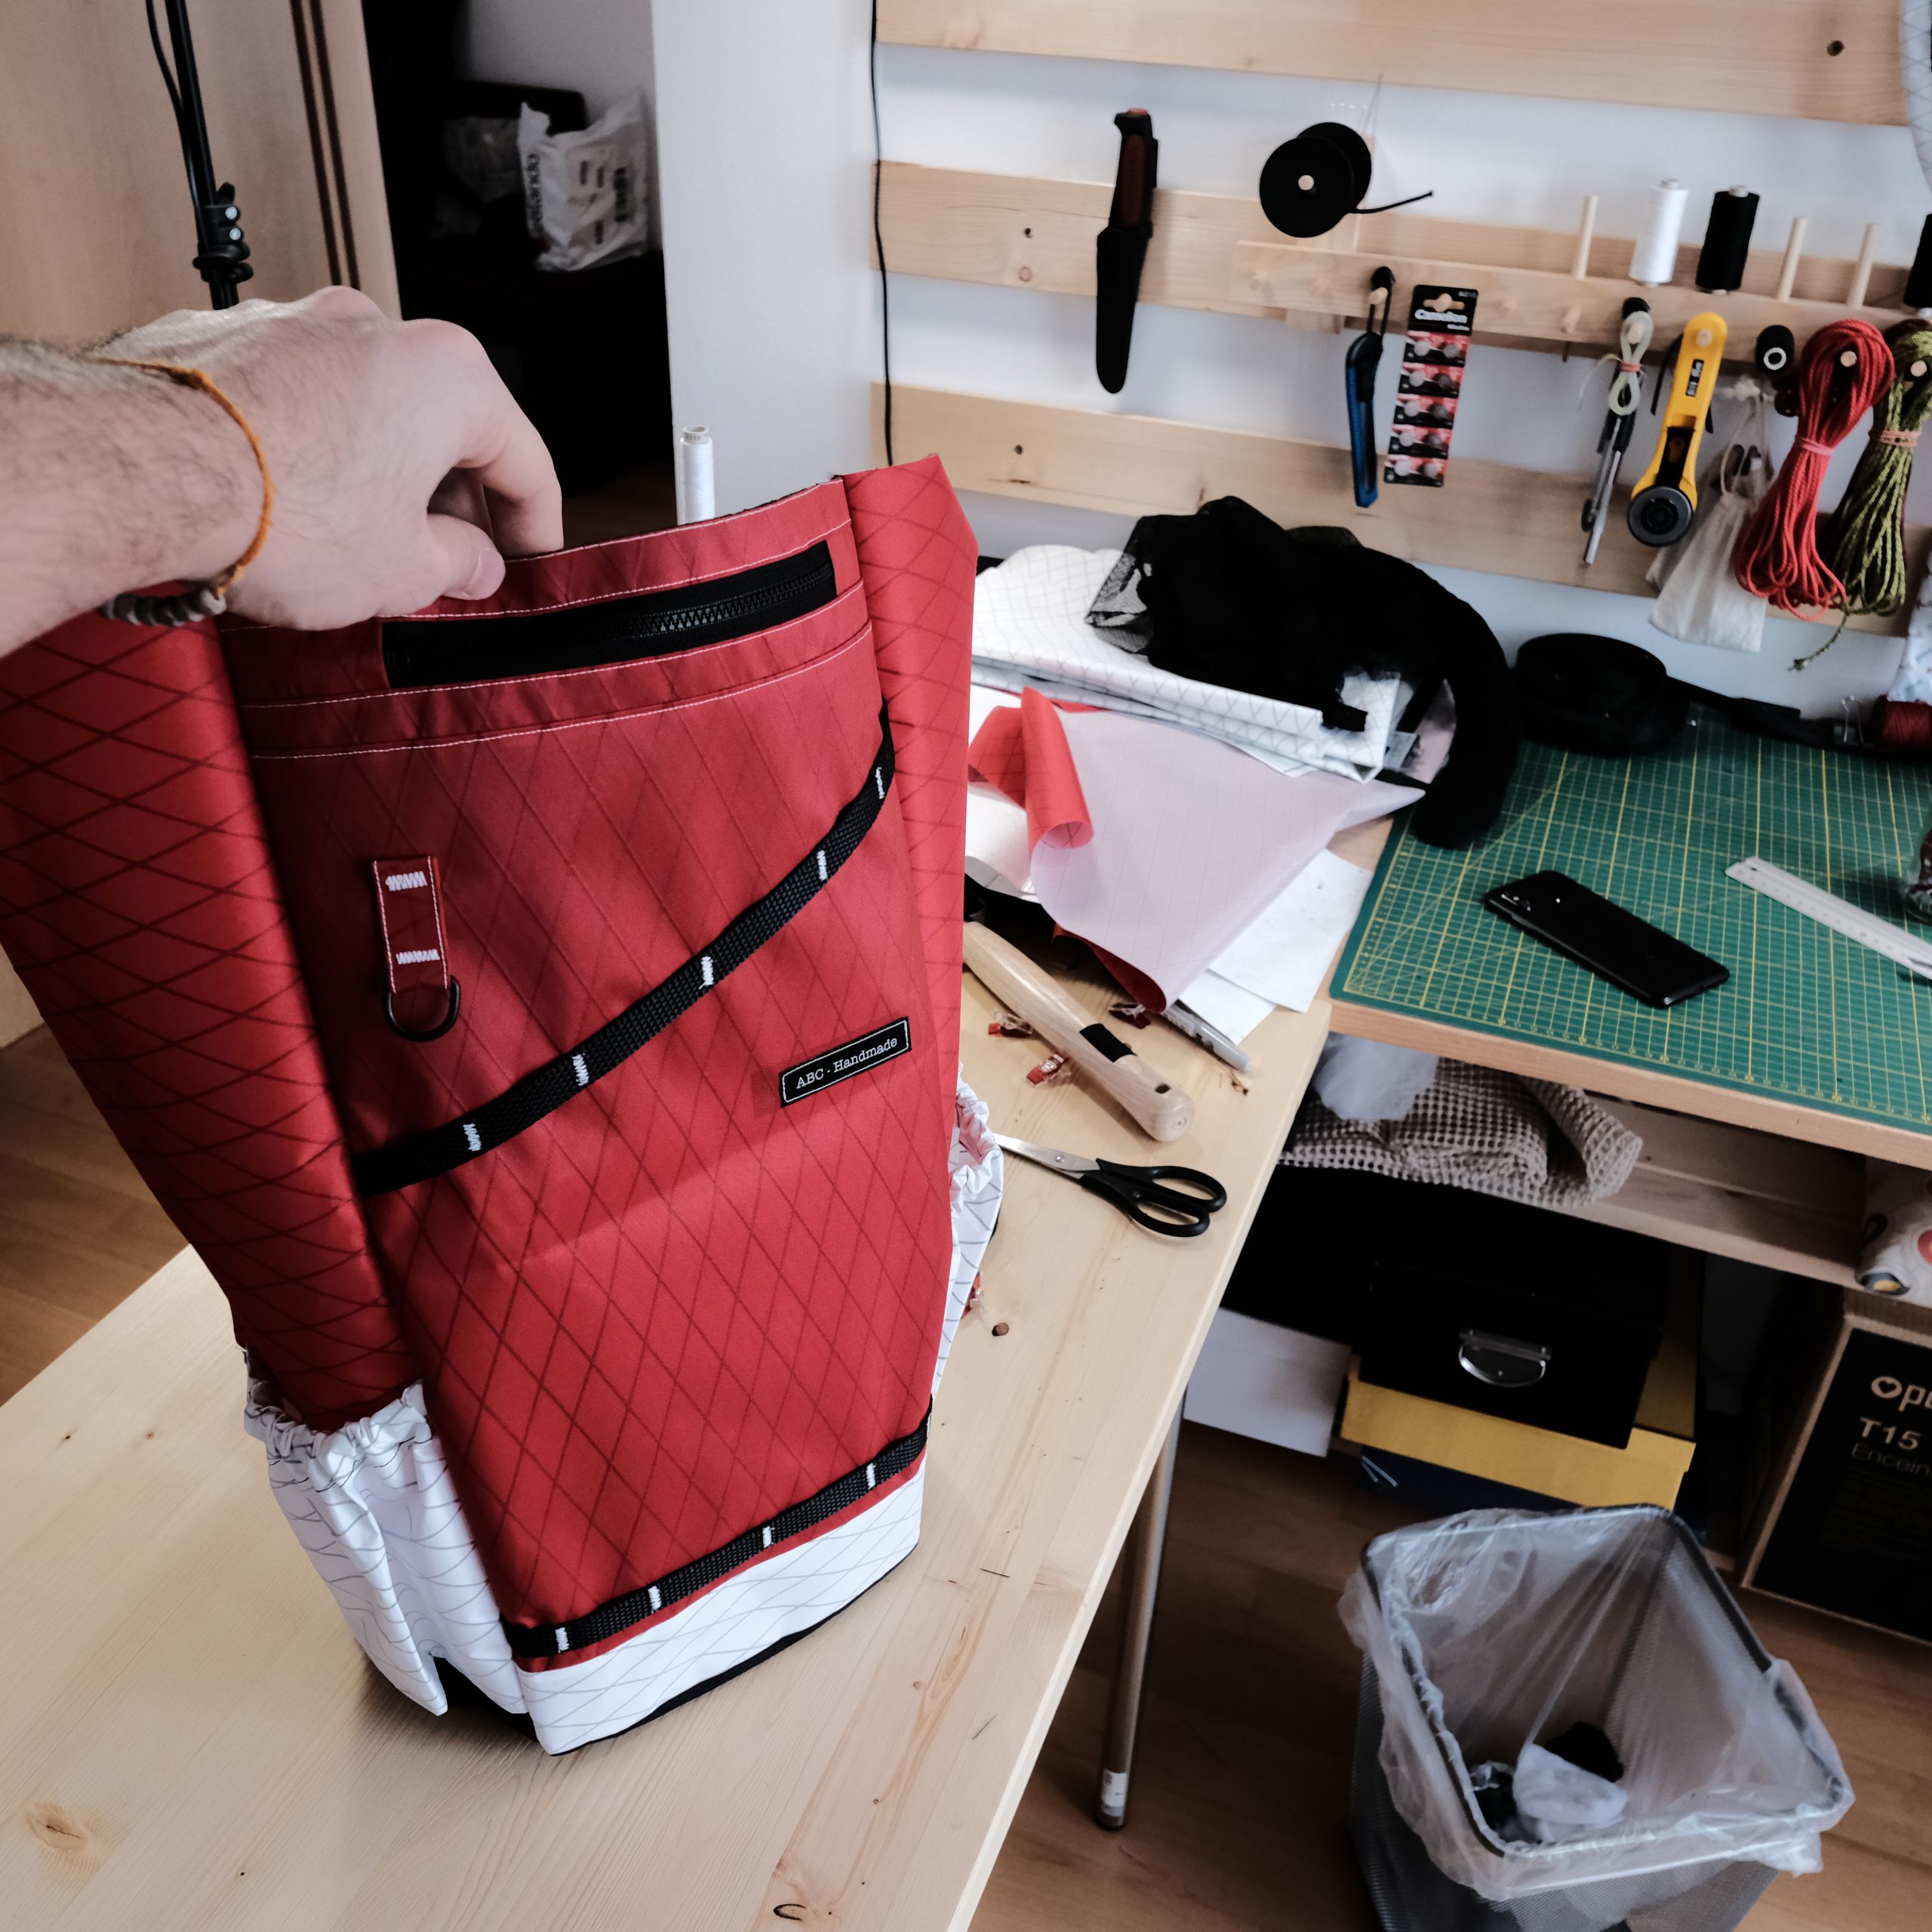
Given that my goal here was to make a good looking day-pack which can double as hiking backpack for a Christmas gift, I did not go overboard with the design and details, and stayed within the realm of lightweight and simple designs with more generic features. I opted for the lean front instead of a cargo pocket I was considering in the design to keep the day-pack feeling, and made use of the front zipper pocket idea to keep in line with daily commuting habits and needs. I know you are curious, so without further due, here is a picture of the (almost) final pack.

What do you mean that’s not a bag yet? 😁

The finished pack ended up a bit fatter on the bottom side than the pattern it was based on (you will see some differences with the Skinny pack) but I kept it in line with the overall slimness/tallness of the original design. To get a bit more volume out of it, I also extended the maximum capacity of the pack with a higher roll-top, which brings the typical volume of this pack to about 25 to 30 liters. Another key difference is the much bulkier side pockets, which are clearly highlighting the hiking side of the design.

Side Pockets

To counter the risk of water pooling in the side pockets due to how waterproof the X-Pac fabrics are, I finished the bottom-most side of the pockets with a strong mesh which acts as both a water drain, and a more stretchable fabric for the pockets themselves. The same design with only the VX-07 fabric would not allow a bottle to sit all the way down the pocket. This one does.

Padding the back panel

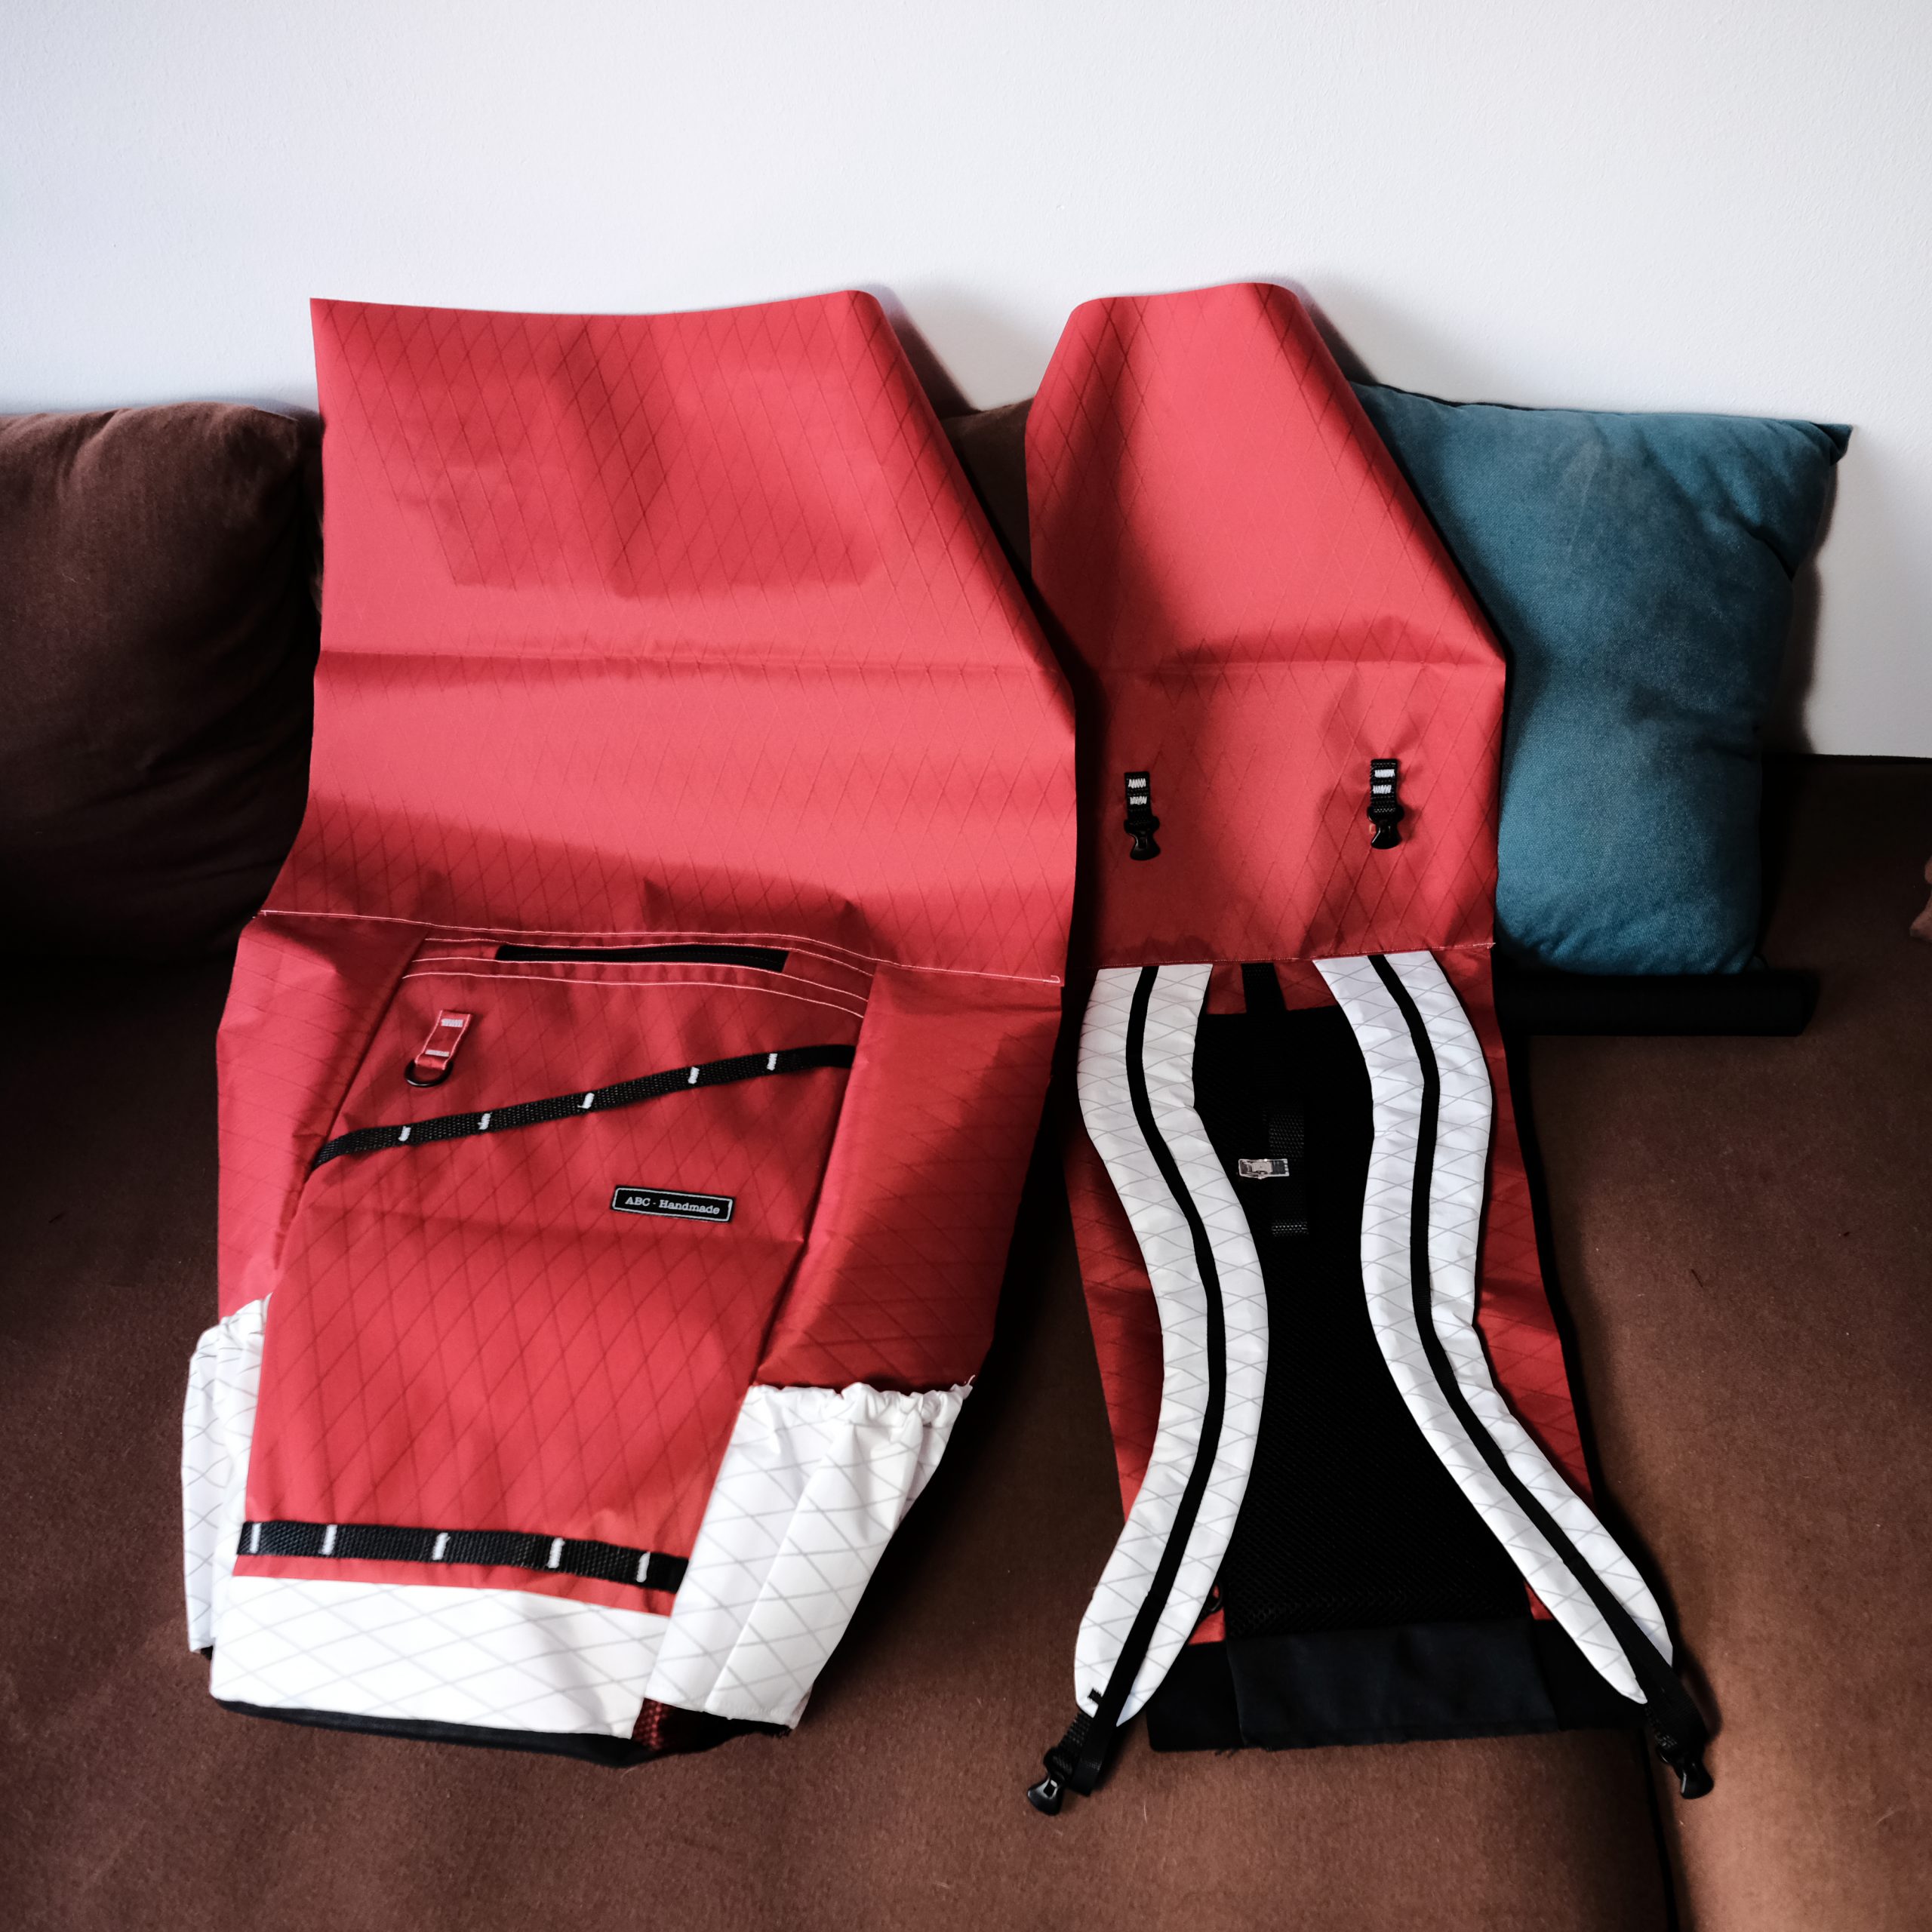
The back of the pack follows my most recent padding concept, with a high quality 8mm closed-cell foam pad coupled with a 3D mesh to offer a decent level of comfort and good breathability. This construction only covers the center part of the back panel. I find that the weight-to-support ratio of this construction is a good balance, and although this does not really qualify as ultra-light, I would probably consider this on most of my personal upcoming hiking and trekking packs.

The dimensions and V-shape of the padding are meant to follow the human torso’s shape, and I find that sweat mostly accumulates following the vertebrae, which is where the 3D mesh will make the most difference. I also consciously pack bags to avoid sharp edges anywhere my bones protrude (shoulder blades, pelvis) and found that this configuration give me adequate protection for my back without sacrificing too much weight.

Simple shoulder straps

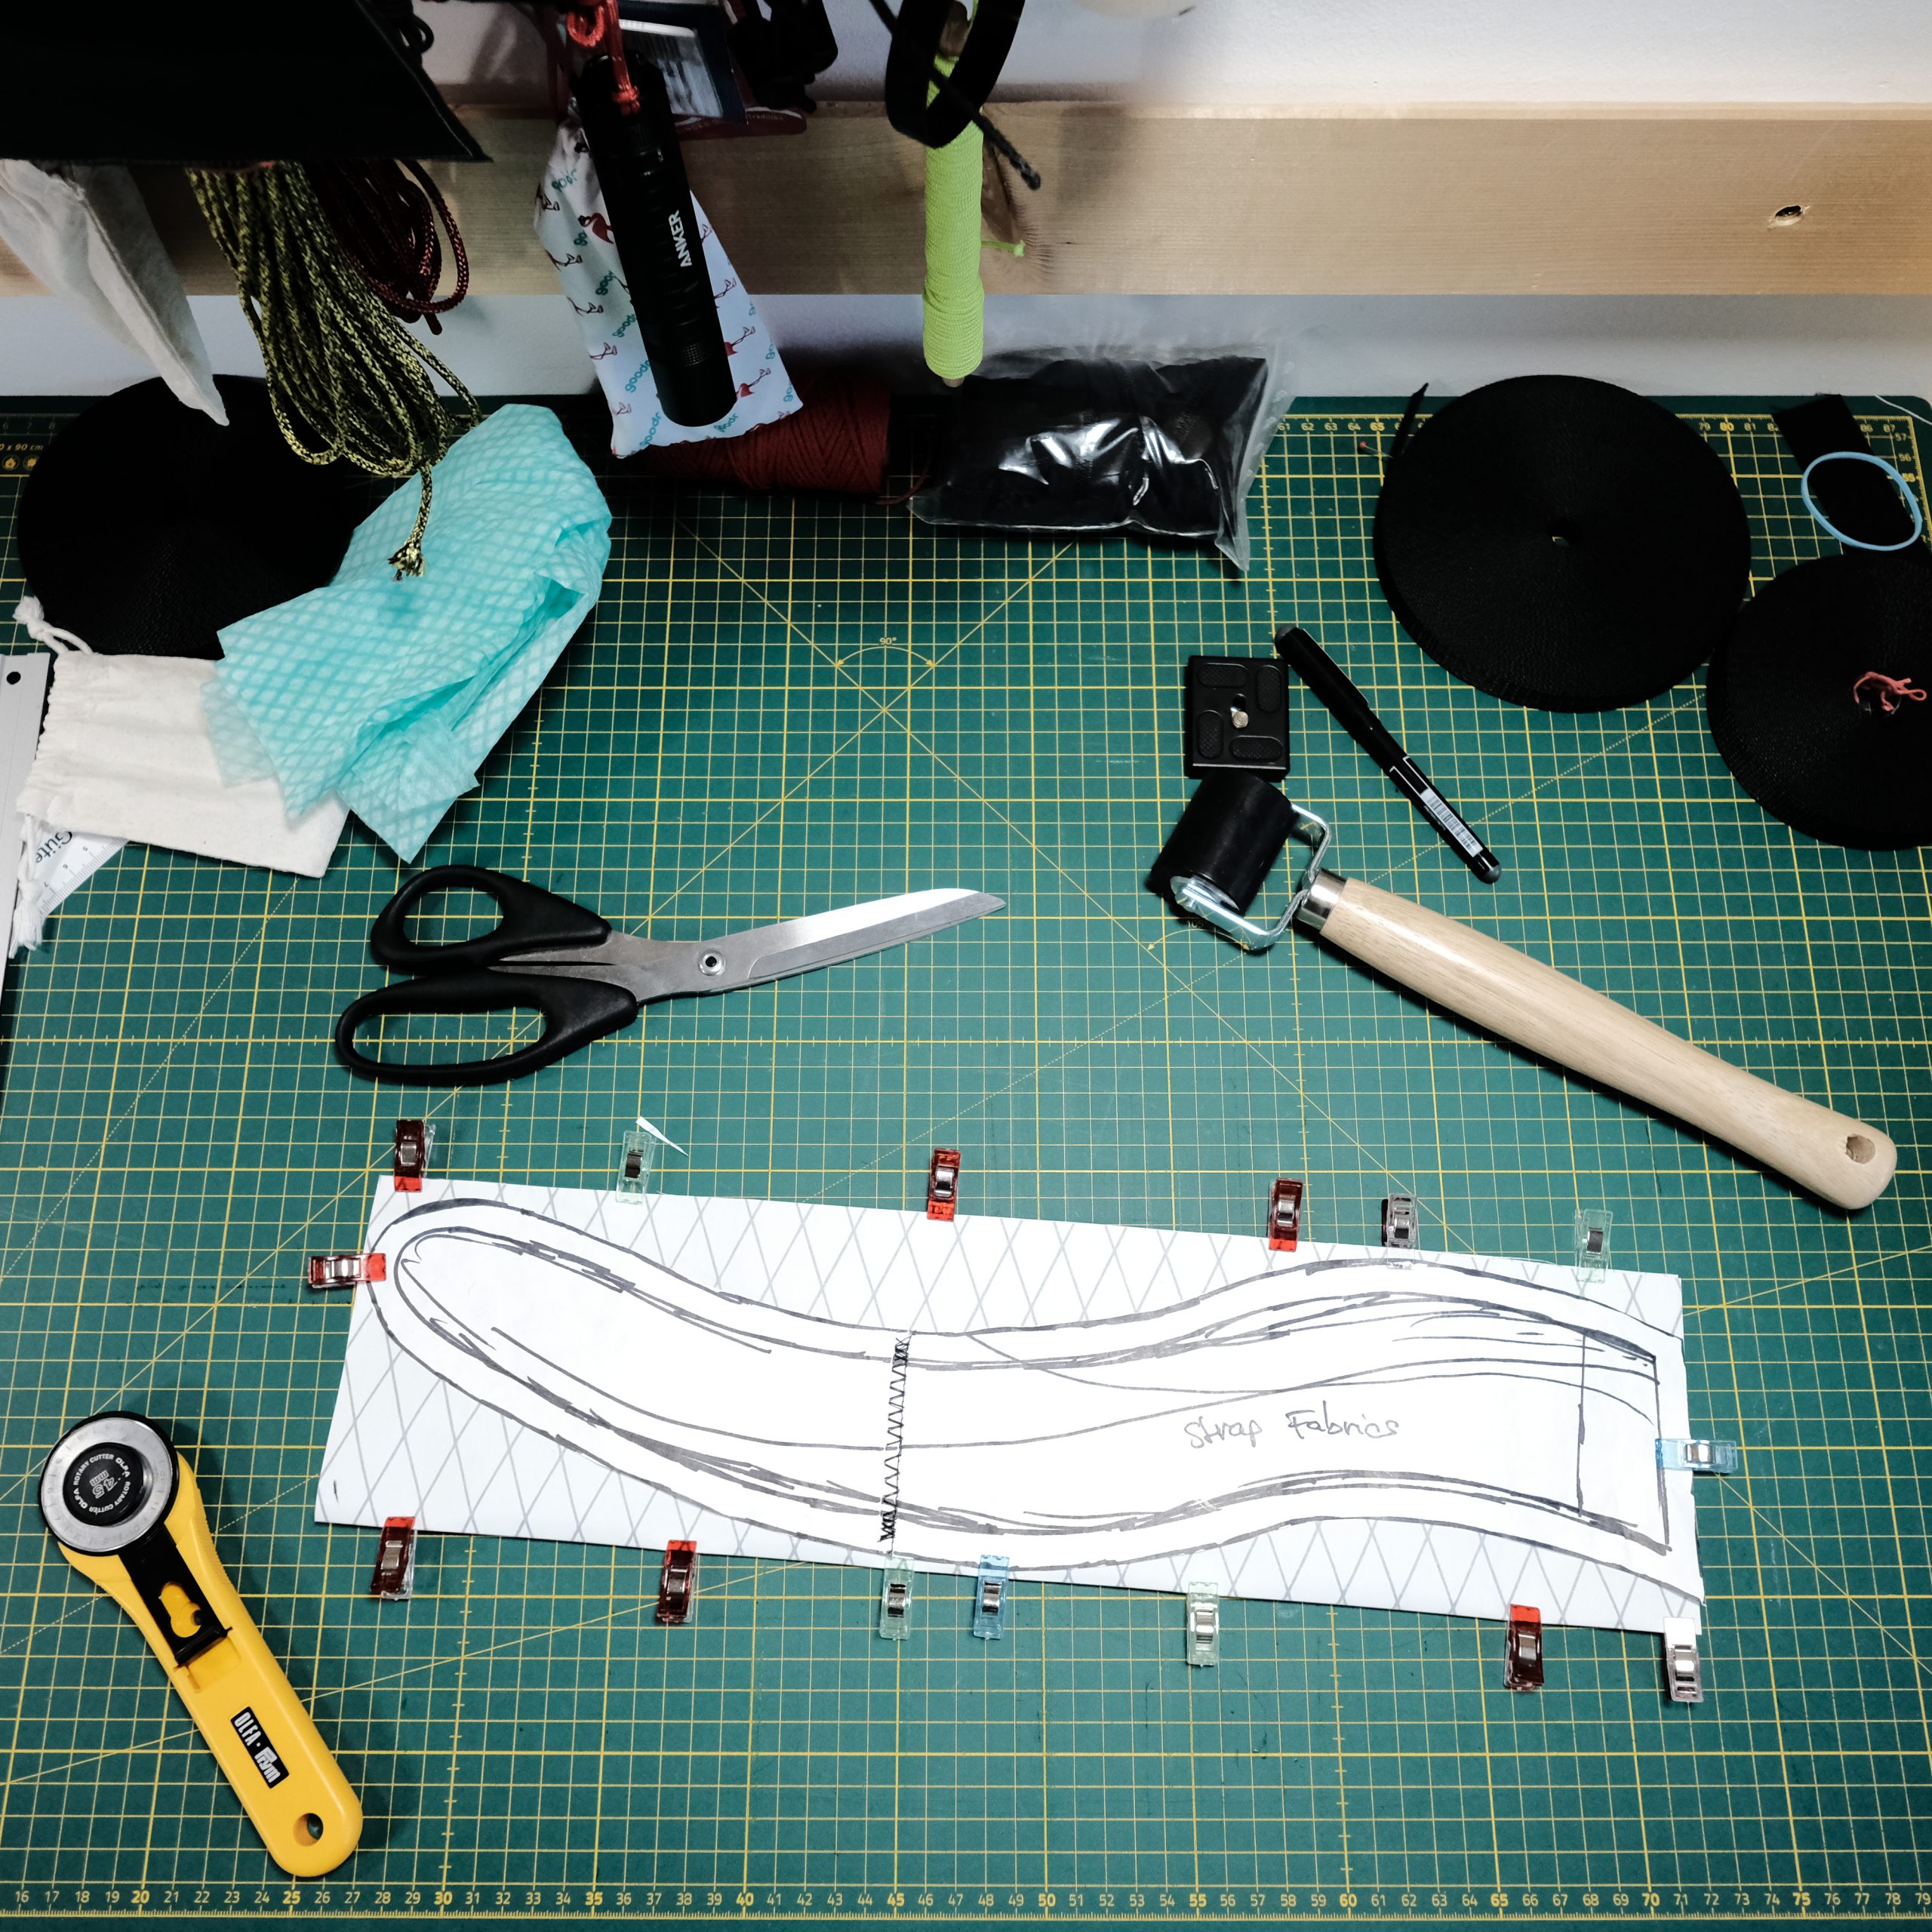
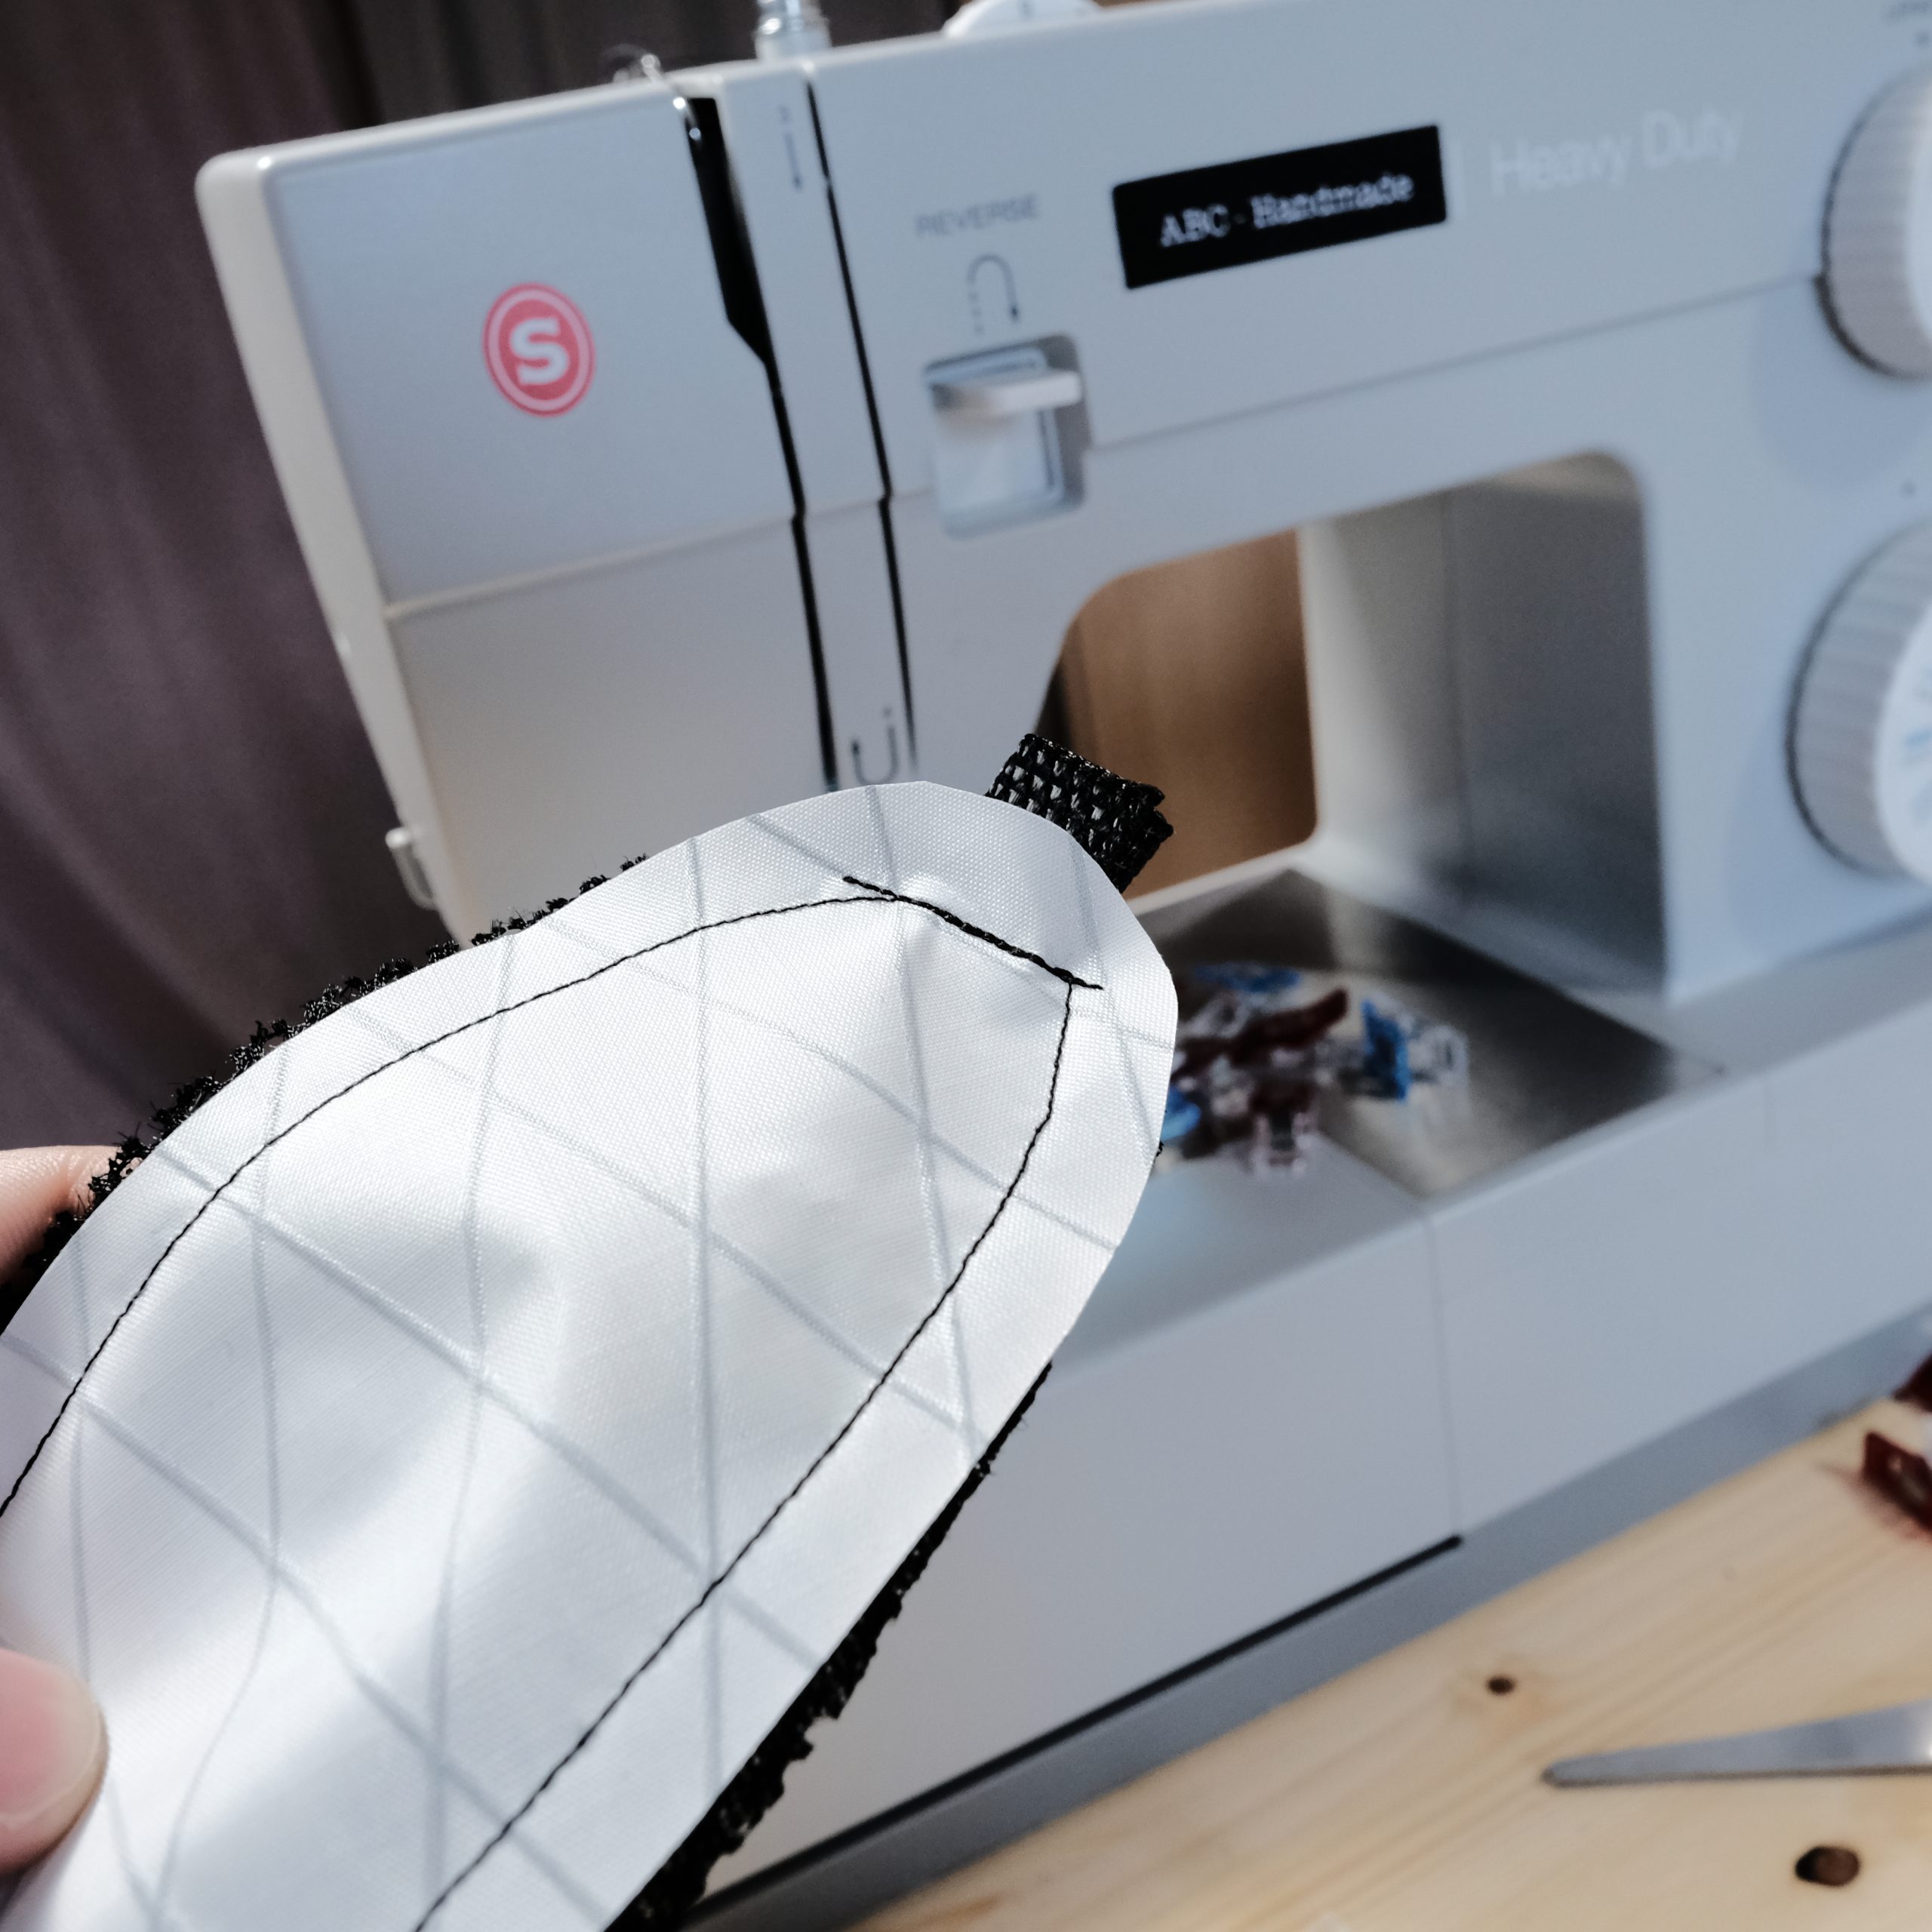
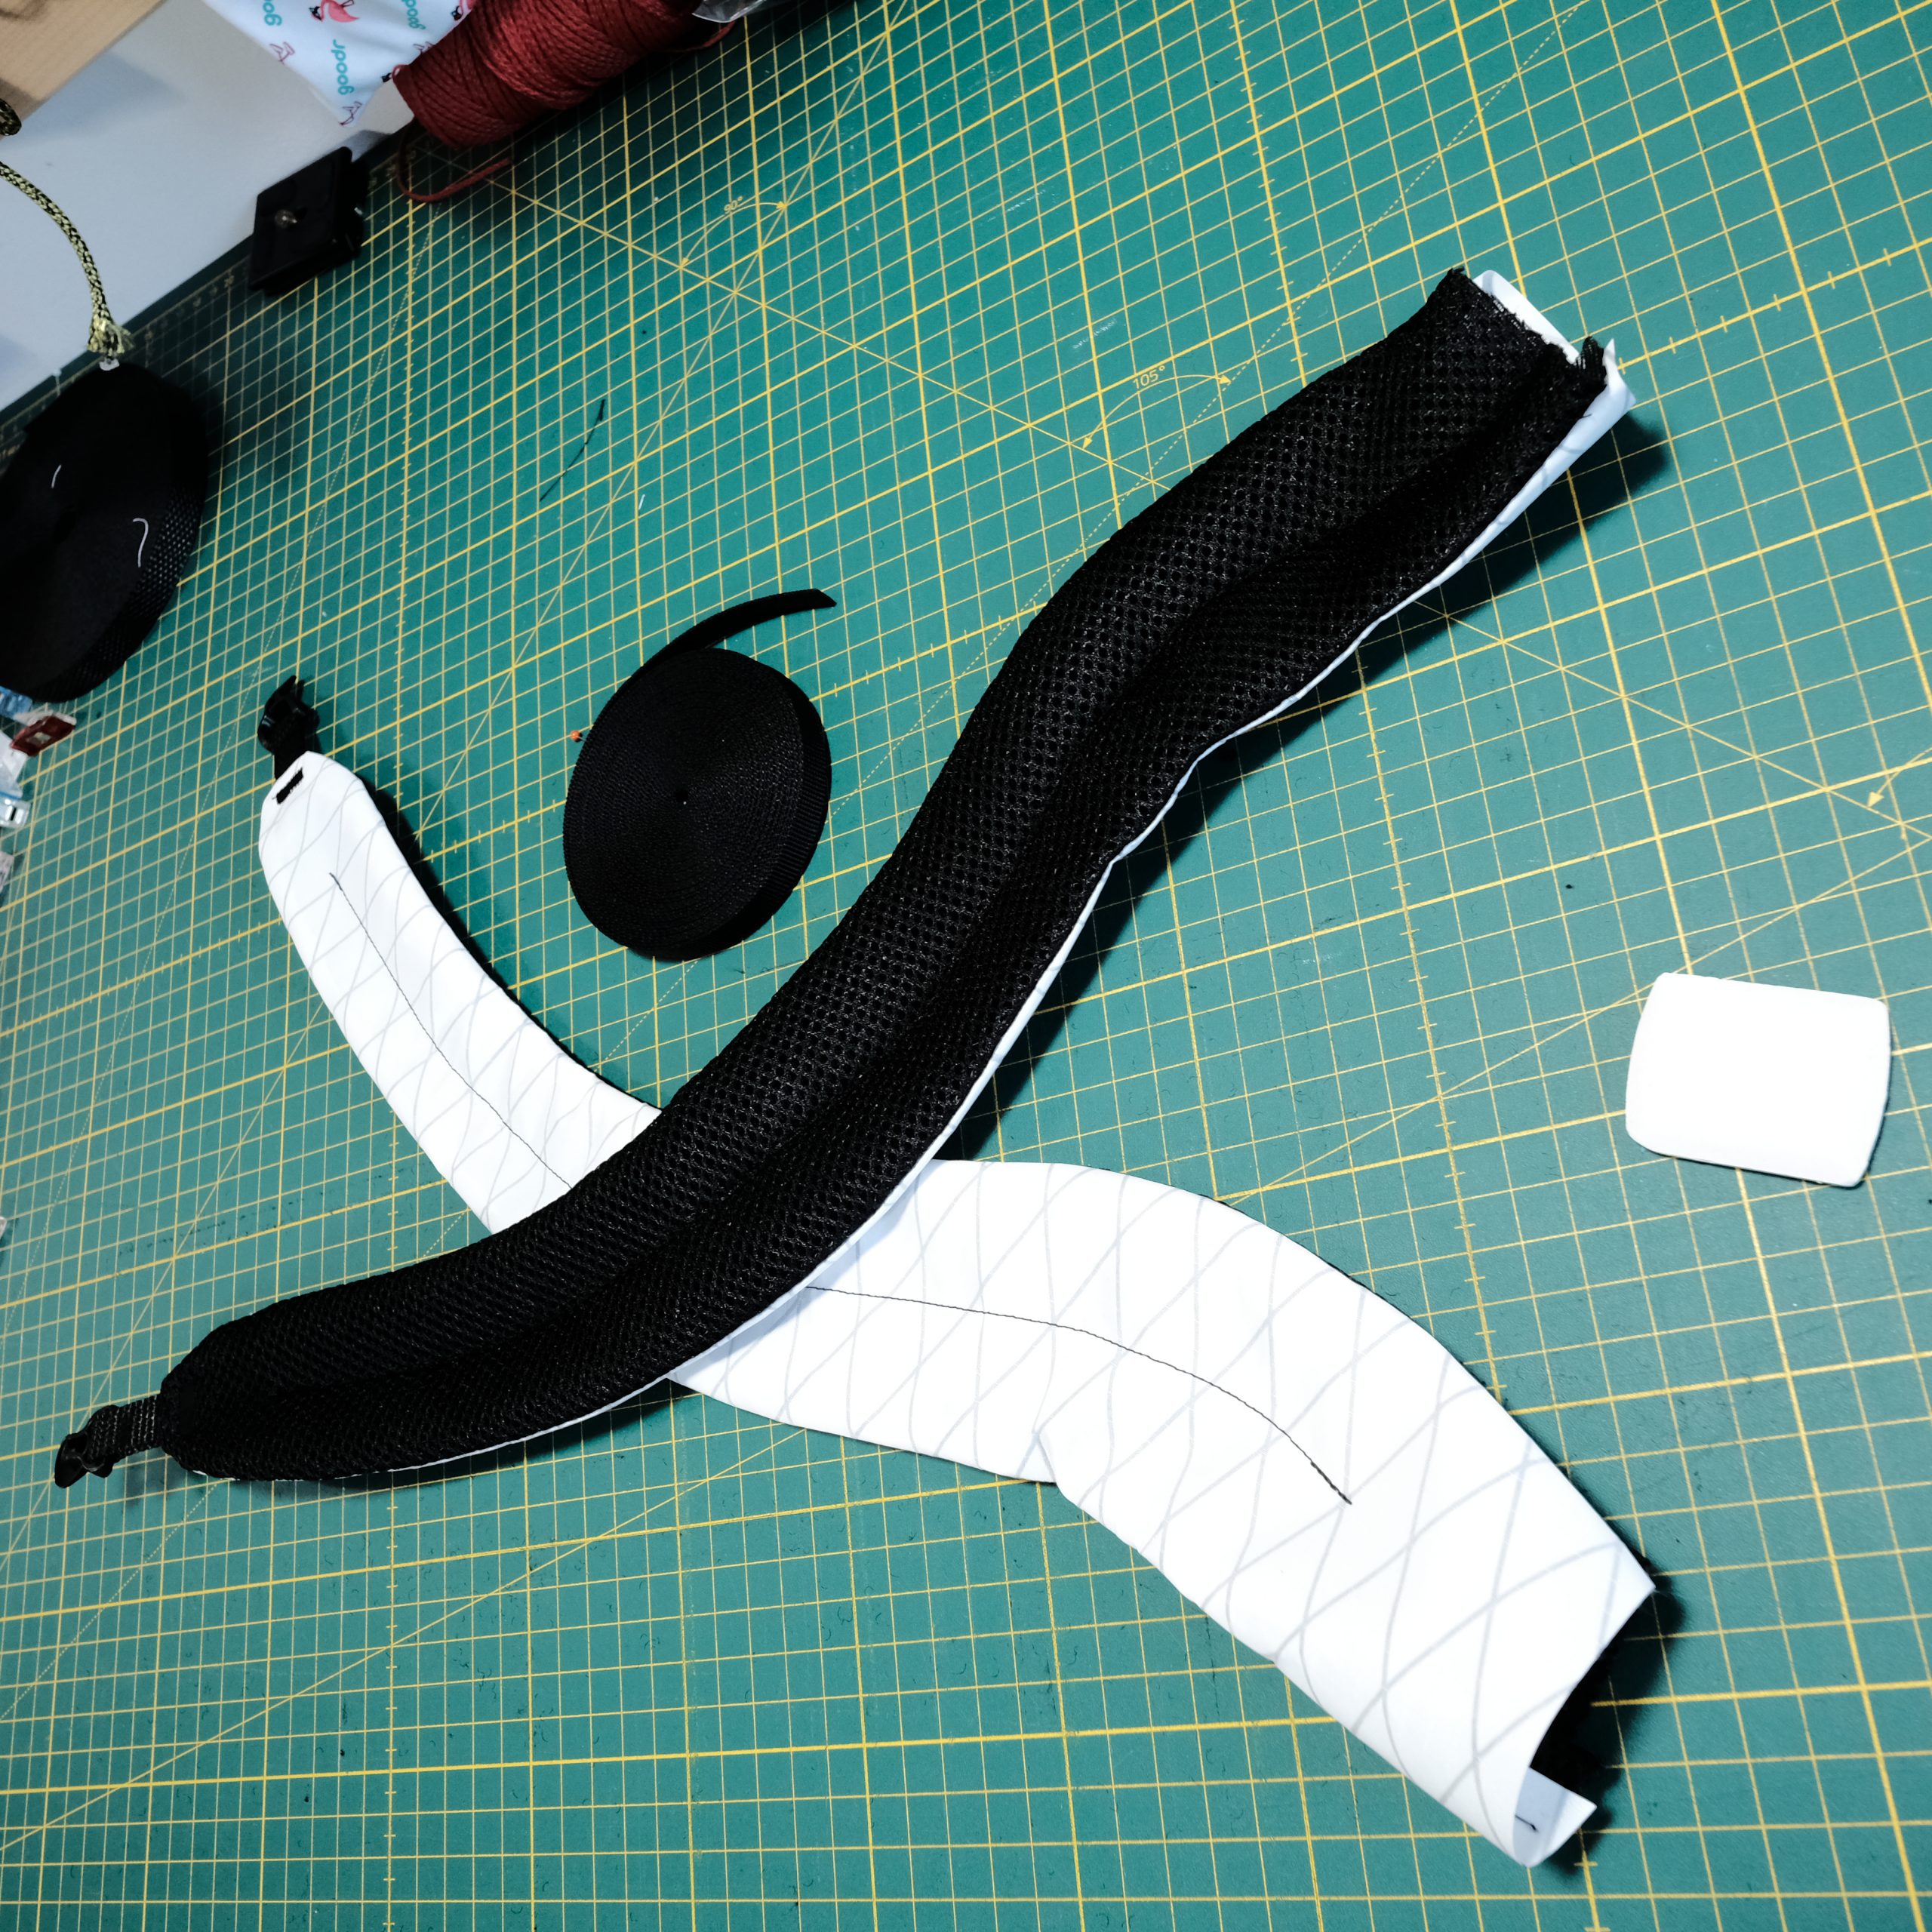
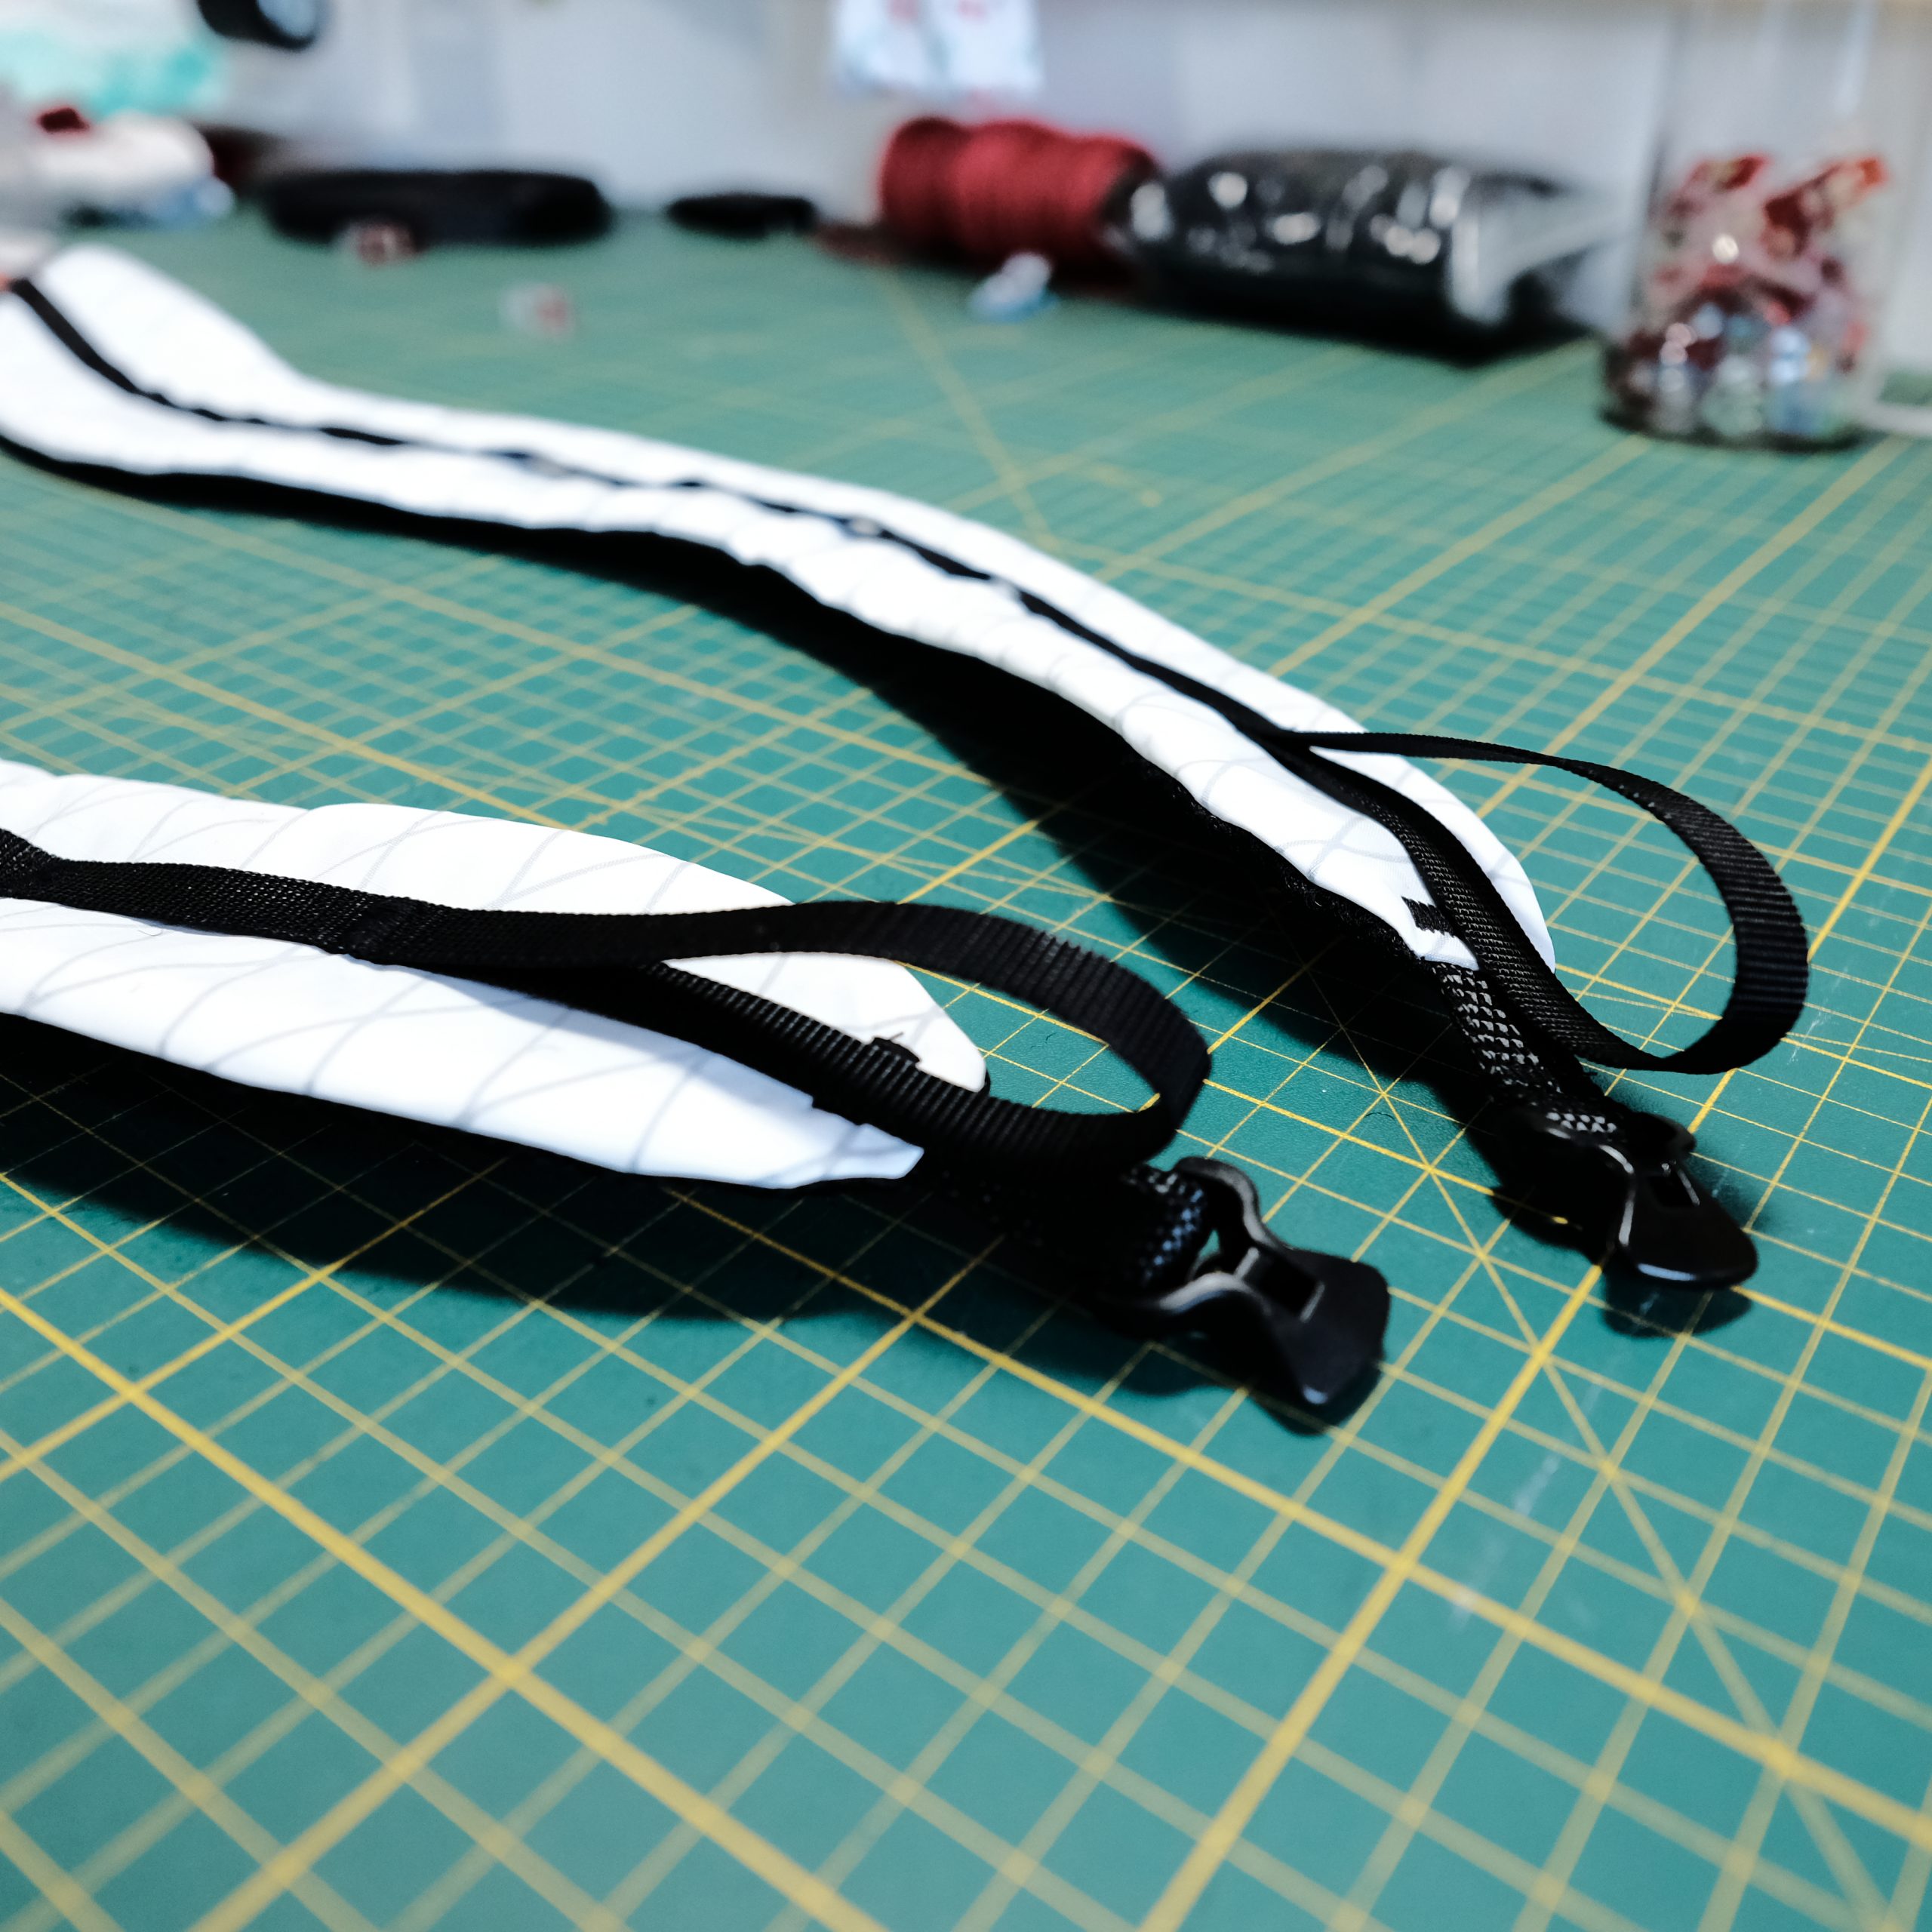
If there is one construction stage I enjoy the least, it’s making the shoulder straps. I’ve been through many different concepts and iterations, and never quite liked the result or the process enough to make it my standard approach. That is, until recently, when I decided to completely avoid padding the straps with any kind of foam and rely on a better profile to spread the weight on one’s shoulders.

I designed curved straps which rely only on 3D mesh, and present a bit of a wider profile to compensate the lack of foam padding. Depending on the expected pack load and the fabric used, I usually add a daisy-chain webbing all along the strap, or only at both ends for the load lifters and accessory loops. The reason I mention load is that I found with loads higher than 6 kilograms the fabric’s normal stretch and the 3D mesh limited padding will be hampered by the webbing, which then tends to dig into one’s shoulders, effectively removing the benefit of a wider shoulder strap. If the webbing does not cover the shoulders, the fabric’s stretch will help spread loads more evenly.

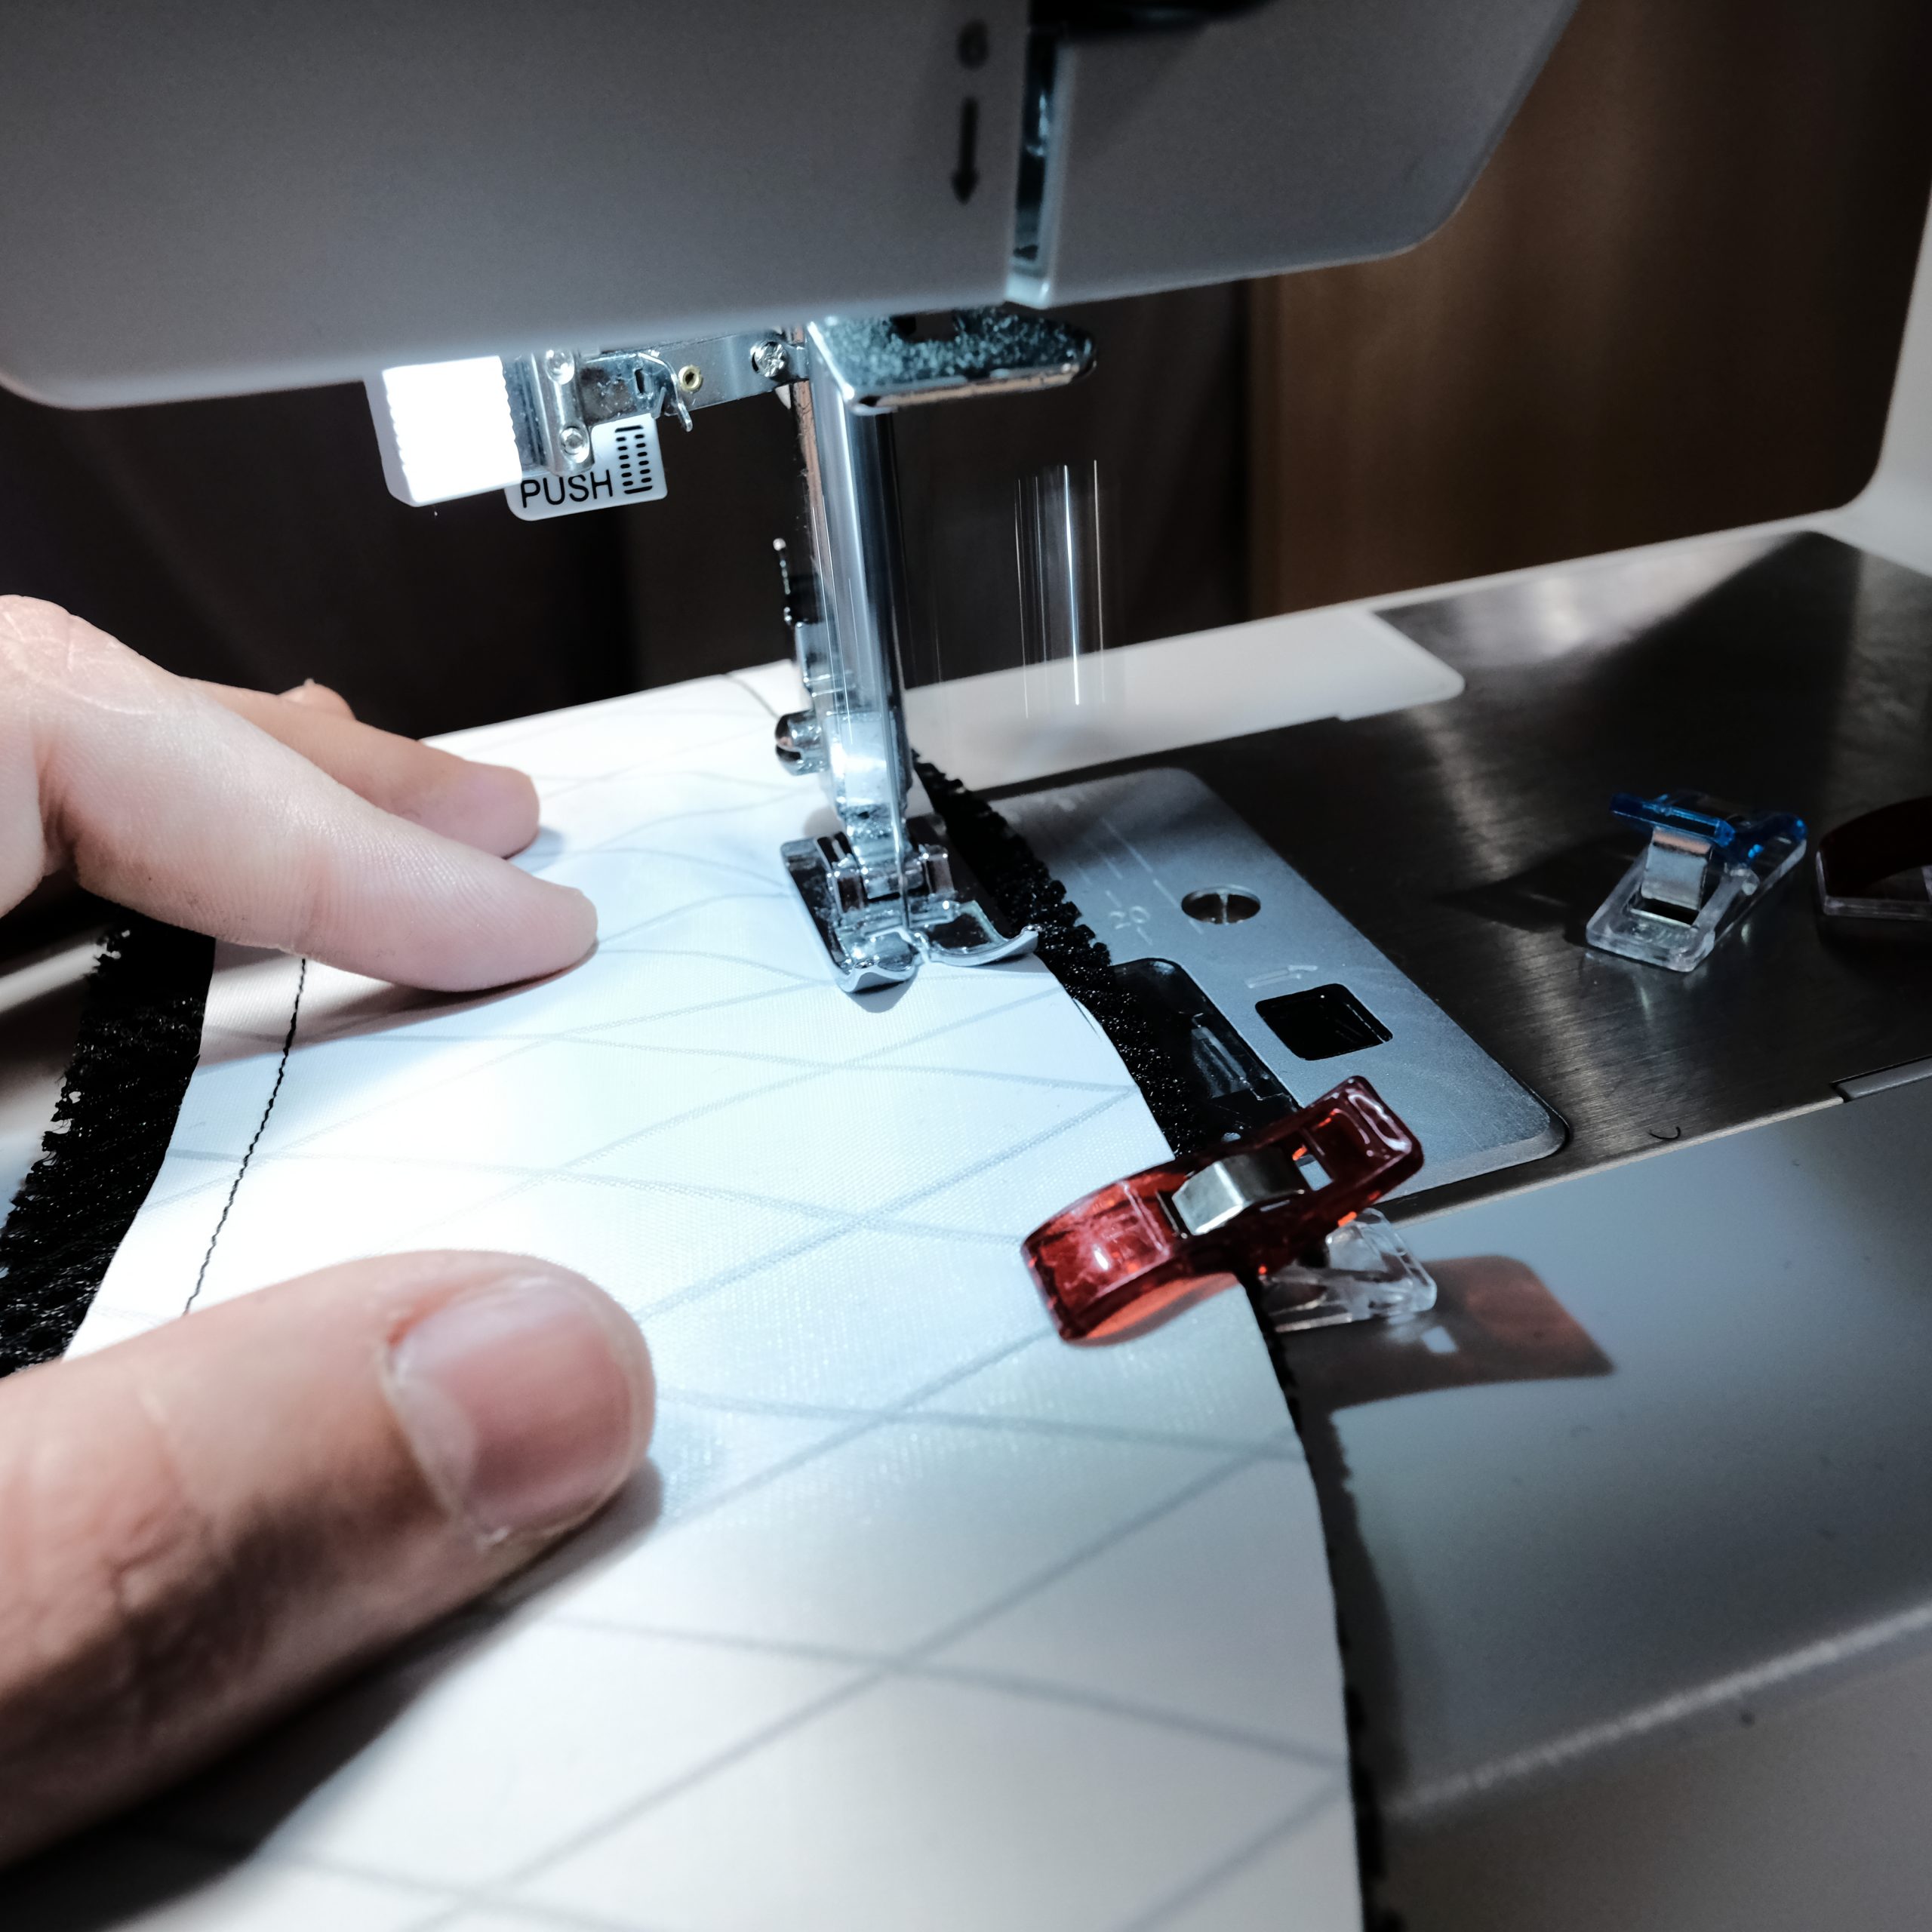
The reason for me to ditch the foam was mainly due to how cumbersome and over-complicated it is to build strap with high-quality closed-cell foam. I have used Evazote EV50 in different thicknesses (mainly 4mm and 8mm) and always preferred building the straps as a sleeve (seams on the inside) for comfort as well as robustness. The major drawback of this method is that inserting the foam a posteriori never really yields perfect aesthetic (at least, I’m not skilled enough to make it look good). On one hand, EV50 tends to be very “sticky” and making the whole inserting process quite annoying. On the other hand, the sawing machine I use has limited clearance below the foot, and the stack of 3D mesh, 8mm EV50, fabric and webbing is just too much for a household machine to handle.

Now enough with the text, and on to the pictures! I have limited pictures of the final pack because I was running out of time and had to eventually gift it away, but I do have a significant amount of behind the scene pictures, which hopefully will be as satisfying to you as these are to me. Stayed tunes for the next post.

Time for a Custom Christmas Pack

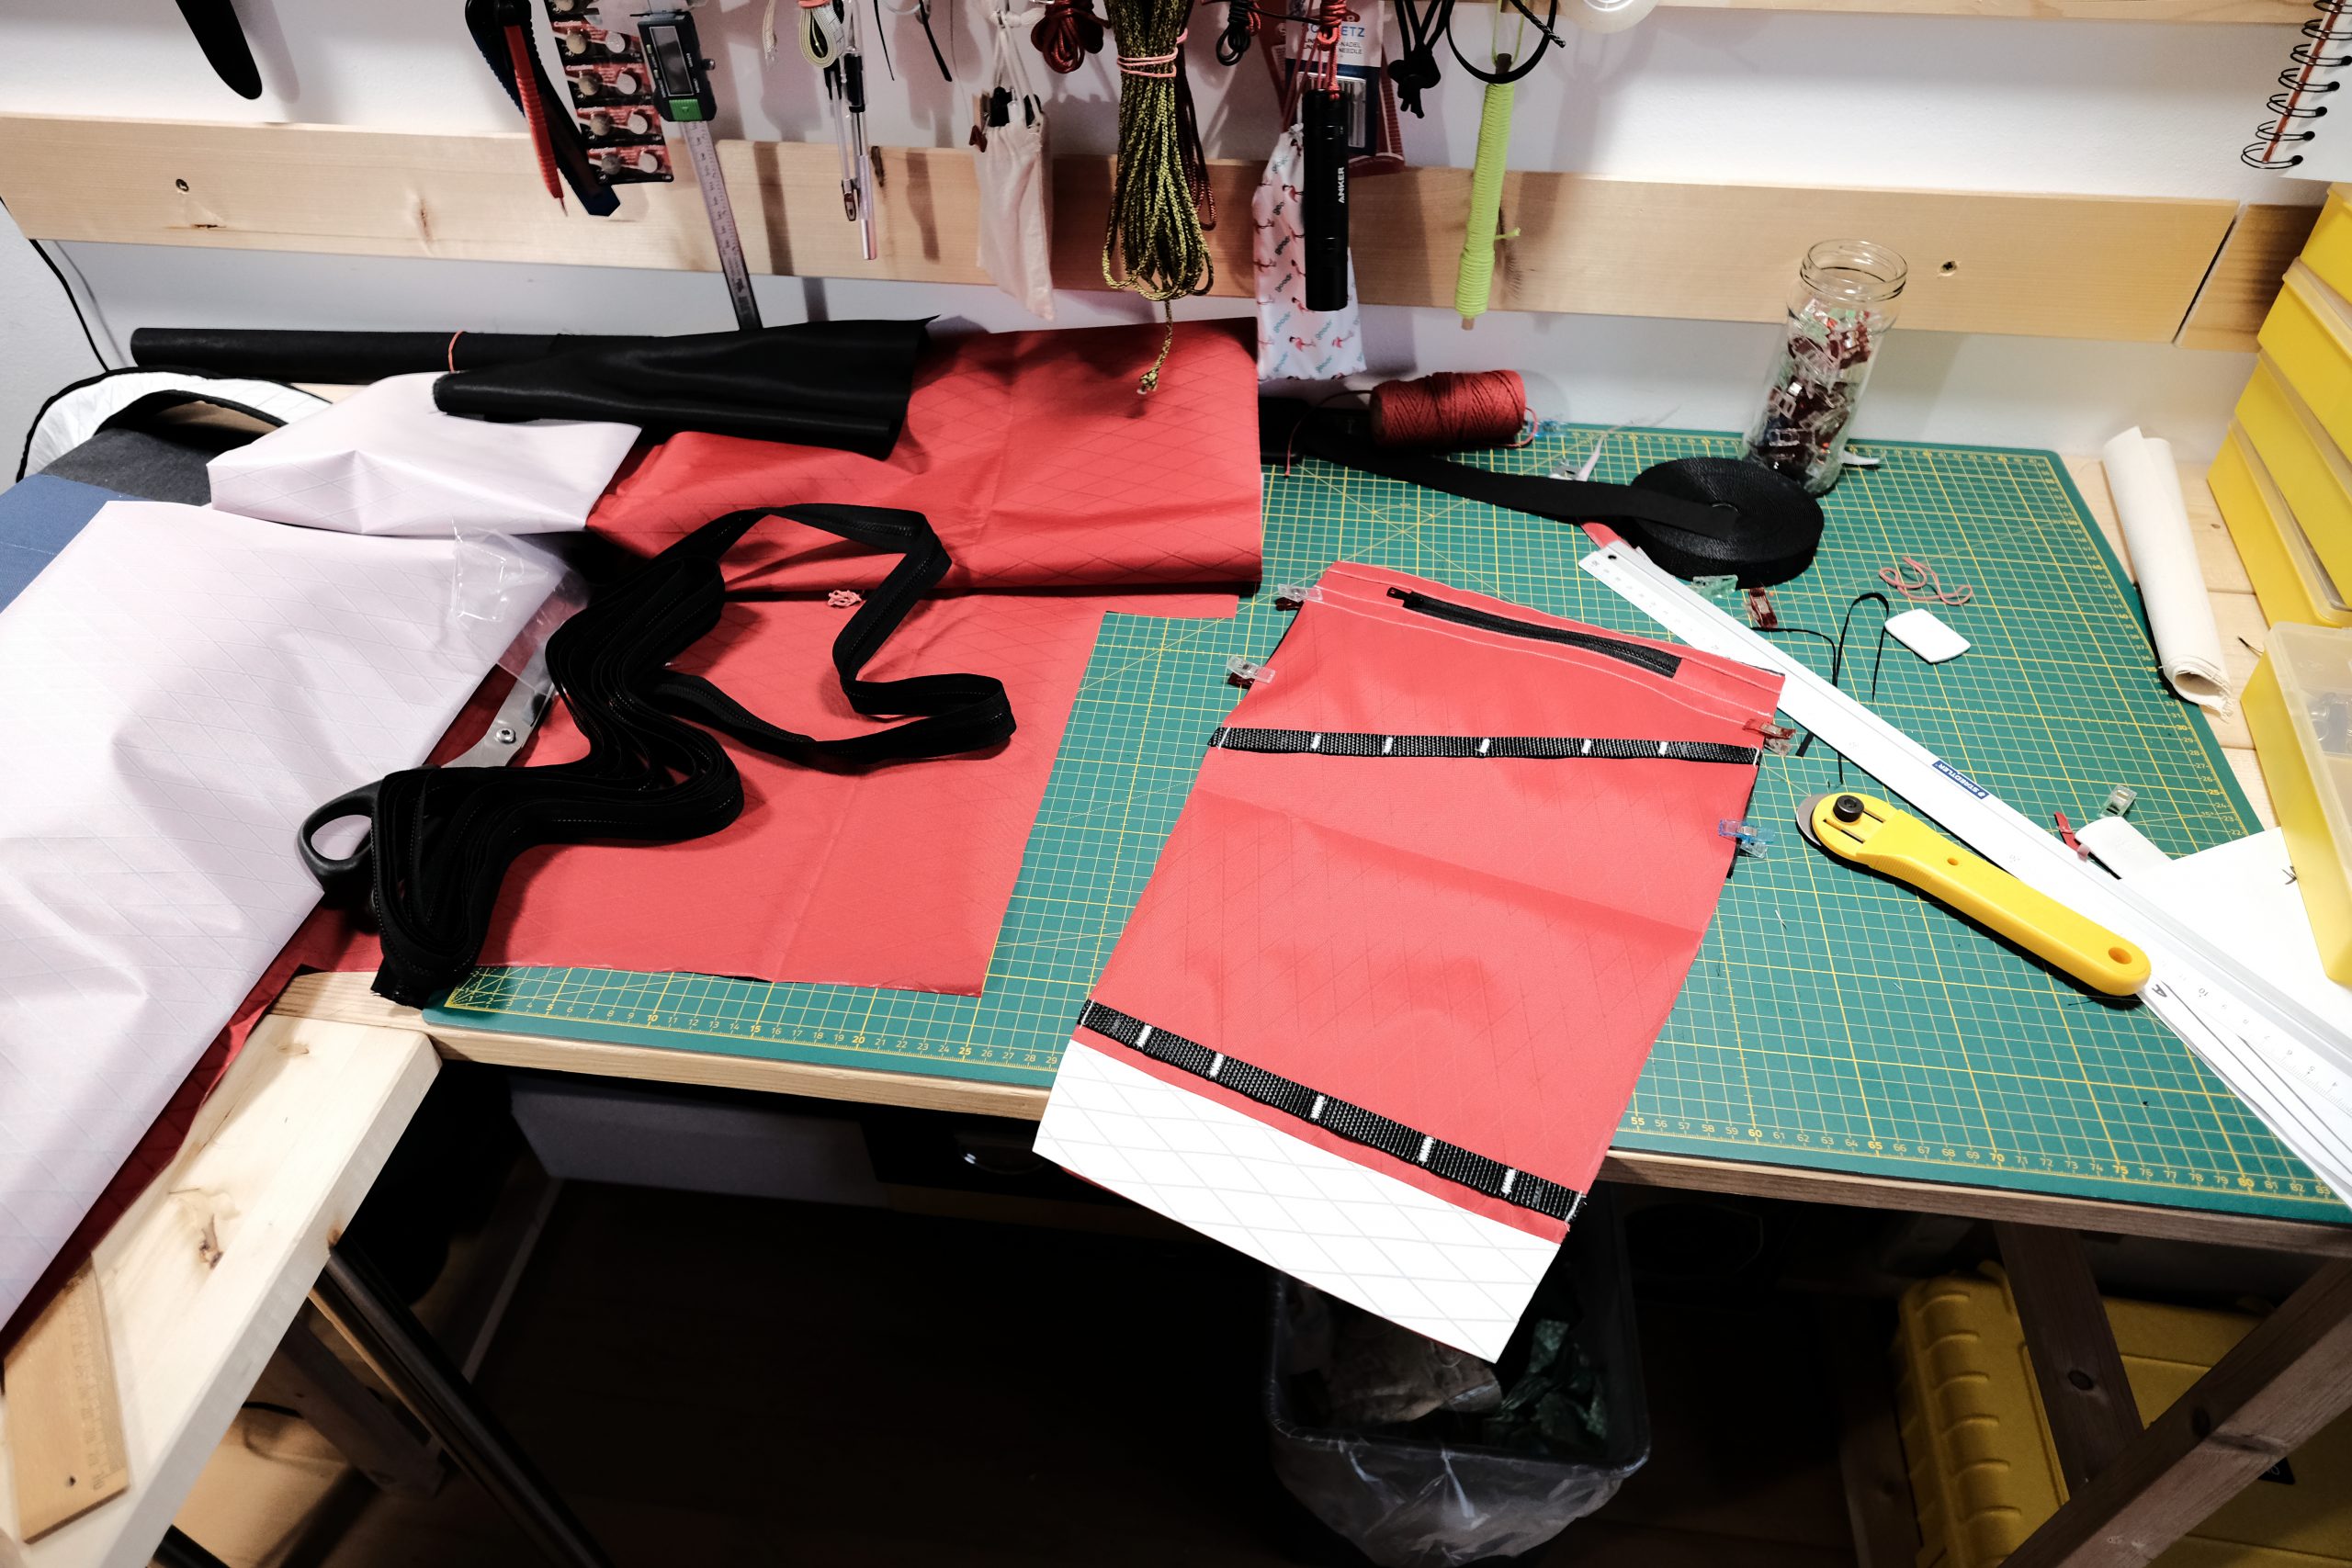
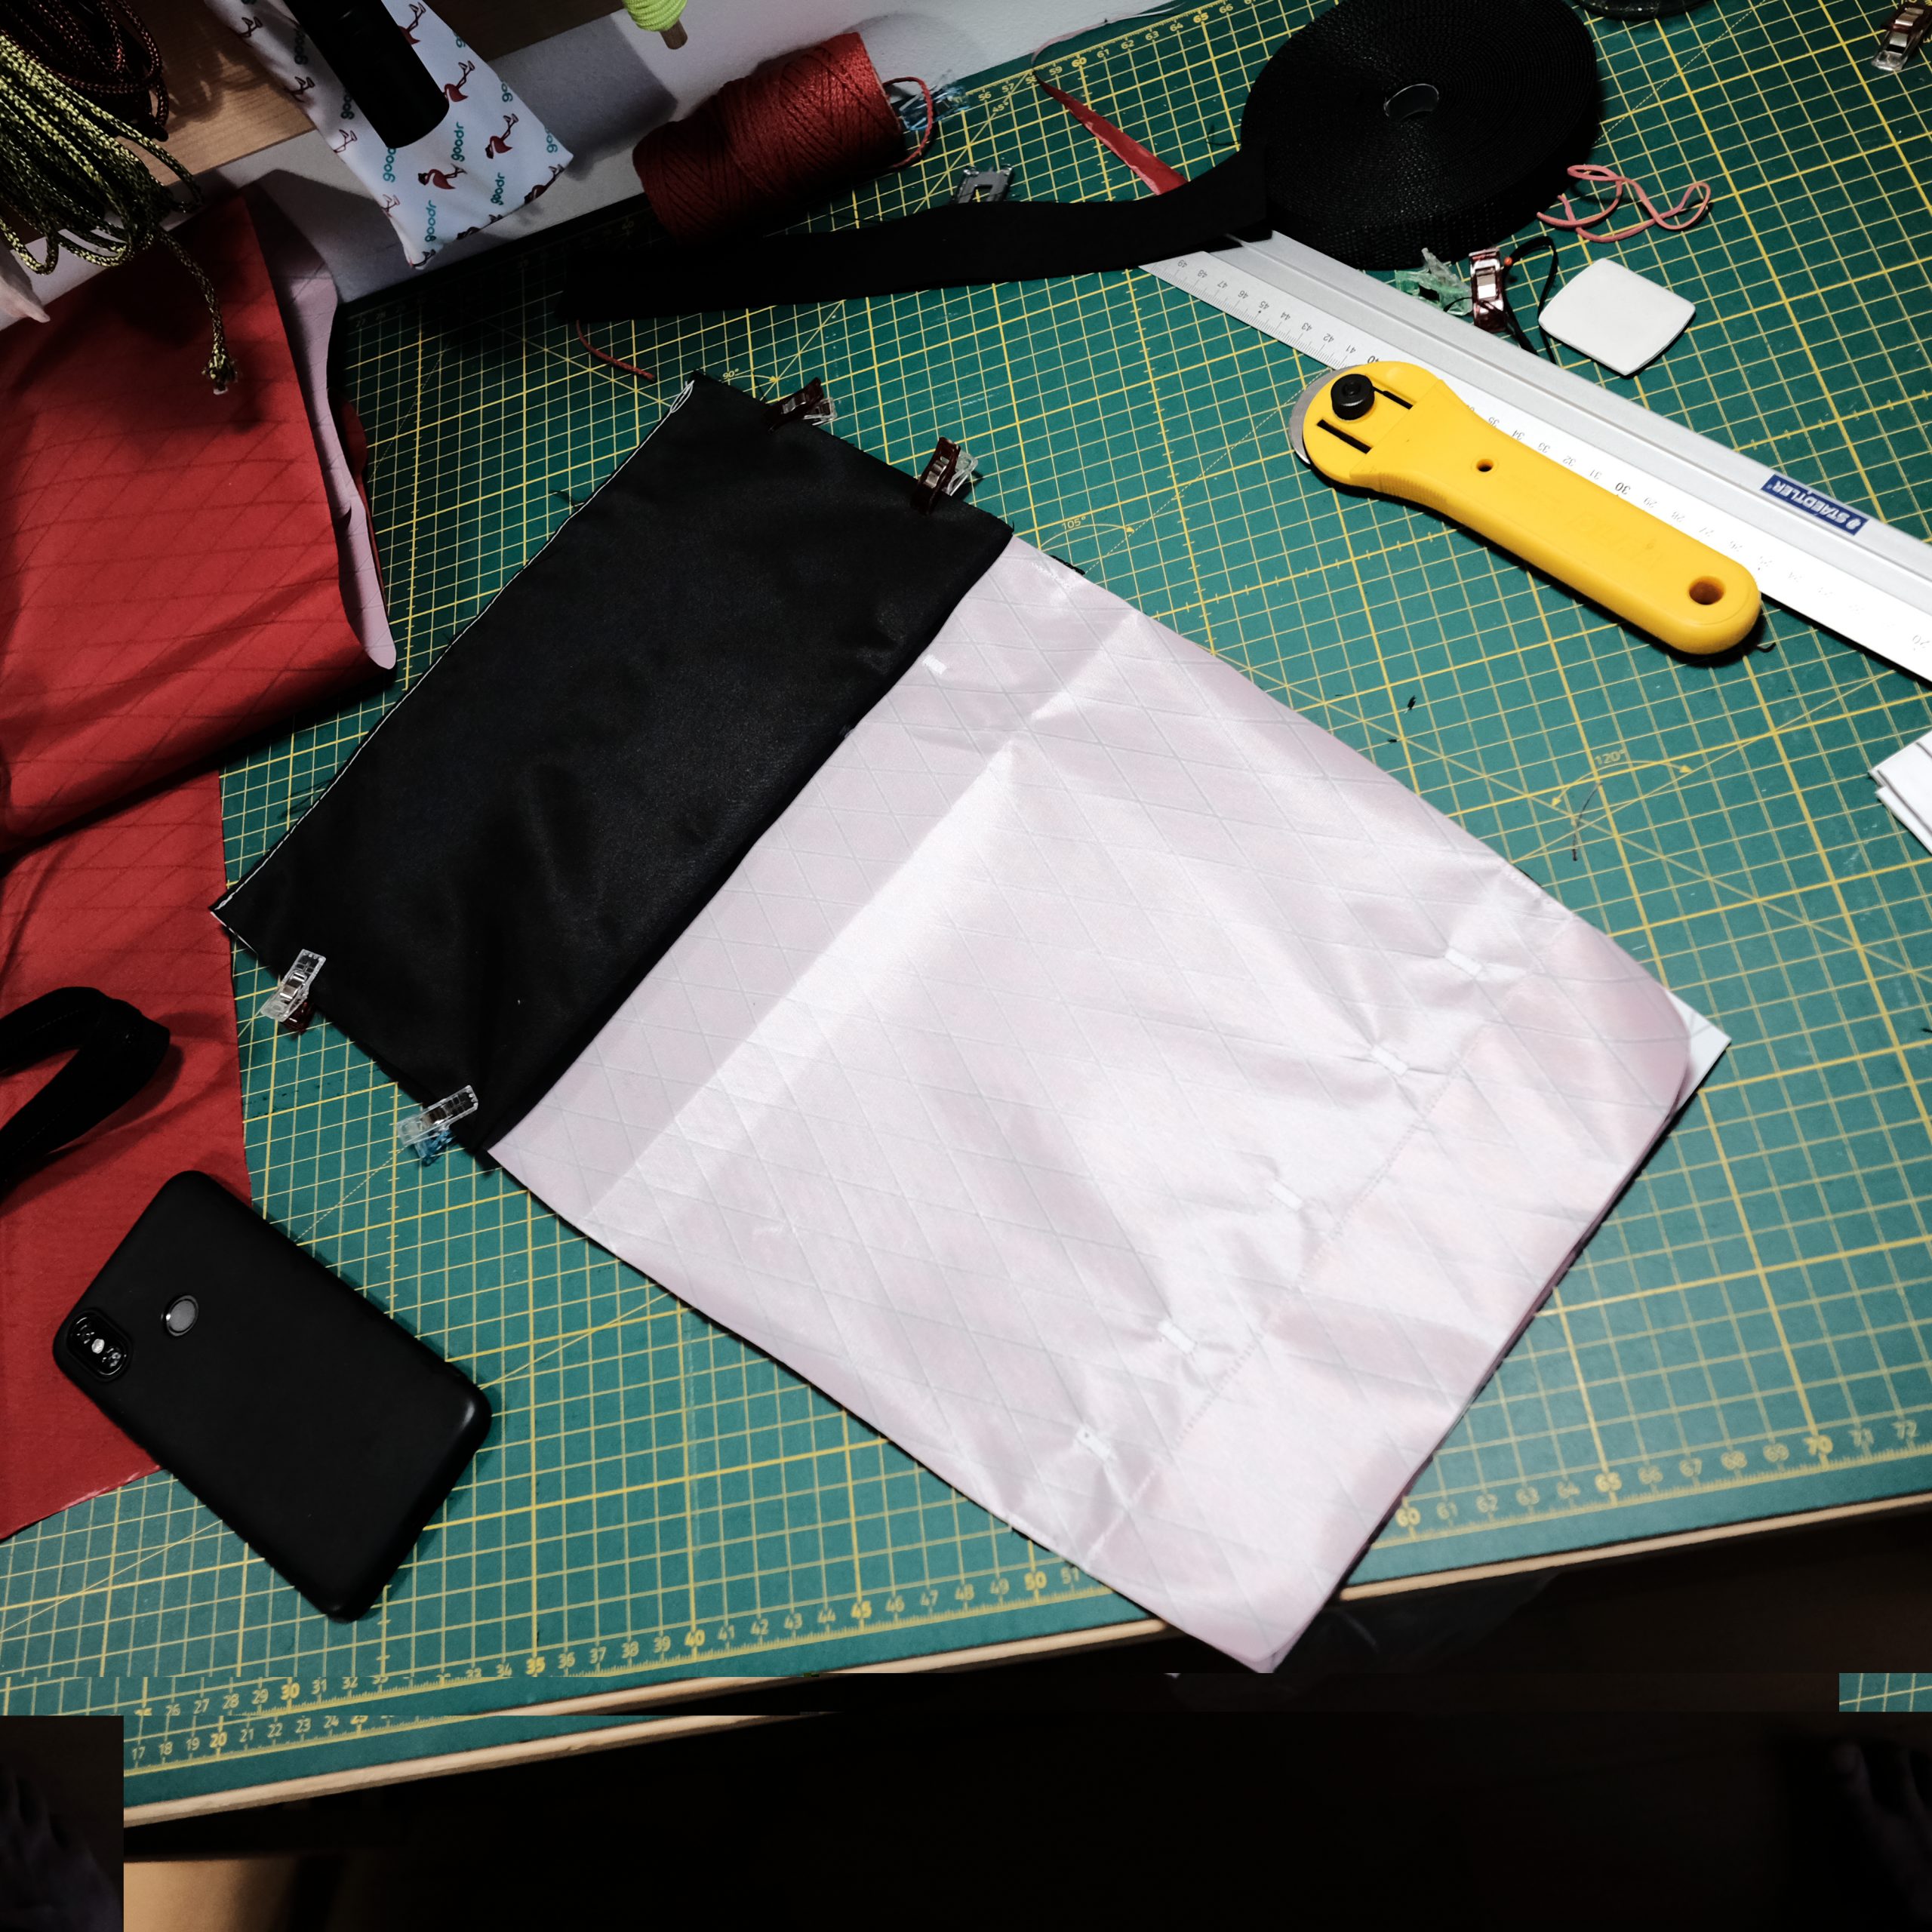
Although I’ve had limited time to work on new designs in the last months, I still had one goal for Christmas! Make Santa’s carrying sack . So I got my hand on some bright red X-Pac VX-21 which I knew was going to do the trick, and had some white VX-07 on hand for the smaller details!

Red and White is the only choice.

The first step to designing a new pack is – for me – always about sketching a few ideas on a piece of paper to get a feel of what I could do and whether or not I will achieve what I set out to do. I started out with the shape and curves of the Skinny, but wanted to get more volume out of it, so I bumped the dimensions a bit and especially worked on extending the roll-top. I was hoping I could bring in different features that would make this pack first and foremost a day-pack, but also make sure this would still be a suitable choice for a hike. So I considered a bunch of options such as a cargo pocket, daisy chains for attachments, lightweight but decent back padding, among other things. I drew a few options and quickly settled on one look. You’ll see it when I post the project pictures.

Sometimes, sketches are just a 5min decision medium.

Note – Keep in mind that the dimensions written here are just bread crumbs I left myself before even starting, and I more often than not readjust them while cutting things out. So don’t take these too seriously.

Stay tuned!

The Skinny Pack

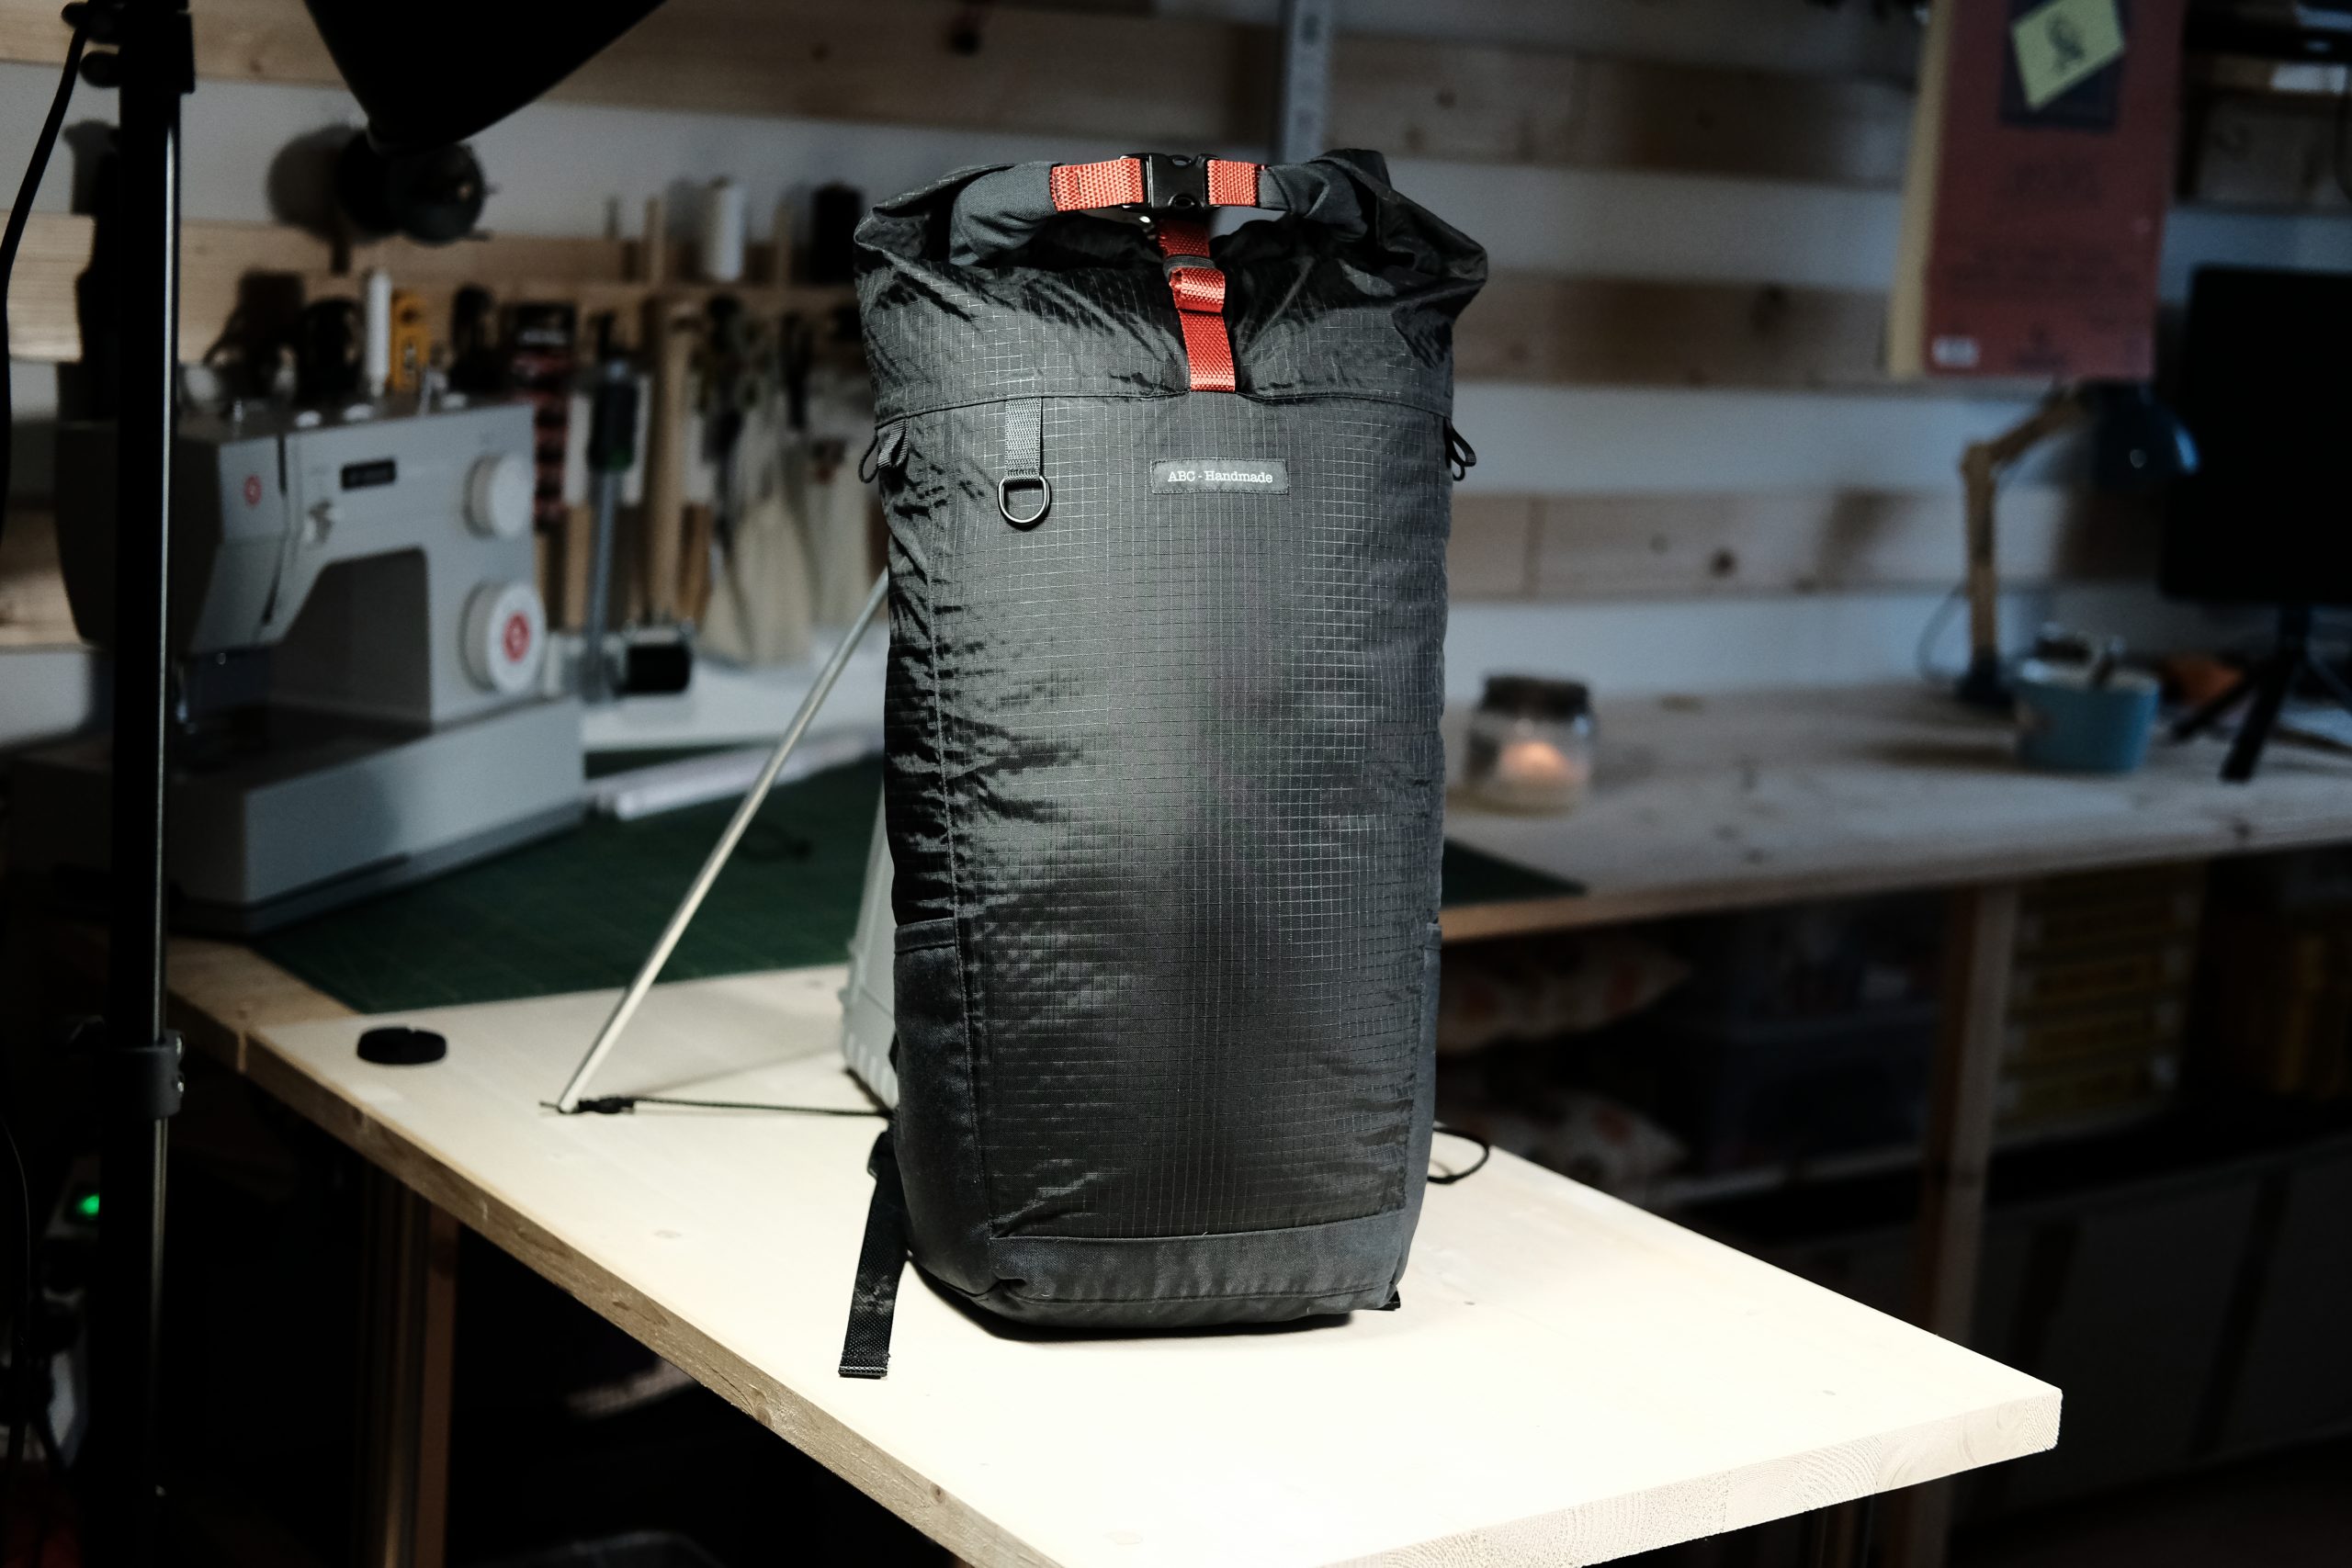
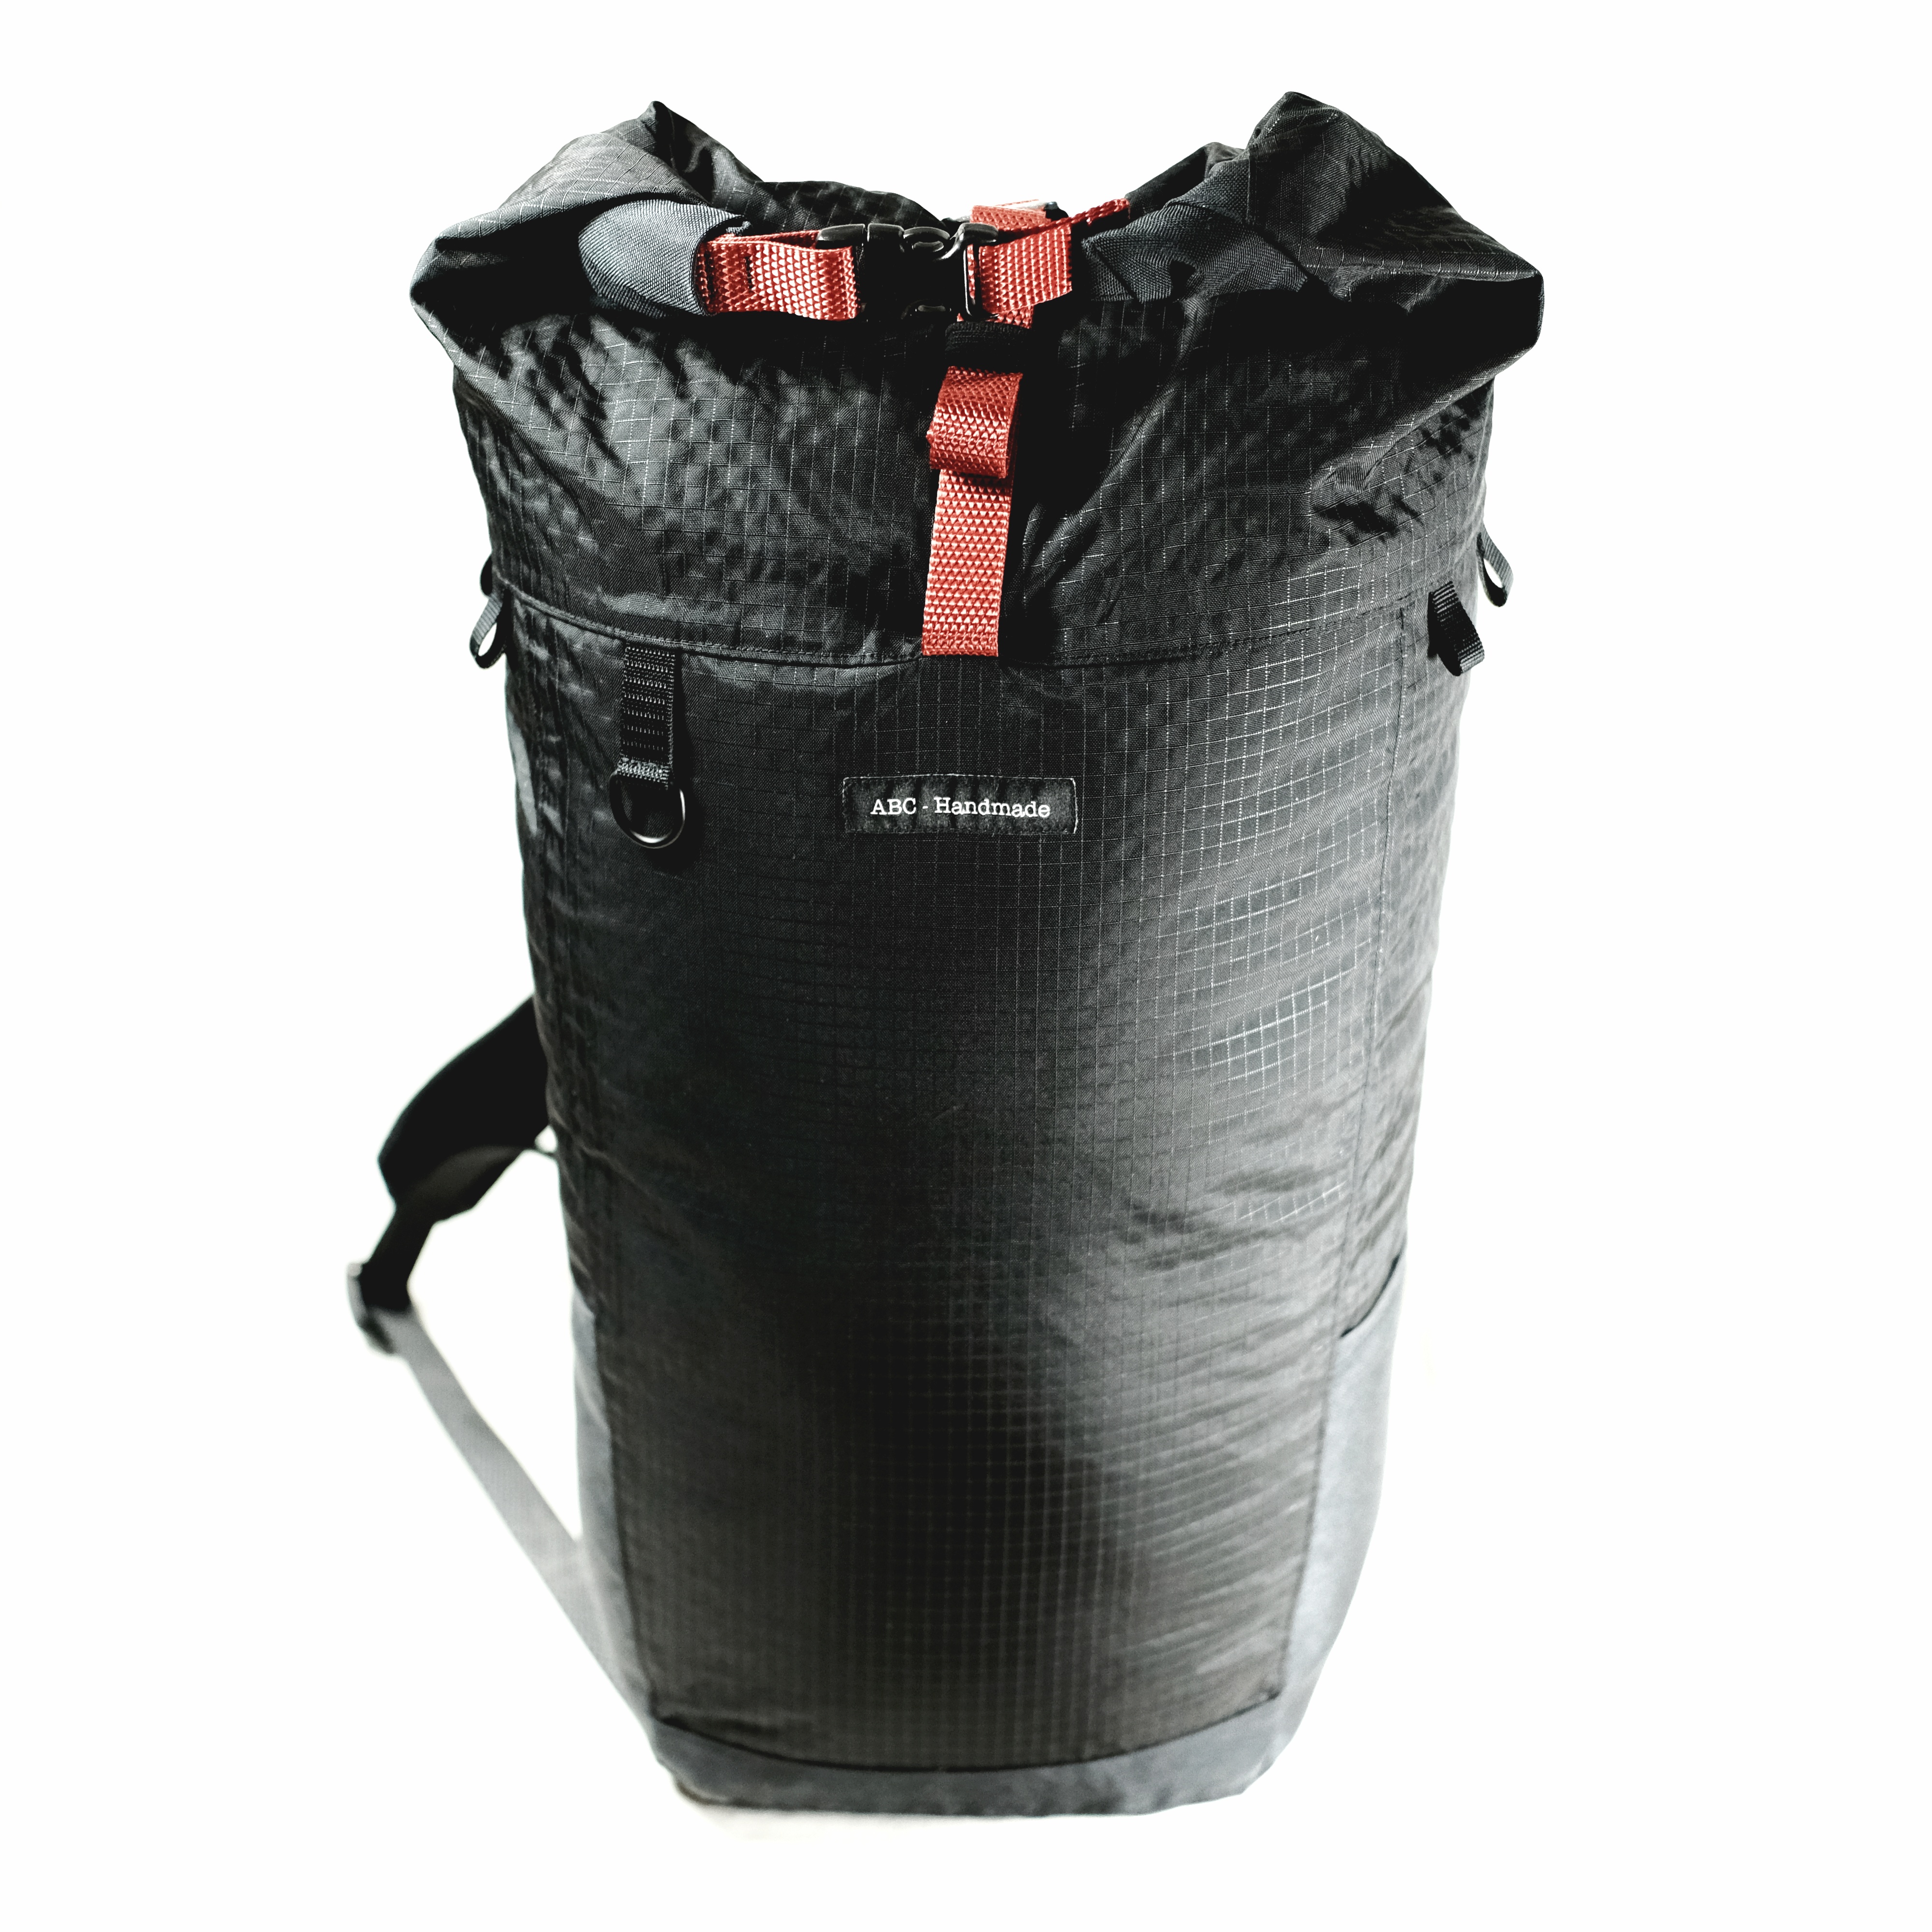
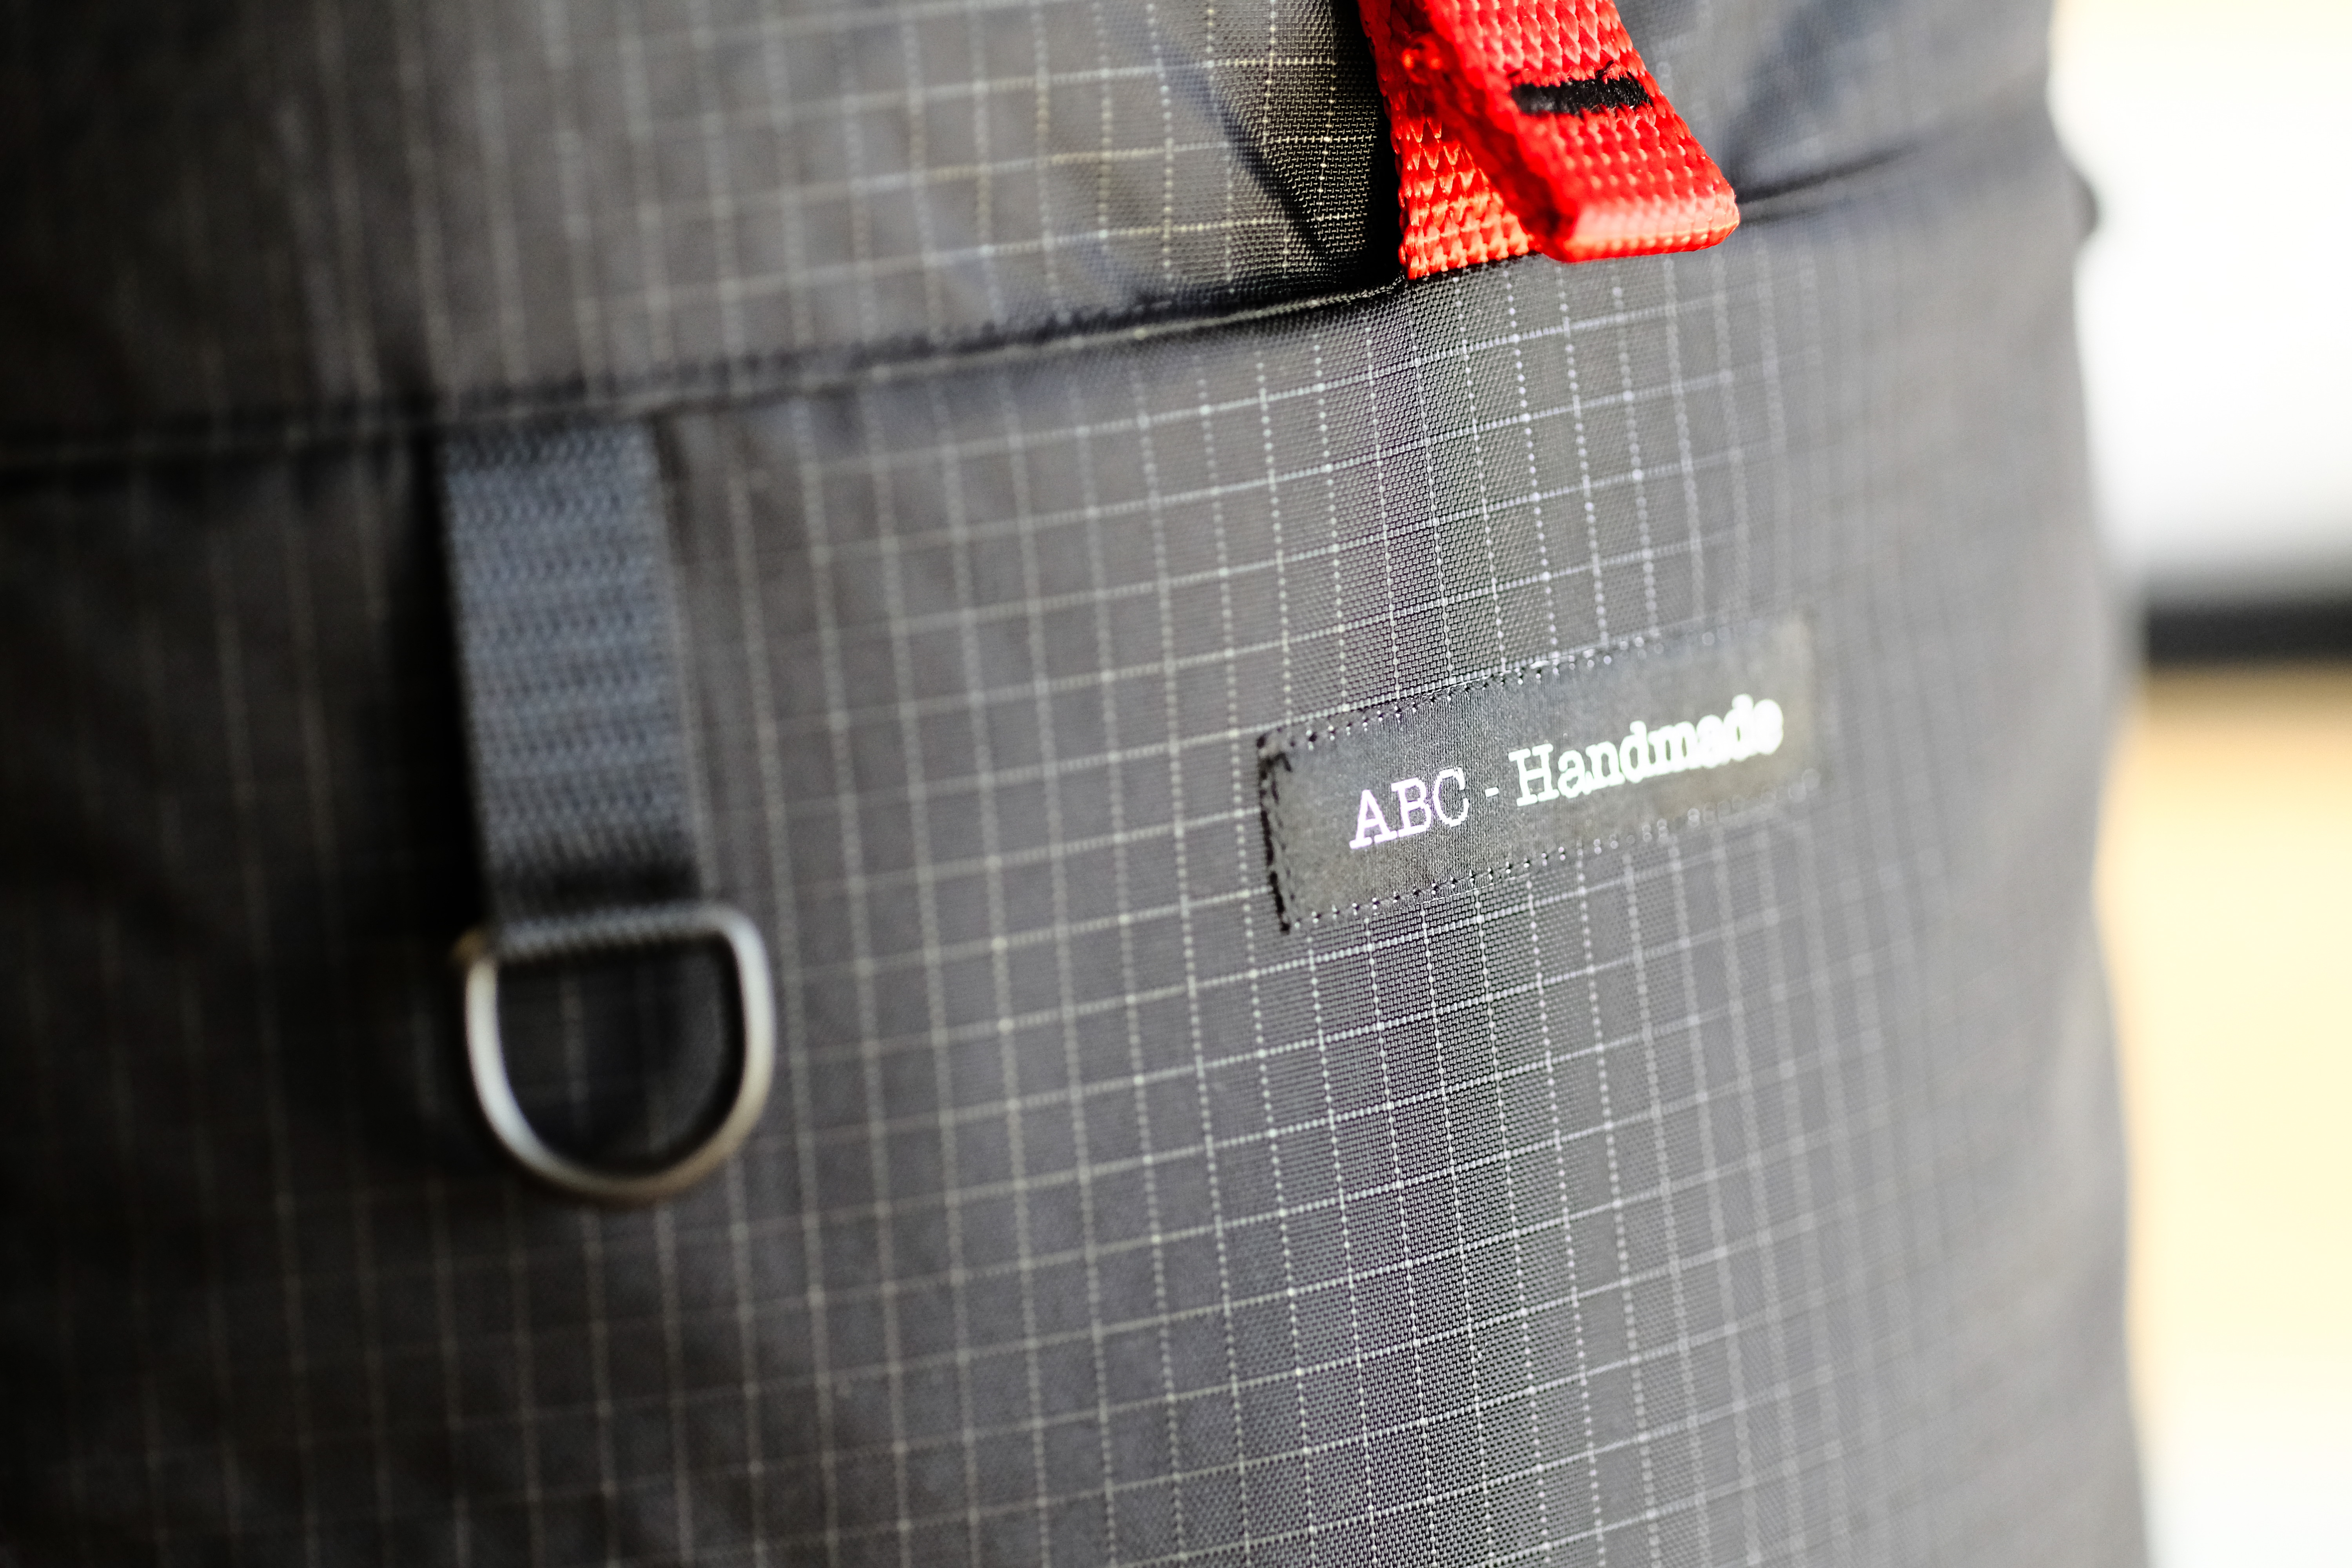
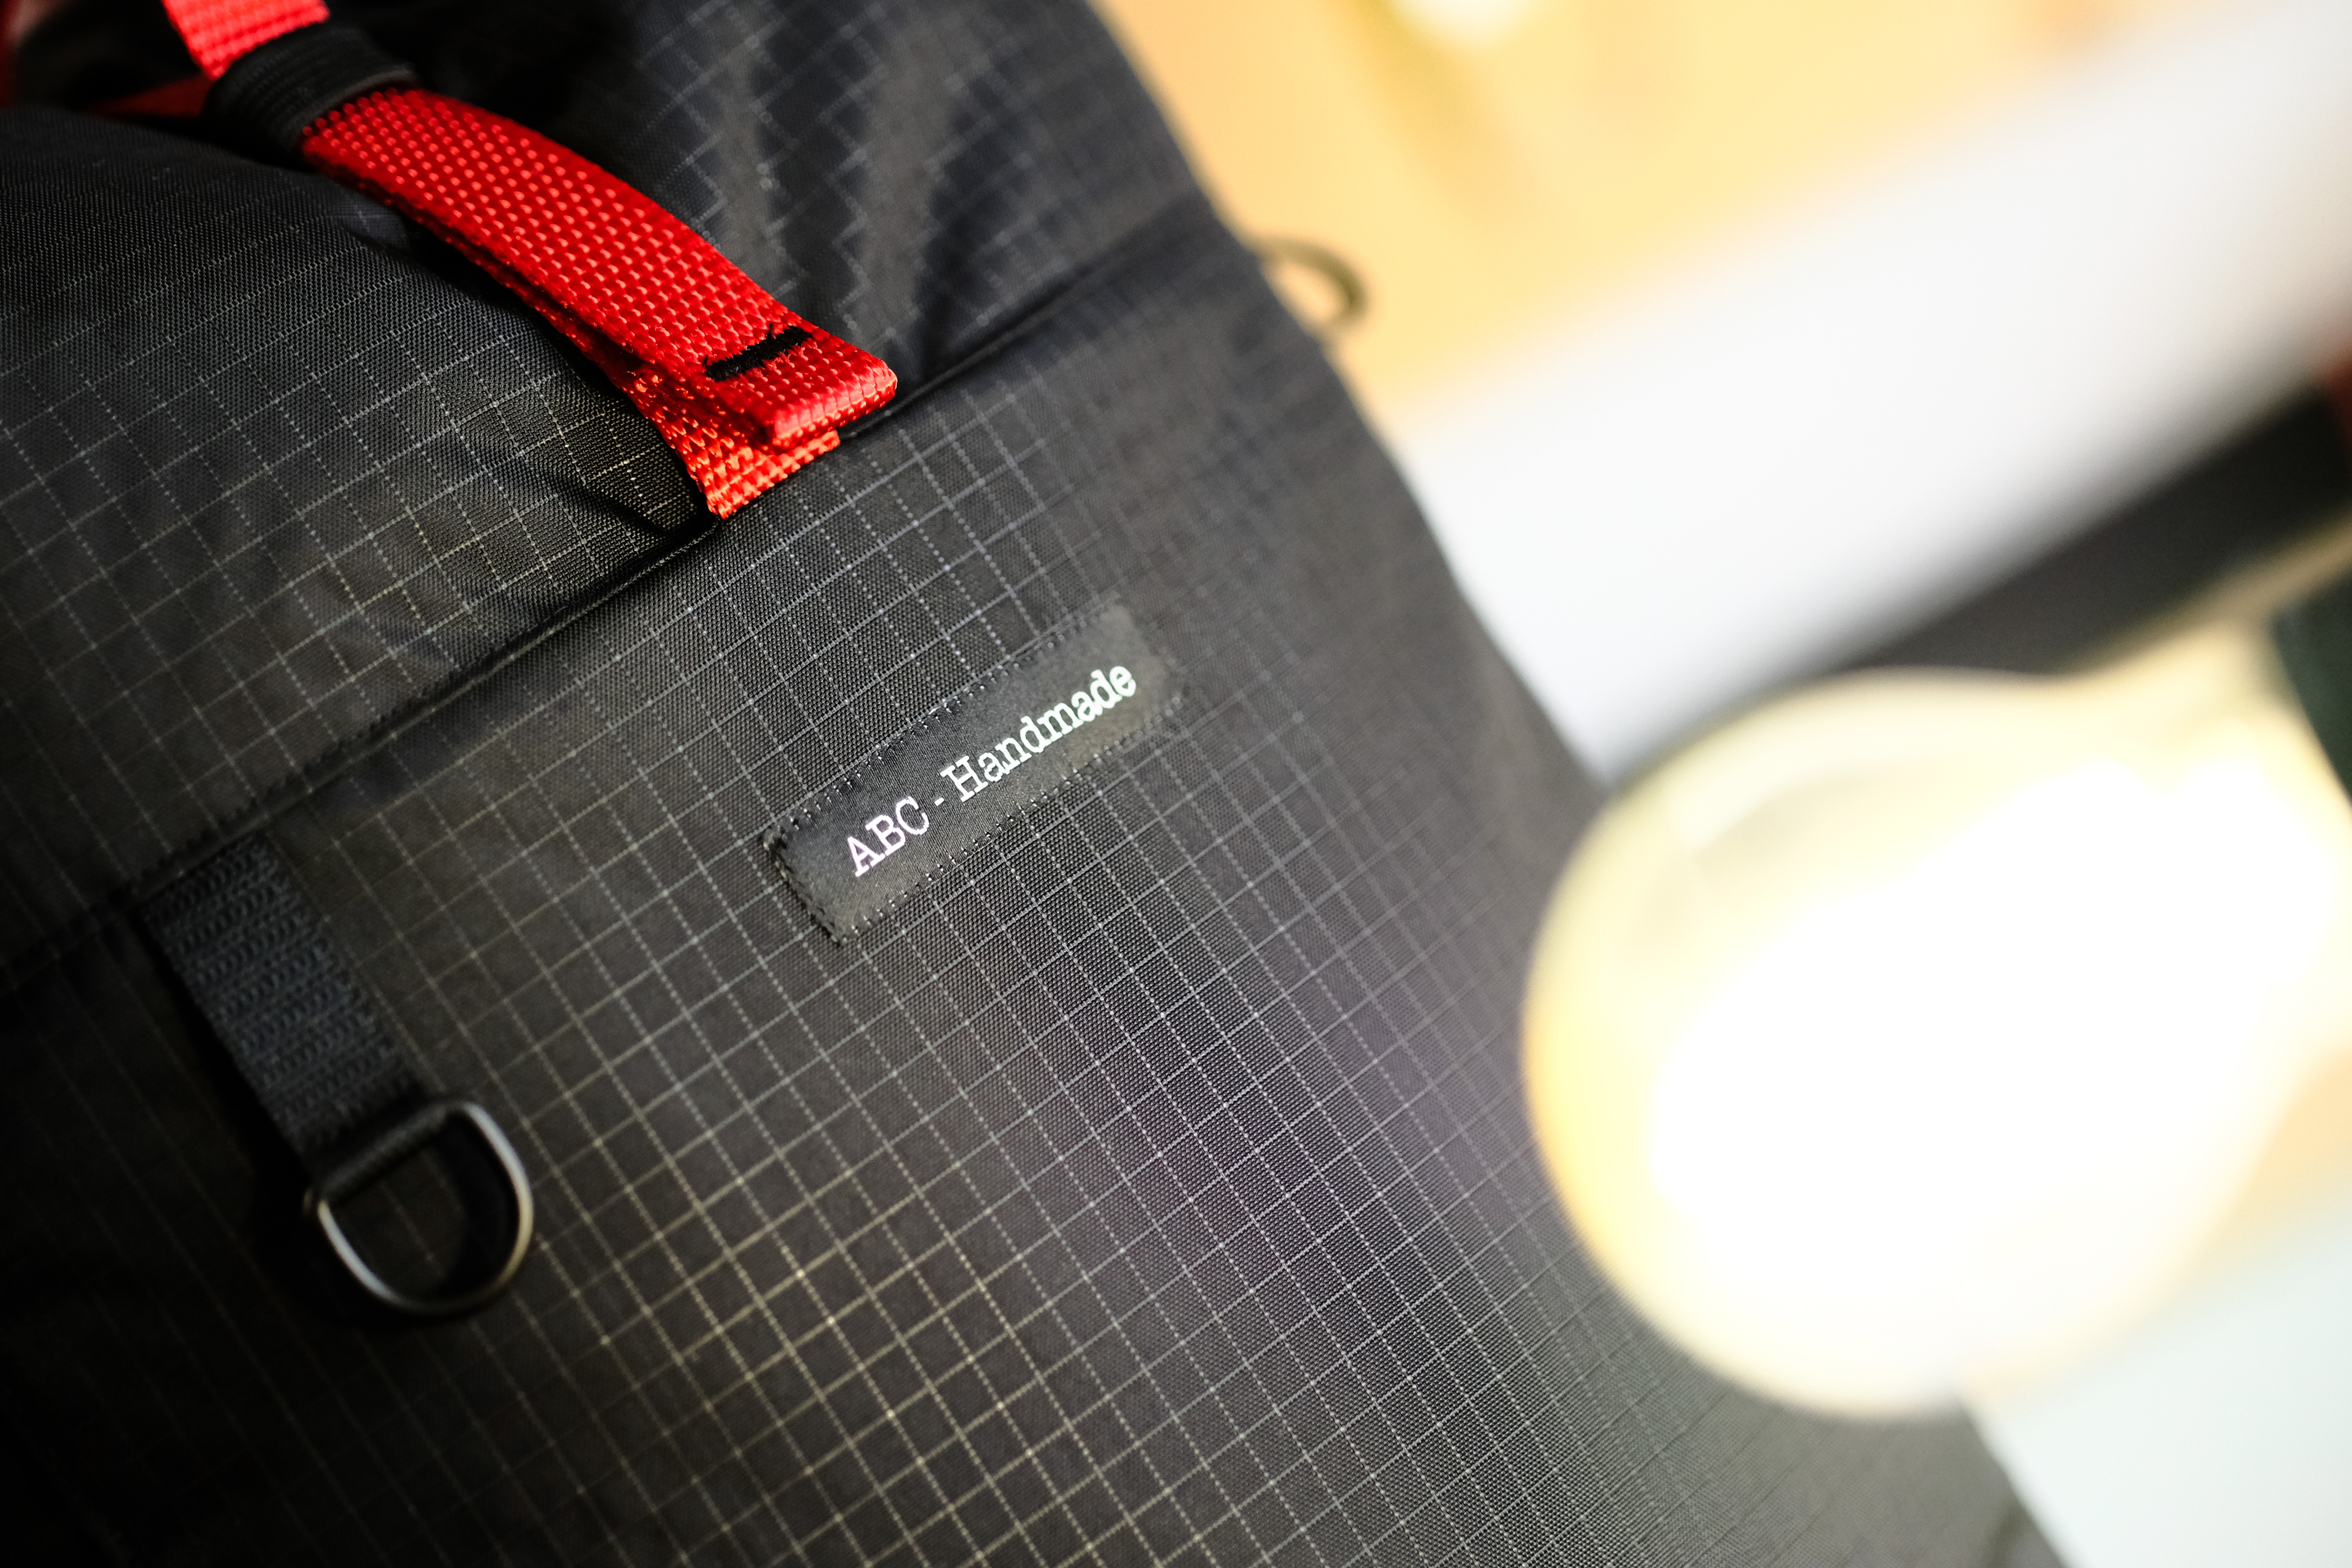
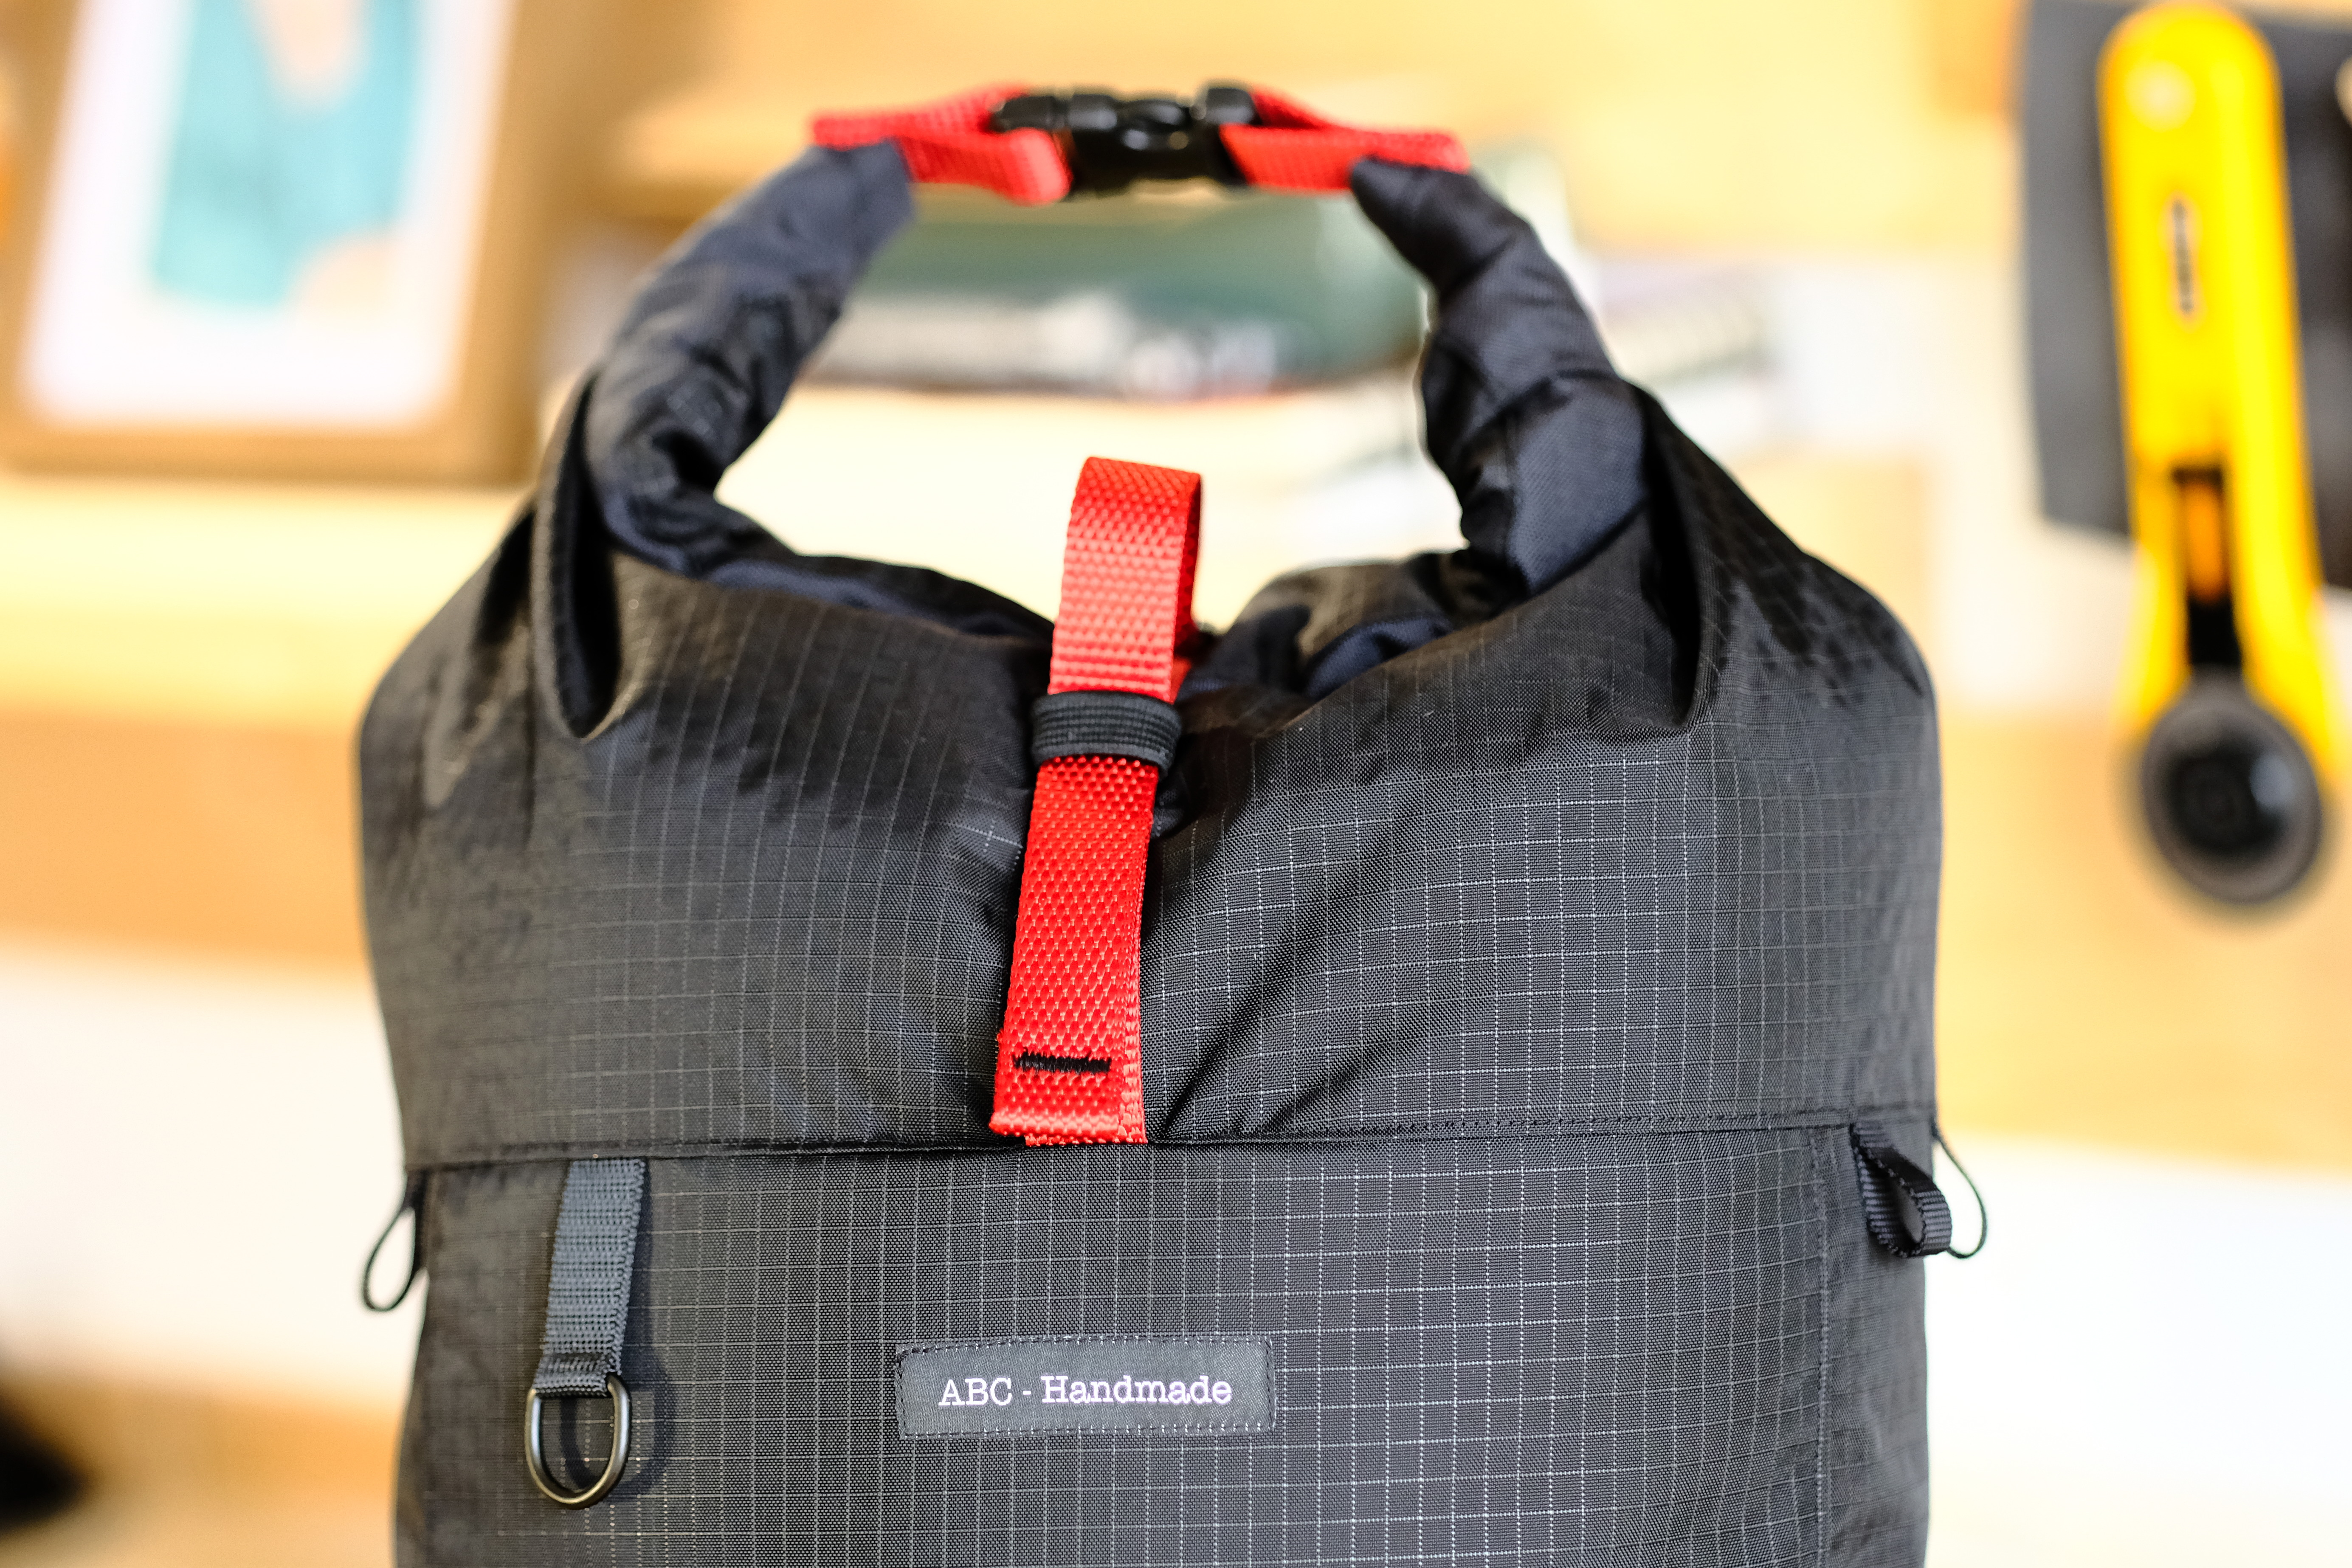
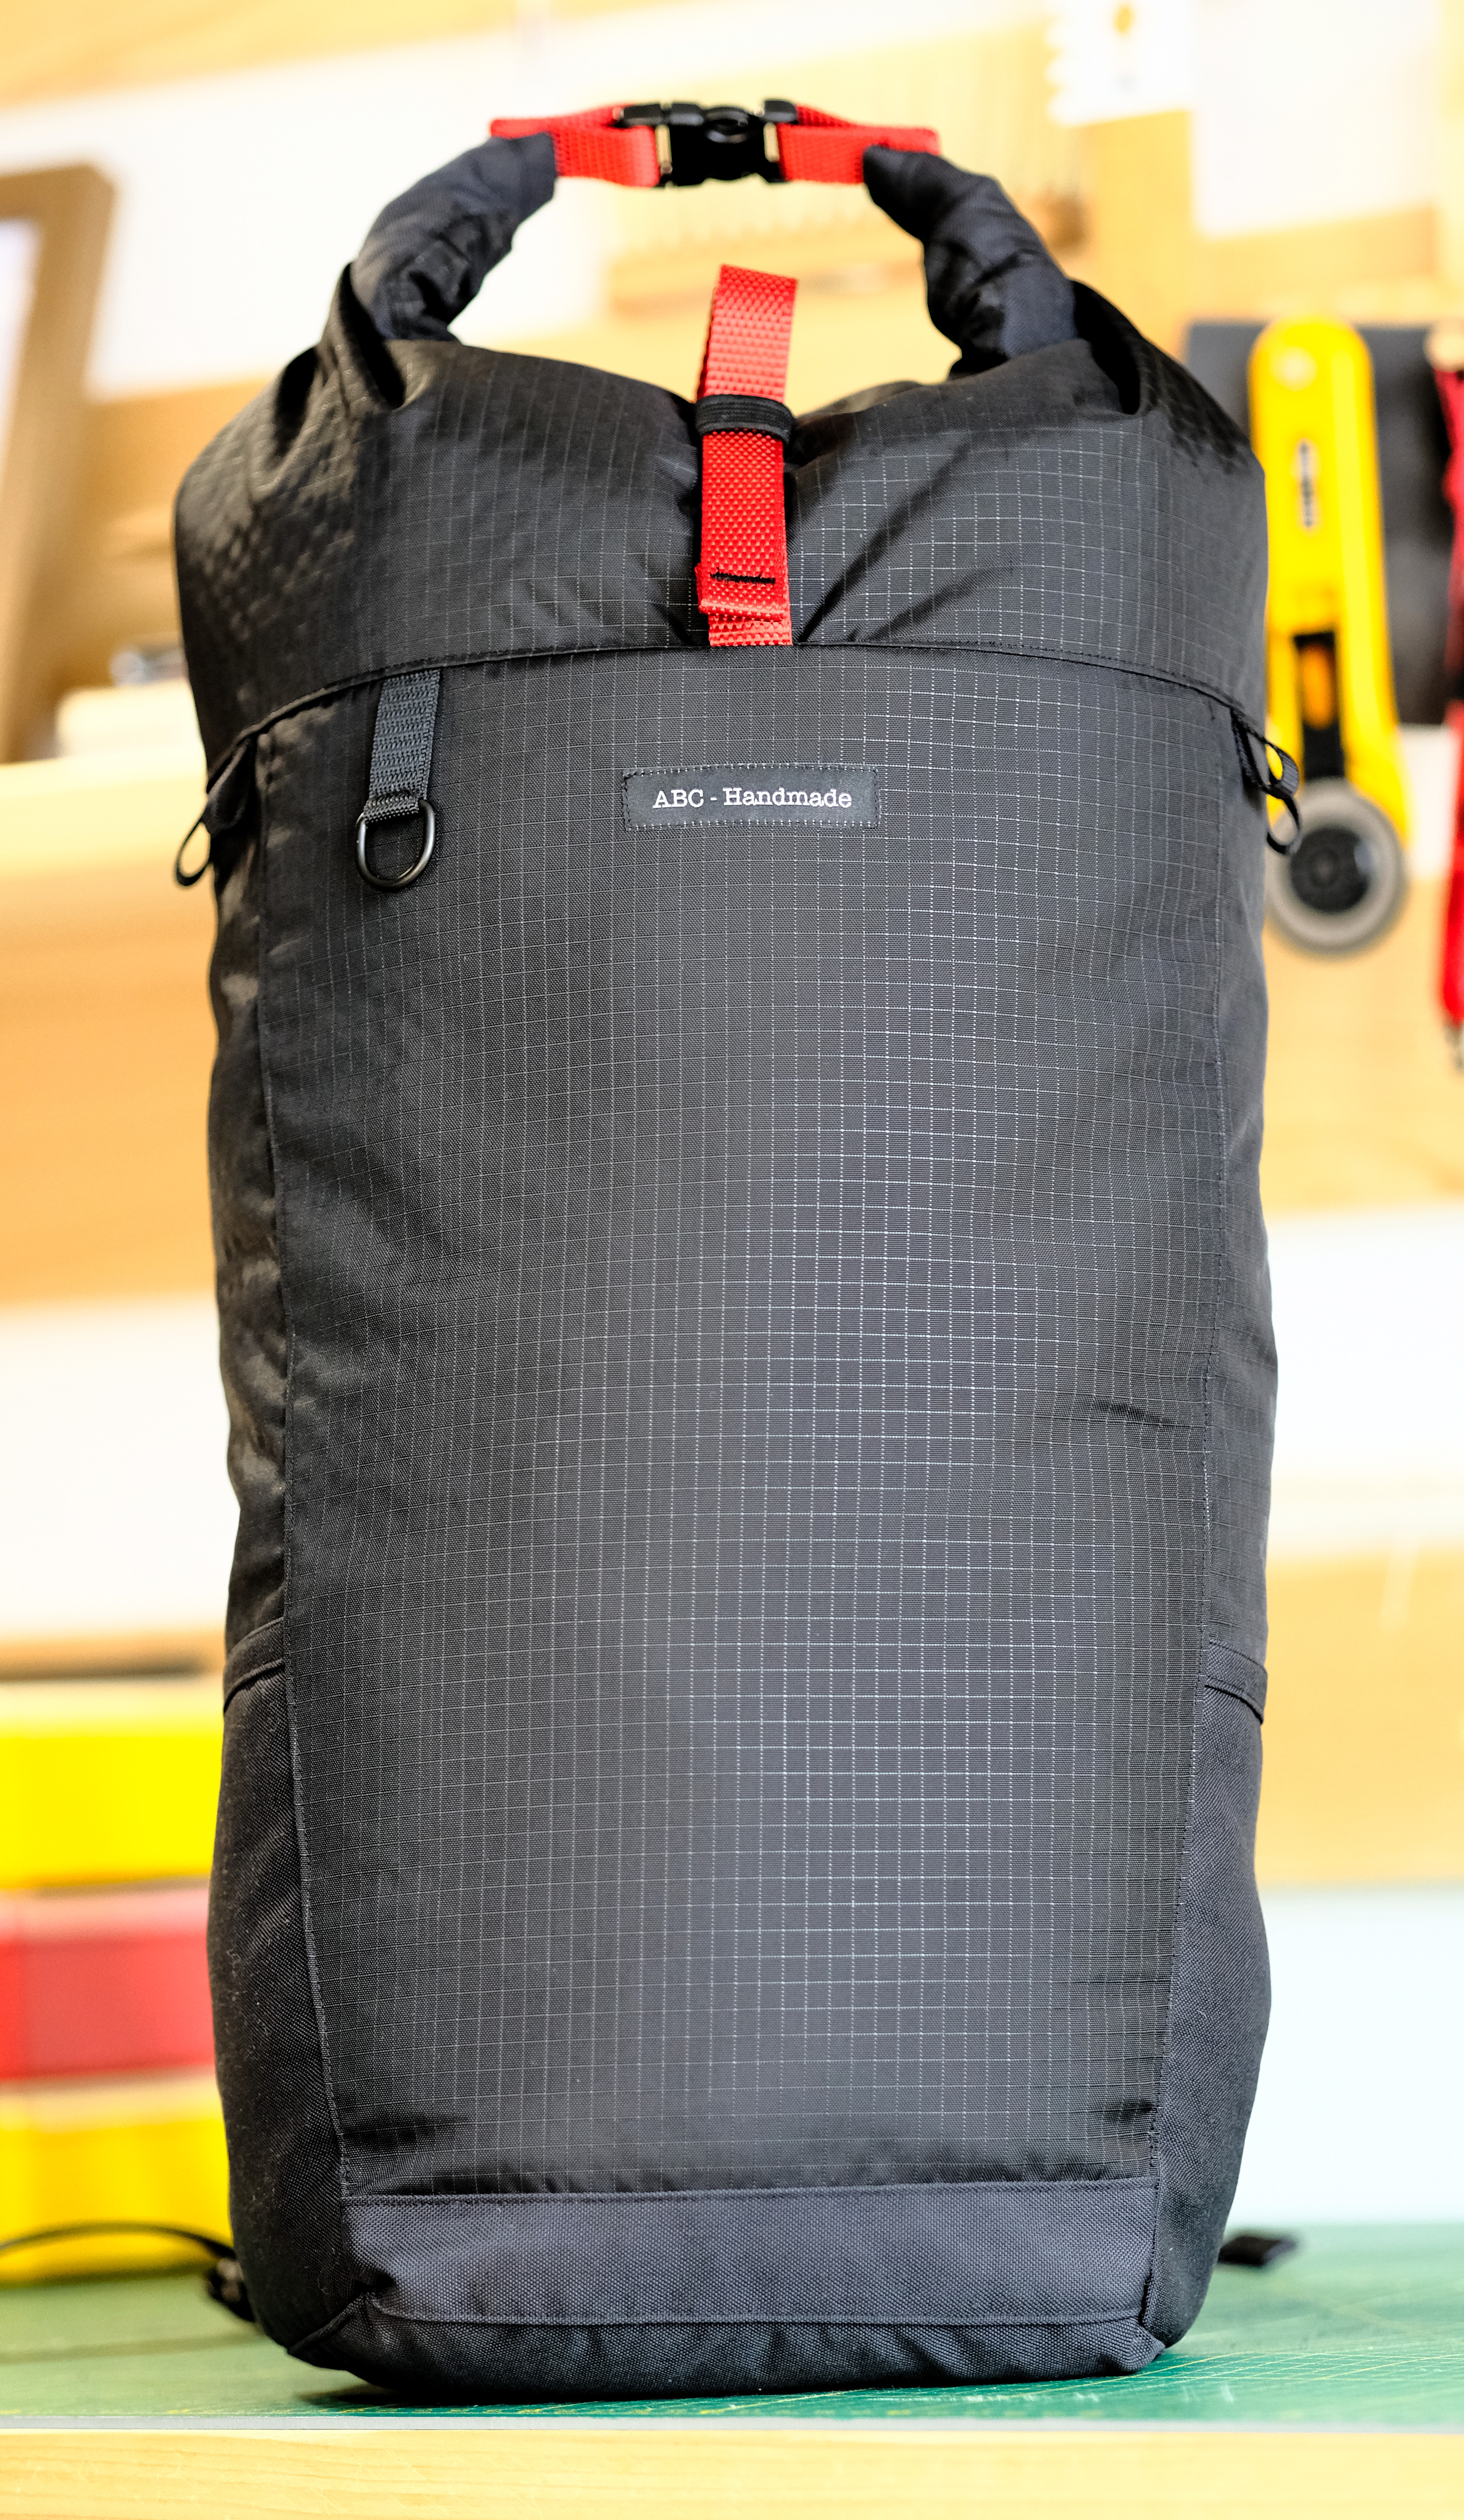
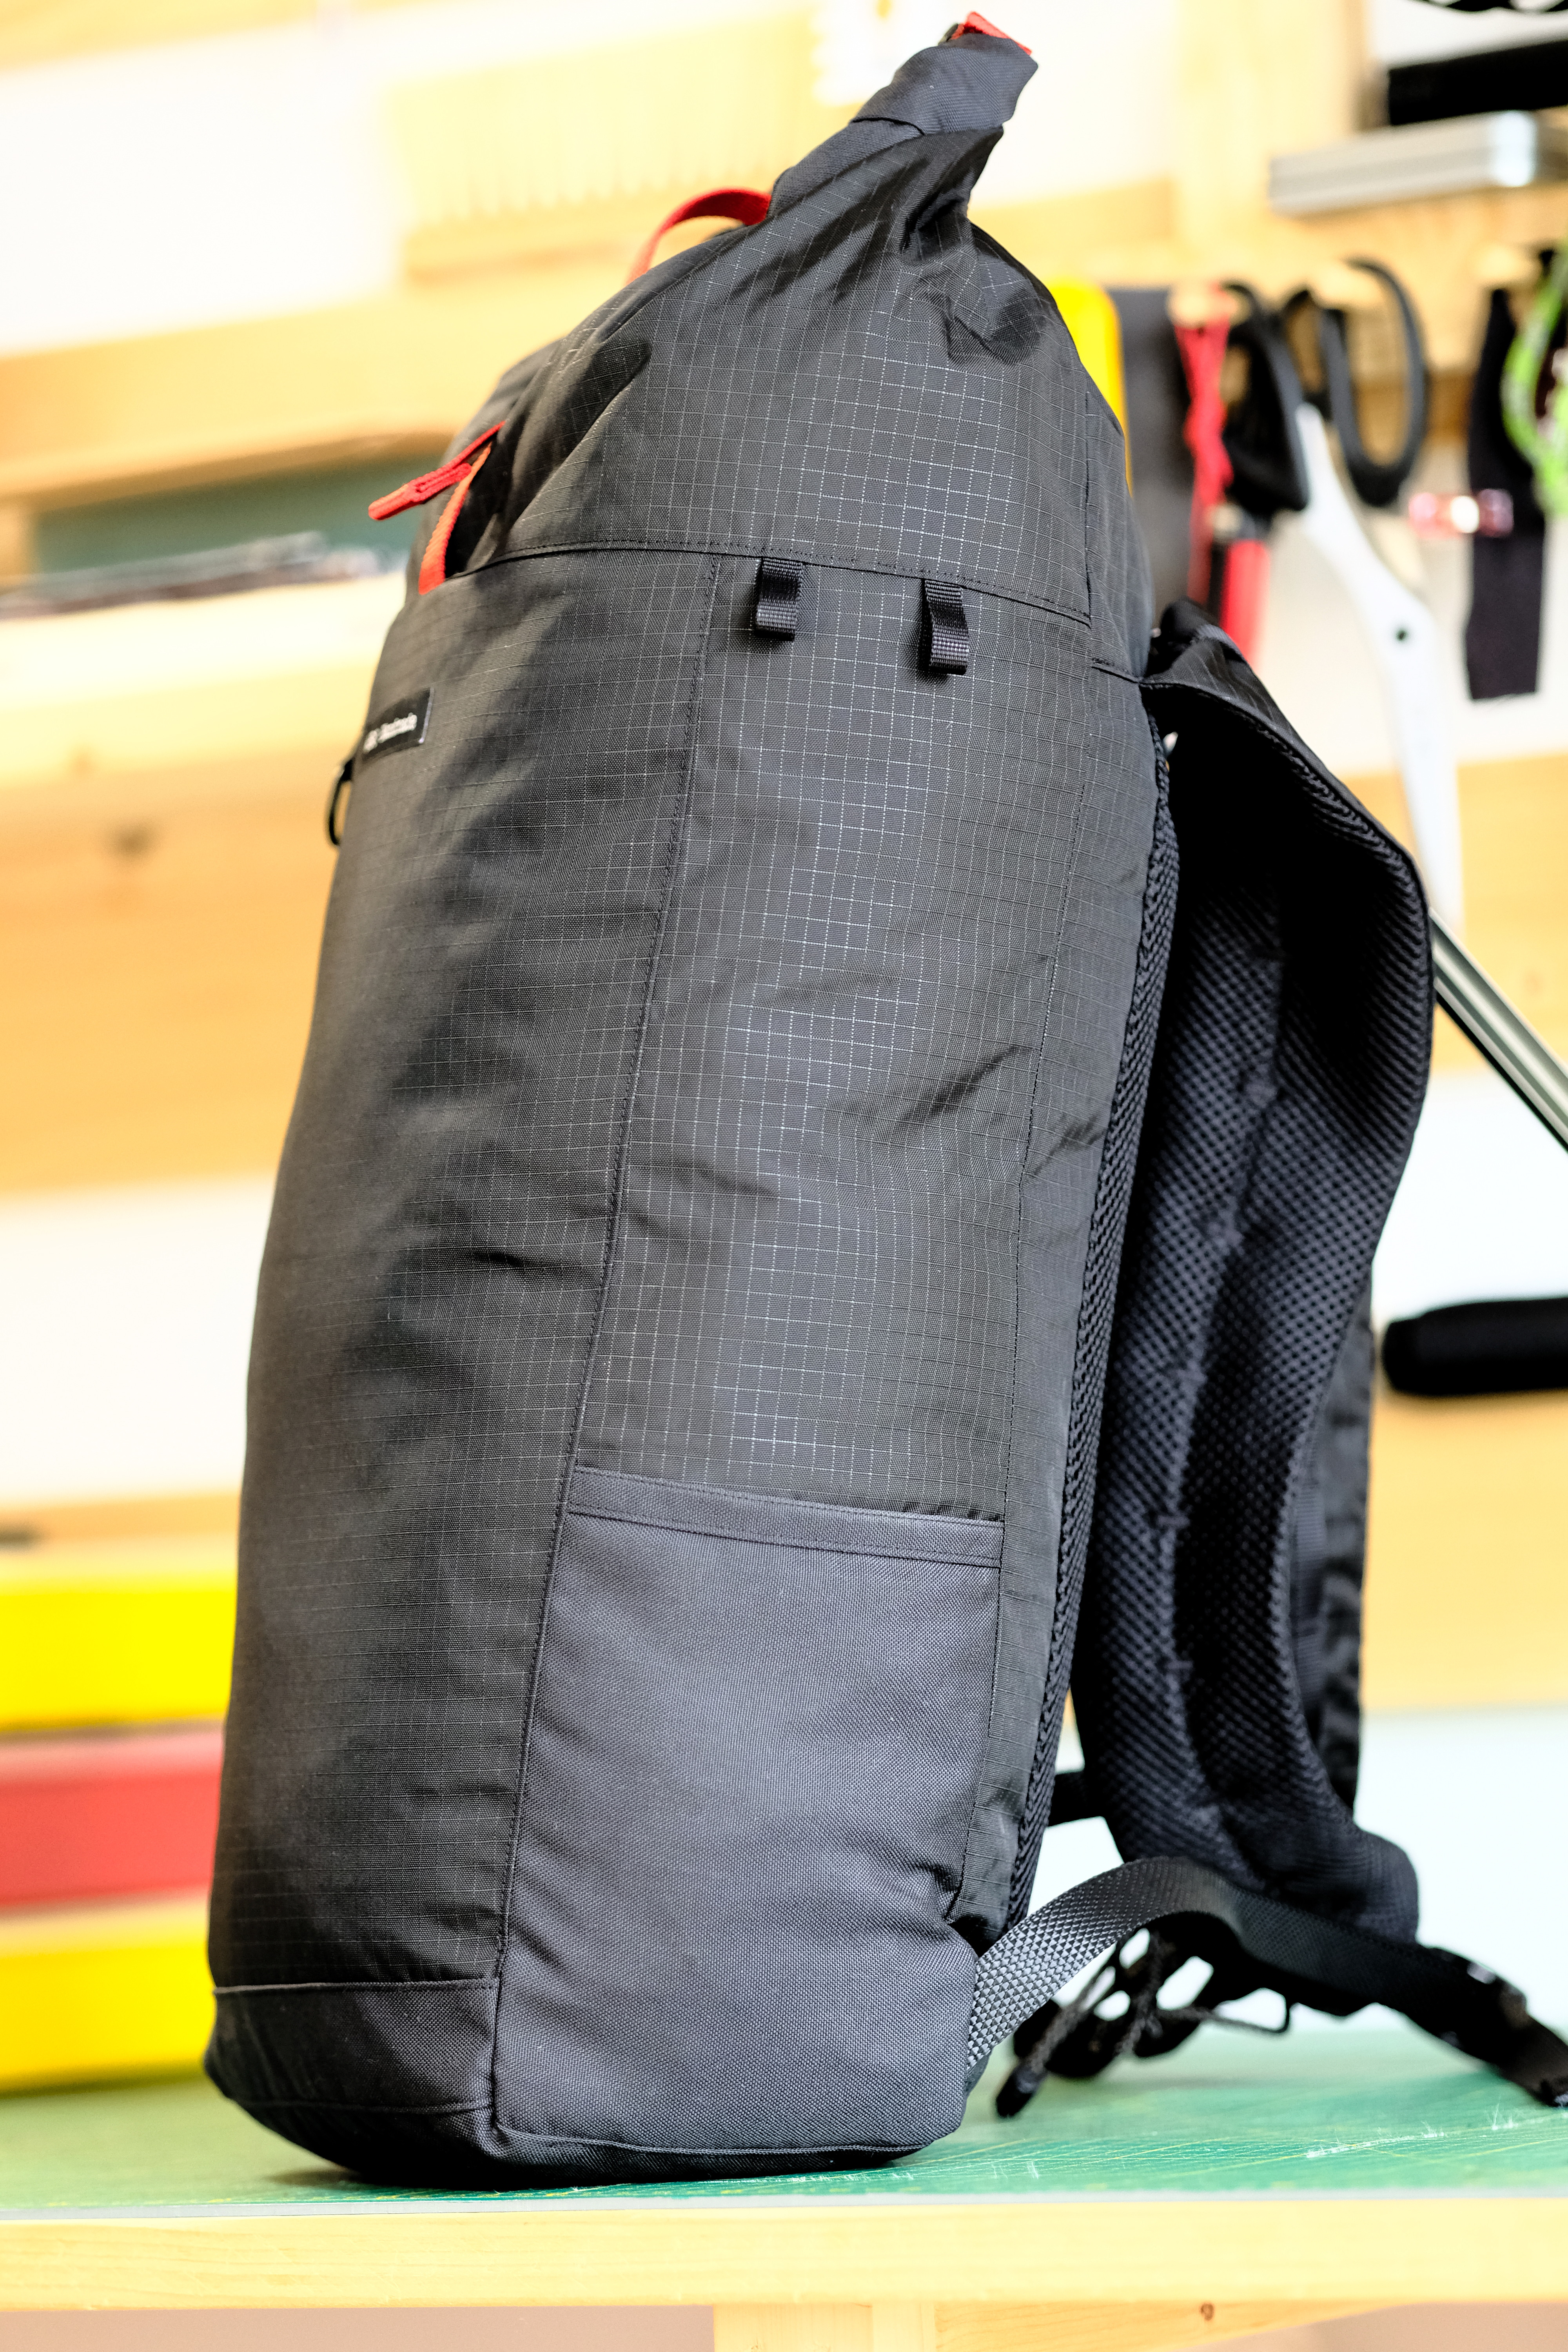
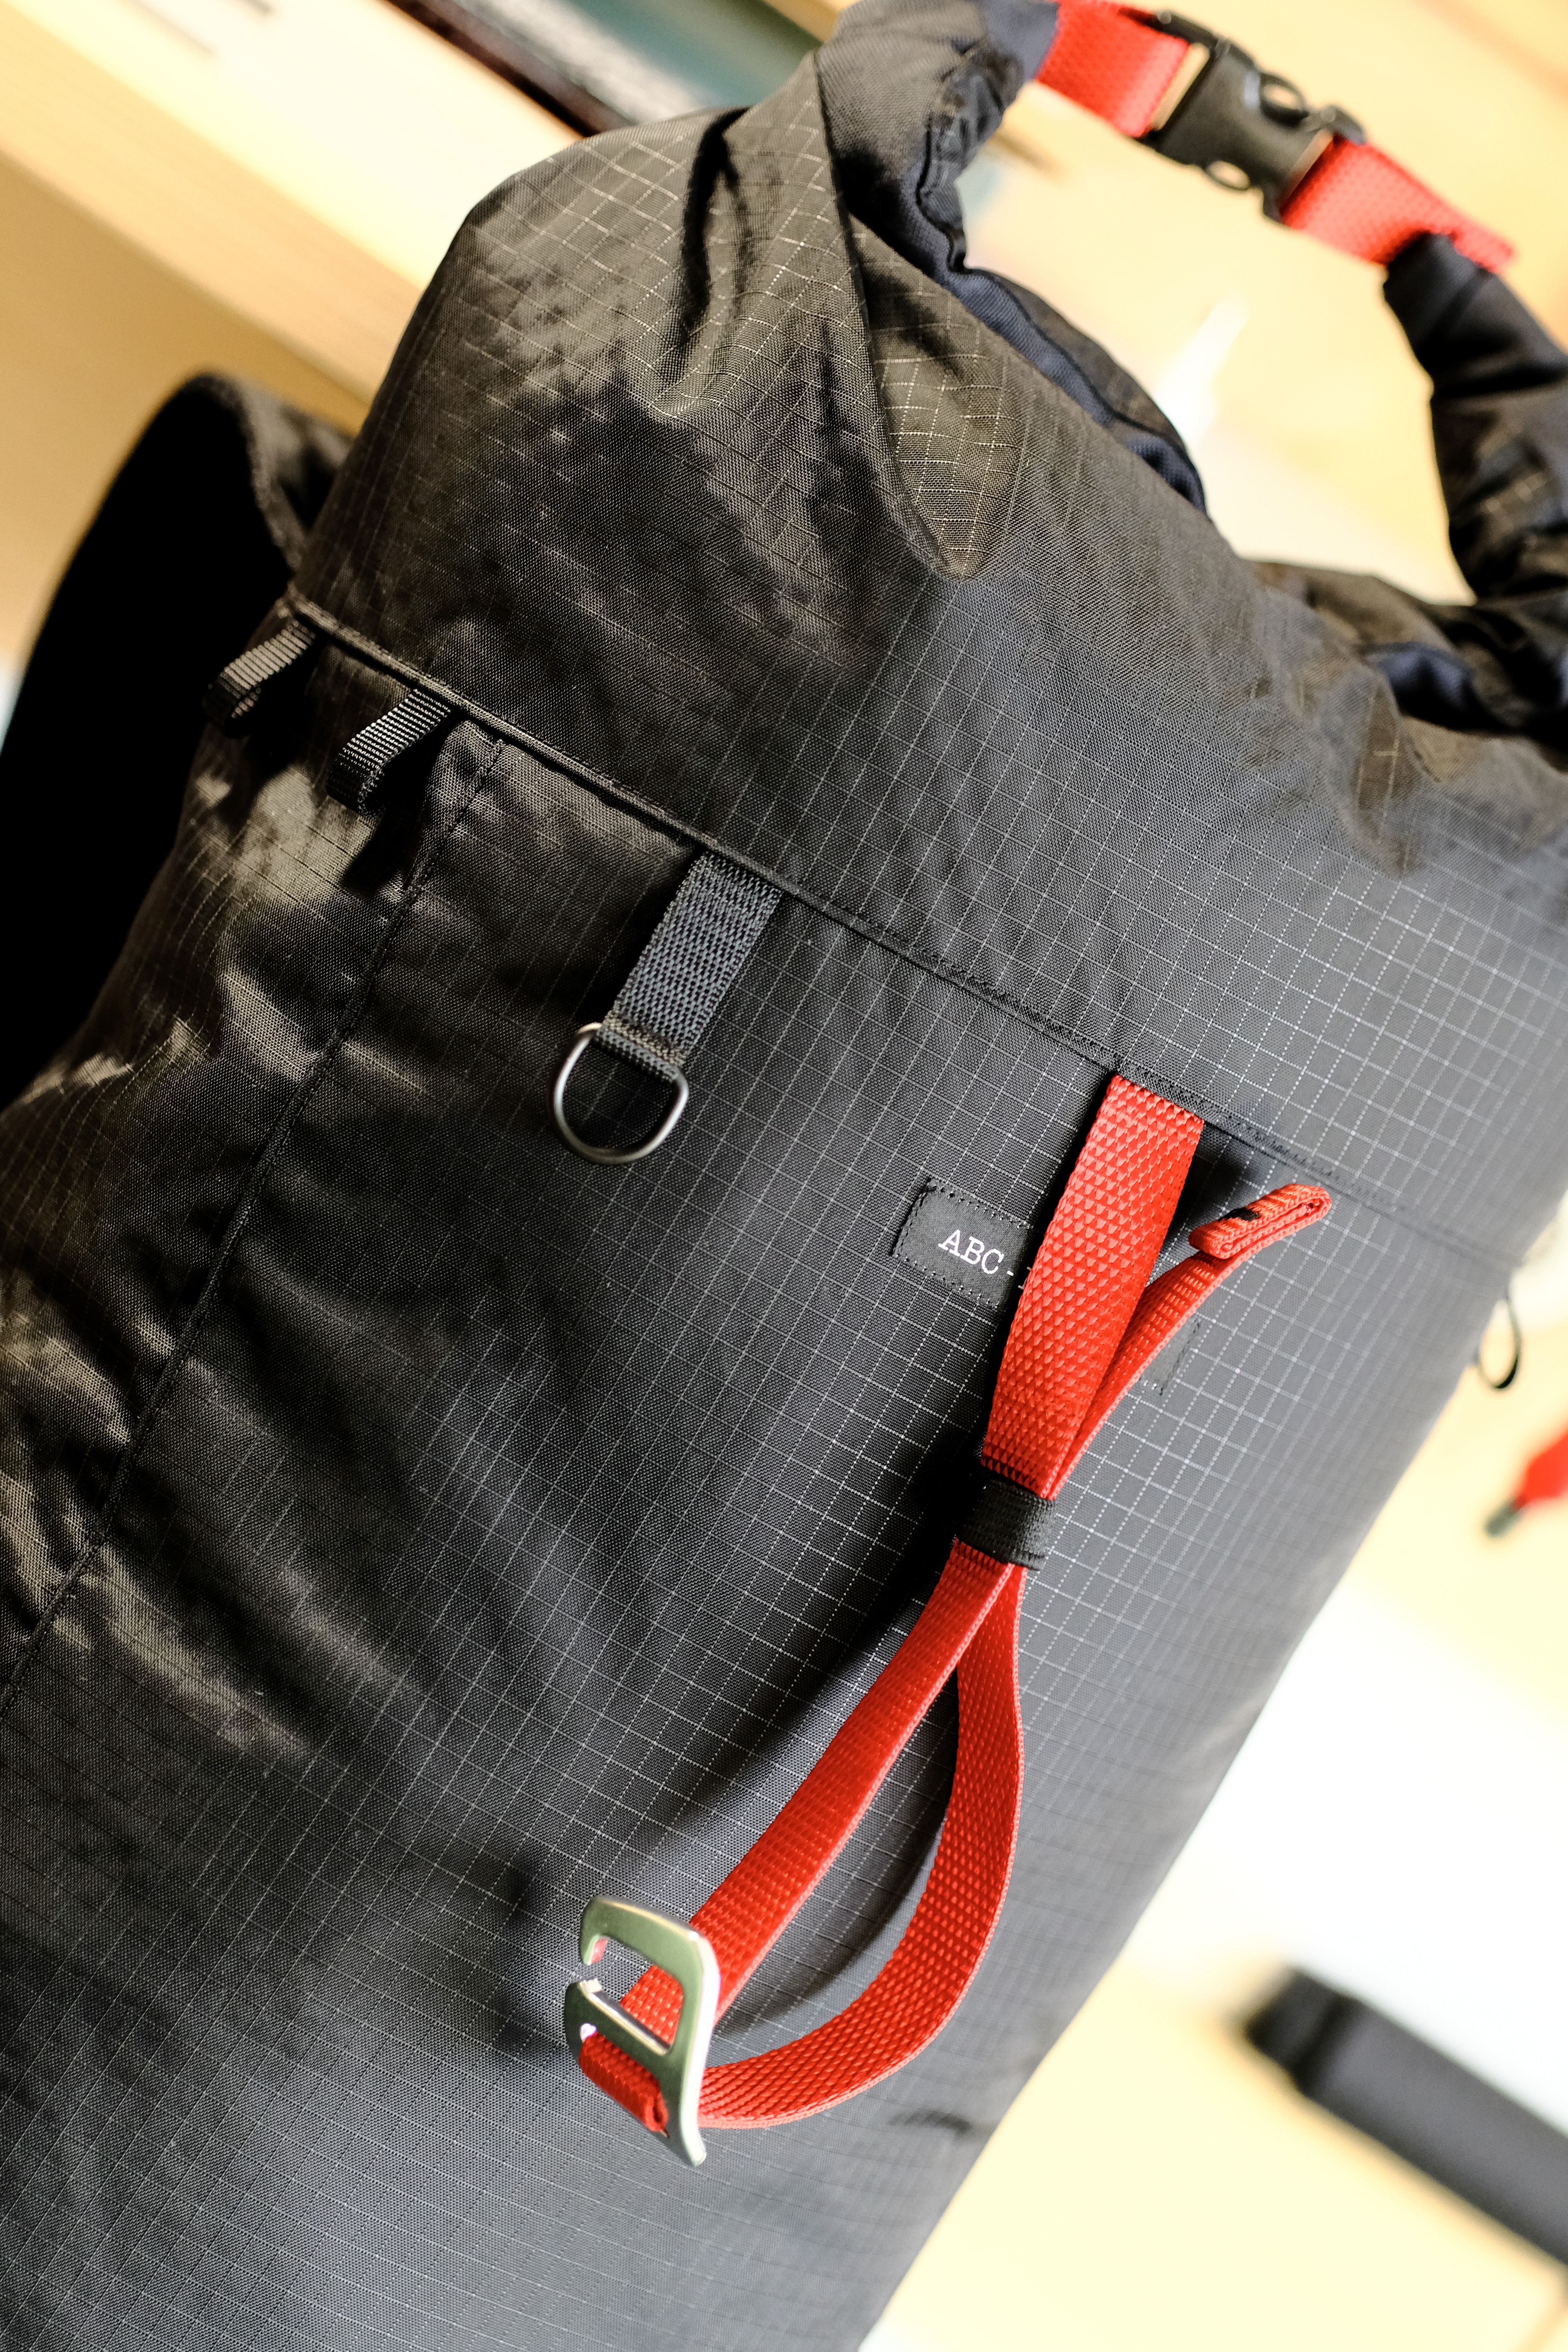
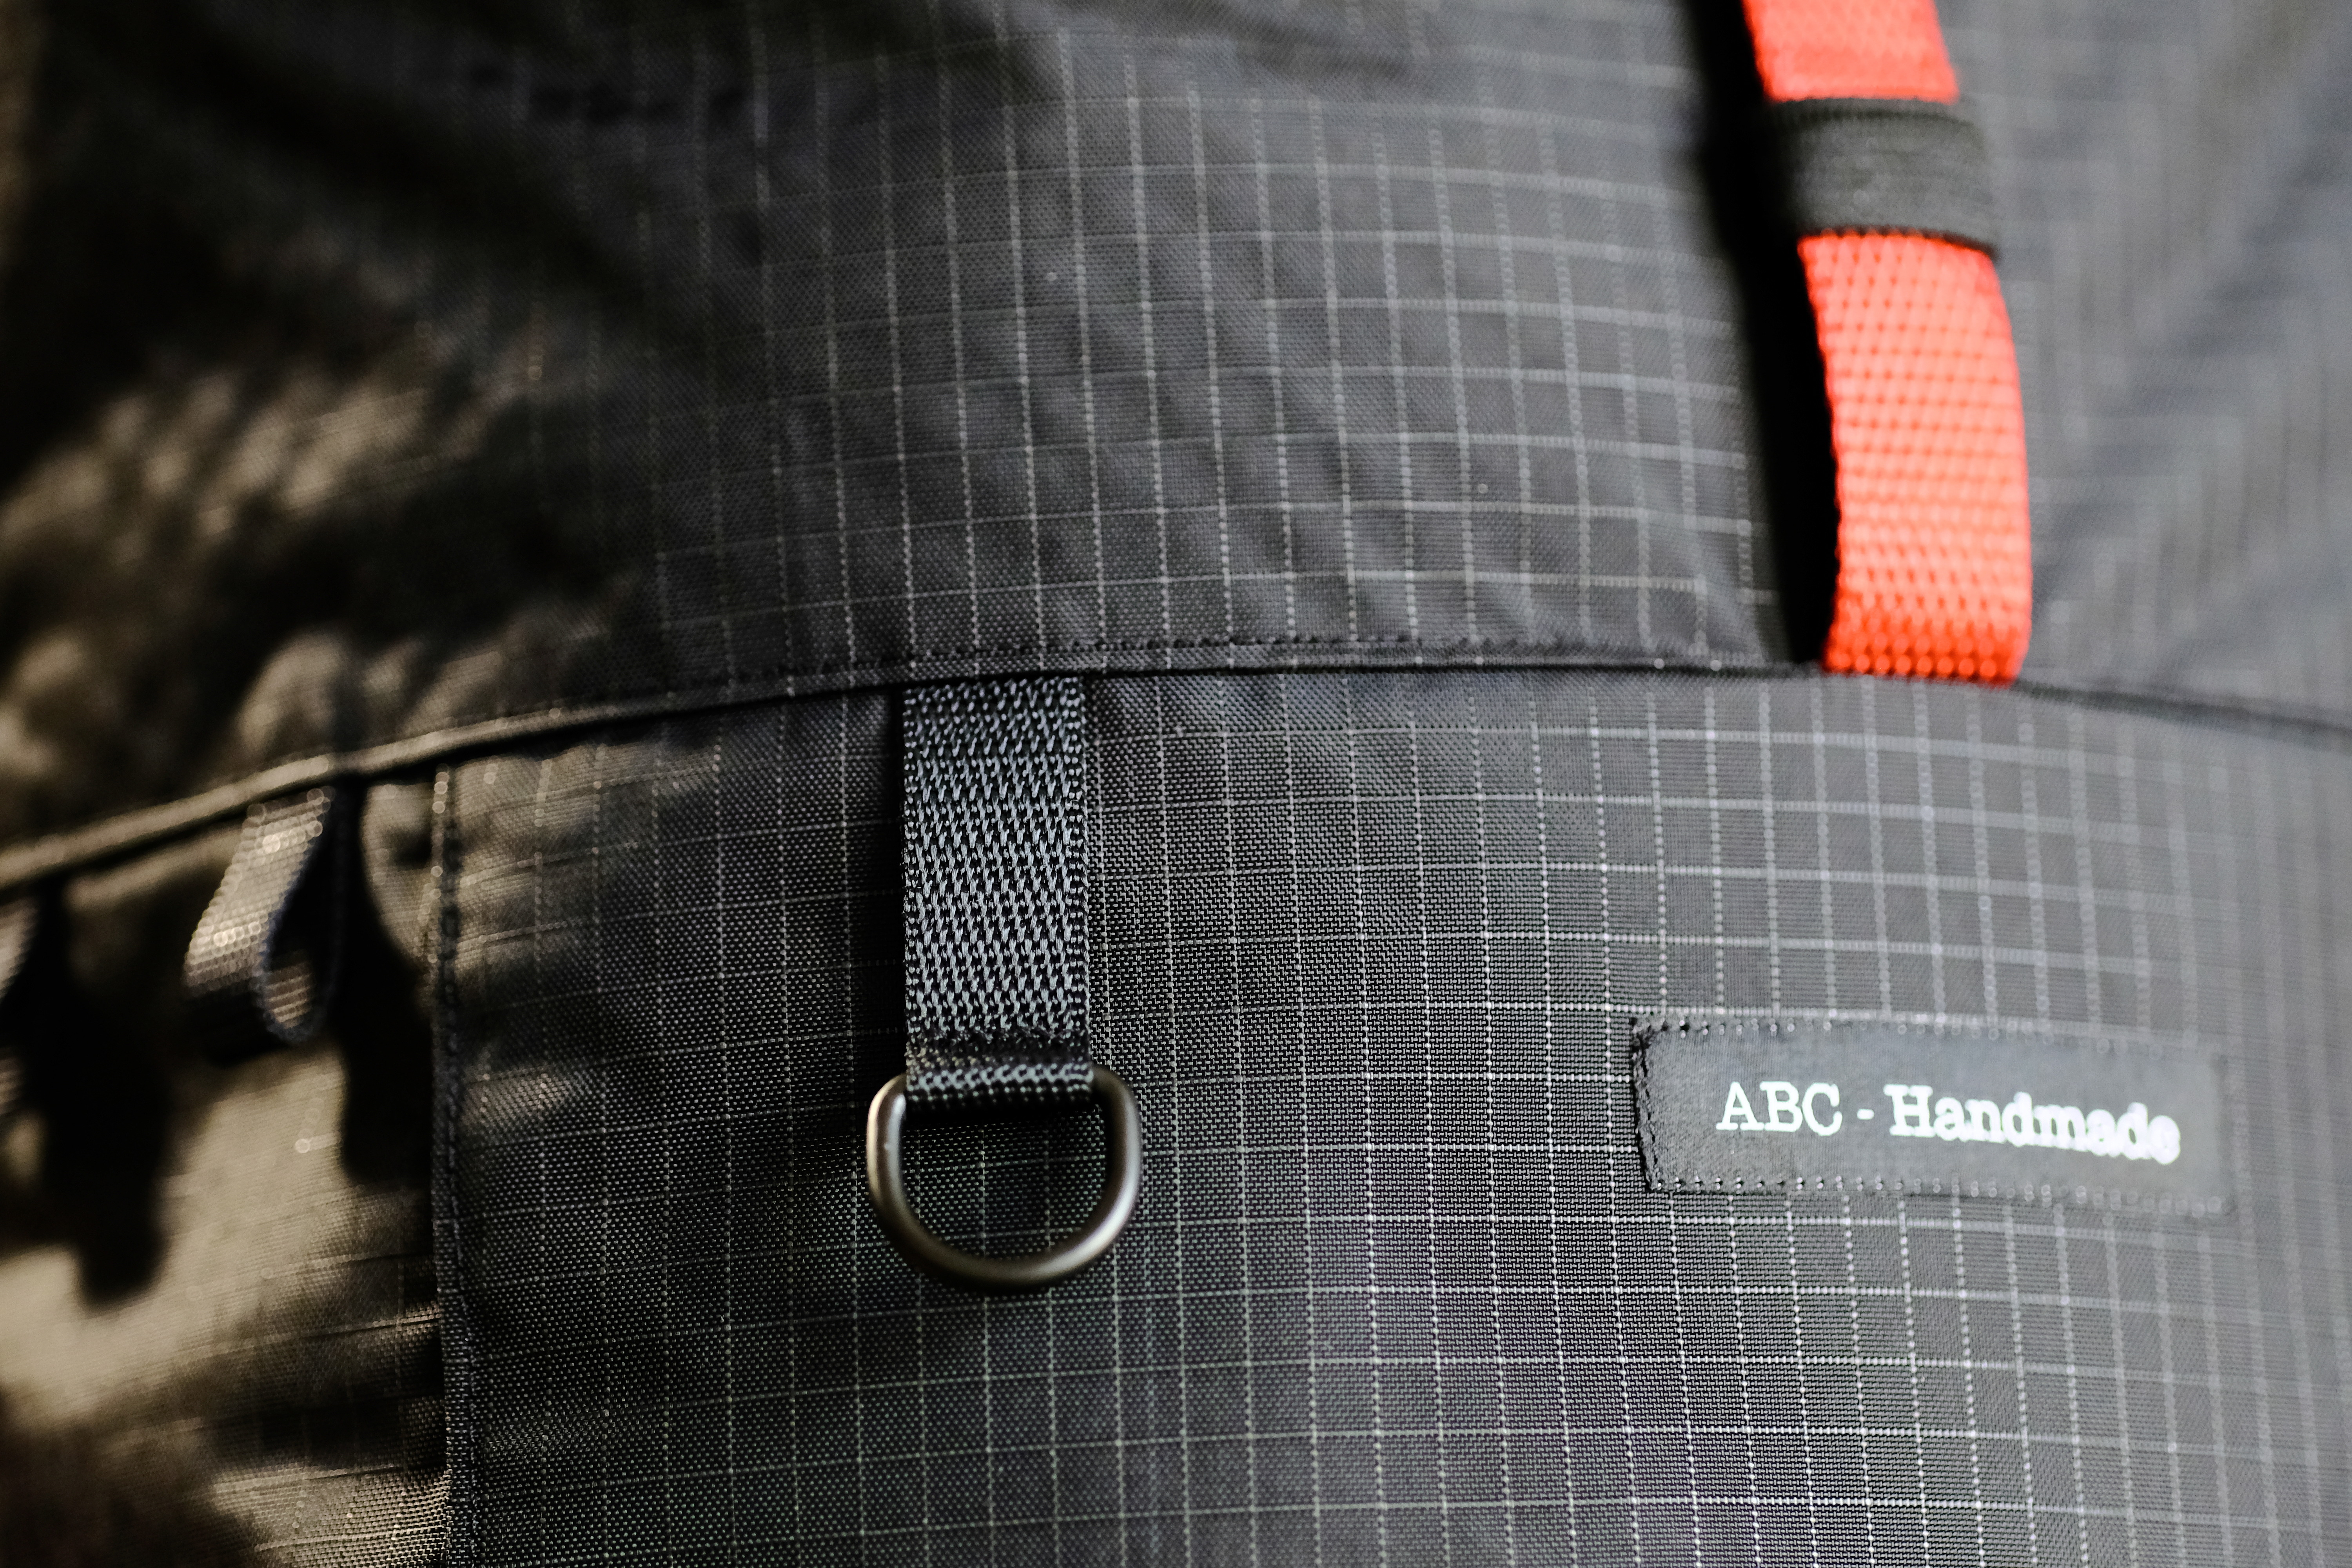
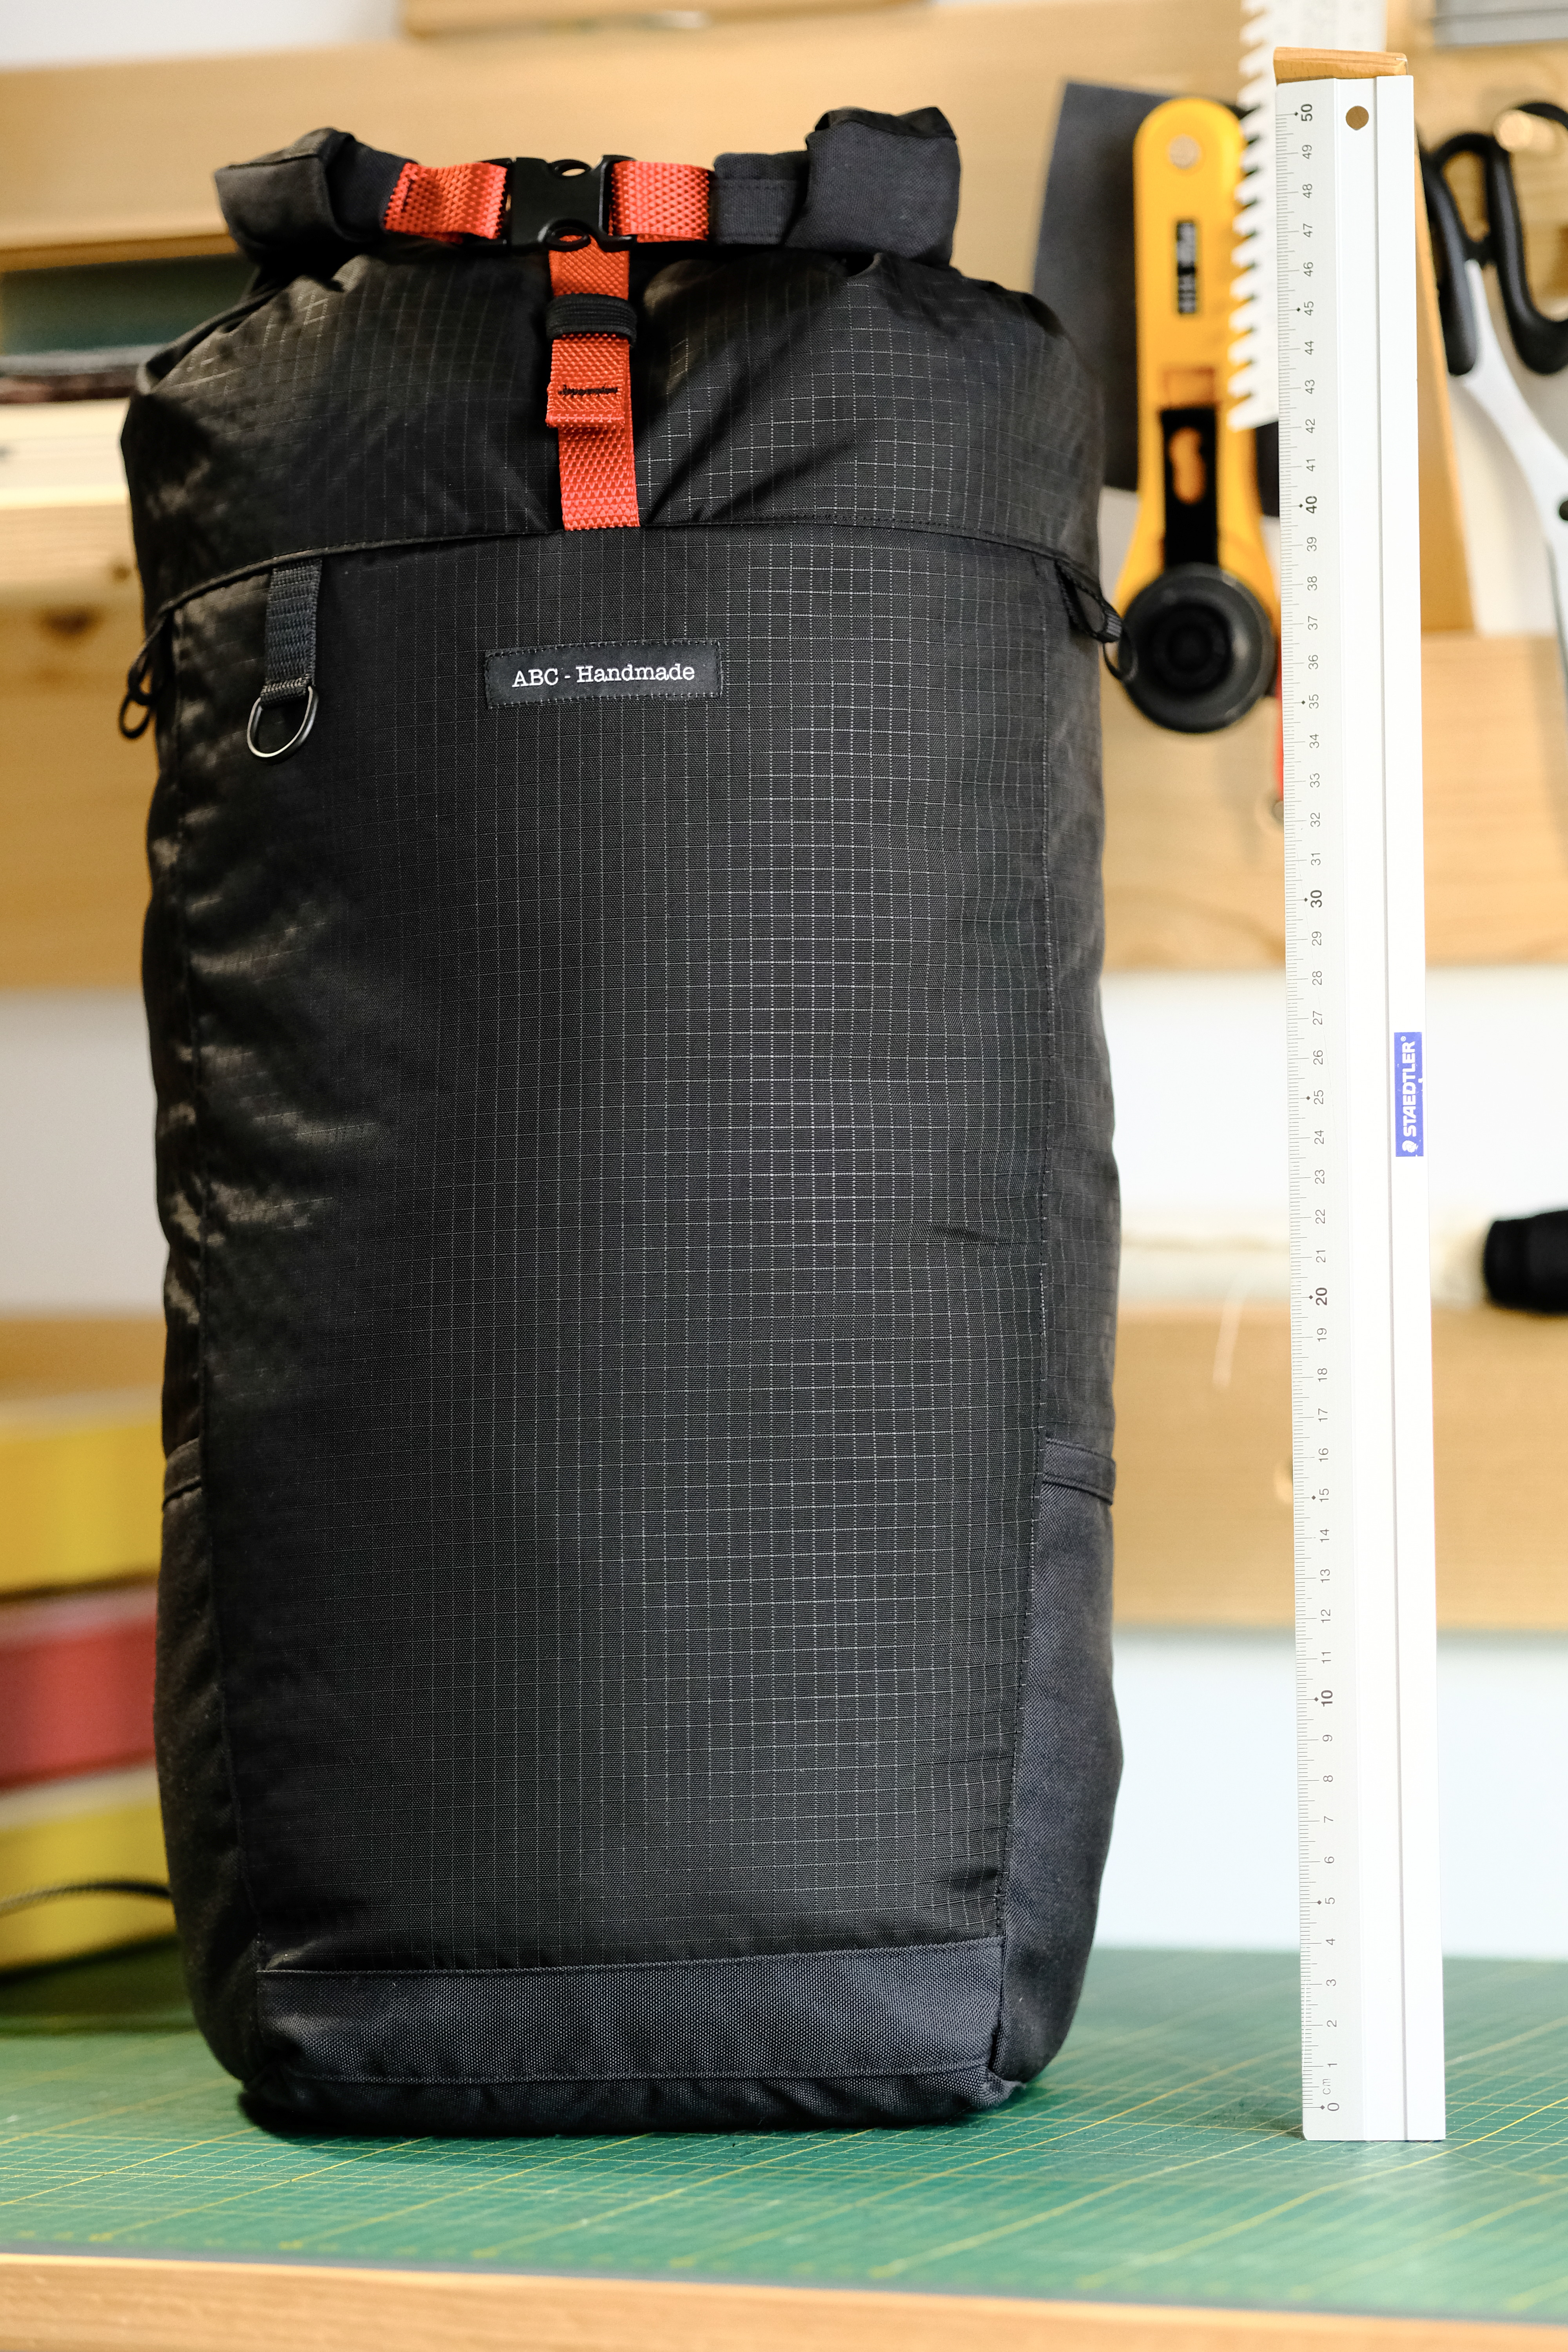
The Skinny is an experiment with adding very slight curvatures to an otherwise V-shaped day pack. It stays lightweight by using black on black Dyneema®/Nylon Ripstop (160 grams per square meter) while reinforcing abrasion-prone areas with Cordura by minimizing the overall features: only two relatively small side pockets and a few accessory loops.

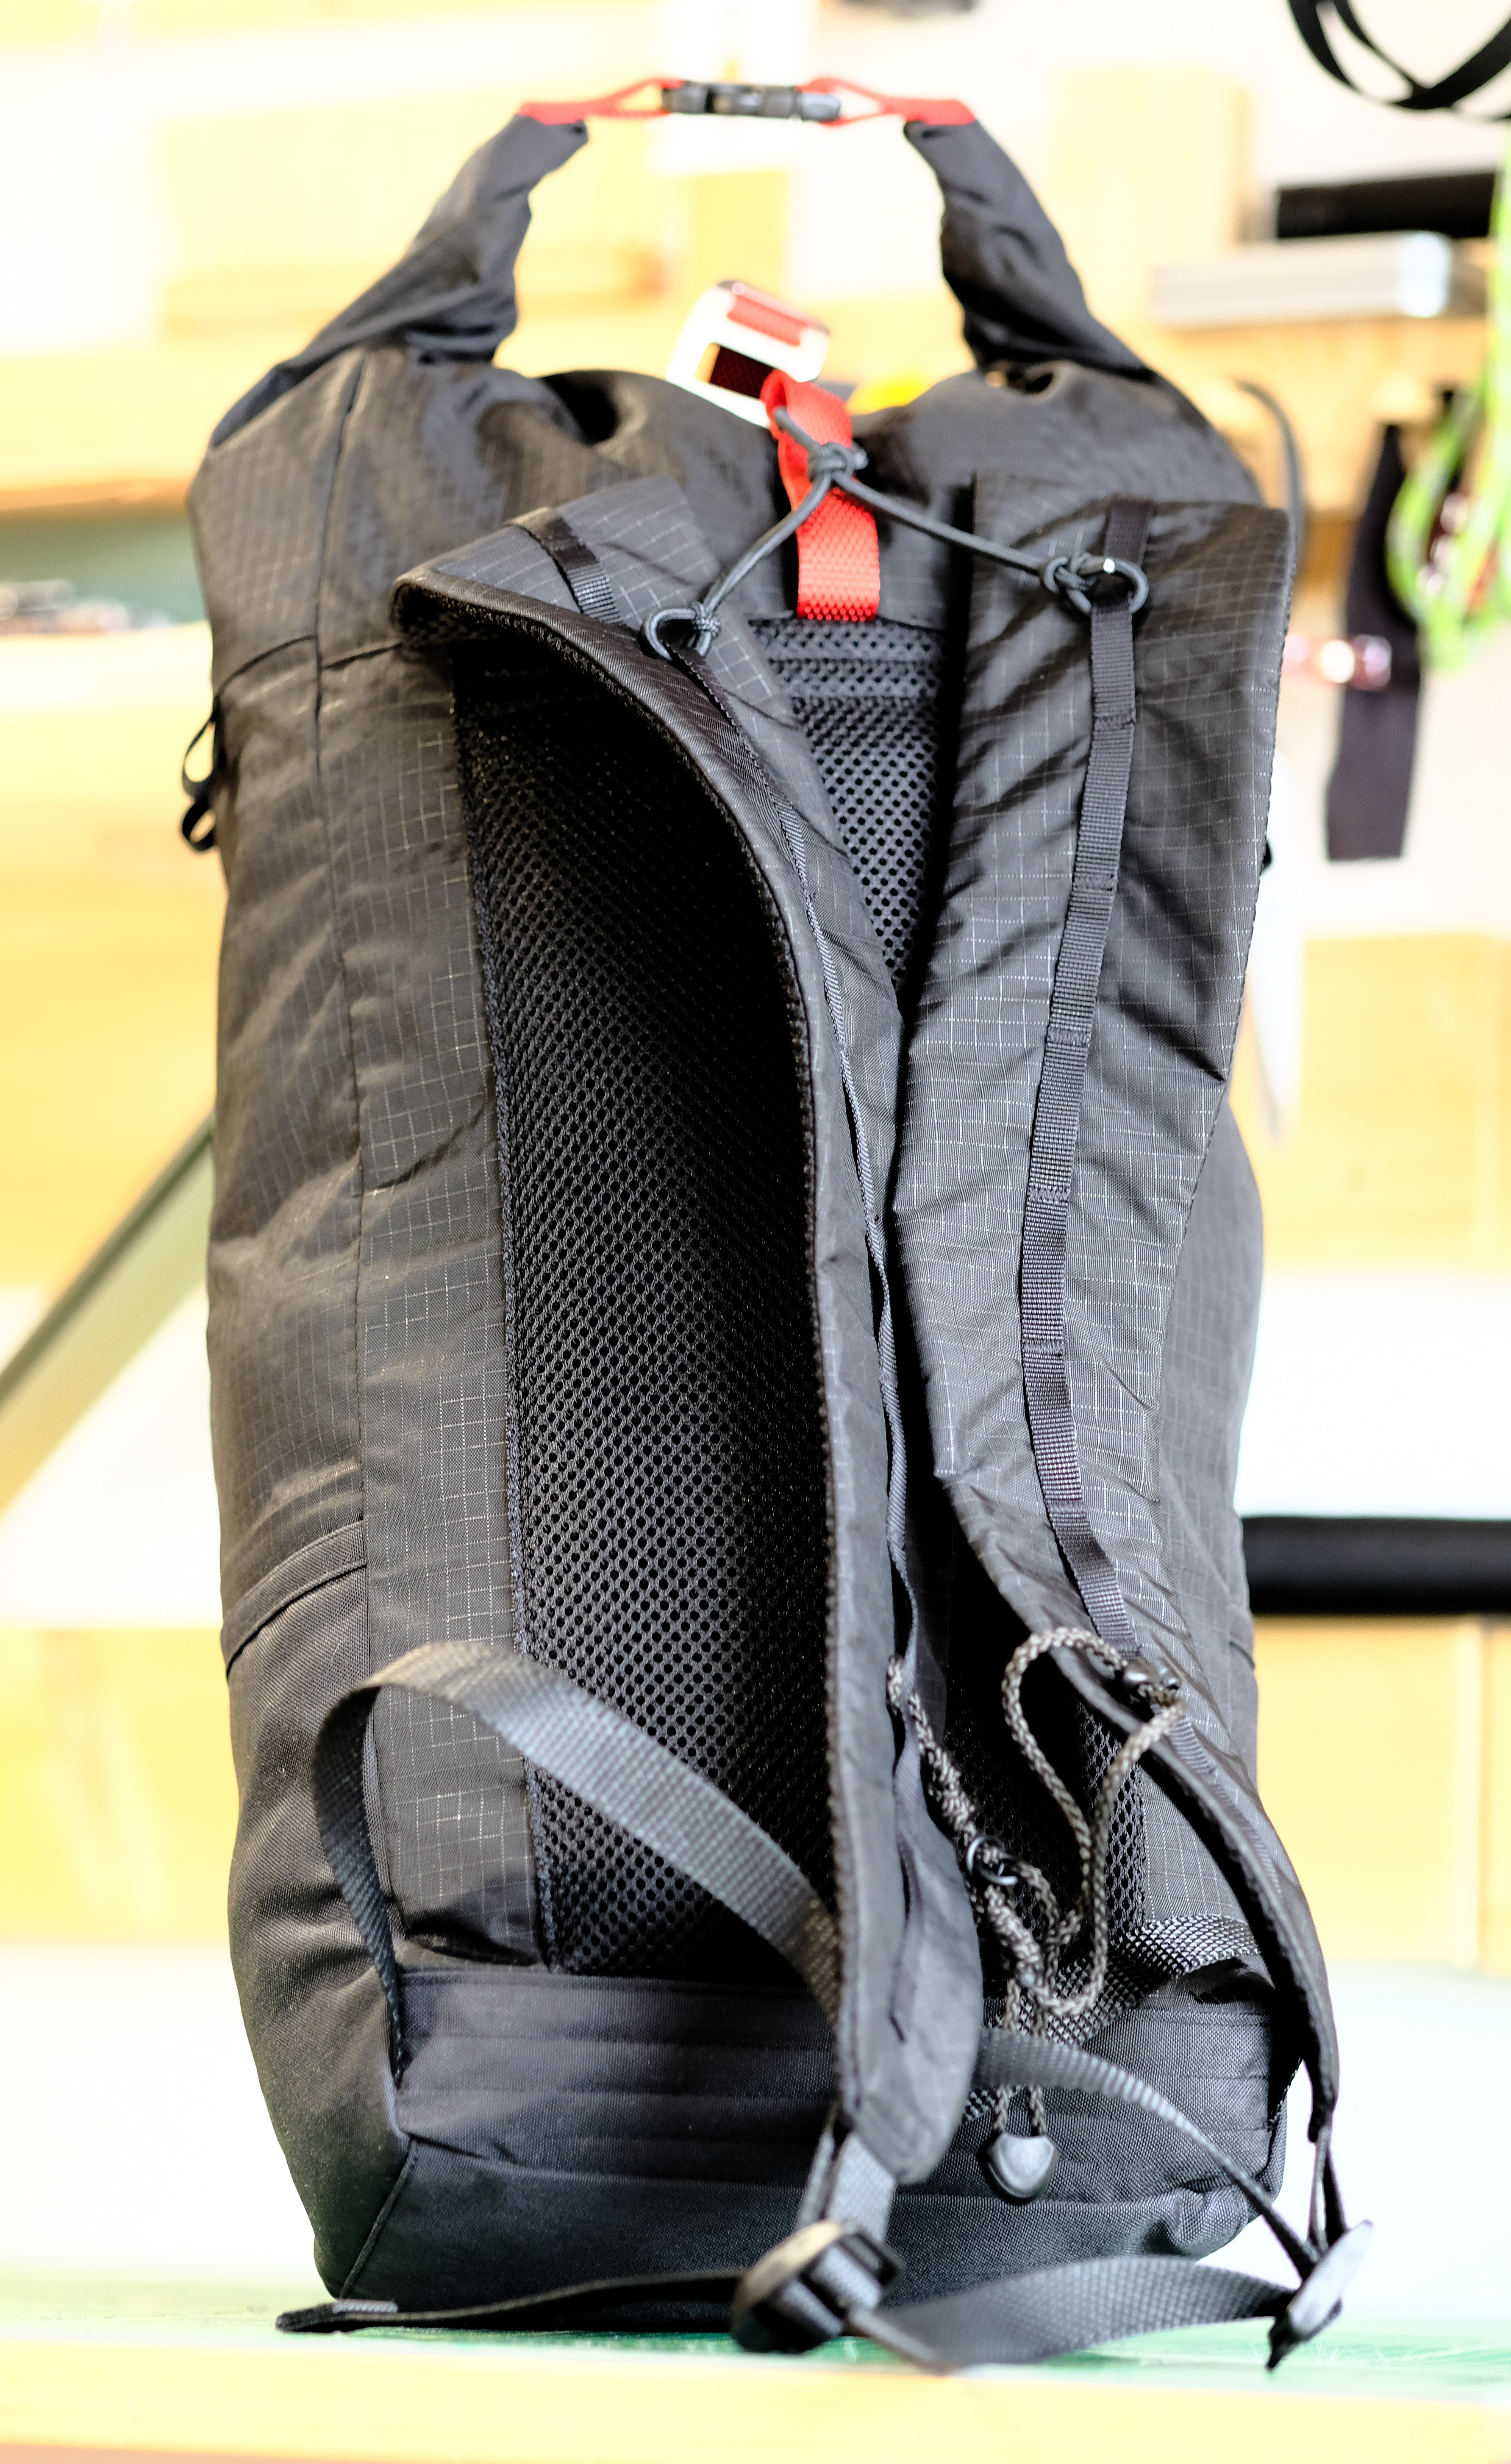
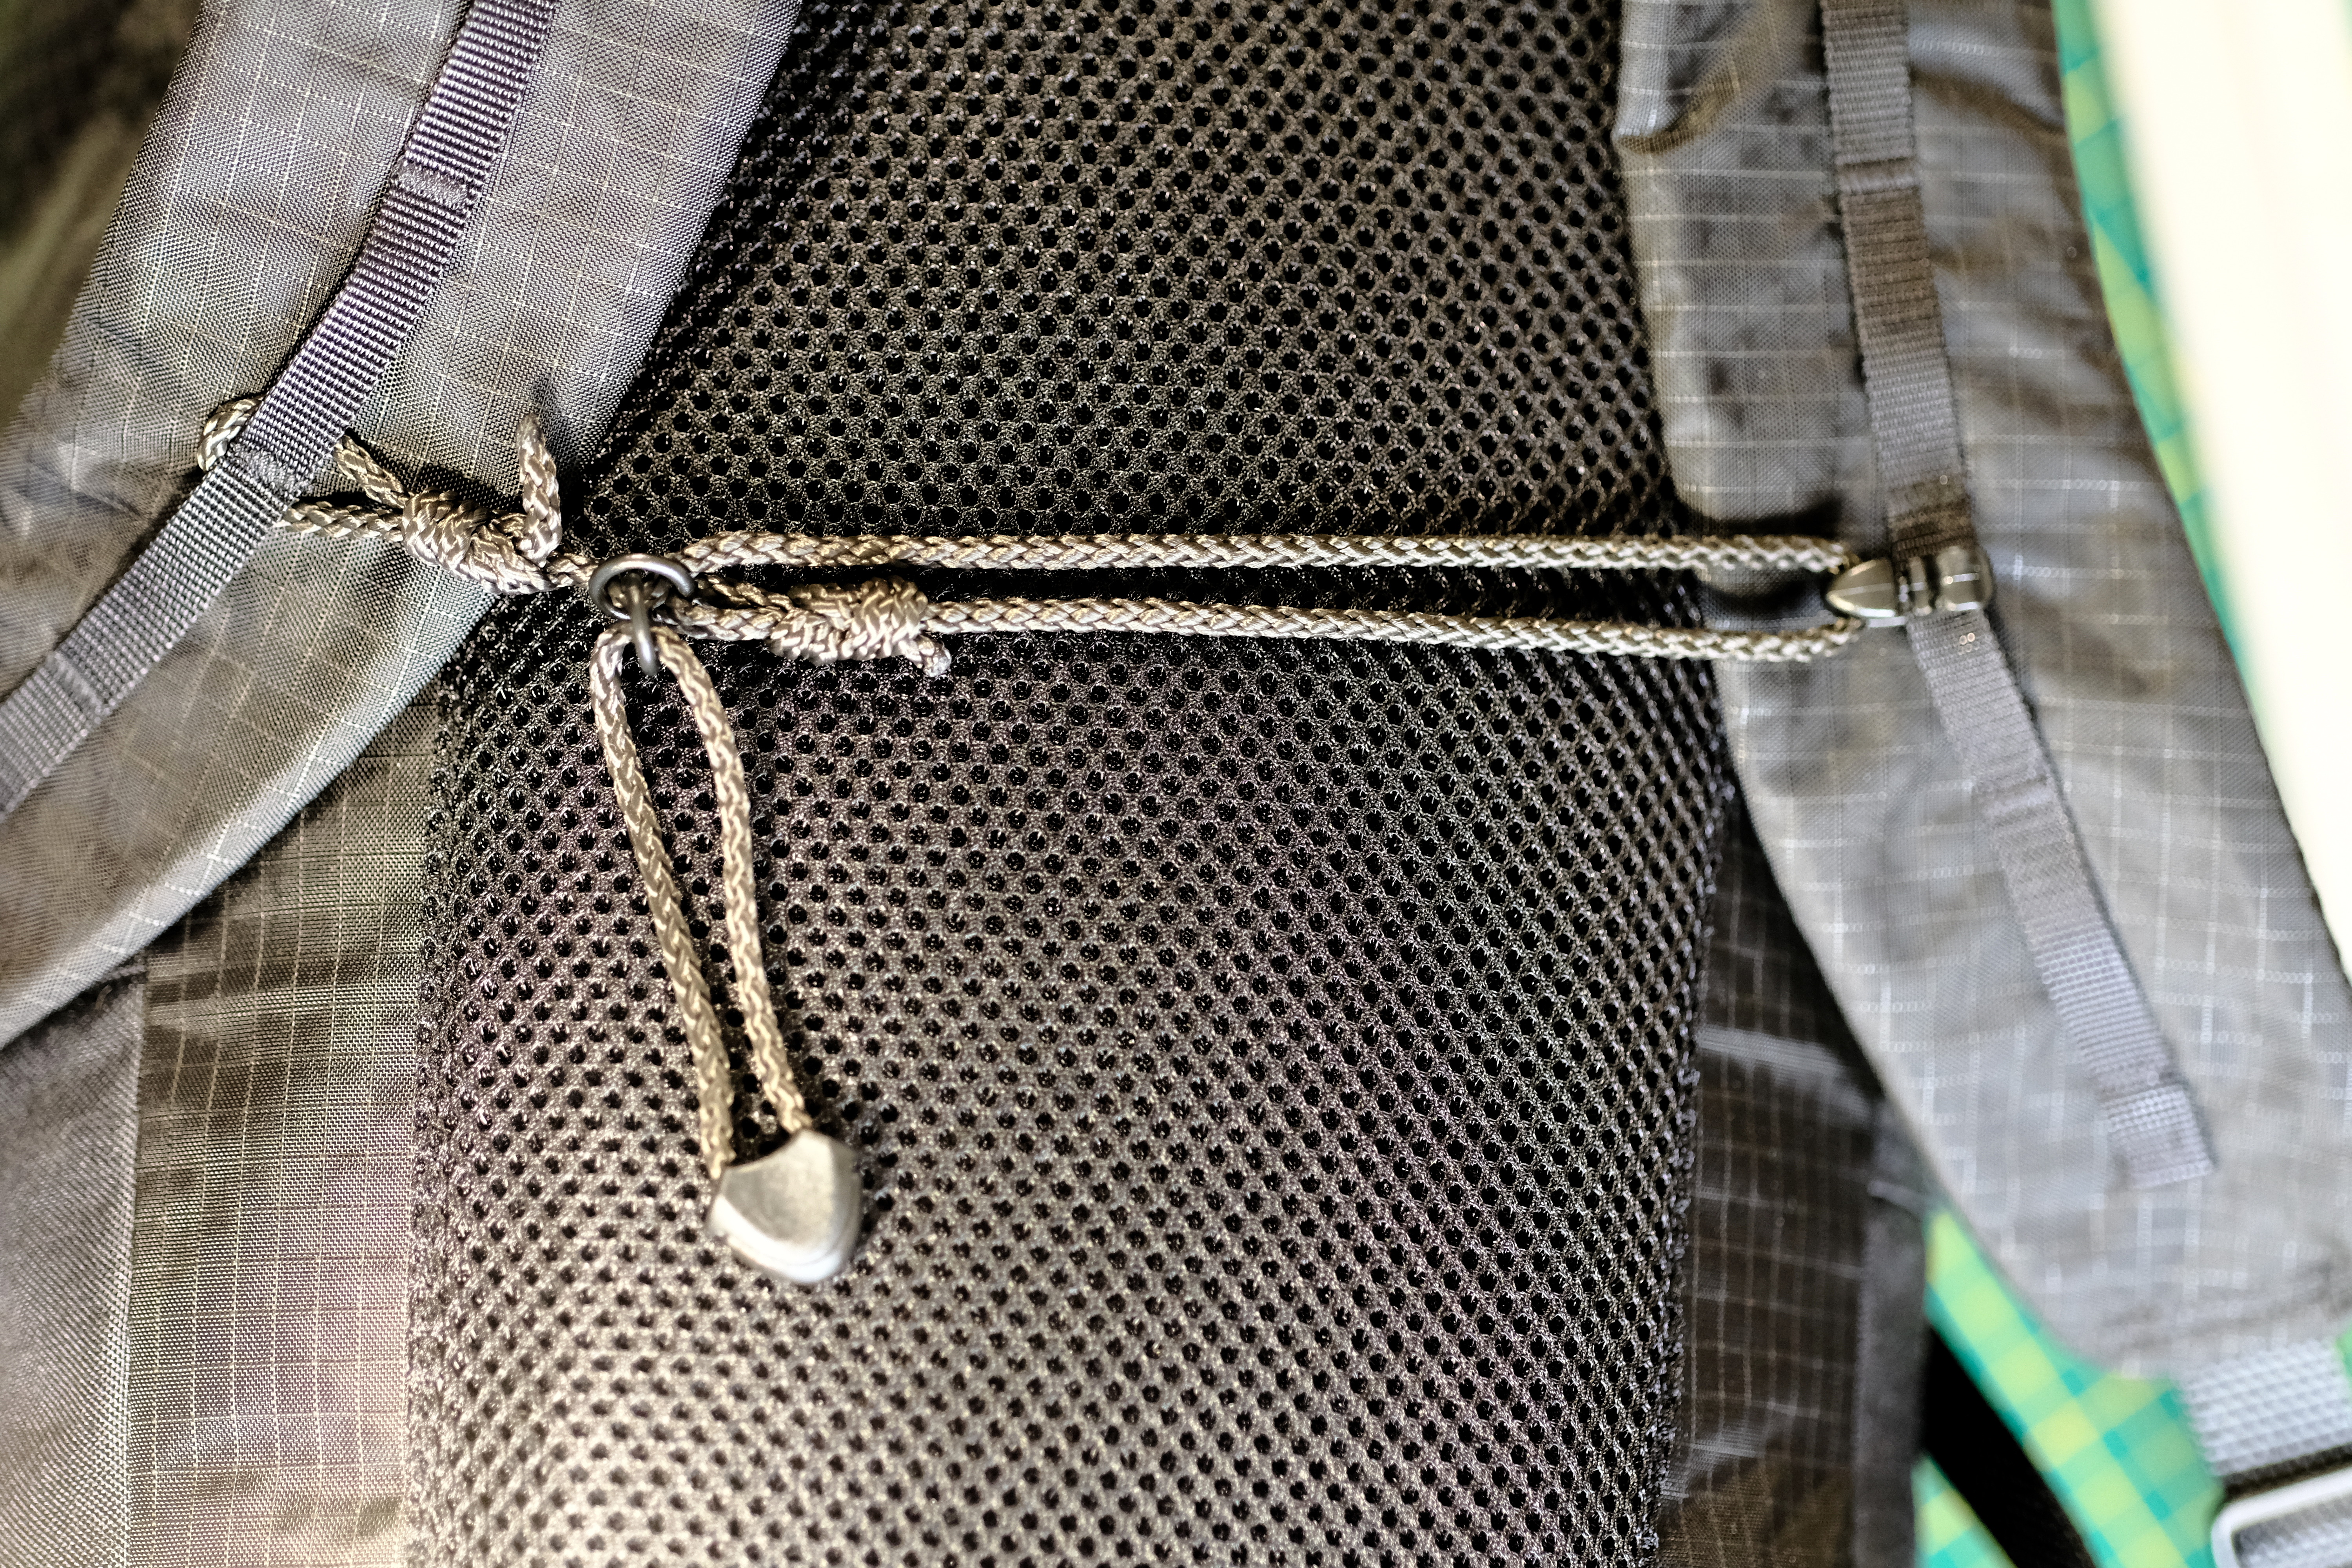
The pack also re-imagines the load-lifters by using instead a high-strength 4 mm elastic cord distributing the lateral and front-to-back movement of the pack to the shoulder straps. The load-lifting is minimal by design due to the small volume of the pack, but still adjustable through the tension of the top vertical compression strap.

The breathability of the back panel is provided a full-length wide 3D mesh, and the back panel is padding with a thick (8 mm) high-quality closed cell foam protecting the spine.

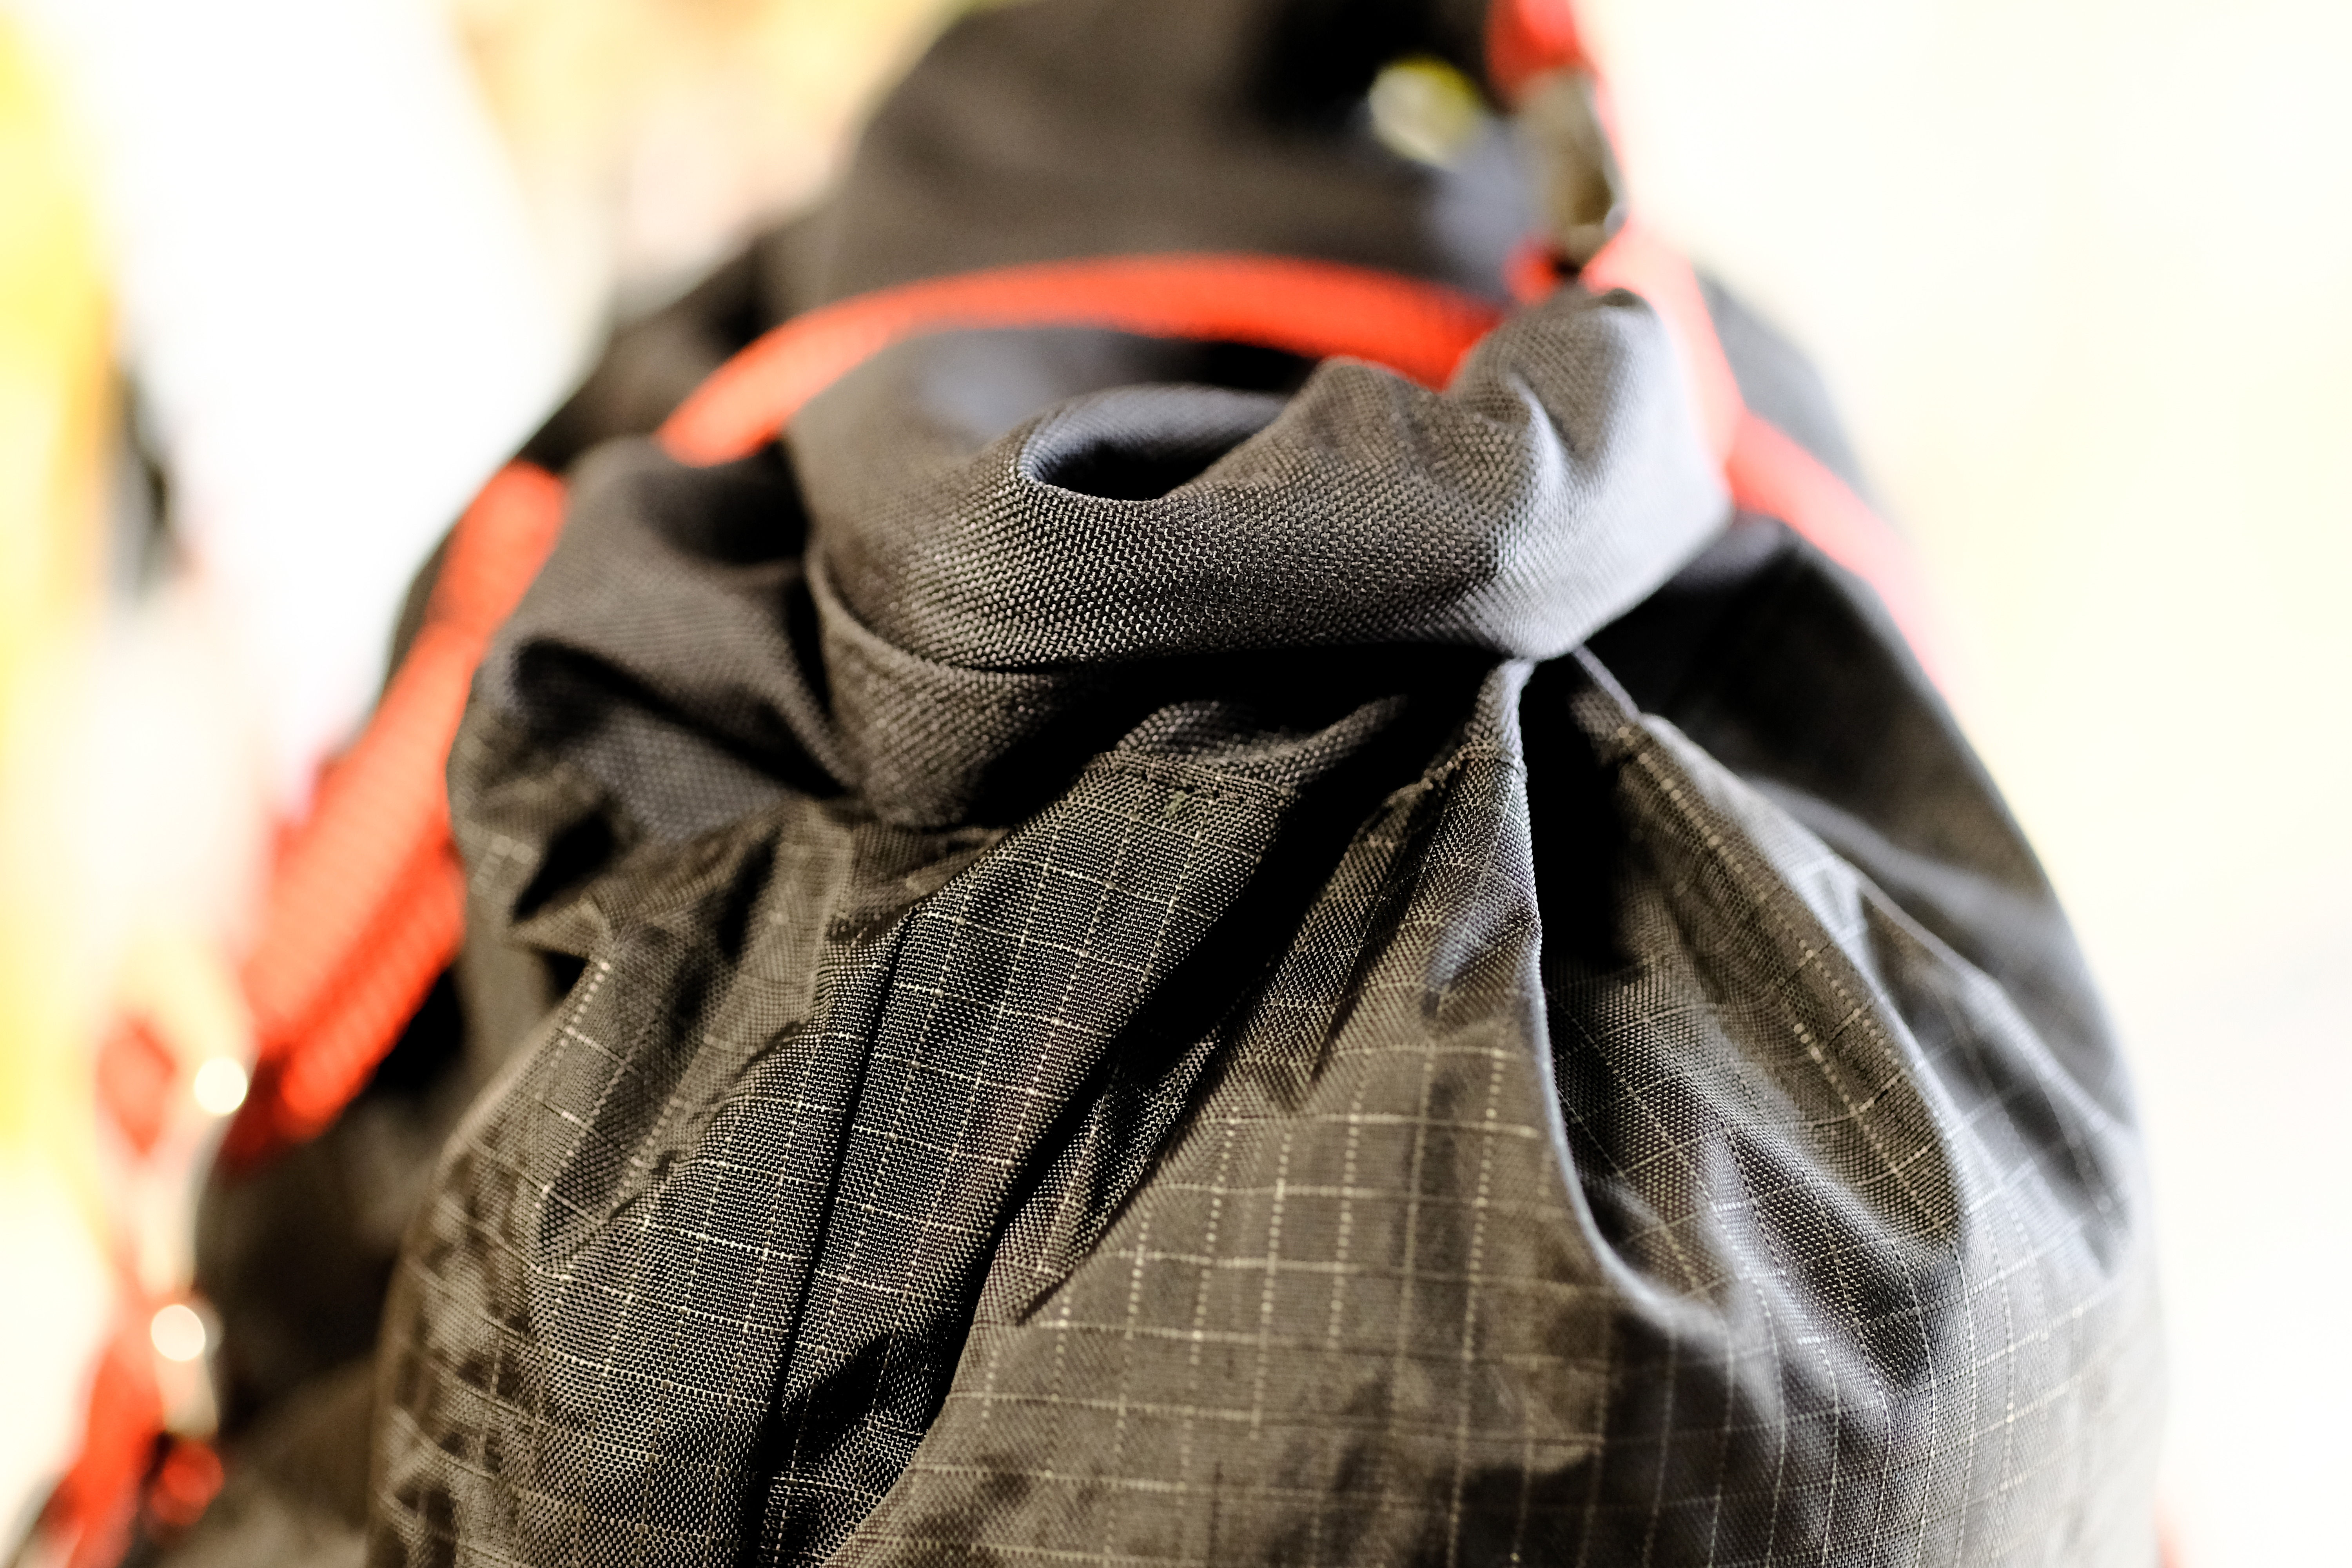
In order to avoid the discomfort of rubbing against the 3D mesh – which is worsened by the humidity that can gather within the mesh during a prolonged effort – the bottom part of the back panel is doubles with a soft low-denier Cordura where the skin could be the most irritated. Another mitigation against the same discomfort is done by the shape of the lower part of the backpack, essentially curving to avoid a sharp edge resting on the iliac crest.

Without further due, here are the specs, followed by a huge amount of pictures covering all angles and details. I hope you like it!

Volume18+4 liters
Dimensionsapprox. 50x27x13 cm (roll-top fully closed)
Weight310 grams
Carriescomfy. 6kg
max. 8kg
FabricsDyneema/Nylon Ripstop (black on black)
350D Cordura
ClosureRoll-top with quick release buckle
Vertical compression strap
Back Padding8mm CCF padding + 3D Mesh
(80% of surface covered)
Strap PaddingN/A (except for the 3D mesh)
Hip BeltN/A
Pockets2 (small side pockets)
Attachments– Small gear loops on the side panels (x4)
– Strong gear loop with metal D-ring on the front panel
– Full-length daisy-chains on both shoulder straps.
ABC Skinny Pack Specifications