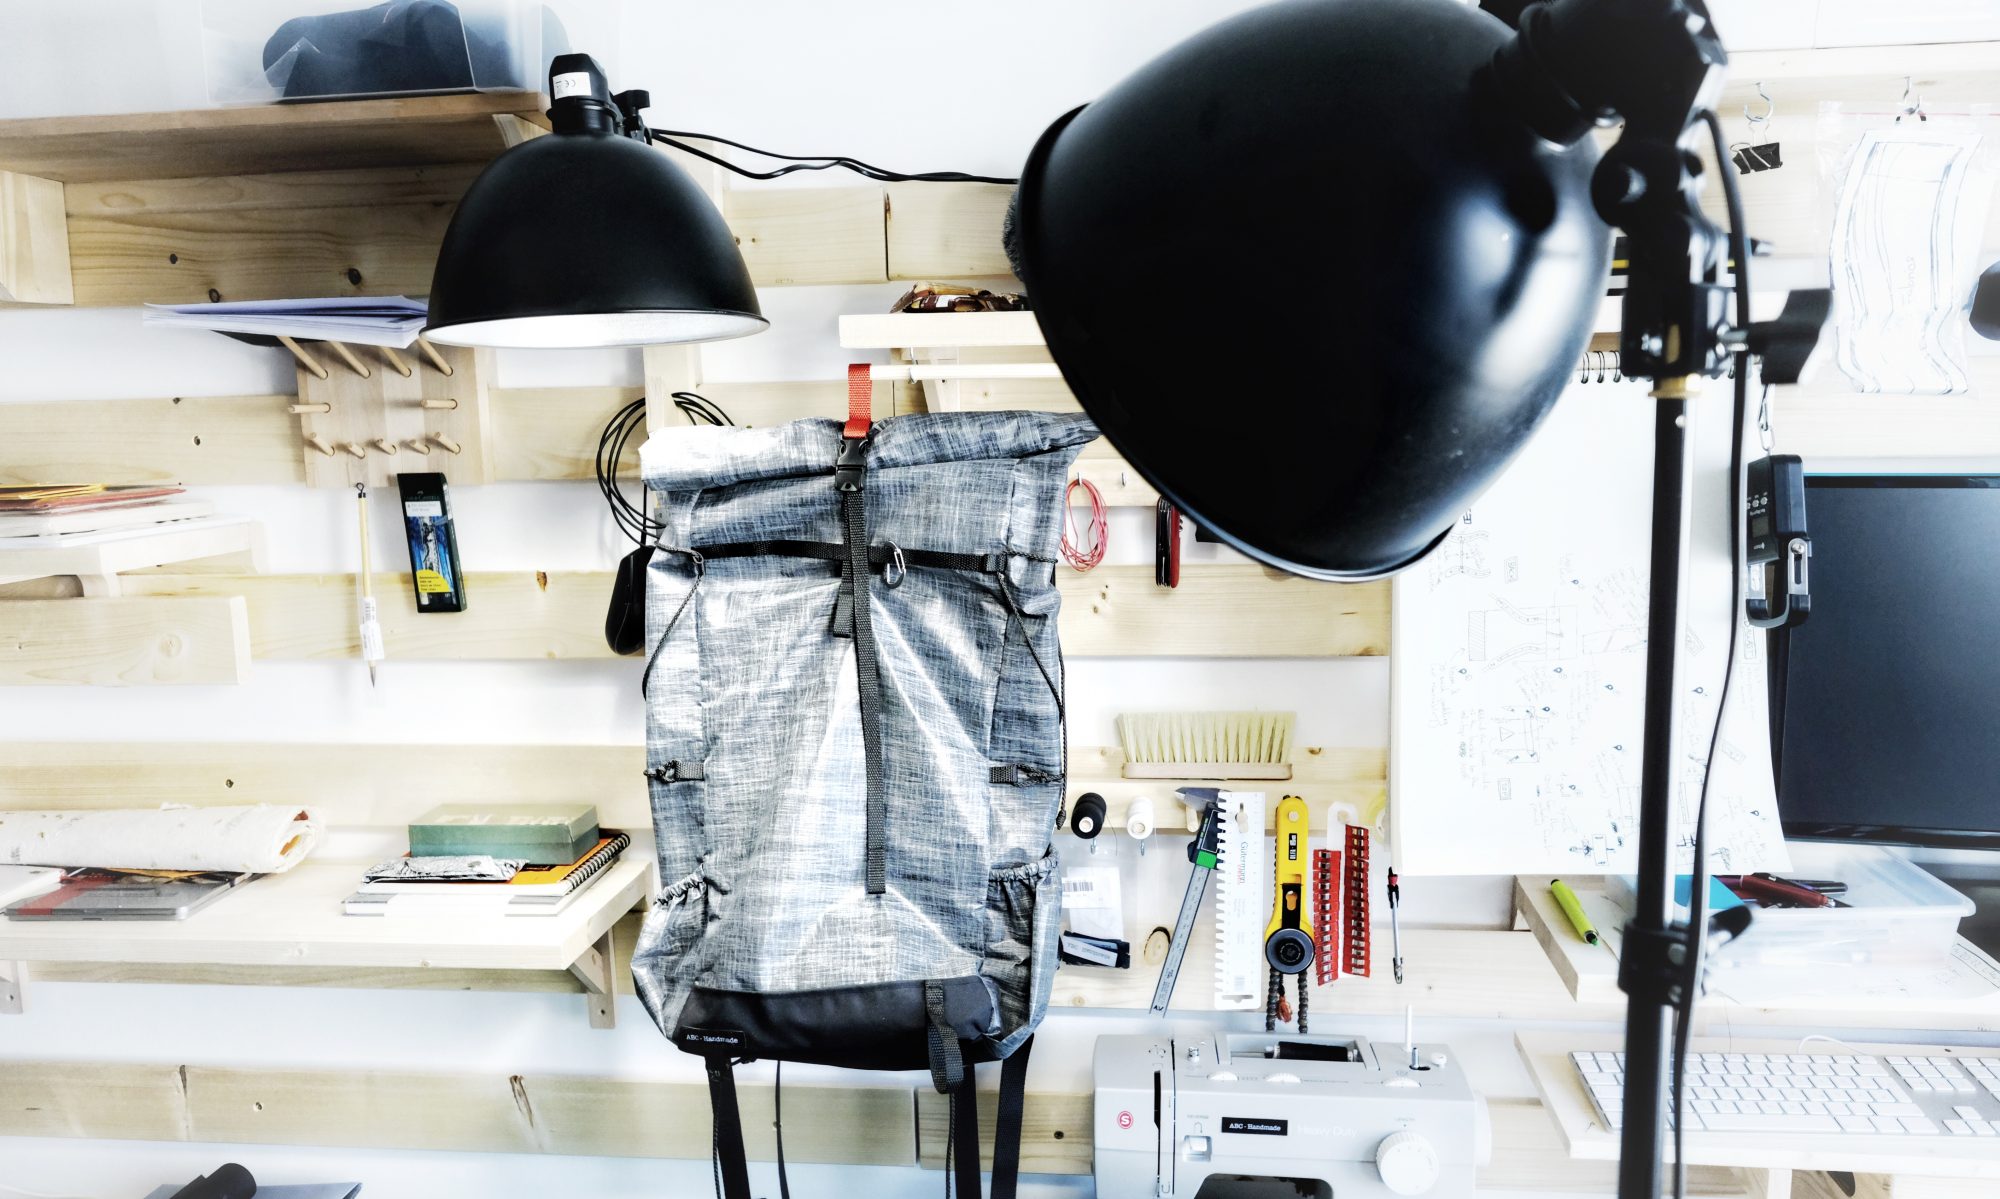
If – like me – you are staying at home in these uncertain times, keeping busy is a necessity and healthy practice. Since I am looking for some practice project and I need a new laptop bag, I figured I’d put 2 and 2 together and make just that.
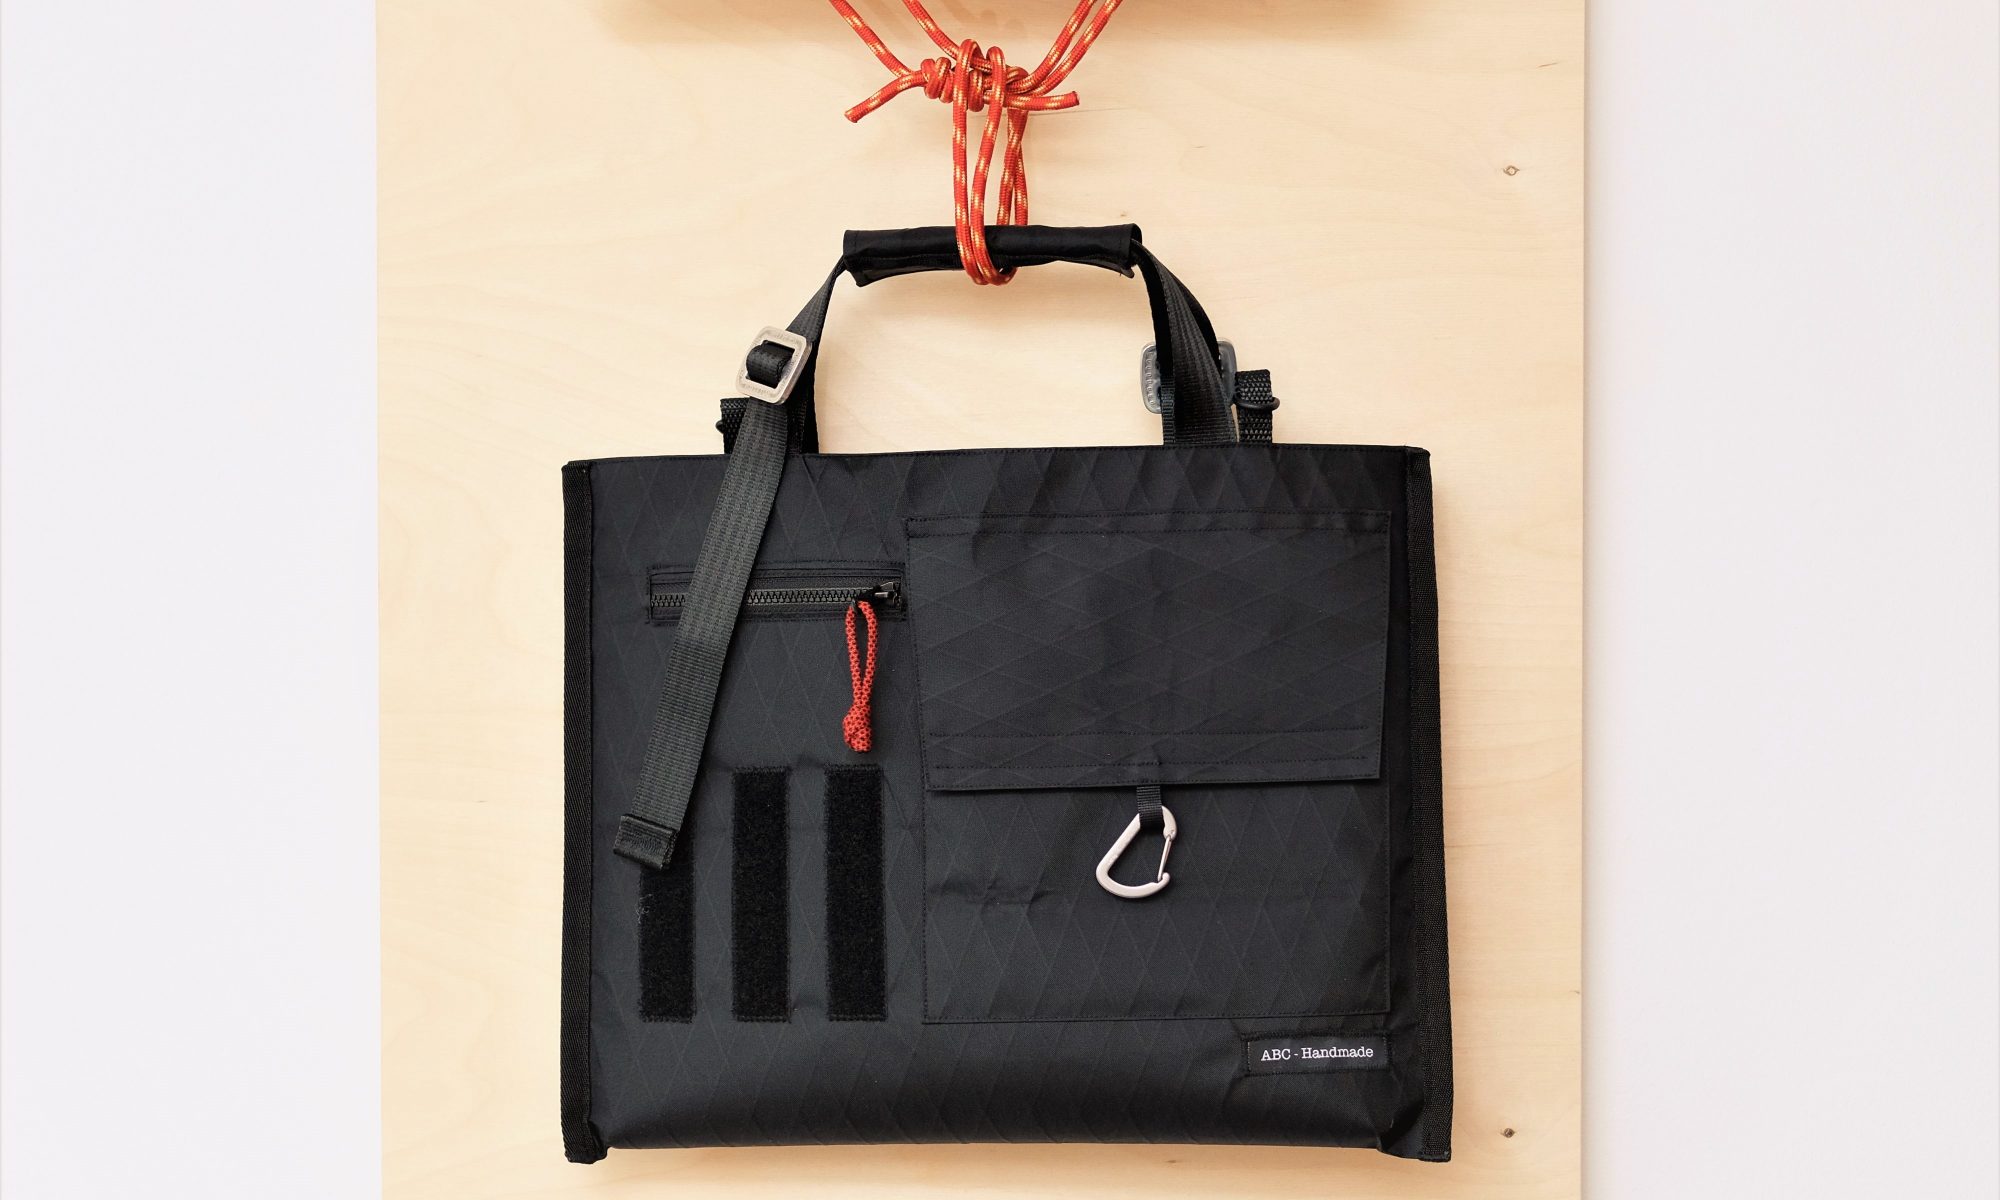
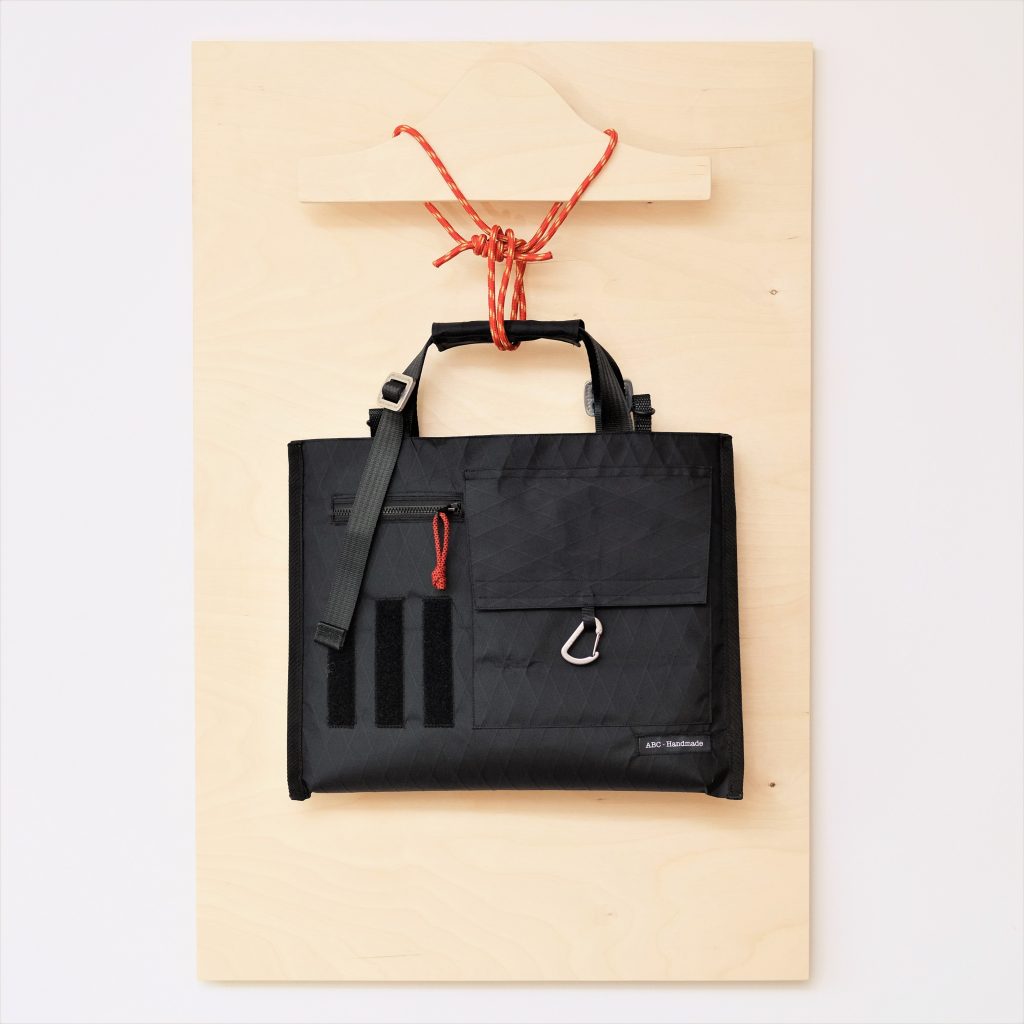
I have a 13in laptop, so I went for the smallest laptop bag I can fit it in. What do you think?
I have already covered all of the techniques I used to build the Winter Pack in other posts so I will not dwell on the details too much. The pack is relatively simple in terms of features, it has an almost vertical daisy chain, a side zipper pocket, a roll-top closure and a padded back. Plus some quality of life details.
For most of my builds, I design the front (1) and back (2) panels first, then I sew on the side panels (3, 4) to the front panel. The last pieces of the puzzle are to set the height of the roll-top with multiple parts if required, and only after that do I sew on a wide panel for the roll-top across the 3 front and side sawn panels.
Representation of the cut panels (not to scale)
The bottom panel itself is more often than not the last thing I put together, and stitch it to the front and side panels before finishing the pack by attaching the completed back panel (2,5,6).
I wanted a decent back padding for this pack since I might have to carry pointy or uncompressible gear (water bottles, alcohol stove) and not a lot of temporary padding. I went for an inversed T-shaped pad with 8mm closed cell foam topped with 3D mesh. All directly sewed on the back panel to keep every light and water resistant. To avoid wasting a lot of mesh, I decided to stitch two parts together with a flat-felled seam. The foam itself ended up being a three parts piece.
To secure the shoulder straps, I usually embed the ends in between separate panels (2, 5). I also use the same technique to add the load-lifters and the roll-top compression strap (2,5,6). The smaller pieces of the back panel will define the height of the last roll-top piece (7).
The shoulder straps are just my usual design, with an outer shell out of Cordura and 3D mesh inside. I always add daisy chains to to the full length of the shoulder straps to attach the chest strap, or smaller equipment. For this build, I went with ladder-lock buckles instead of Lineloc buckles since weight was not a huge concern.
There isn’t much else to talk about really. The front panel is very lean, with just the daisy chain attached to the main fabric without reinforcements (if the daisy chain was planned to attach heavy equipment, I would back the VX07 fabric to avoid future tear outs.
The pocket itself is just a flat pocket sewn onto on side panel. Since I am right handed, the most logical side to put the pocket on was on the right side (when wearing the pack) so I can slide the bag on one shoulder and access the pocket while walking.
That’s it! I did not cover the side compression straps since there is really nothing special about it. Enjoy!