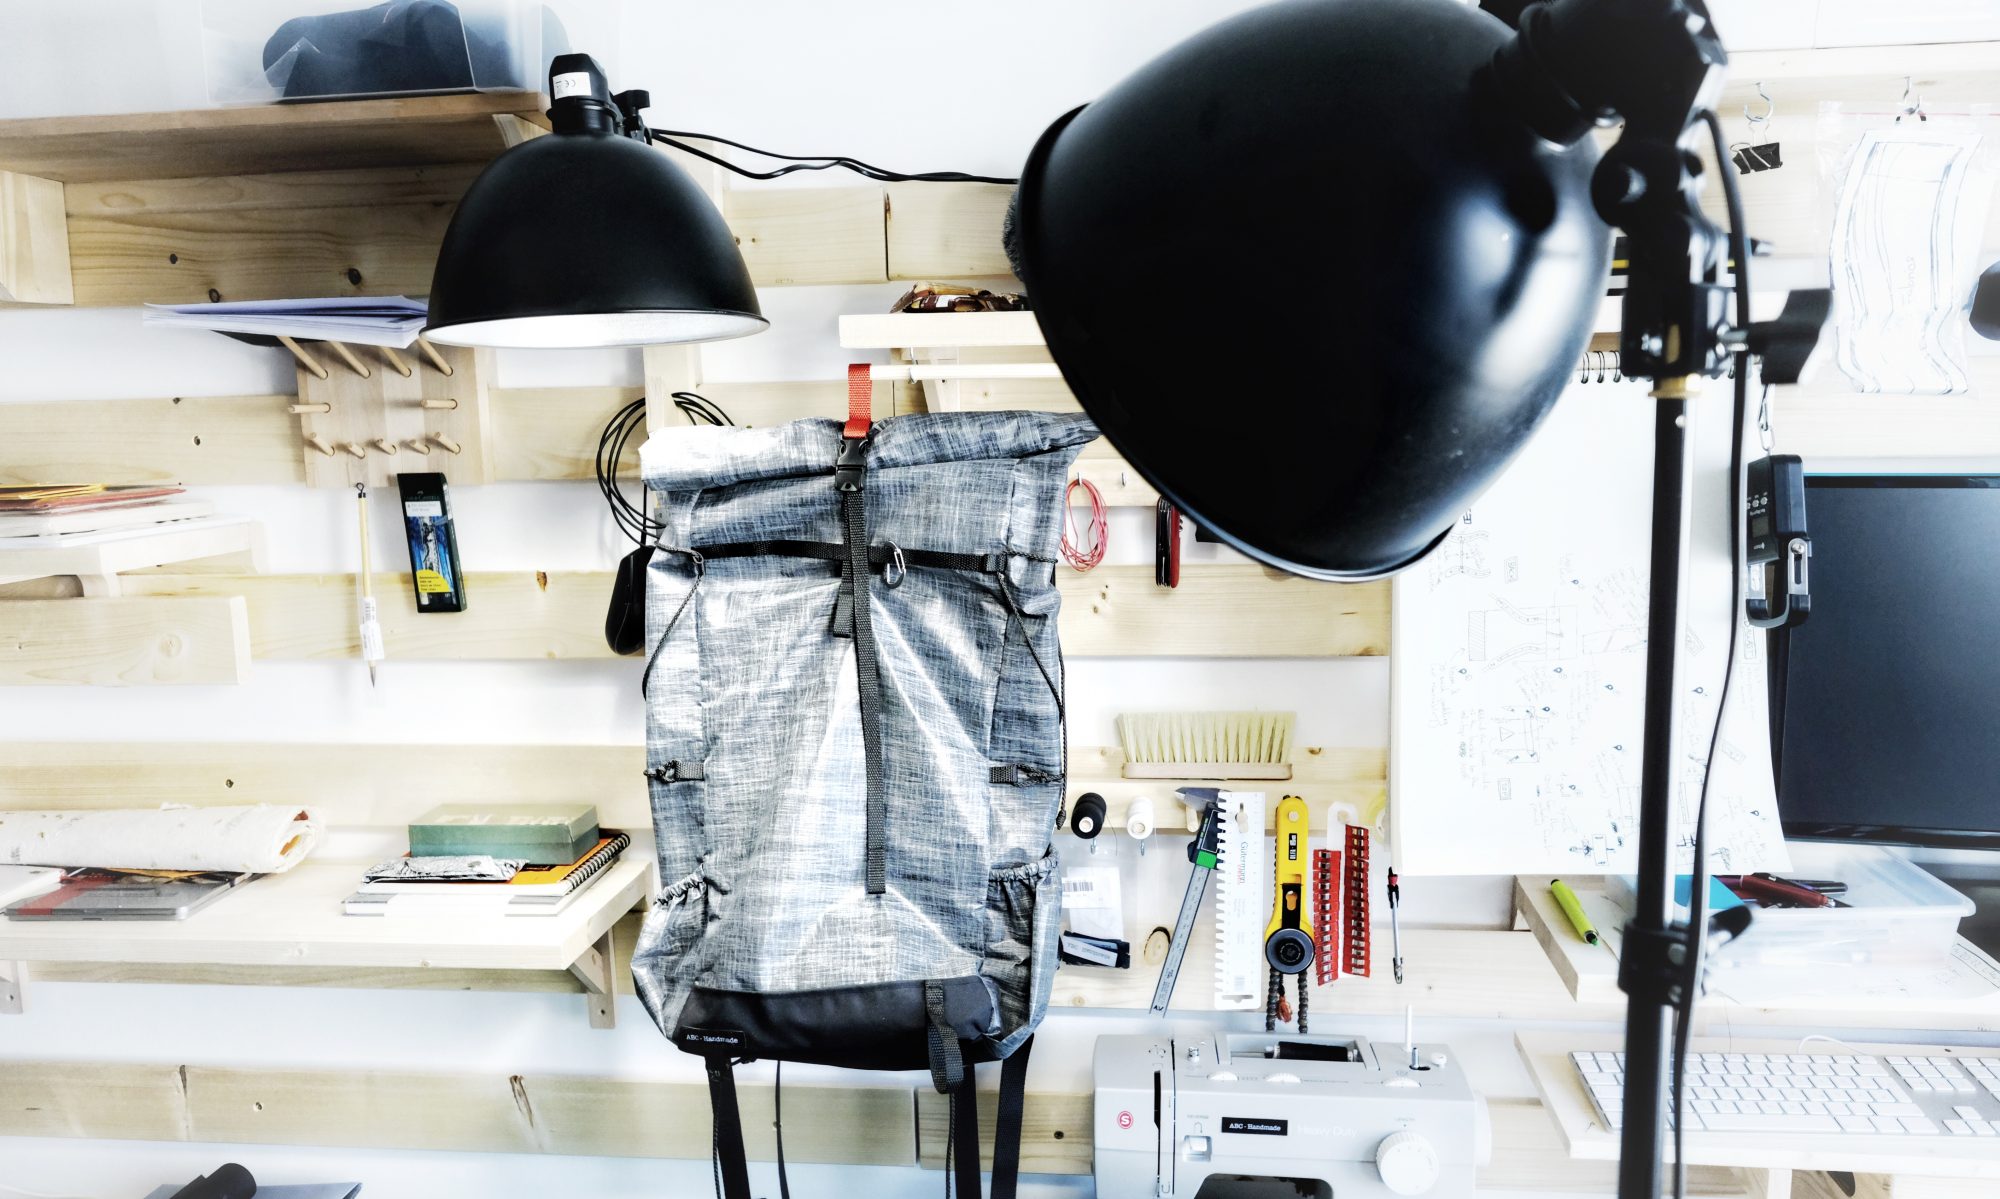
Upcycling an Ikea Frakta bag is the perfect challenge for you!

In the same vain as the Cotton experiments, I thought I’d also expend the fabric tryouts to the good’ol Ikea Frakta bag, which costs a literal 1€. What started as a joke ended up being the real deal: A friend of mine and fellow maker/hiker challenged me to make a decent looking bag with just one single Frakta bag.

FRAKTA Shopping bag, large, blue, 21 ¾x14 ½x13 ¾ "/19 gallon
That’s an Ikea Frakta bag

Since the challenge was still to build something nice, we also agreed that we could use small recycled bits and pieces and small components, as long as we can keep the overall cost of the material below a few euros. I settled on adding some recycled webbing in a couple of places, and use a scarp piece of light Cordura to reinforce the bottom just for convenience.

In the end, I re-used a few things from previous prototypes and deceased bags to make sure I keep the “bill of material” cost under the price of coffee on the French Riviera. ☕ In the end, it came down to a relatively short and definitely cheap material list.

ItemQuantityPrice (total)
Ikea Frakta shopping bag10.99€
Upcycled 10mm Polyester webbing50cm0€
Remant 15mm Strong Polyester webbing60cm1€
Reused Lineloc tensioners20€
12mm D-Rings (0.30€ each)20.60€
Reused 3mm Cord1m0€
Scrap Uncoated Cordura0.04m²0€
Scrap Hook & Loop Tape (Velcro)25cm0€
Grand Total:2.59€
Call me cheap, but it’s worth every penny.

Now that I am done with it, I think this is a fantastic challenge. Every pack maker should try this at least once no matter how long they’ve been making things for. It forces you practice a couple of important steps in pack making:

  • Properly rip the seams of the Frakta to avoid loosing precious material
  • Work around resource limitations.
  • Recycle stuff you’ve been piling up.
  • Optimize the design to into a small canvas.
  • Think about the stitch type and size based on the canvas properties.
  • Align a patterned canvas parts properly (to avoid crooked looks)

I wouldn’t spoil the the final result just yet since I will upload a few pictures of the final pack in no time, but suffice to say, it looks great ! Better than I thought even!

Spoiler alert!

Stay tuned…

Let’s use some Cotton Canvas for once

So after spending the last years building packs with mostly mid to high-end technical fabrics, I figured I should try something else. Plus, I’ve received so many requests for creating and selling less-technical packs – mostly city day packs or business packs – that I figured I should give that a try. If that’s a success, the next step would be finding nice printed cotton fabrics to make more of these. Ethically sourced would be great, but it’s hard to find in such low quantities!

So I settled for some cheap heavy-duty 100% cotton canvas, usually used for outdoor tents (garden variety tents) weighing at 350g/sqm. We’re far from the ultralight category, but that’s the whole point.

A few custom designs in the same vain.

Working with this super inexpensive cotton canvas is fantastic for prototyping on the cheap. I really like the feel of the end product, and I haven’t even spent much efforts making it look nice. The third attempt is by far the nicest finish as it is fully lined with the same canvas as the outside, and a dedicate 13″ laptop ‘pocket’.

And the third attempt looks decent.

One of my goals was using the absolute minimum count of raw materials, that is, find as much use for a single material as possible, so that these are easy to source, and cheaper to order because of the ‘higher’ volume. So I use the same canvas for making a bunch of the straps, lining, pockets, loops etc… I did use a nicer 30 mm cotton webbing for the satchels’ straps because I liked it, but I could use the canvas for that as well, like I did for the day pack. Apart from that, some metal D-rings and some fancier aluminum buckles which could be simple D-rings if need be.

One huge take-away from using a woven canvas is how much it frays compared to coated canvas or laminated fabrics. So much so that, so far, there would have been no way not to keep the edges bound without hemming them. I’ve used both folded grosgrain ribbon or a more simple blind hem stitch to that end.

On the plus side, building one of these models is a lot less time-consuming, as the complexity is probably half of what I usually build. Last but not least, I found some funny sew-on patches on aliexpress, and I’ll definitely order some of them again when I run out.

Working with X-Pac X10 is tough

I had a ton of fun doing this project. I have to say, working with X-Pac X10 was harder than I expected. The 360g/sqm fabric is extremely stiff, but the look and feel of that fabric is totally worth the effort. I wouldn’t try to do anything too complicated with it though.

X10 is heavy, stiff and dense, but boy is it beautiful….

The design itself worked great, and I am very pleased with the result. The only flaw I have found so far is that the the lowest compression strap has a tendency to slip below the bulky content I stuff in the secondary compartment, which – in itself – is not a problem, but weakens the overall strength of the secondary compartment held mostly by Velcro. I was hoping that using the front flap’s daisy chains to weave the strap through would help, but I think the strap is just to low on the pack. If I was to do it again, that would be the only thing I change: move the lowest compression strap above the shoulder straps’ attachment.

The lower red webbing with he quick-release should have been higher.

This pack feels like a tank with proper reinforcements where abrasion often takes place and layers above layers of Cordura on top of the natural stiffness of the main compartment. This combination makes for an extremely sturdy pack, and I don’t feel like having to be kind to it anytime soon.