Bricks can’t go wrong. Greeblies come later.

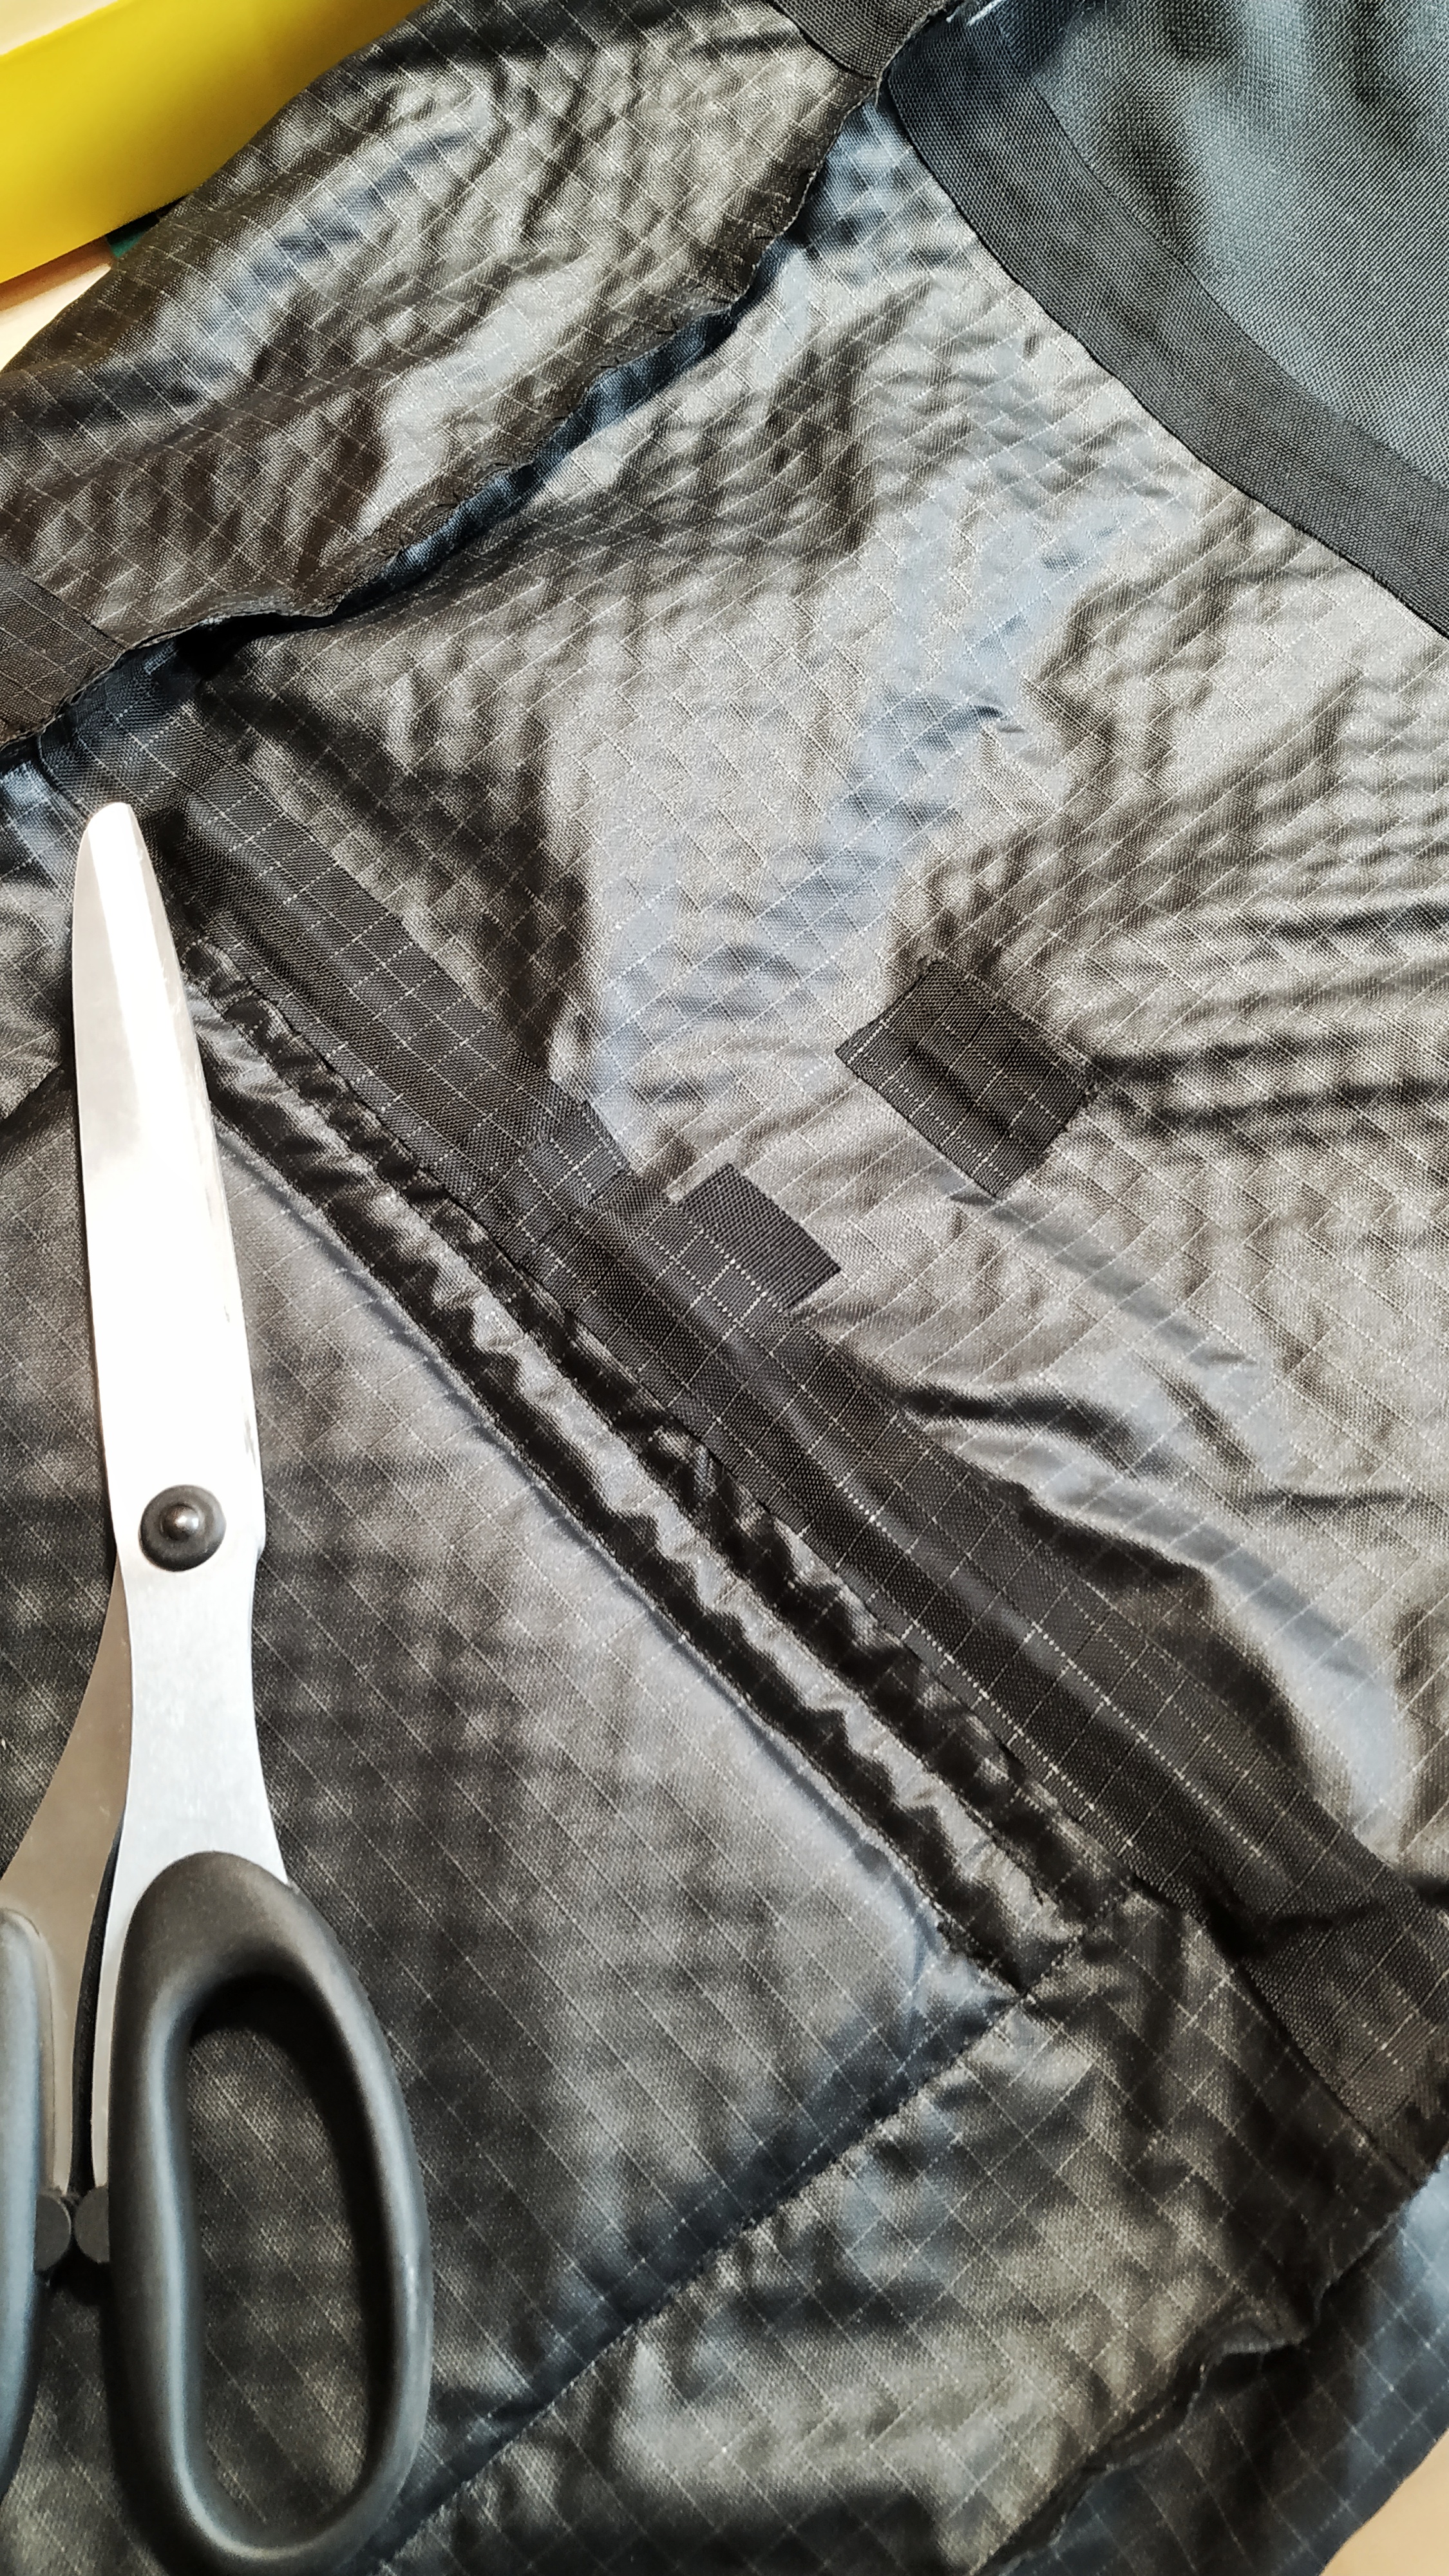
A lot of bags follow a relatively simple “brick-like” construction. These bags might not have the best looks, but they are definitely the easiest to build without a lot of experience, and you’ll get a perfectly functional bag. I ended up using this one for a 10 days solo trip above the arctic circle and it got me there and back.

When in doubt, always cut straight! You can always add curves and greeblies later.

The two side panels are almost identical. The pockets have different slopes and sizes.
The front and back panel are also assembled out of multiple smaller panels to form clean rectangles.

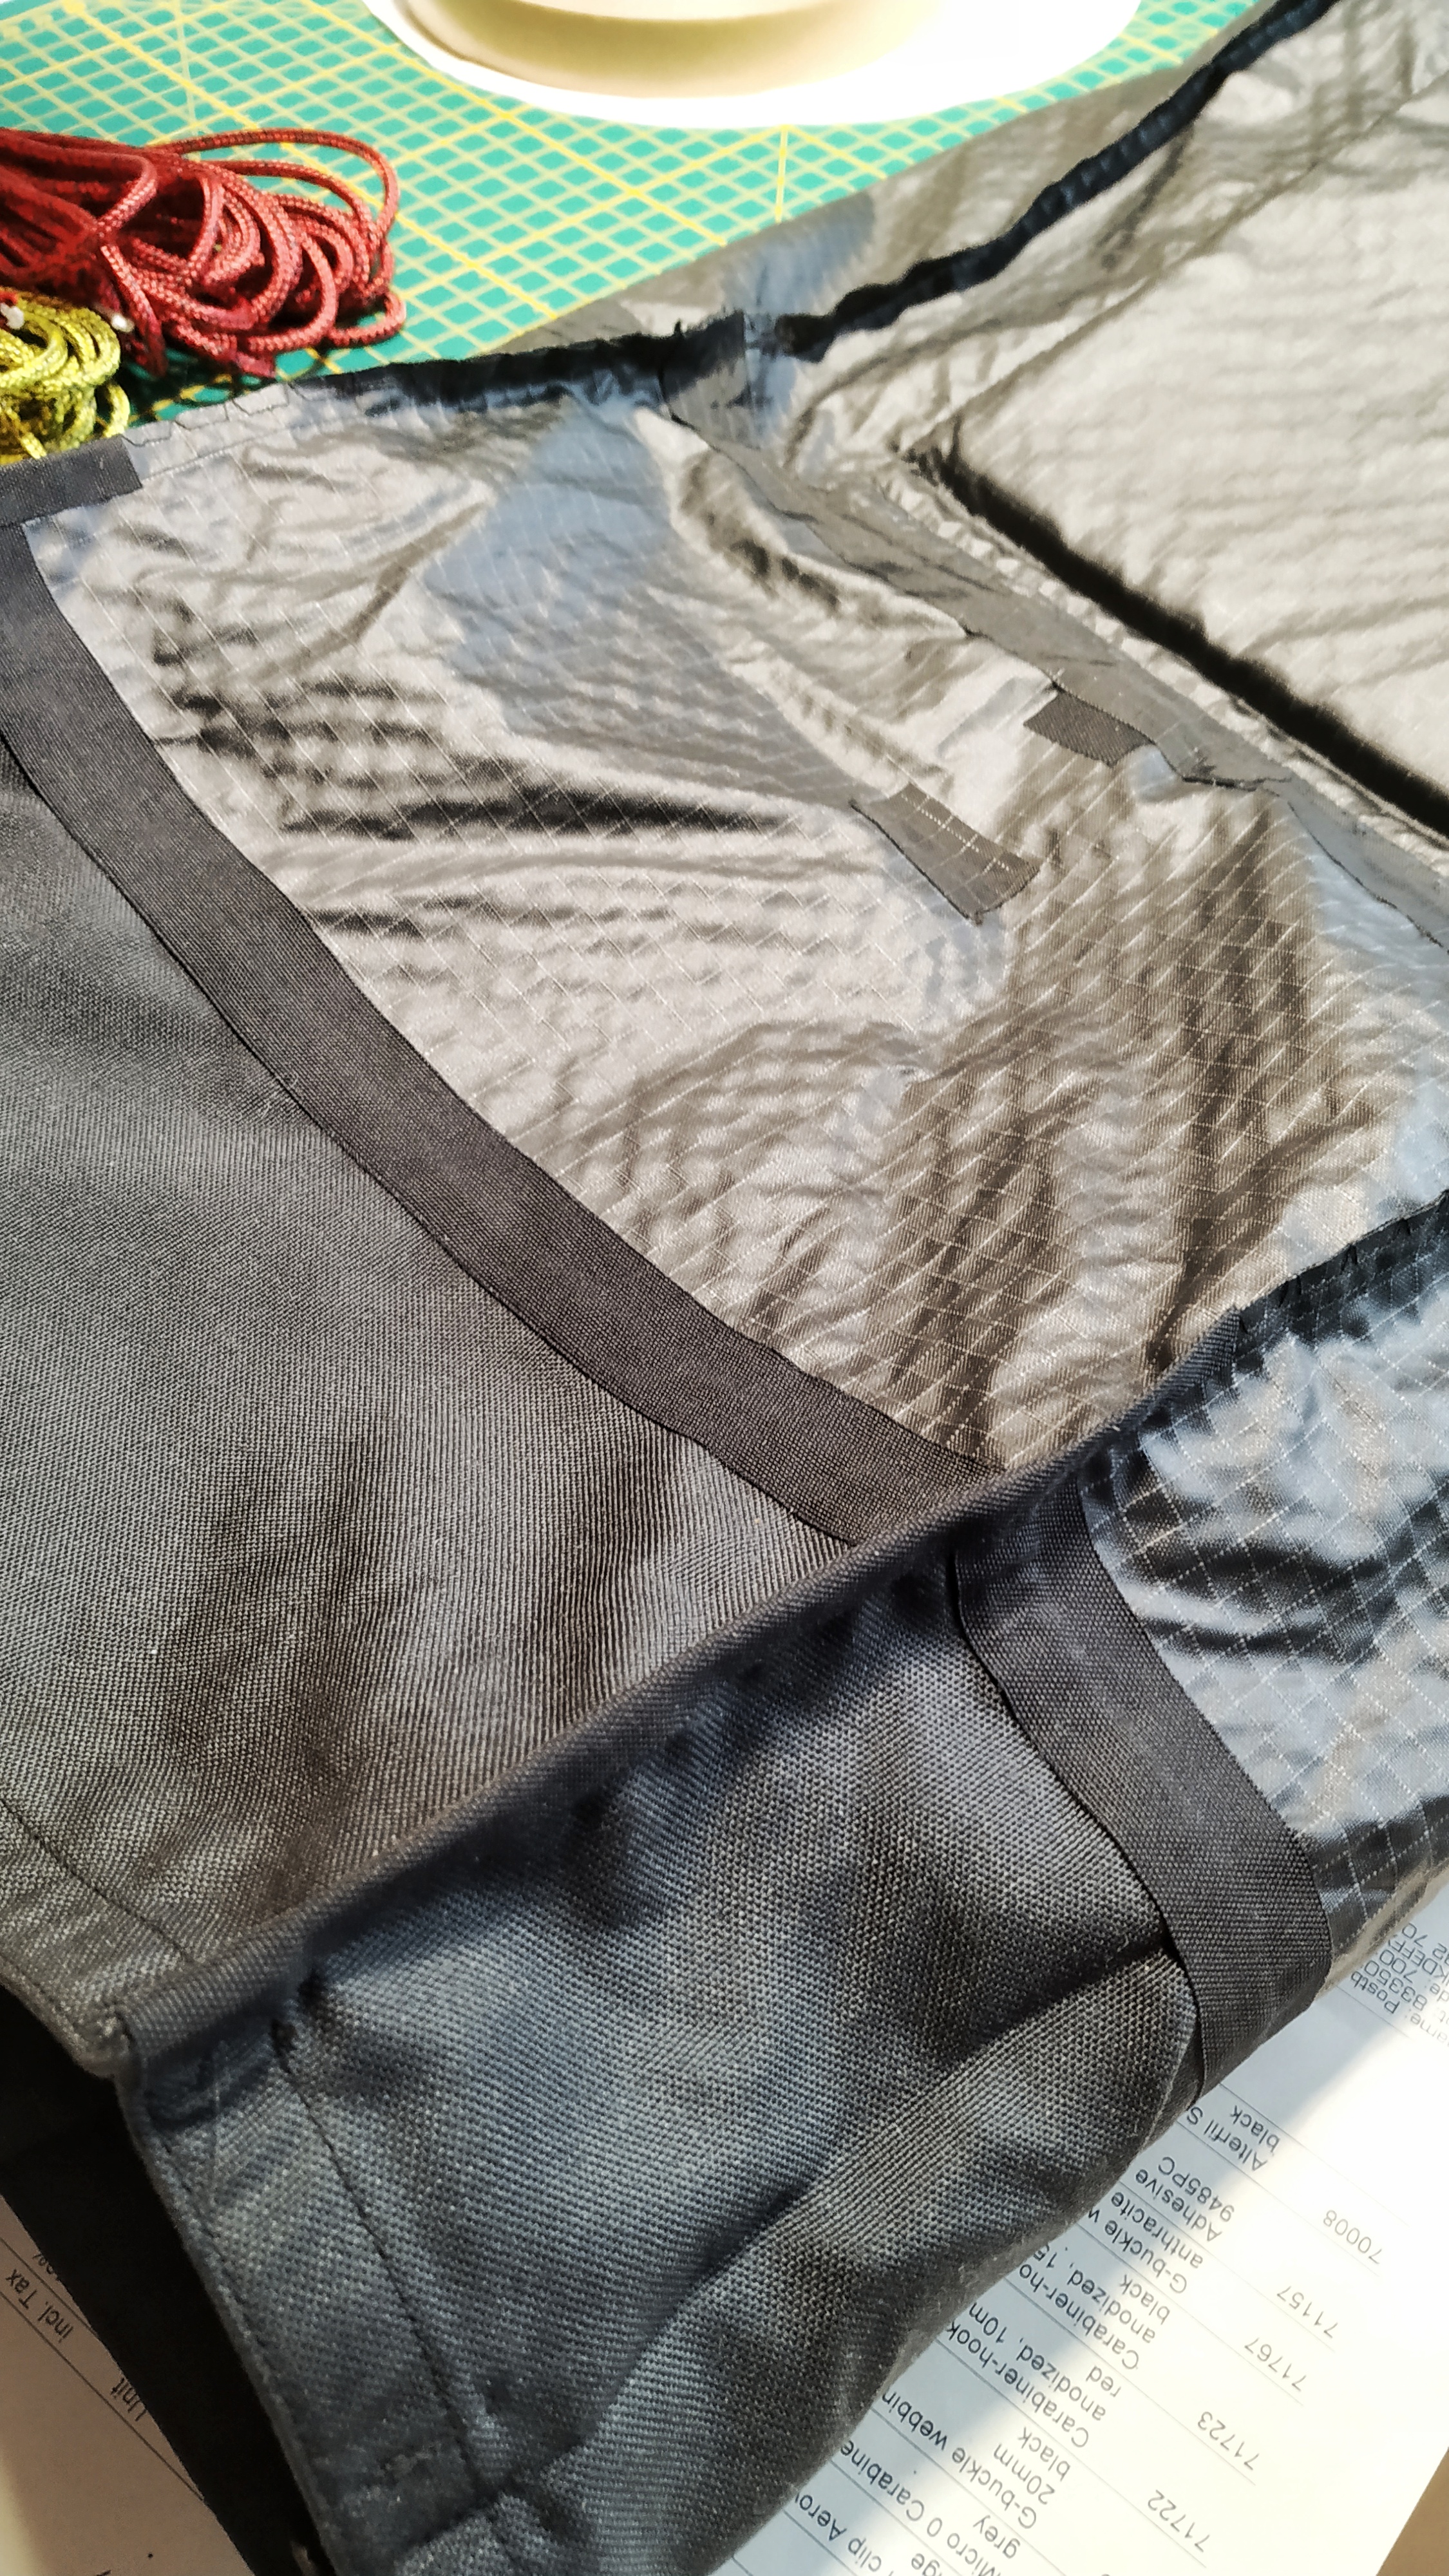
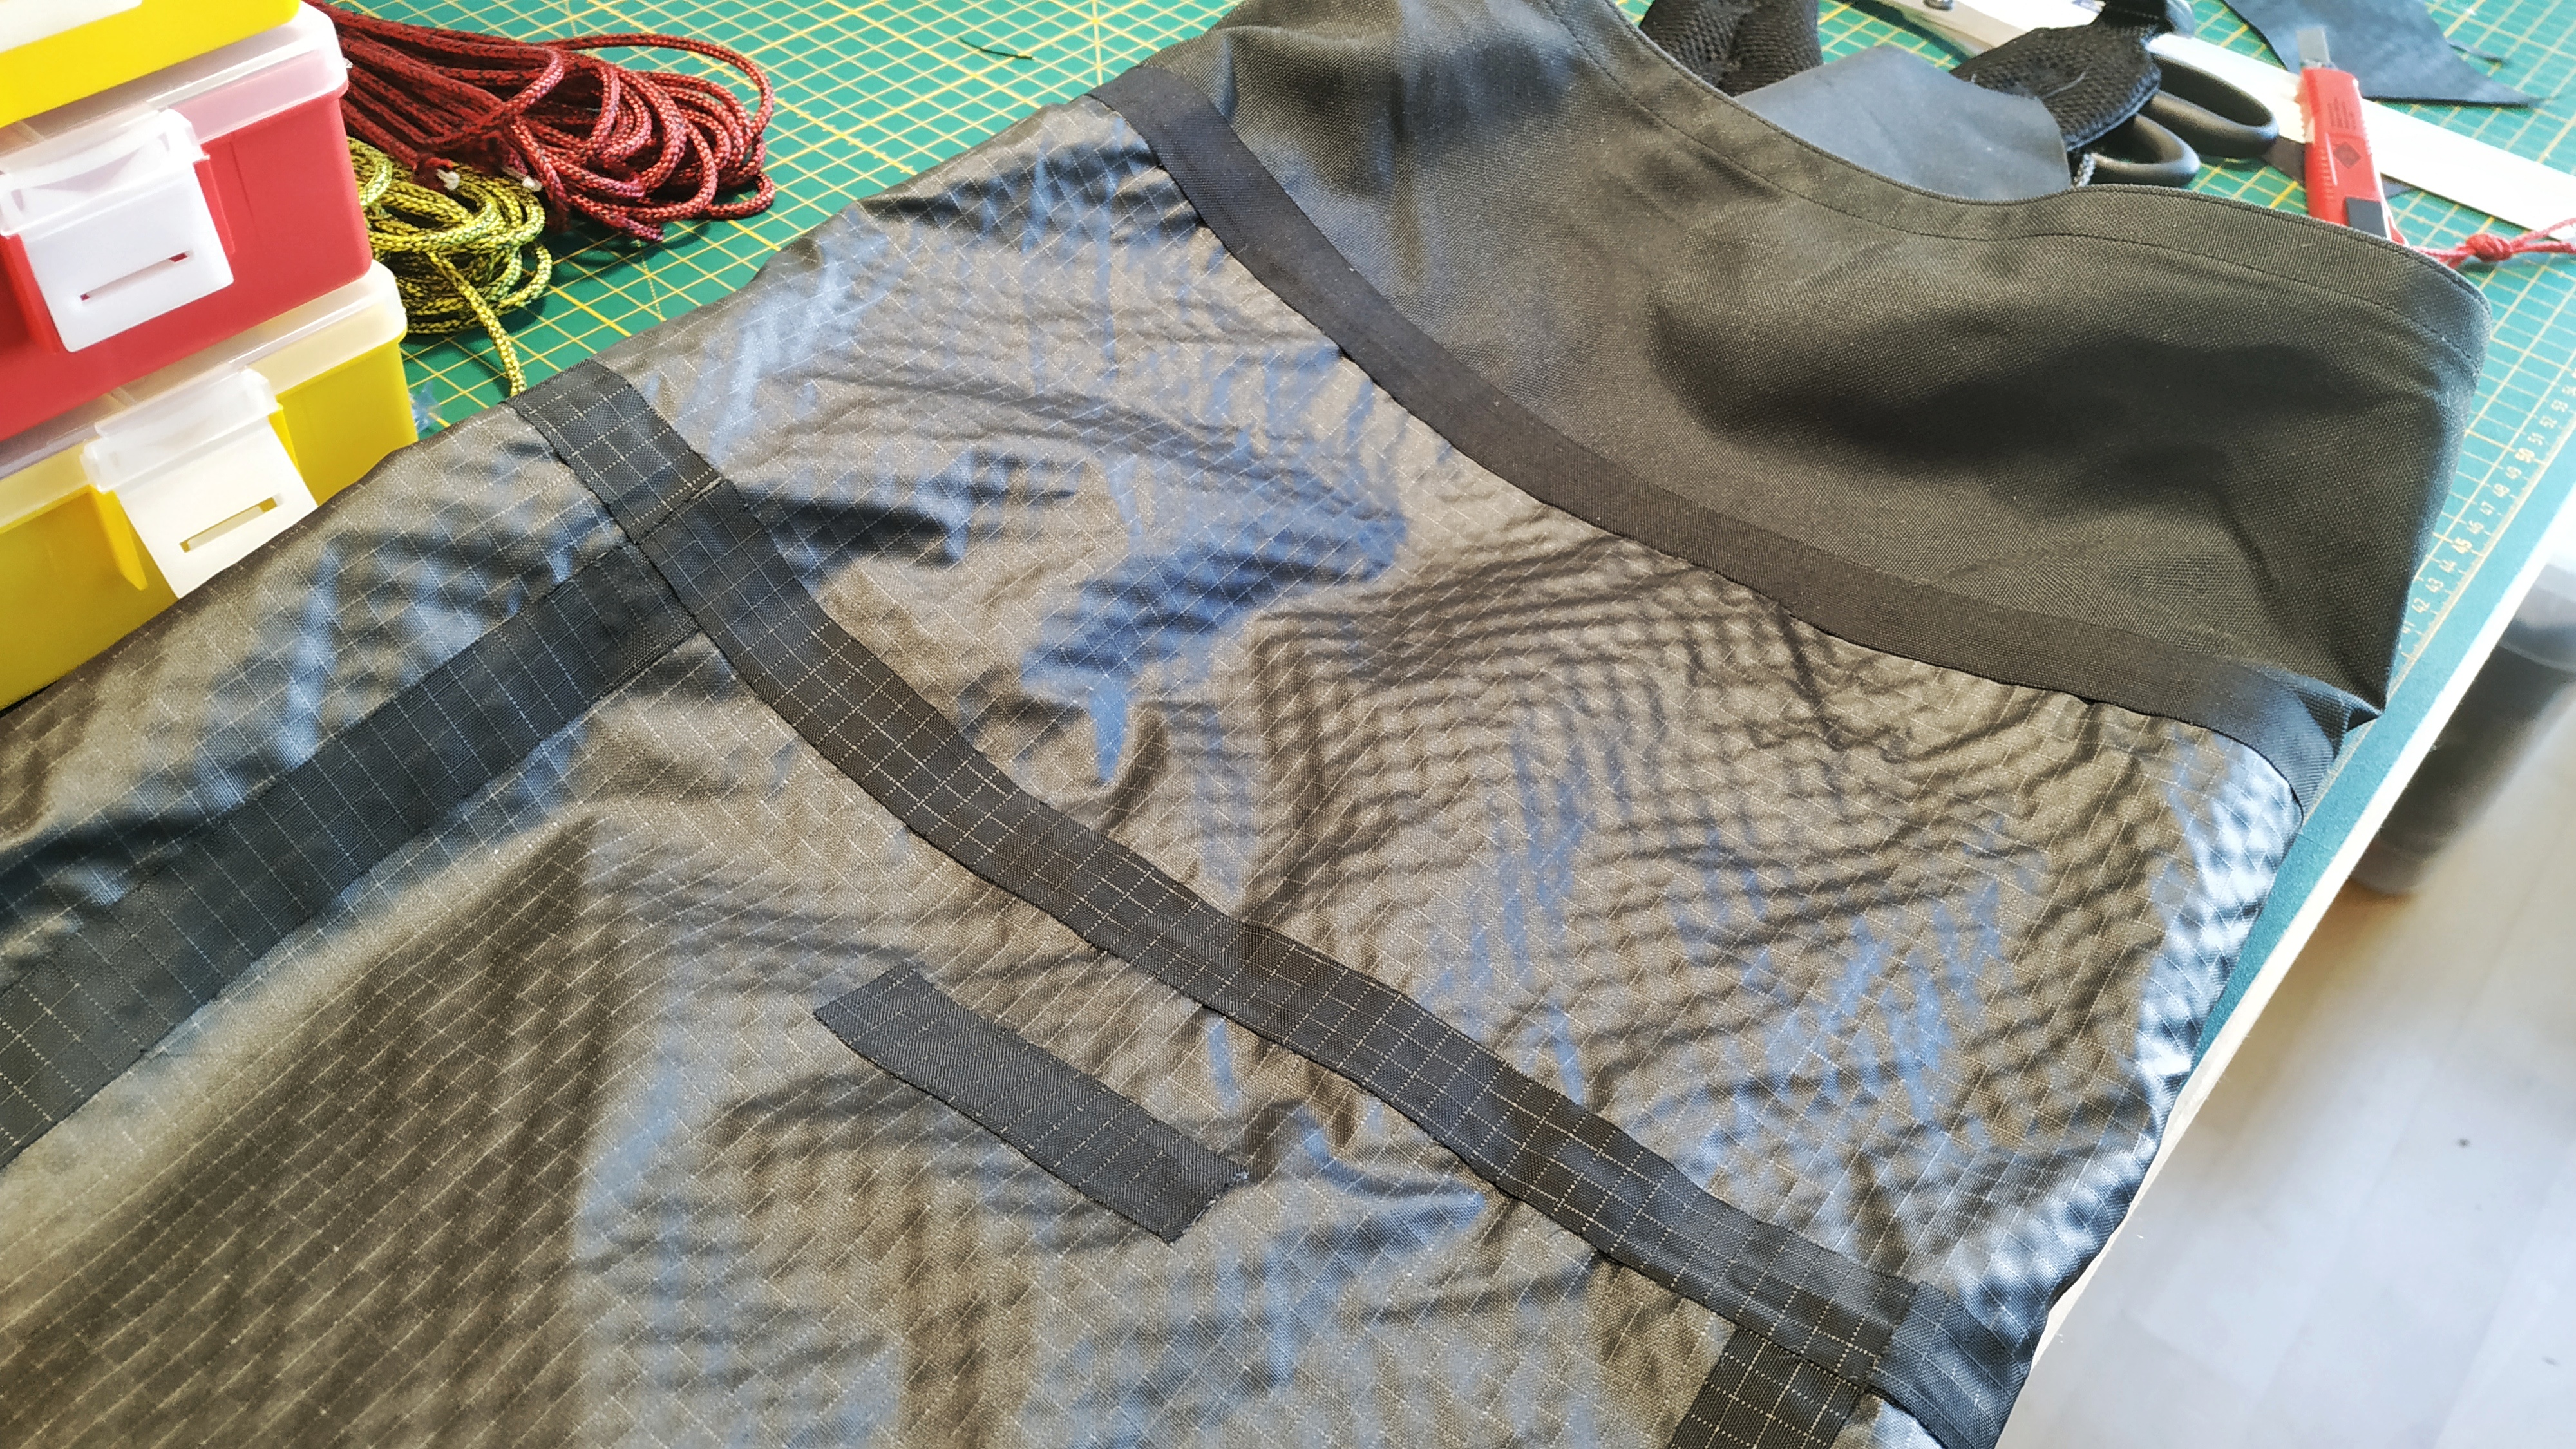
At the end, the final assembly starts from the side panels aligned to the bottom panel, then “closing” with the front panel as the last big step. Final trims and tidying up the top will hide any misalignments or small dimensional issues.

Just need to add the front panel now.

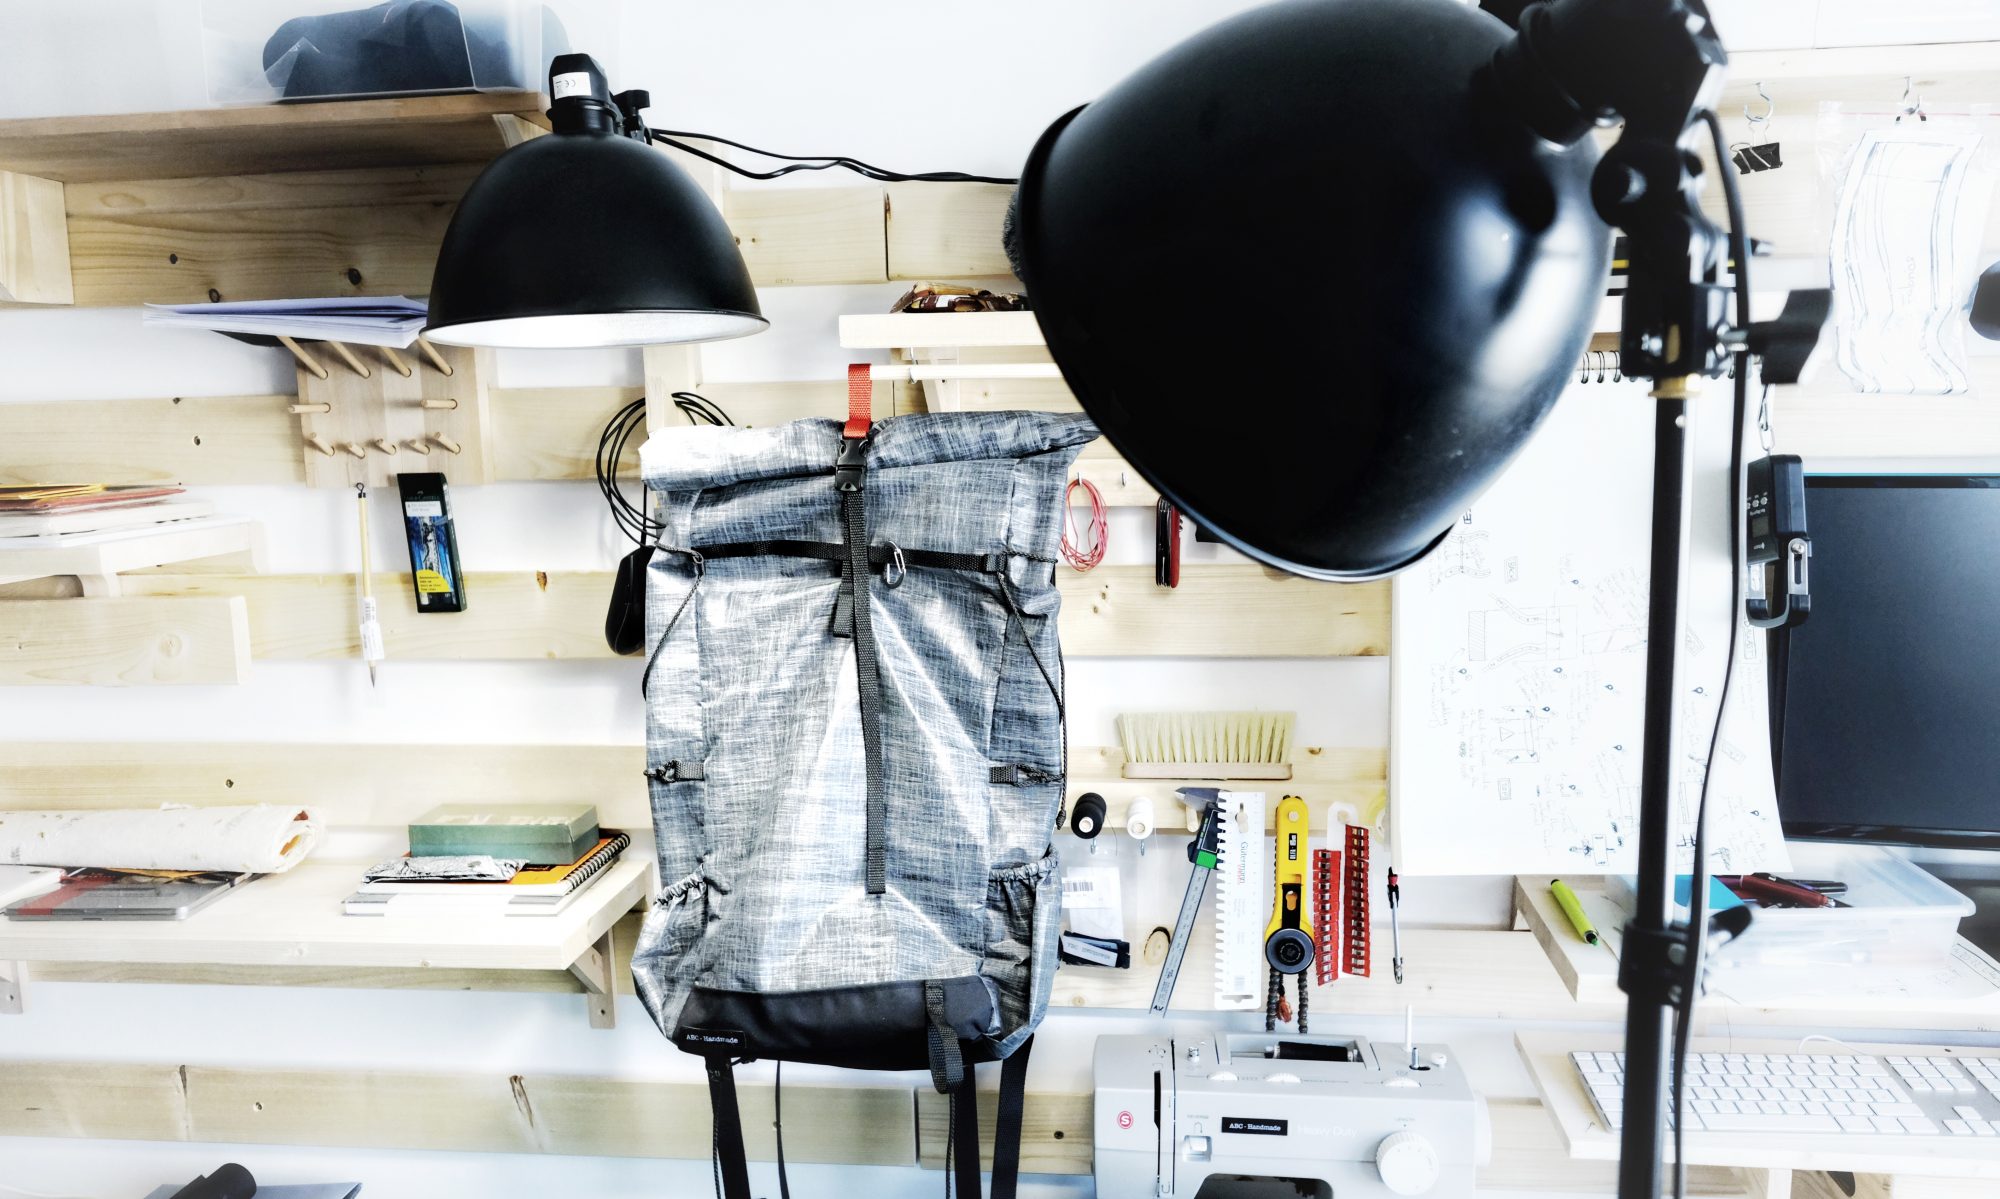
The final bag is documented under https://abcpacks.com/the-ballast-pack.

Afterthoughts on a V-Shaped Pack

The final shape is extremely pleasing, and mostly due to the combination of the V-shape design and the very subtle curves. To ensure the cuts were symmetrical given the slightly higher complexity than usual, this was the first time I spent the time creating a mostly complete pattern for the main panels (all but the roll-top panels) prior to cutting any fabric. I usually build patterns – a posteriori – as a mean to record a shape I ended up with, if it turned out to be pleasing.

All in all, there are 14 different panels of various sizes that came into building the main compartment (shoulder straps not included). I only created a pattern for the major parts, and cut the rest out of “experience”.

The best way I’ve found to build durable patterns is to cut them out of thin Tyvek as I explained briefly here. It’s a little more investment than simple paper, but it holds a lot more abuses.

Seam-sealing the Skinny Pack

Let me share with you some afterthoughts on my first foray into seam-sealing. I did a bit of digging, and opted to use 3M 9485PC double sided transfer tape. Overall, it’s a great product to work with, but I think the fabric used here, (Dyneema®/Nylon Ripstop) is too heavy and does not bend well enough to really work as a the internal face of the seam sealing. If I was to do it again, I would probably go for DCF.

3M 9485PC tape and prepared strips with Dyneema®/Nylon Ripstop fabric on one side.

One interesting learning I made, is that on lightweight silicon-coated Nylon fabric (60g/m²), this tape did not stick at all! I wasted a good strip. I don’t have the reference anymore, but I would assume the Dyneema®/Nylon Ripstop fabric that really worked well was PU coated. Beware!

This experiment taught me one important thing: I will not seam-seal my pack except in very specific circumstances. It’s just too much of a hassle.

Here are a few pictures of the construction process behind building the Skinny pack. If you are wondering why I am wearing gloves in some of the pictures, it’s because I wasn’t sure how sticky the stuff is. I turned out to be utterly unnecessary, and I quickly removed them.