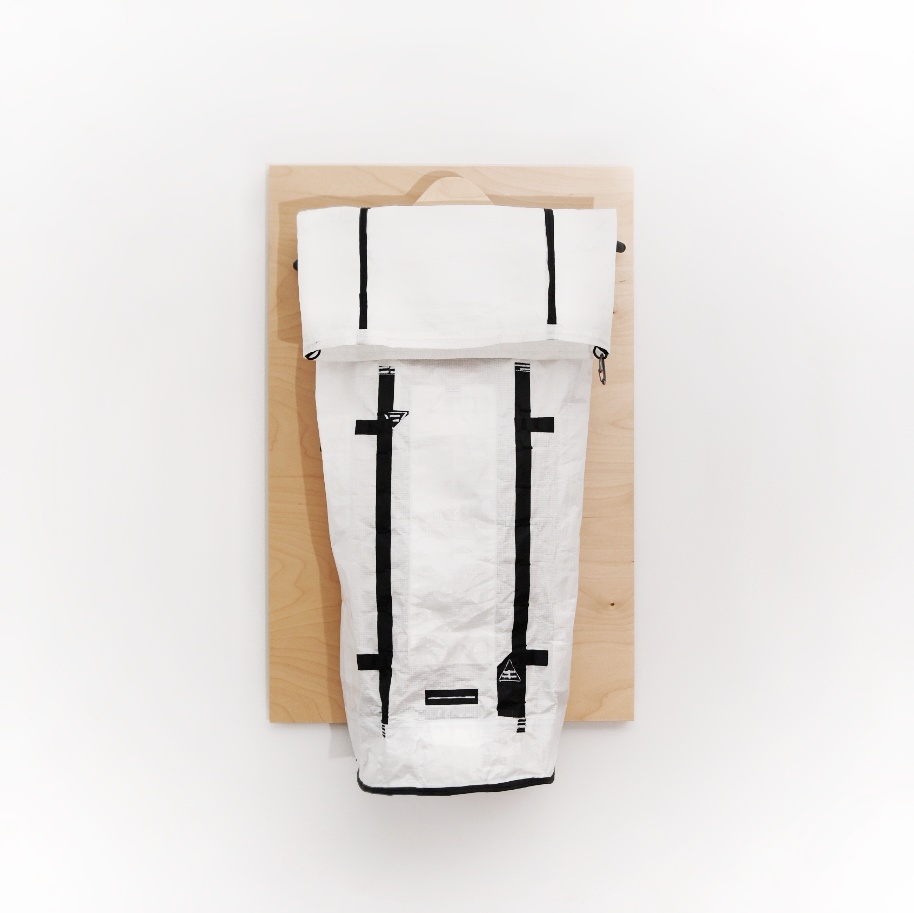
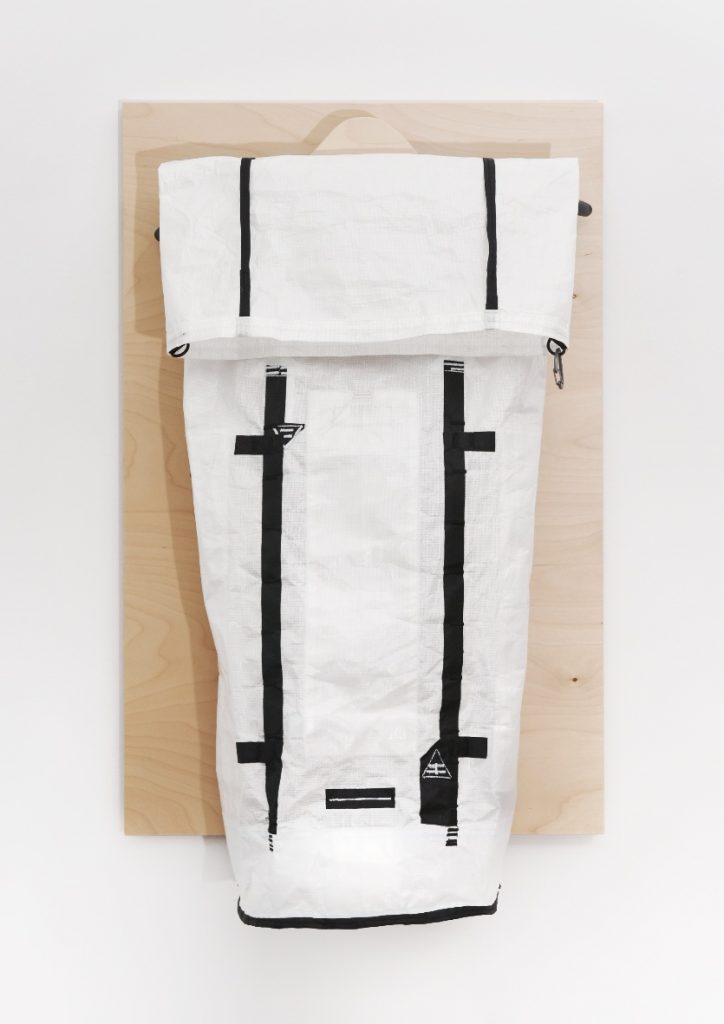
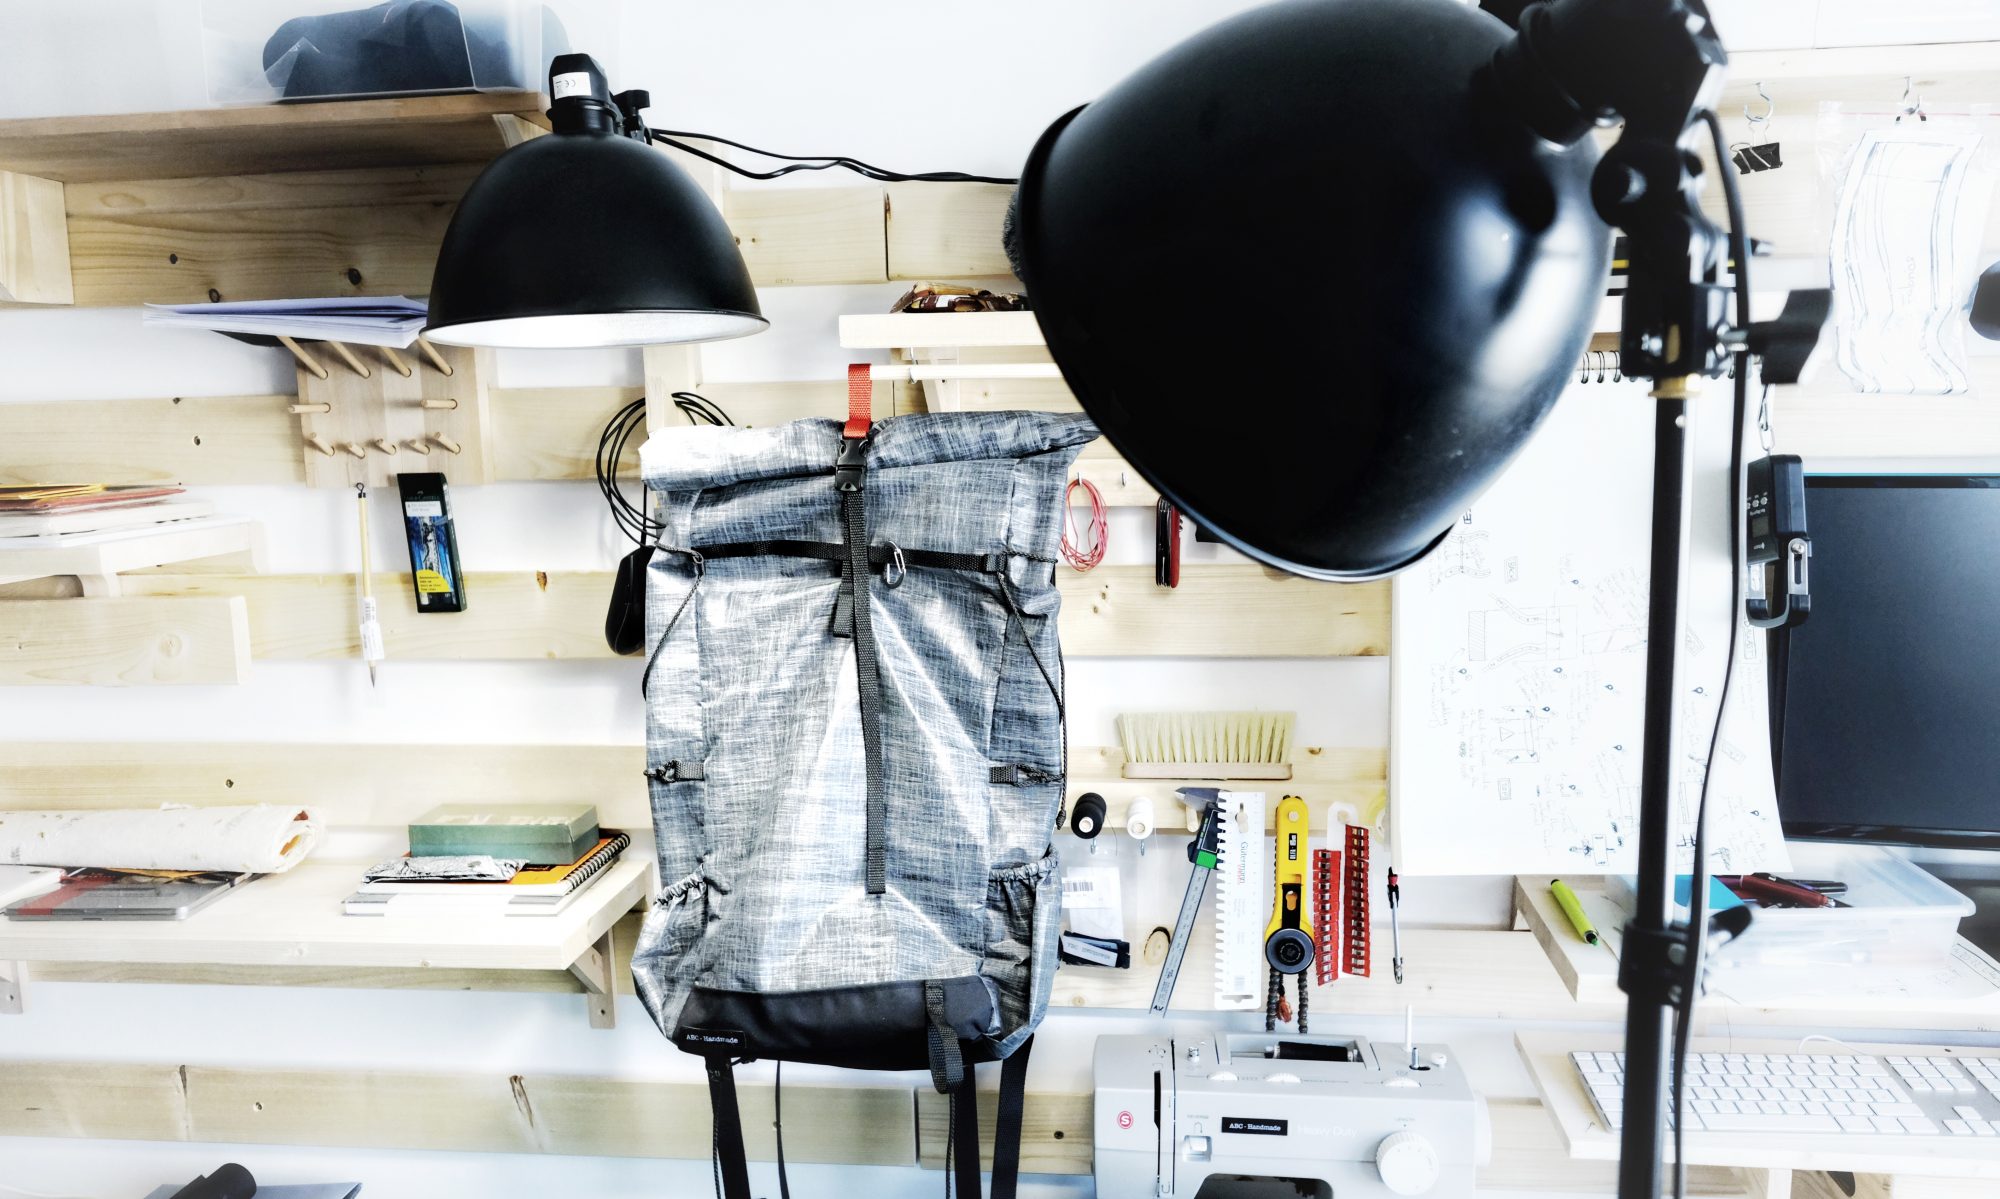
I recently finished a one-of-a-kind ~35 liter Alpine backpack completely custom made for an Instagram follower who reached out to discuss a custom version of The Alpine Pack I recently posted about. We spent a lot of time together designing the pack, carefully selecting the features, and studying his previous backpacks for important points to consider and I think we achieved something really amazing.
I must admit, it was hard to let this one go after about 60 hours of combined work over a couple of months. But I think that particular bag will have the life it deserves, filled with hiking, climbing and ski touring equipment!
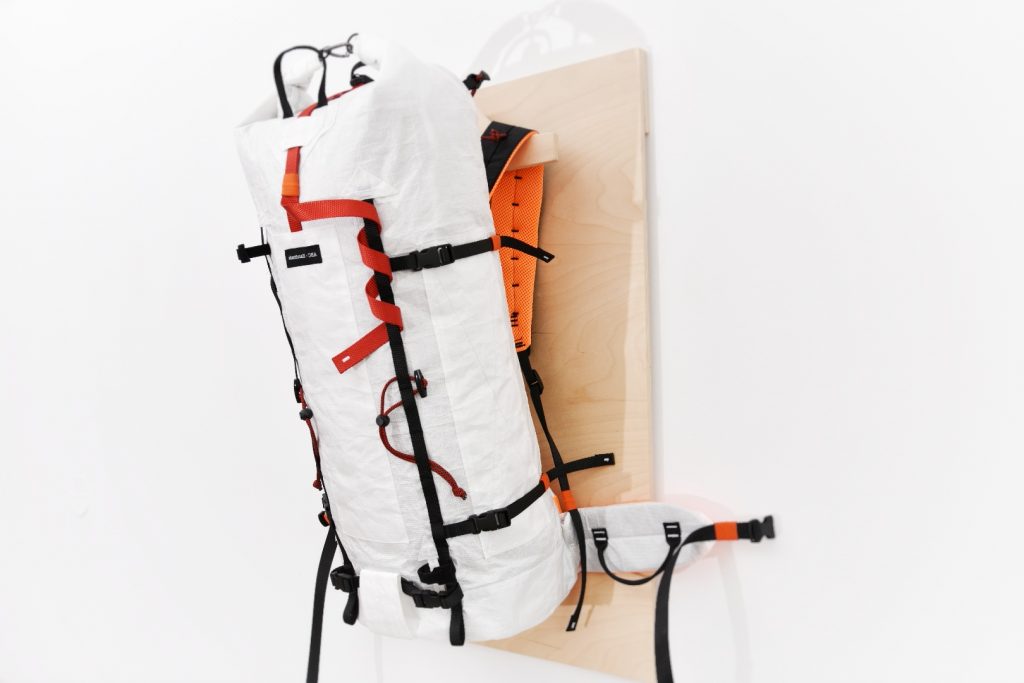
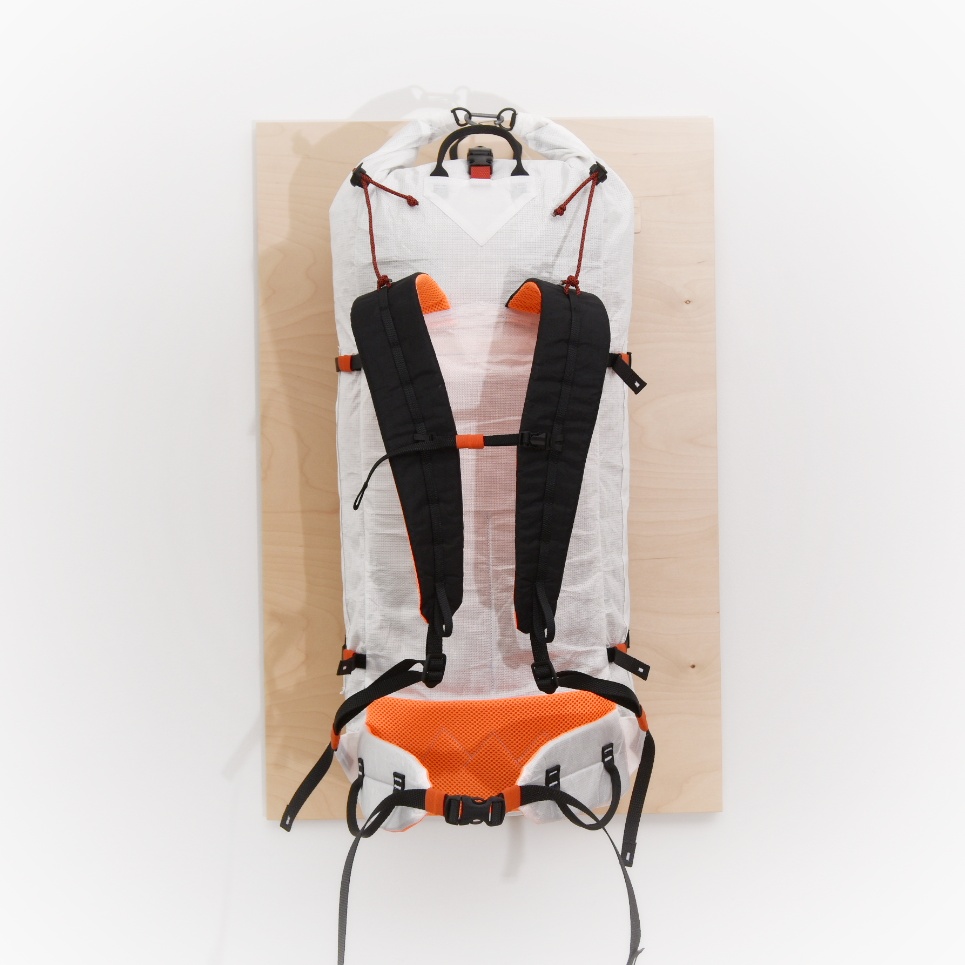
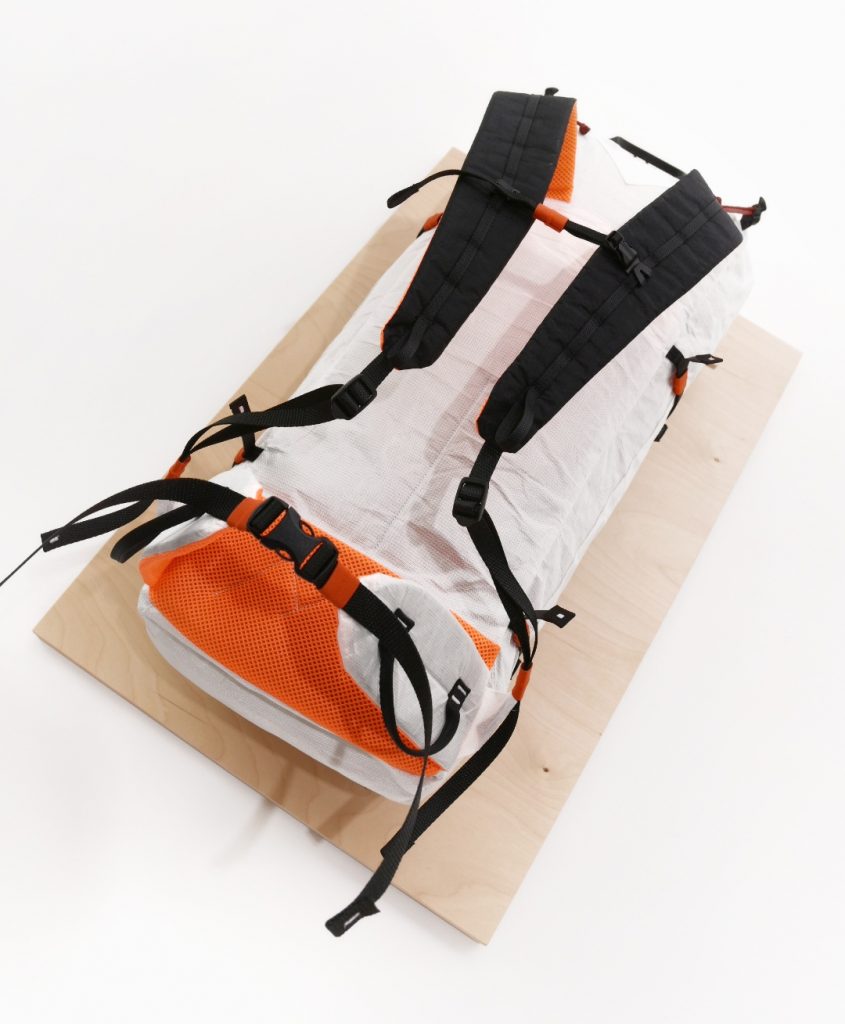
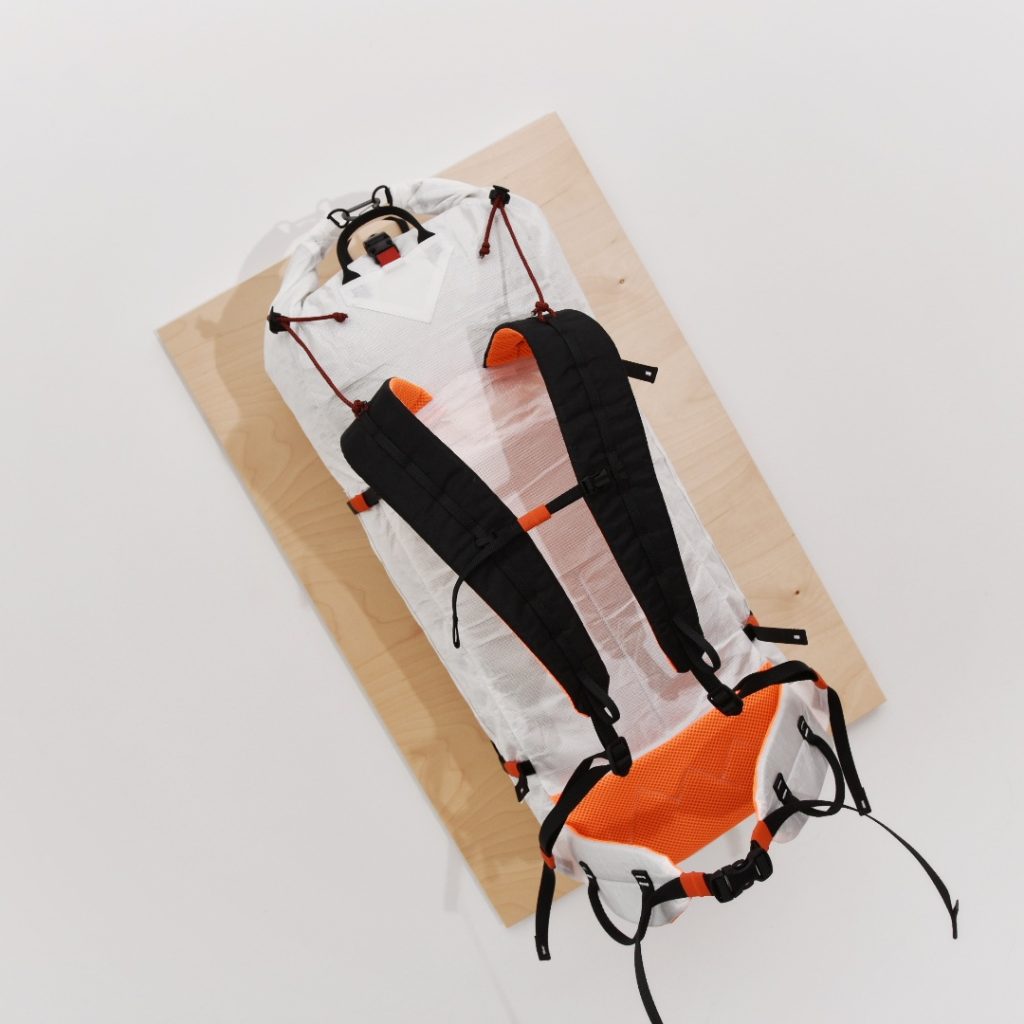
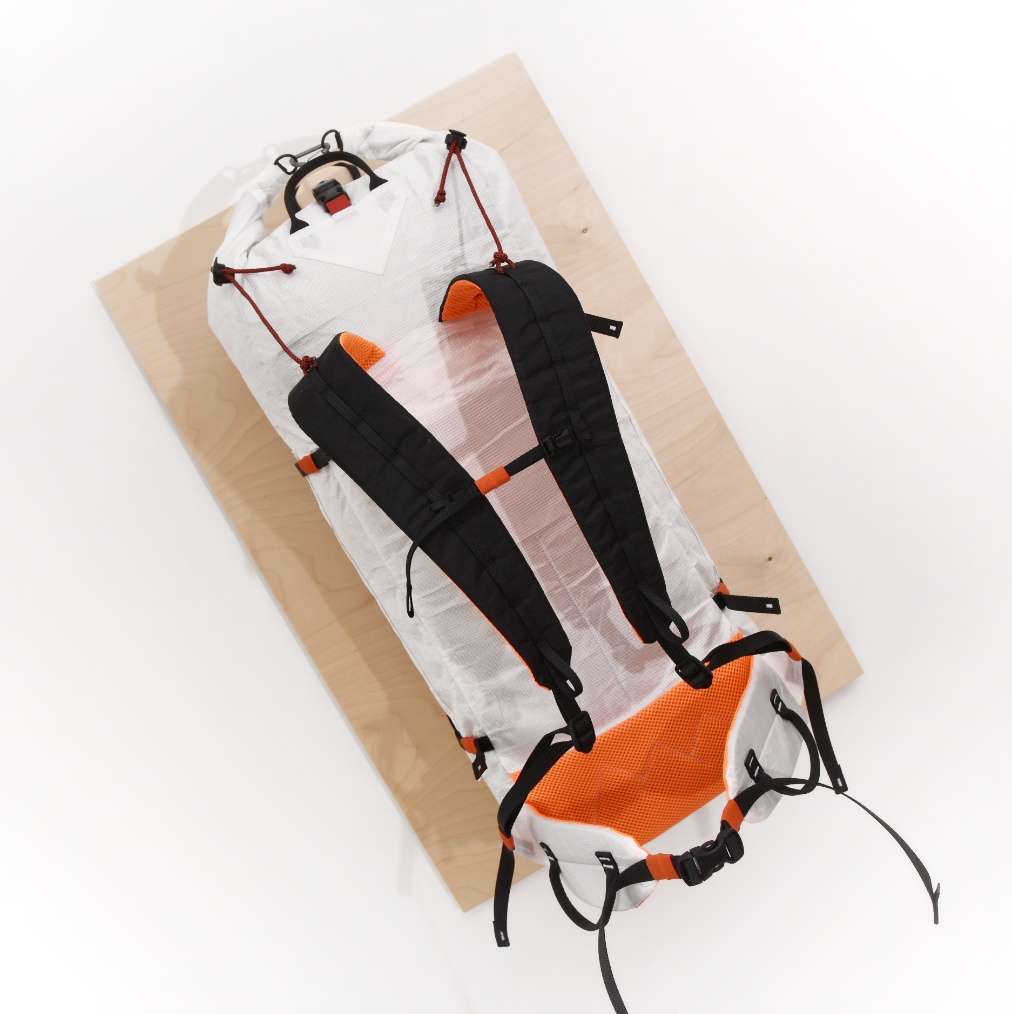
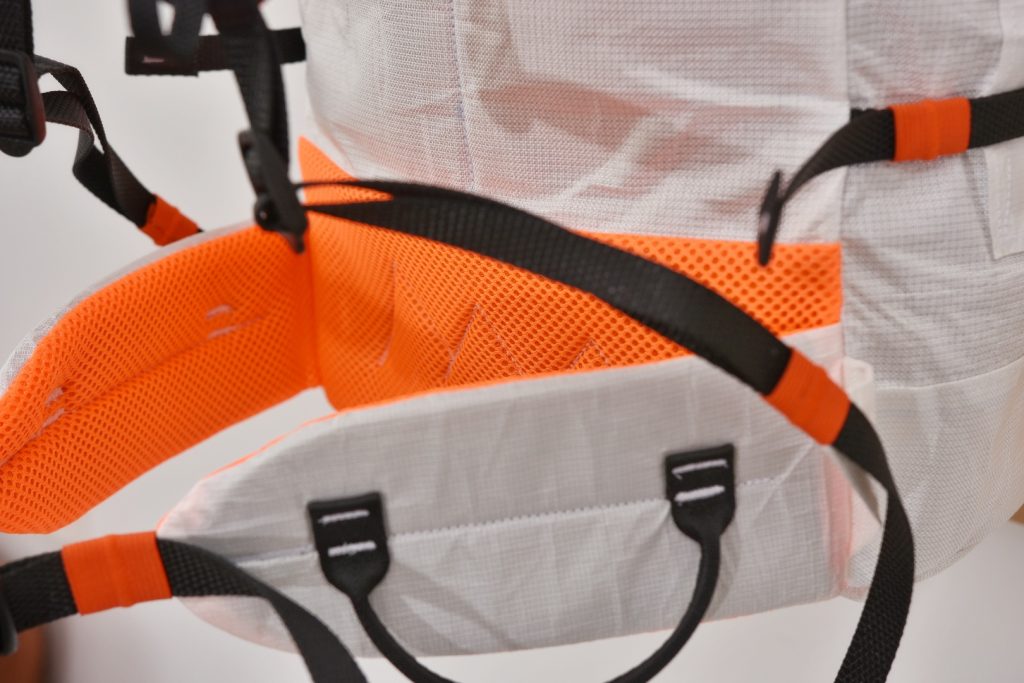
This backpack is a slightly bigger version of the previous alpine pack I made, but is built like a tank! It has many reinforcements on all four sides, and other areas prone to wear and tear. It is made almost entirely out of white Ecopak Ultra EPL 400 (a hybrid UHMWPE and recycled polyester fabric which is incredibly abrasion resistant) and boasts sturdy padding and a hip belt, a set of ski attachments (front and A-frame options), dual ice-axe attachments, rope tie-ins and a relatively huge roll-top extension for the approach.
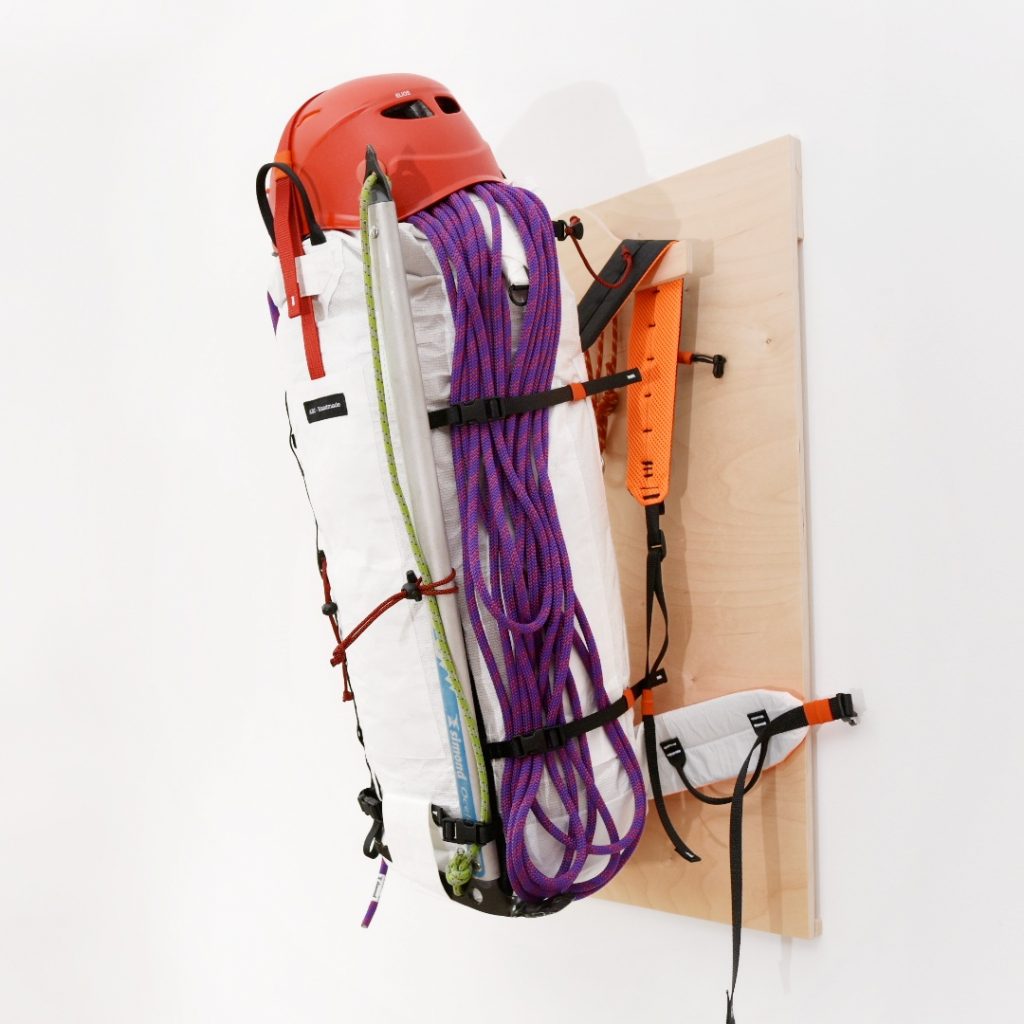
The need to accommodate long hours of climbing and belaying meant that the bag had to have a relatively low profile when closed to not interfere with a helmet when belaying from below, and is therefore a little “fat” compared to previous designs. That being said, its owner being in fantastic shape, the increase in diameter should not interfere with arm movements in the slightest.
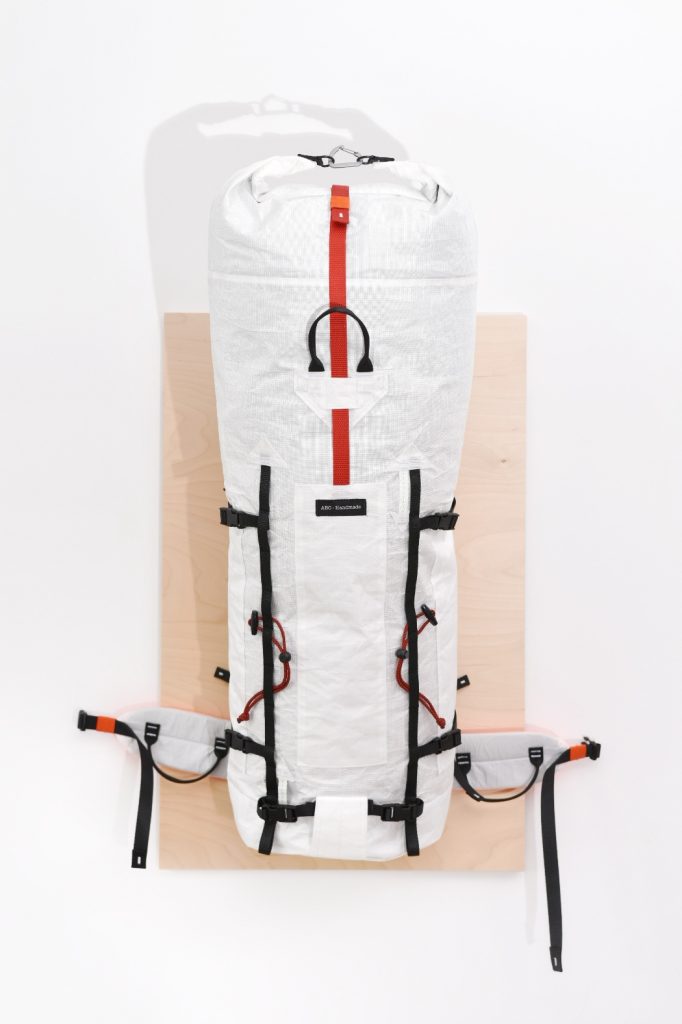
In the end, the complete pack weighs in at exactly 700 grams, which I am really proud of achieving with as little compromises as possible.
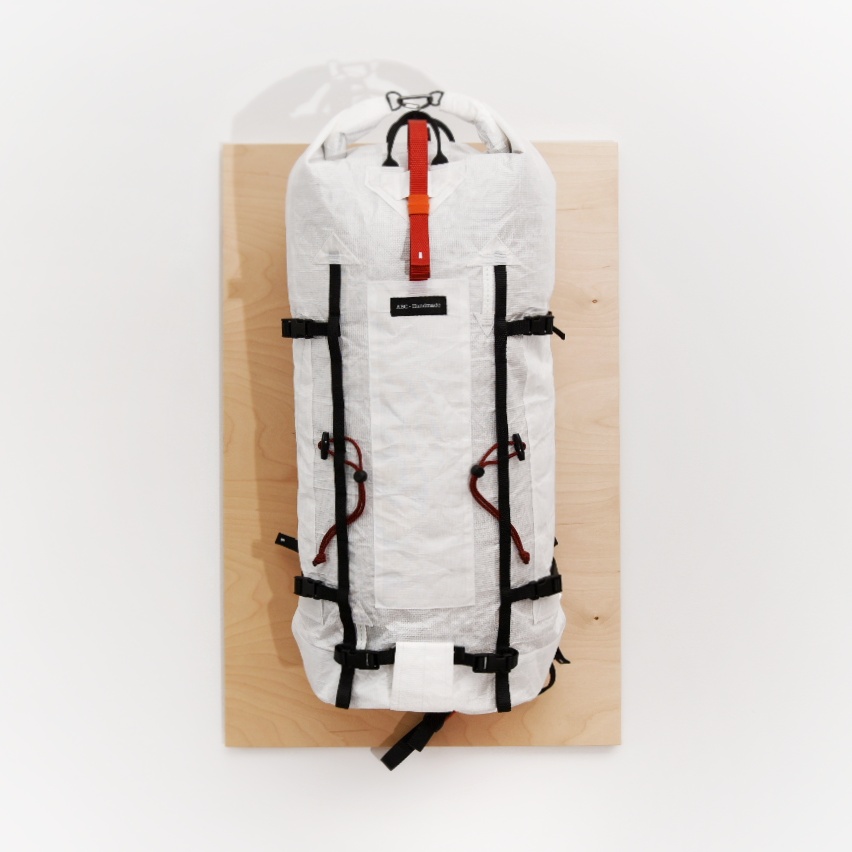
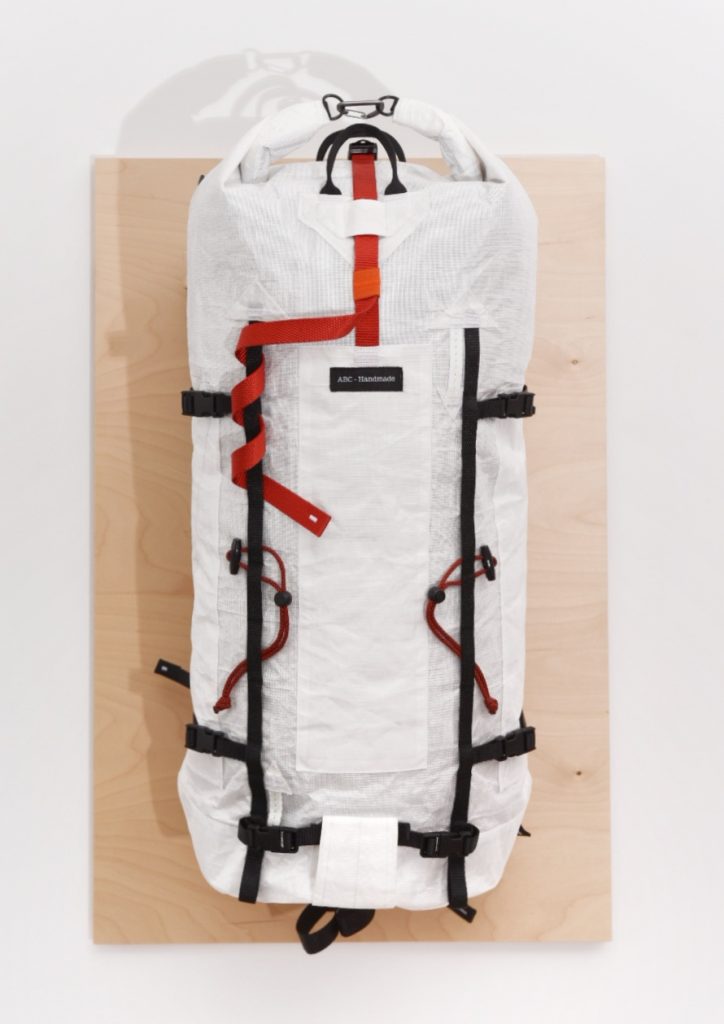
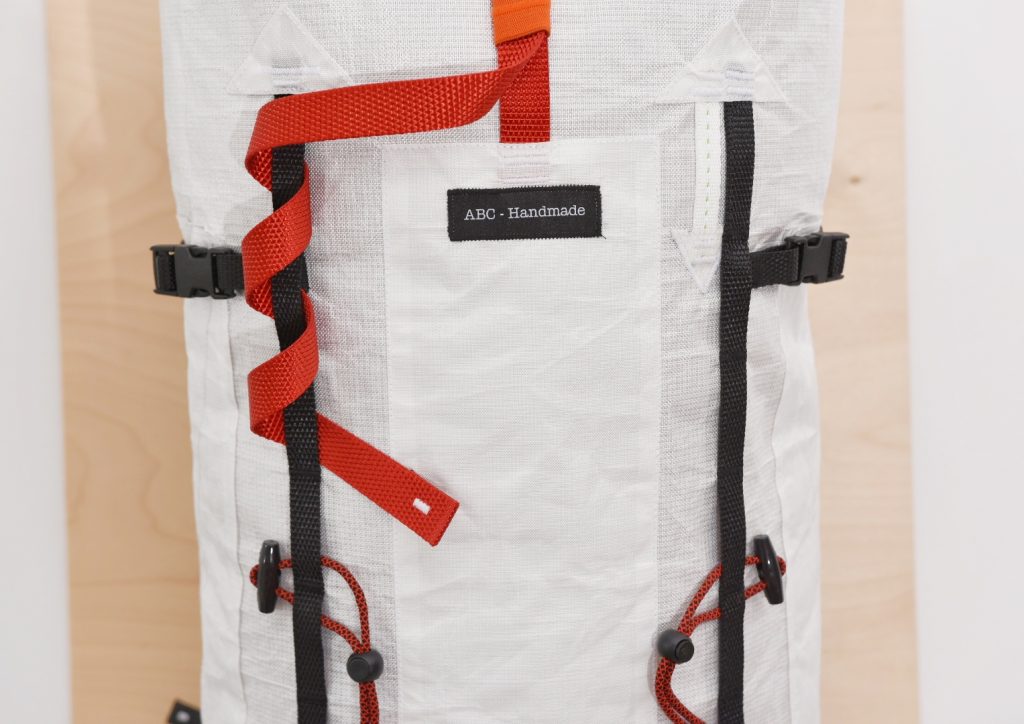
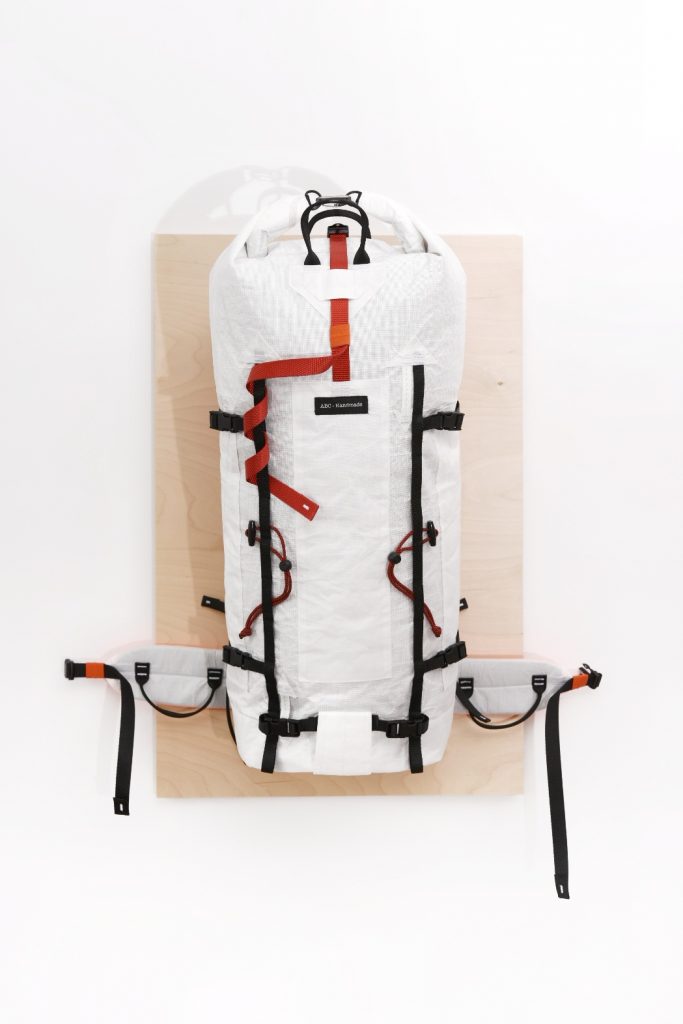
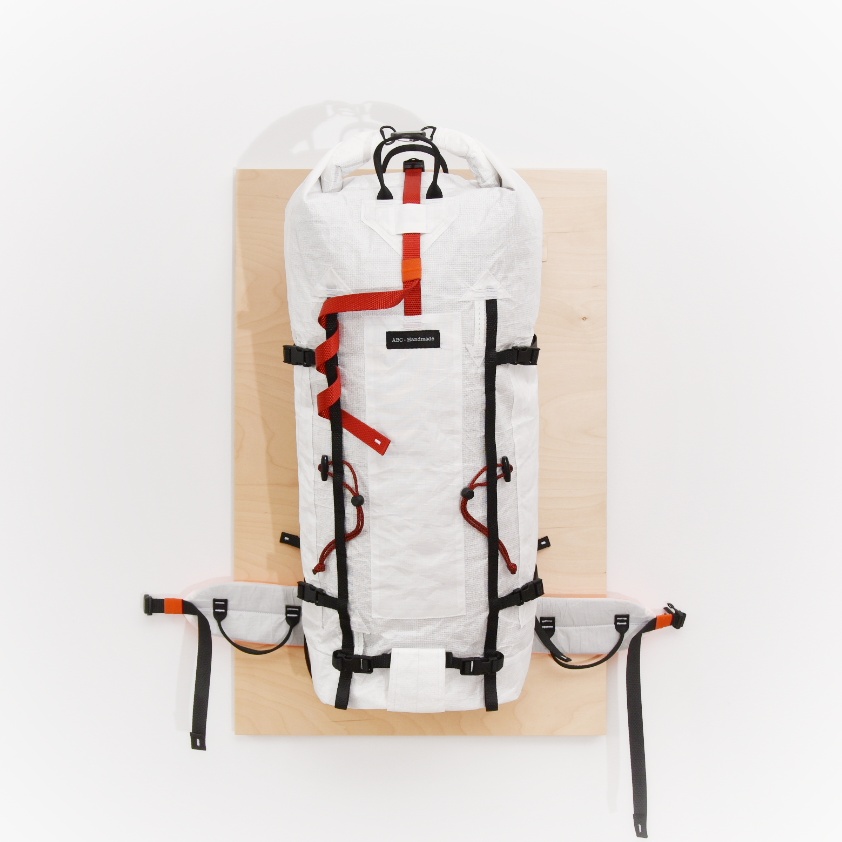
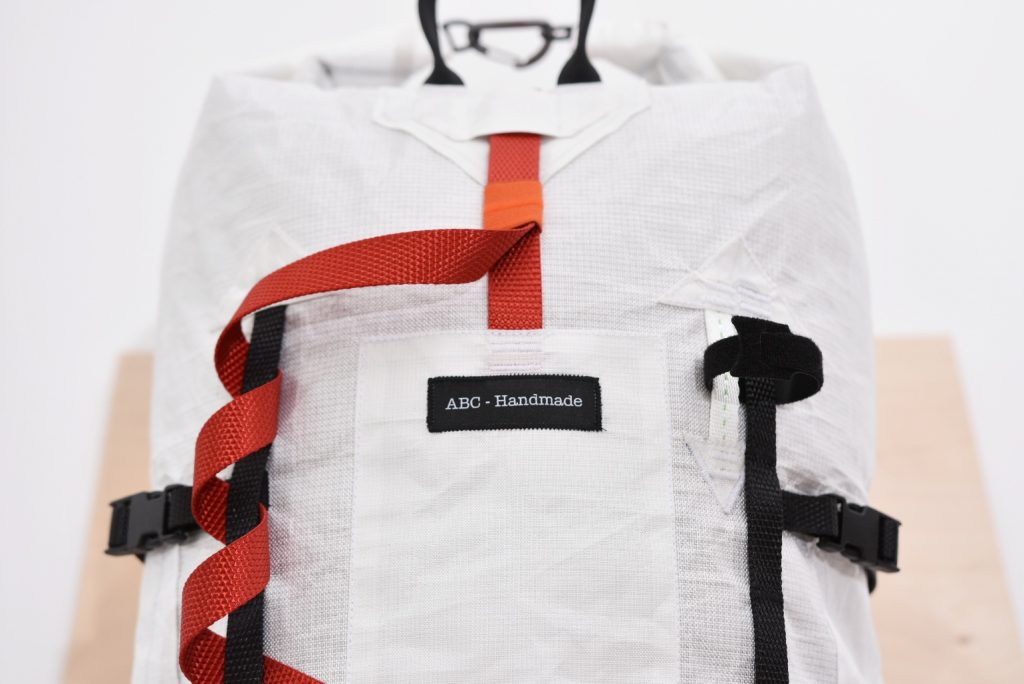
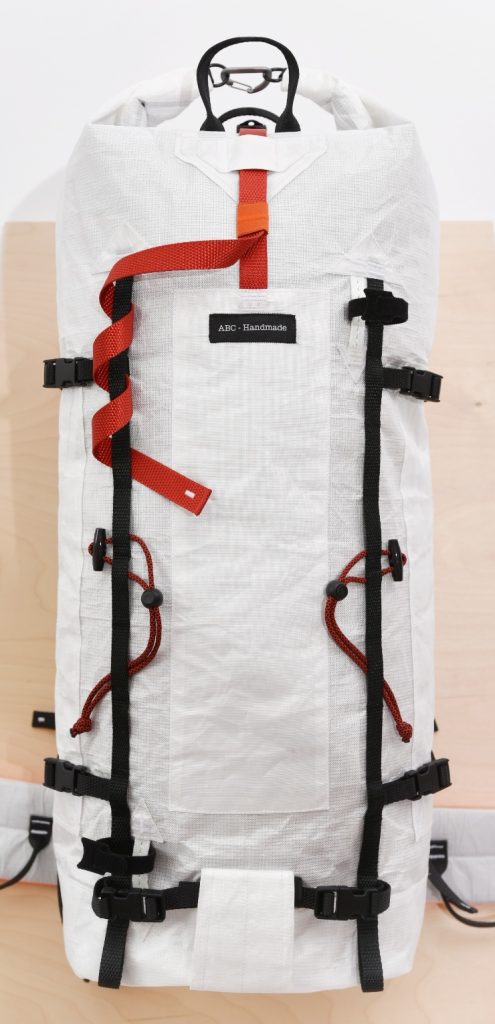
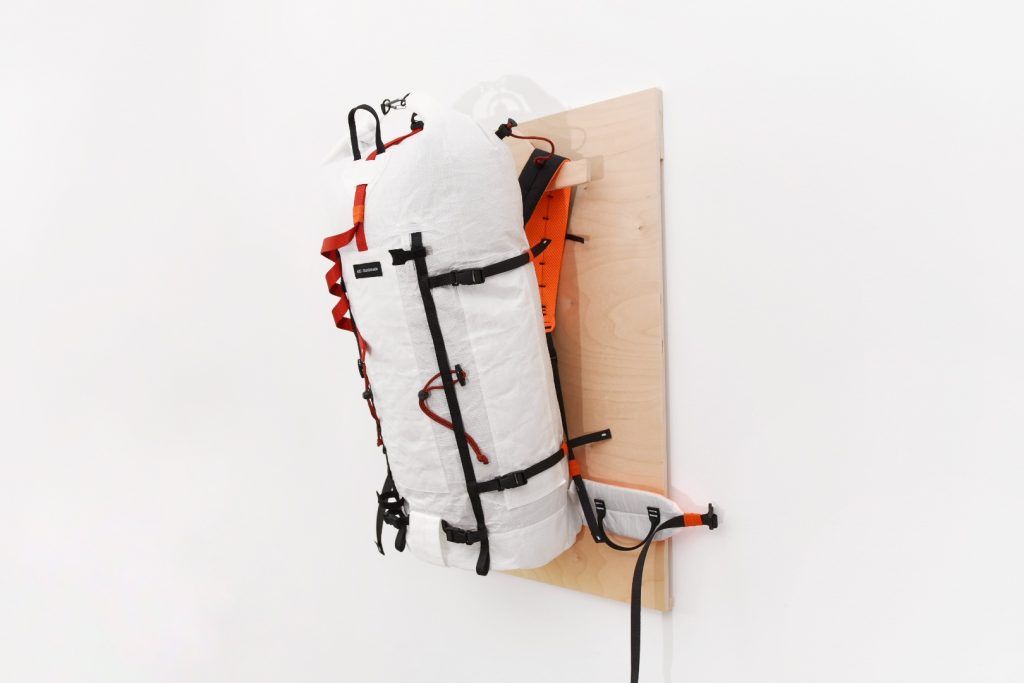

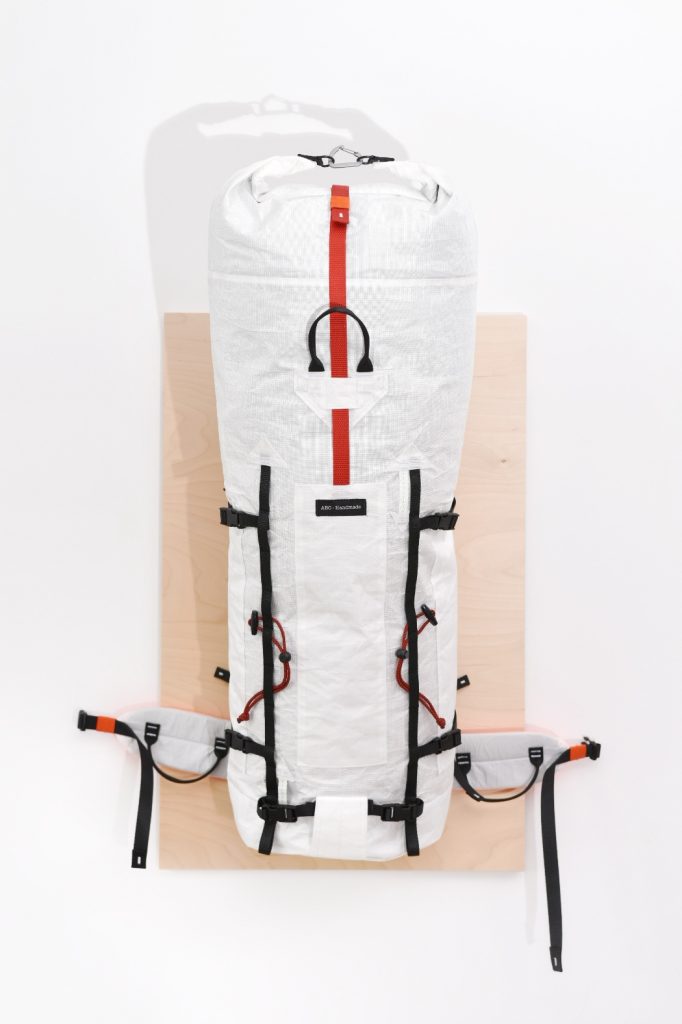
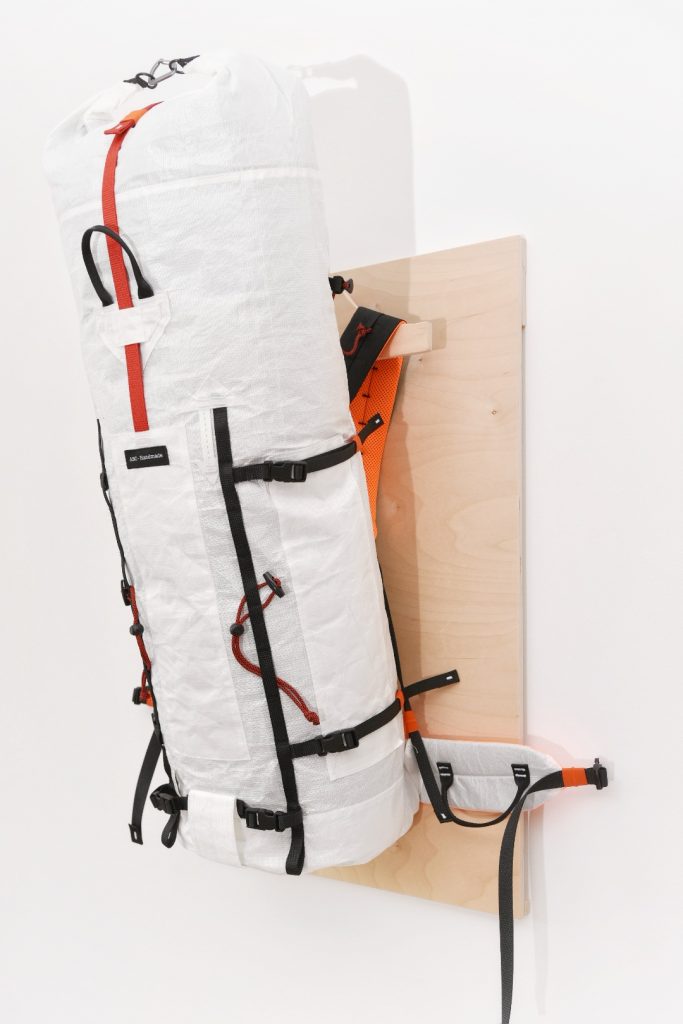
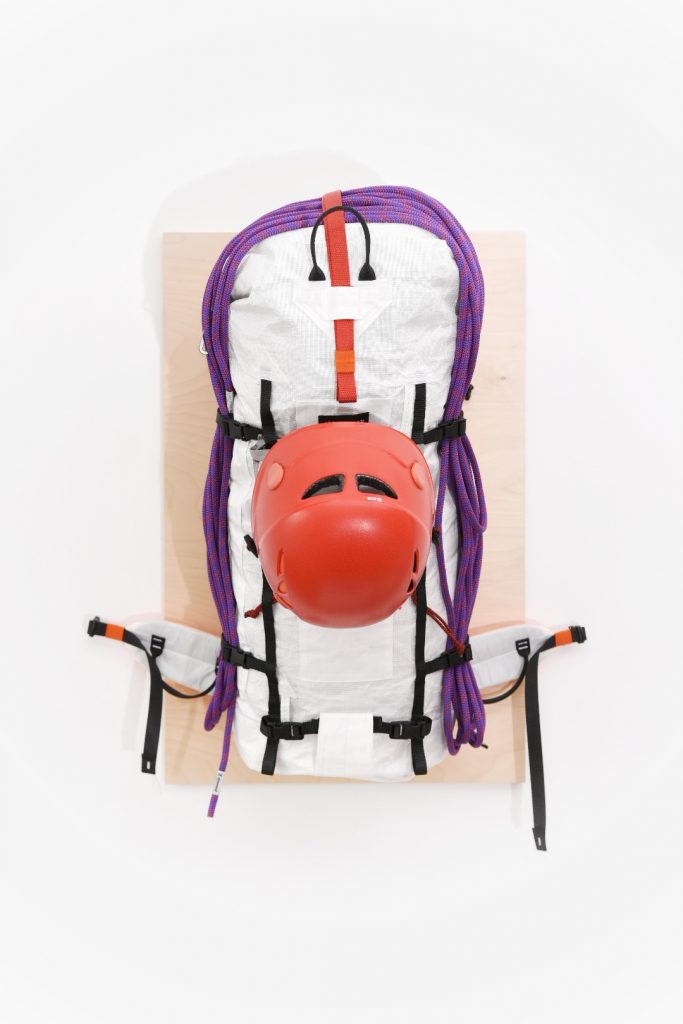
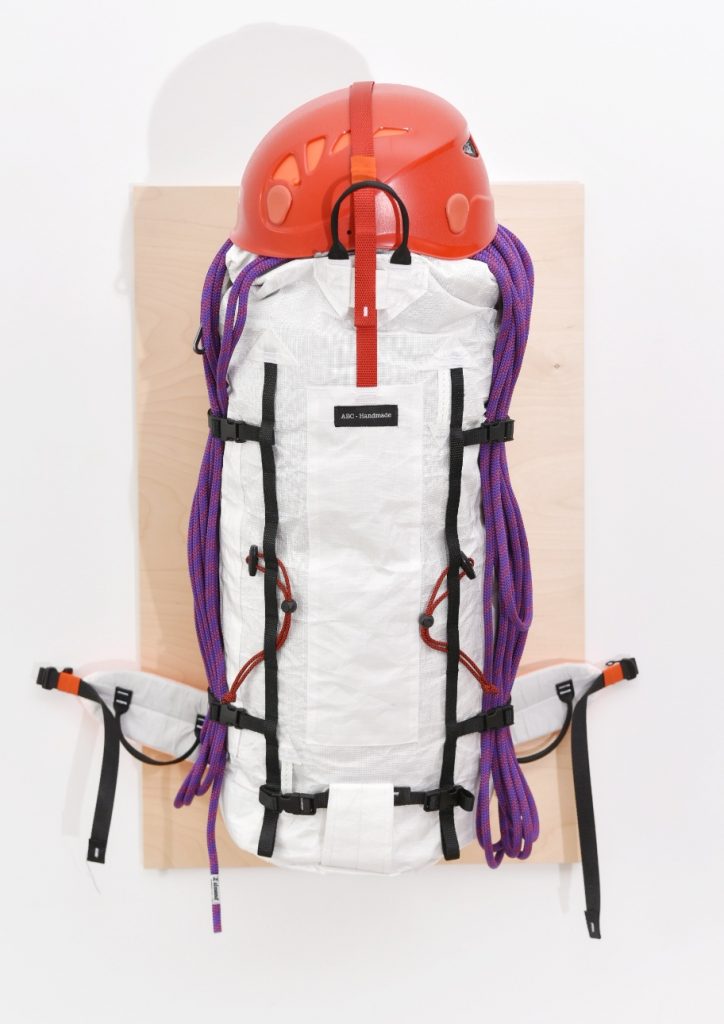
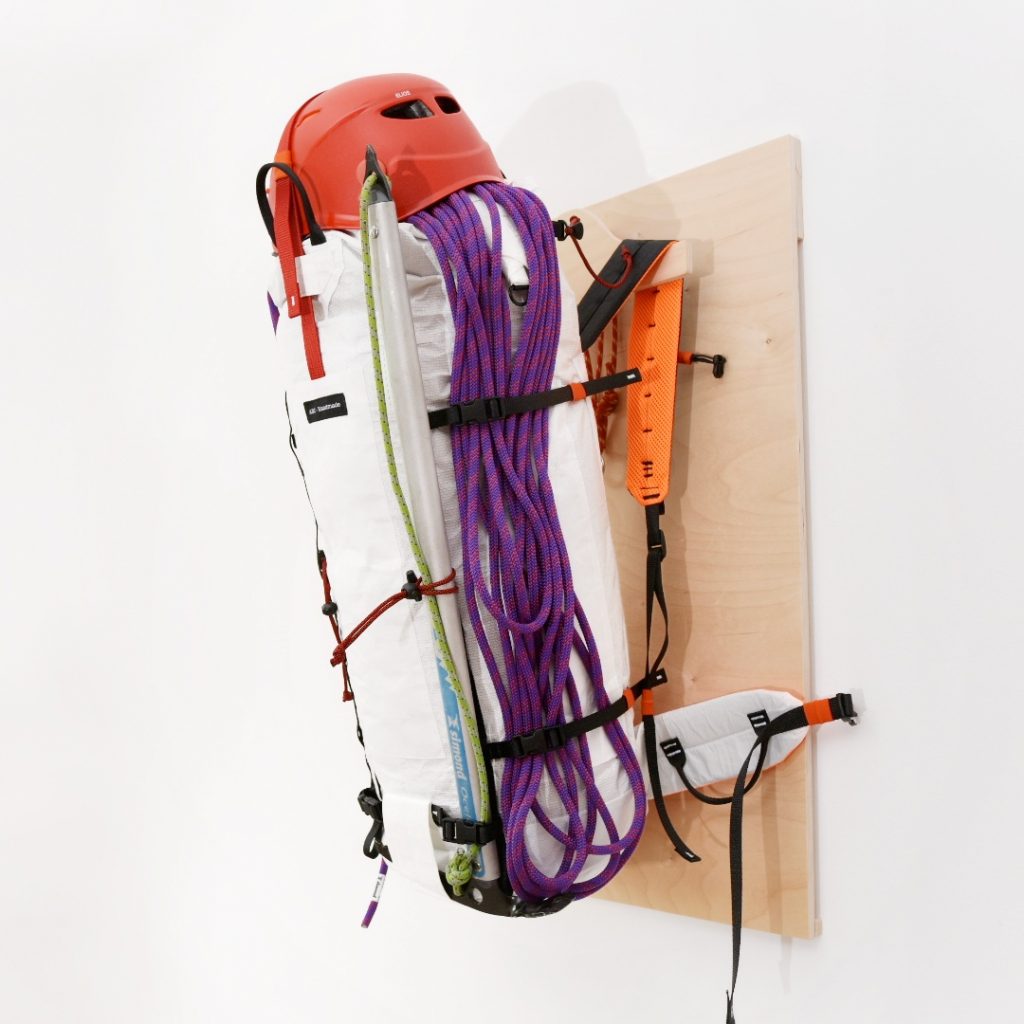
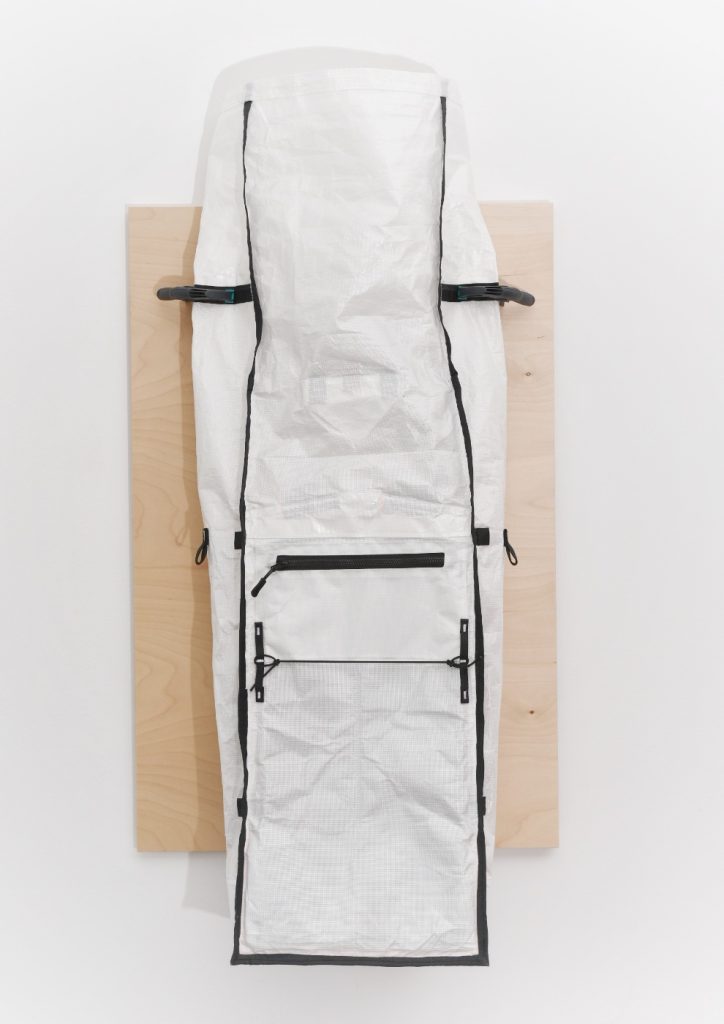
The back panel is of a relatively simple construction, and also out of Ecopak Ultra EPL 400 for its abrasion resistance if the pack needs to be hoisted. The complete back panel, the shoulder straps and hip belt are padded with high quality closed-cell foam for durability and to bring a little comfort when carrying high loads.
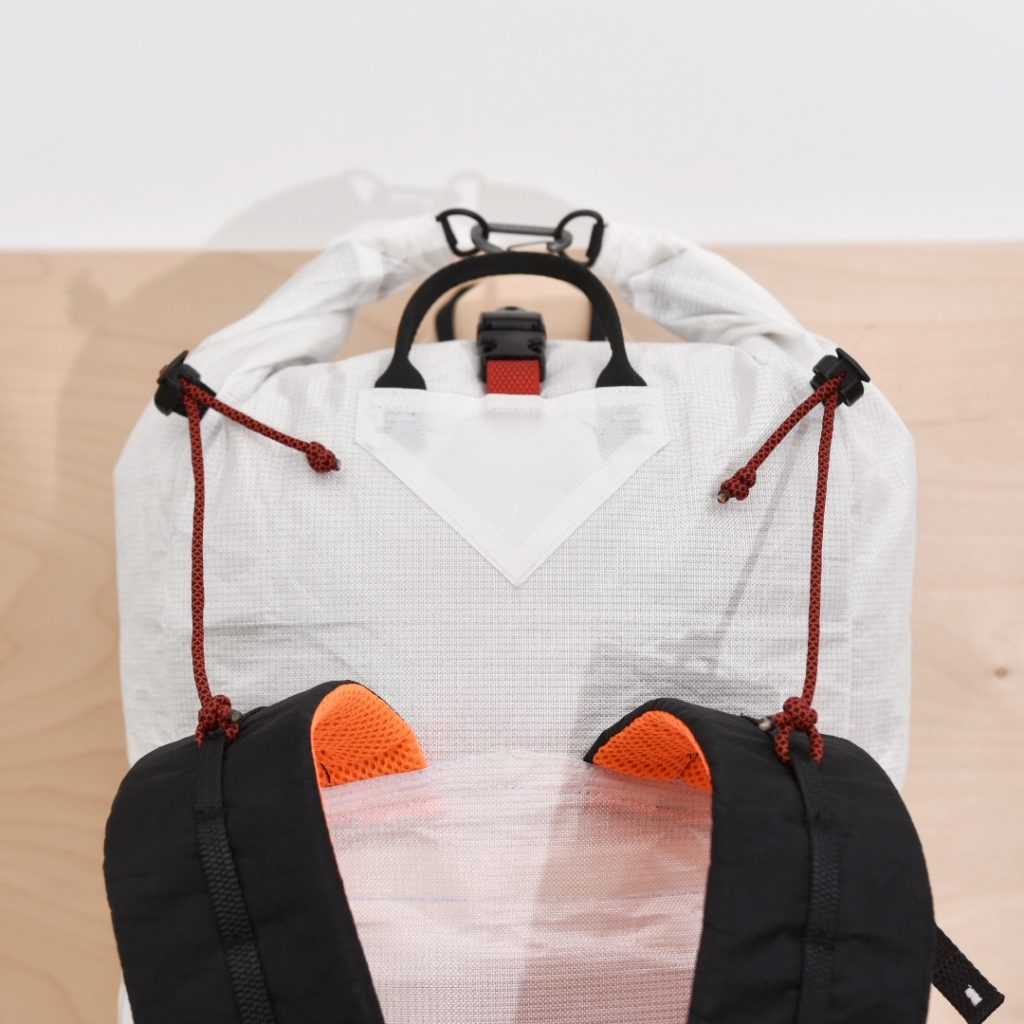
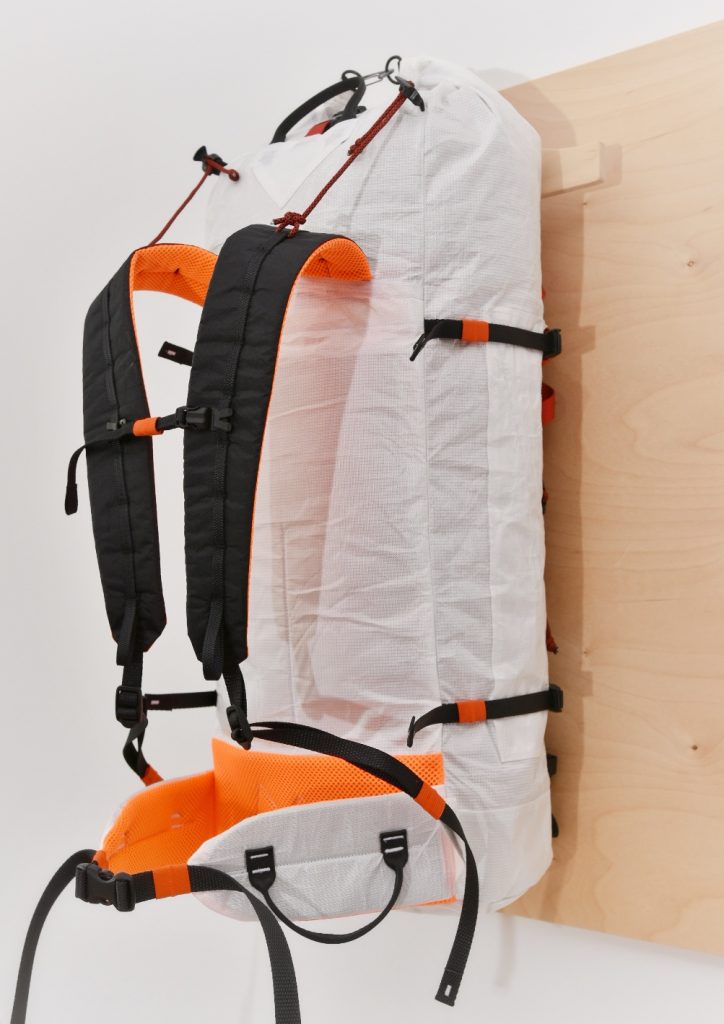
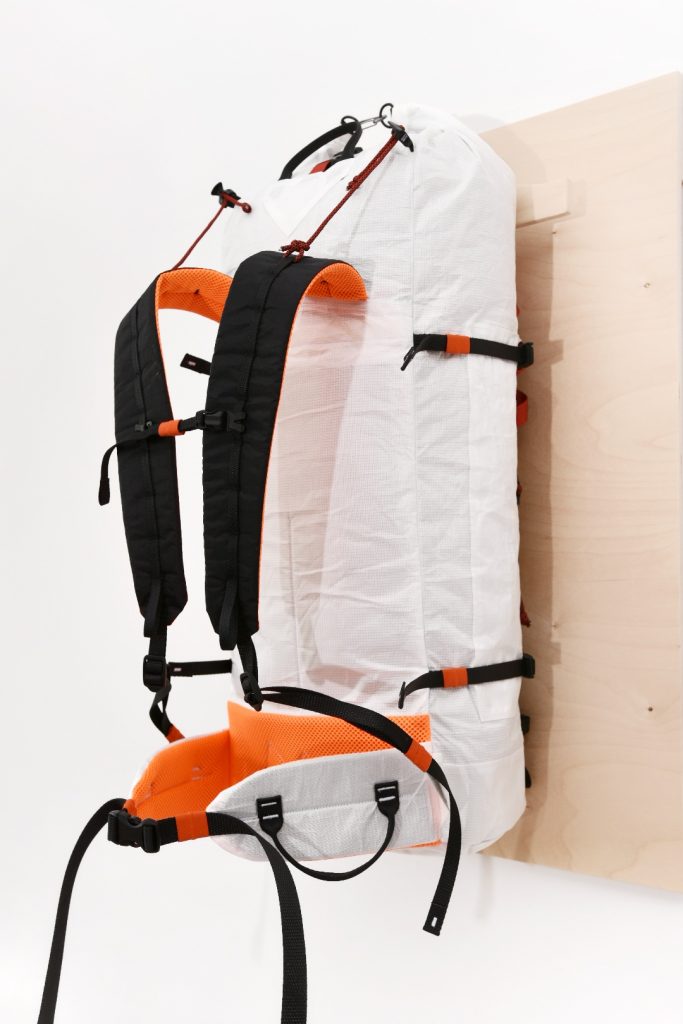
The interior is also very lean, and only offers a couple of gear loops and a small zipper pocket for IDs and other small items. All the seams and the load-bearing bartacks are reinforced and double stitched to prevent fraying of the Ultra EPL fabric in case the backing material starts to degrade. In retrospect, I think I would reinforce the seams and bartacks with a white backing fabric next time to blend in with the rest of the pack better. Since I make that backing “tape” myself, I can easily make it in the colors/fabrics of my choosing. This particular black liner is a 210D Diamond ripstop polyester fabric with polyurethane coating to act as a mild waterproofing tape as well..
