
I must have been spending hours on the concept itself, and just mentally iterating through constructions and ideas, starting from a burrito shape, to ultra complicated constructions, until I finally landed on a appealing concept. After that, I easily spent 20 hours building the pack itself. But between the build idea, and the first cuts, there really wasn’t time at all.
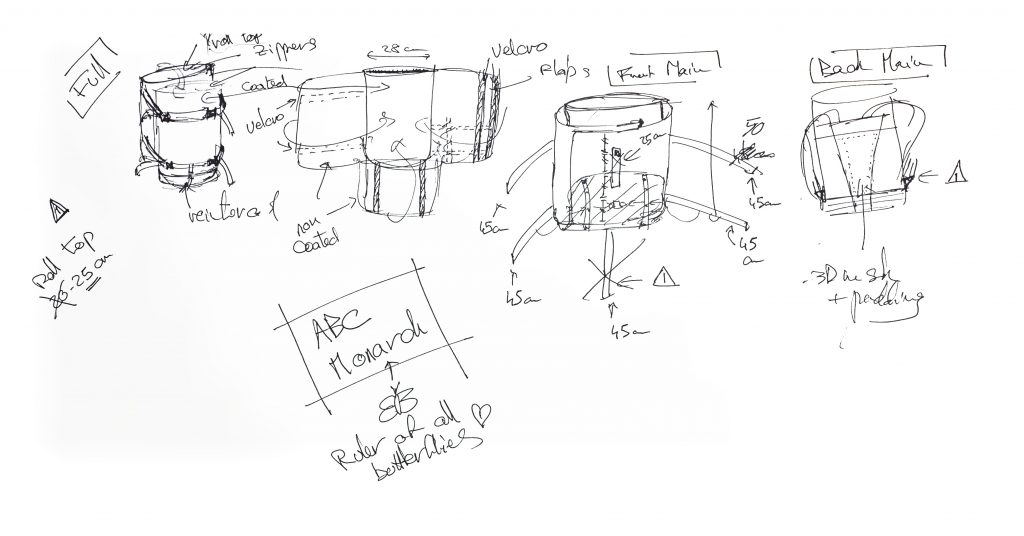
You’ve guessed it, I worked slow to avoid mistakes because I was still improvising quite a bit. I sketched a few different drawings and highlighted the details I wanted to add, then marked all the small things that are easily missed, and I got cracking almost immediately. If you look closer at the sketches above, the idea I started with was to have a third compartment that would have been strapped atop the flaps, securing the secondary compartment, creating essentially a sandwich pack. As you can see with the finished pack, I quickly dismissed that idea.
This workflow is somewhat an evolution to my normal process. I usually spend a lot of time sketching and doodling and measuring and thinking, before starting to work fast. But I definitely recommend the exercise every so often! It’s a good way to test your spatial acuity and your building habits.
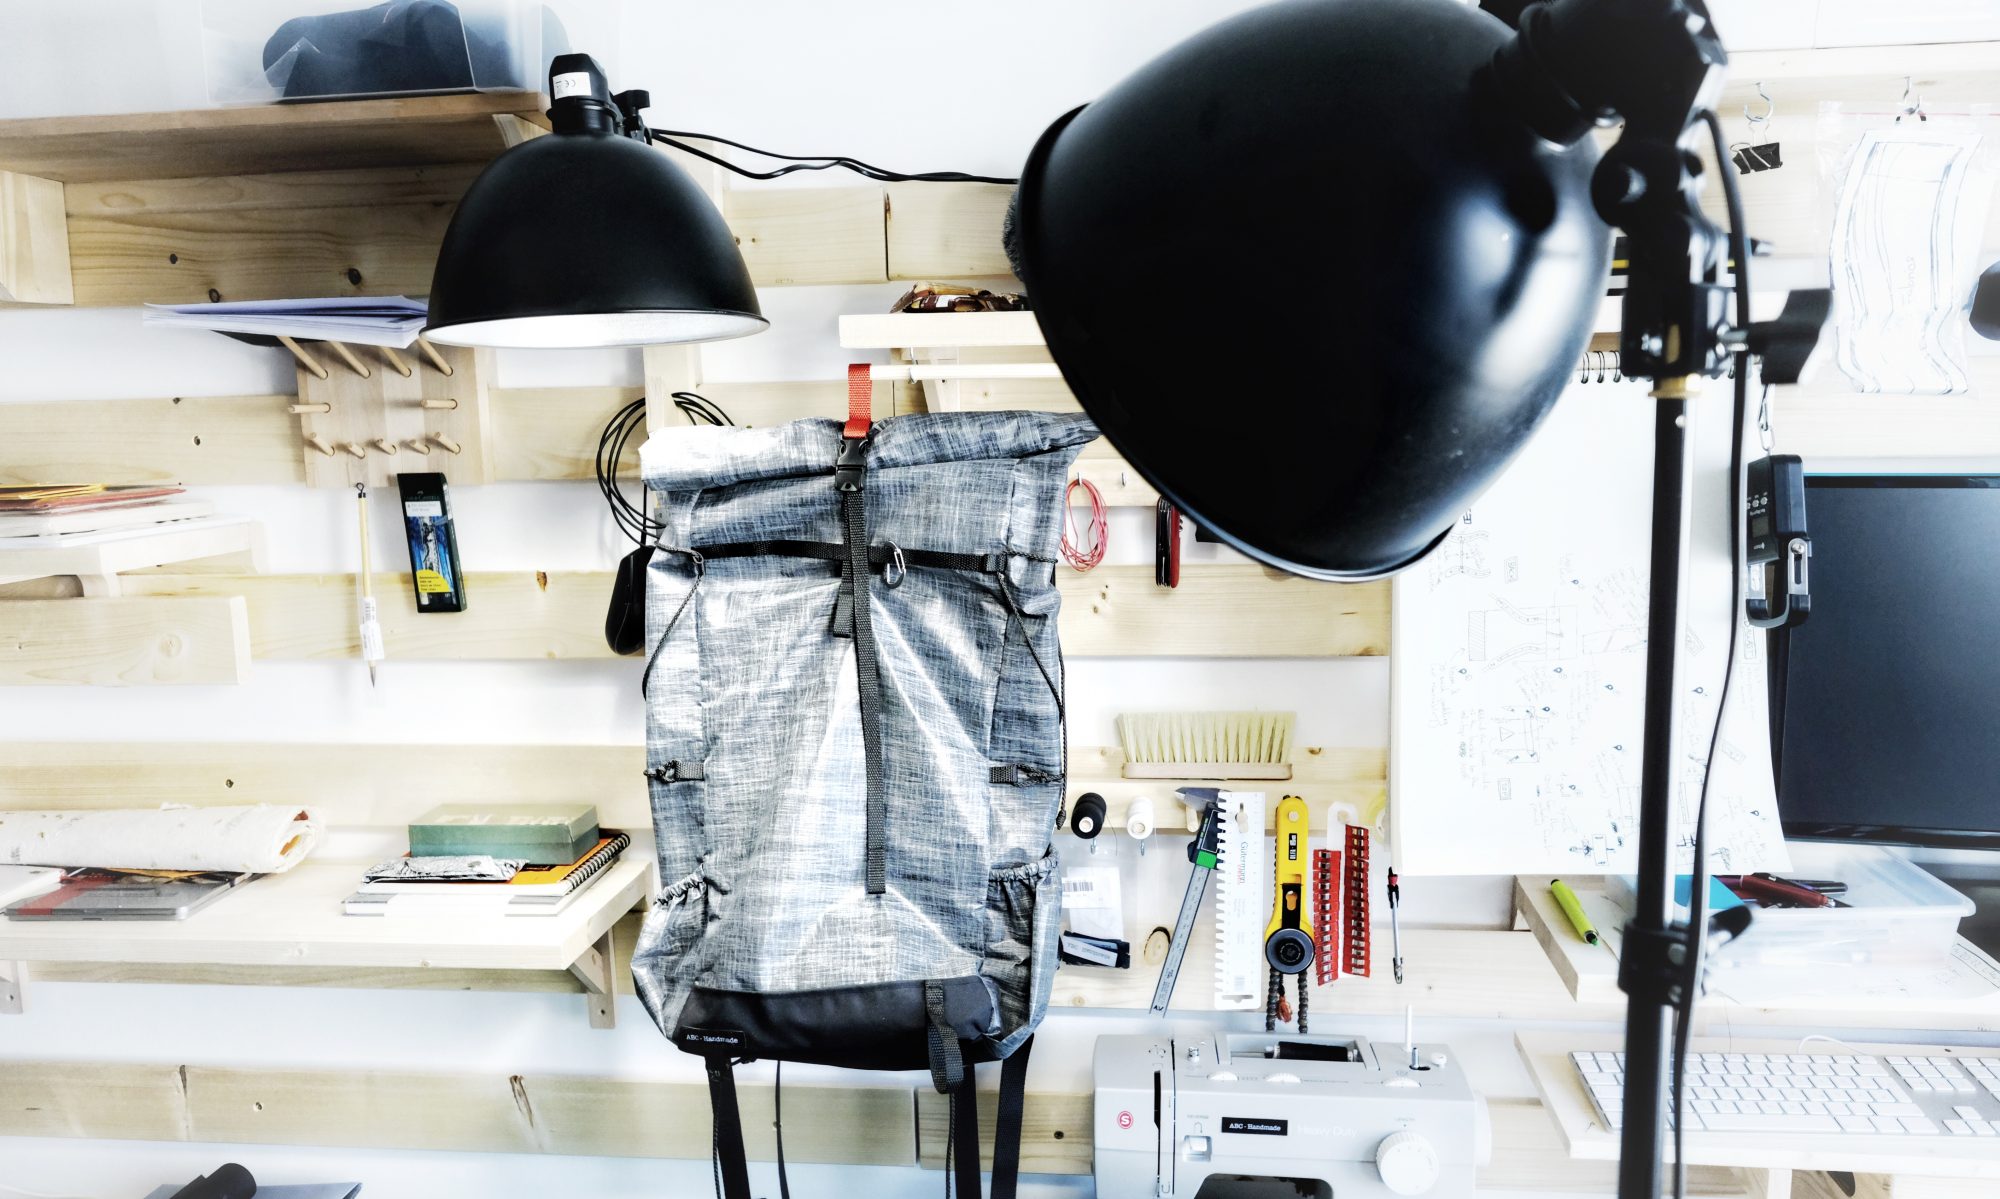
On a side note, this is the second backpack I build with unpadded shoulder straps, the first one was also a spur of the moment thing. I was just tired of struggling while trying to slide the foam inside the straps, and decided to give that a try instead. I’m quite happy with the comfort the 3D mesh provides for small to medium loads (up to 6kg) and I’ll probably stick to this construction for a while. But sometimes, an idea will make things worse, just keep that in mind!
