Afterthoughts on a V-Shaped Pack

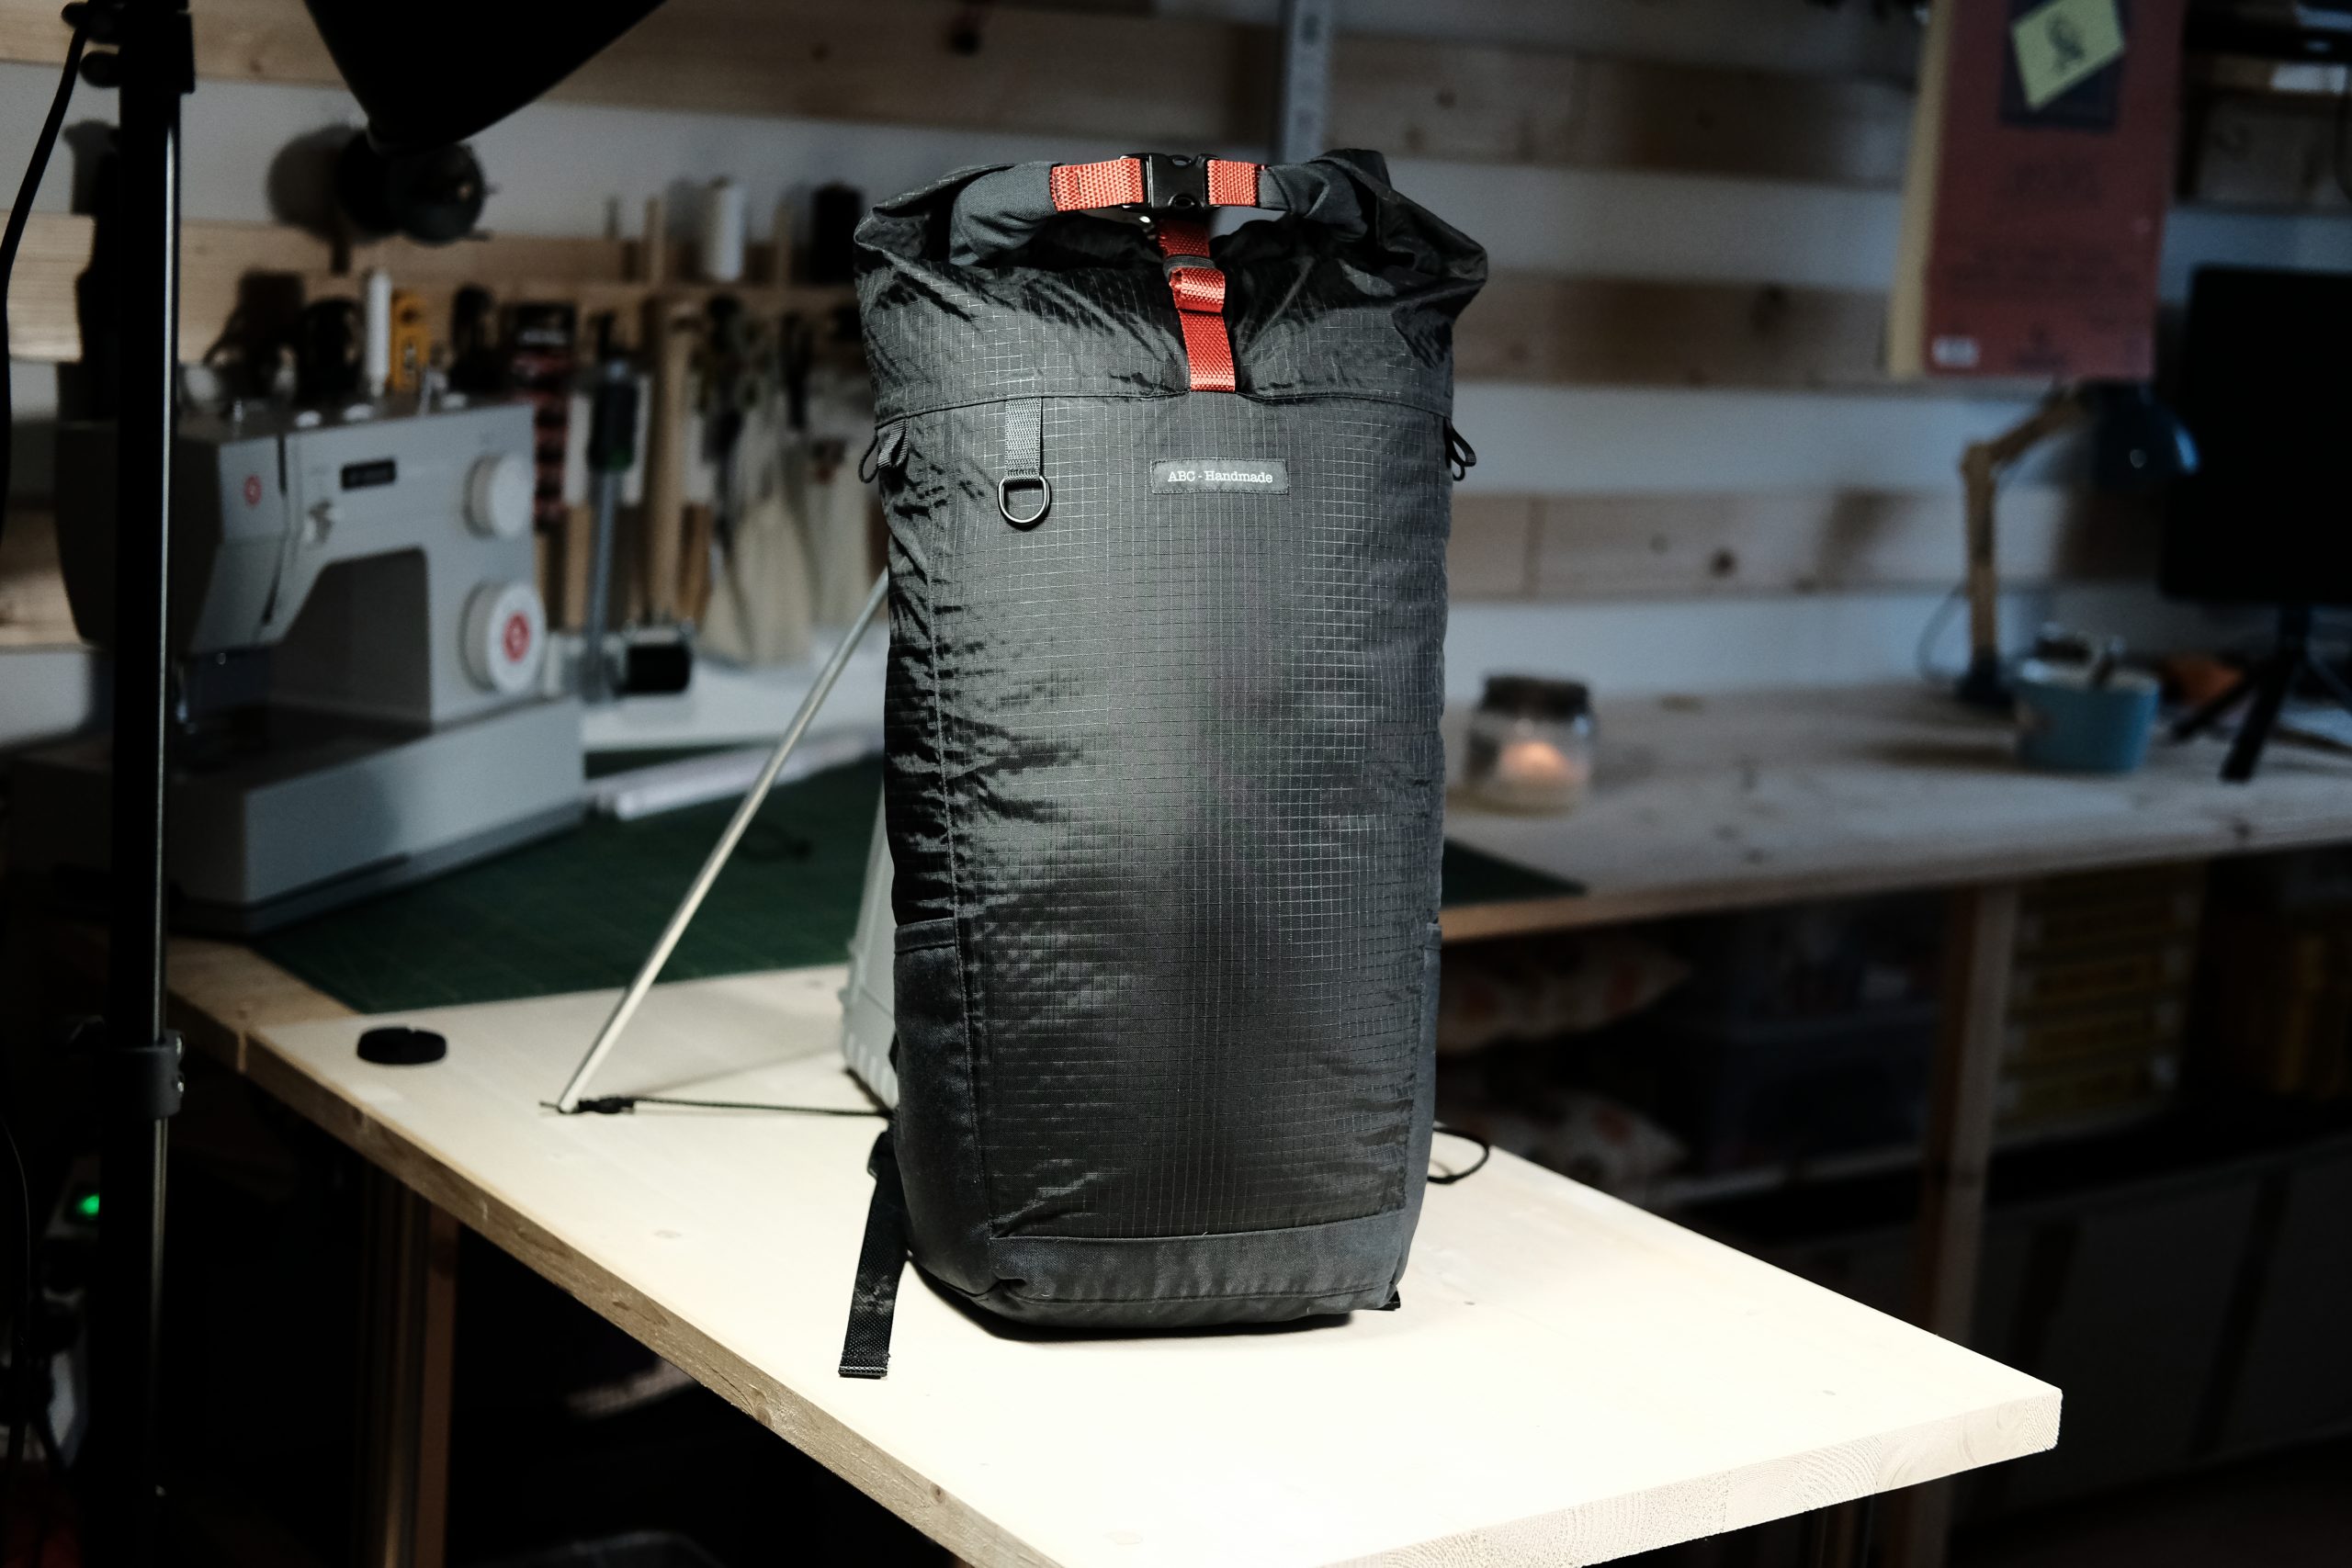
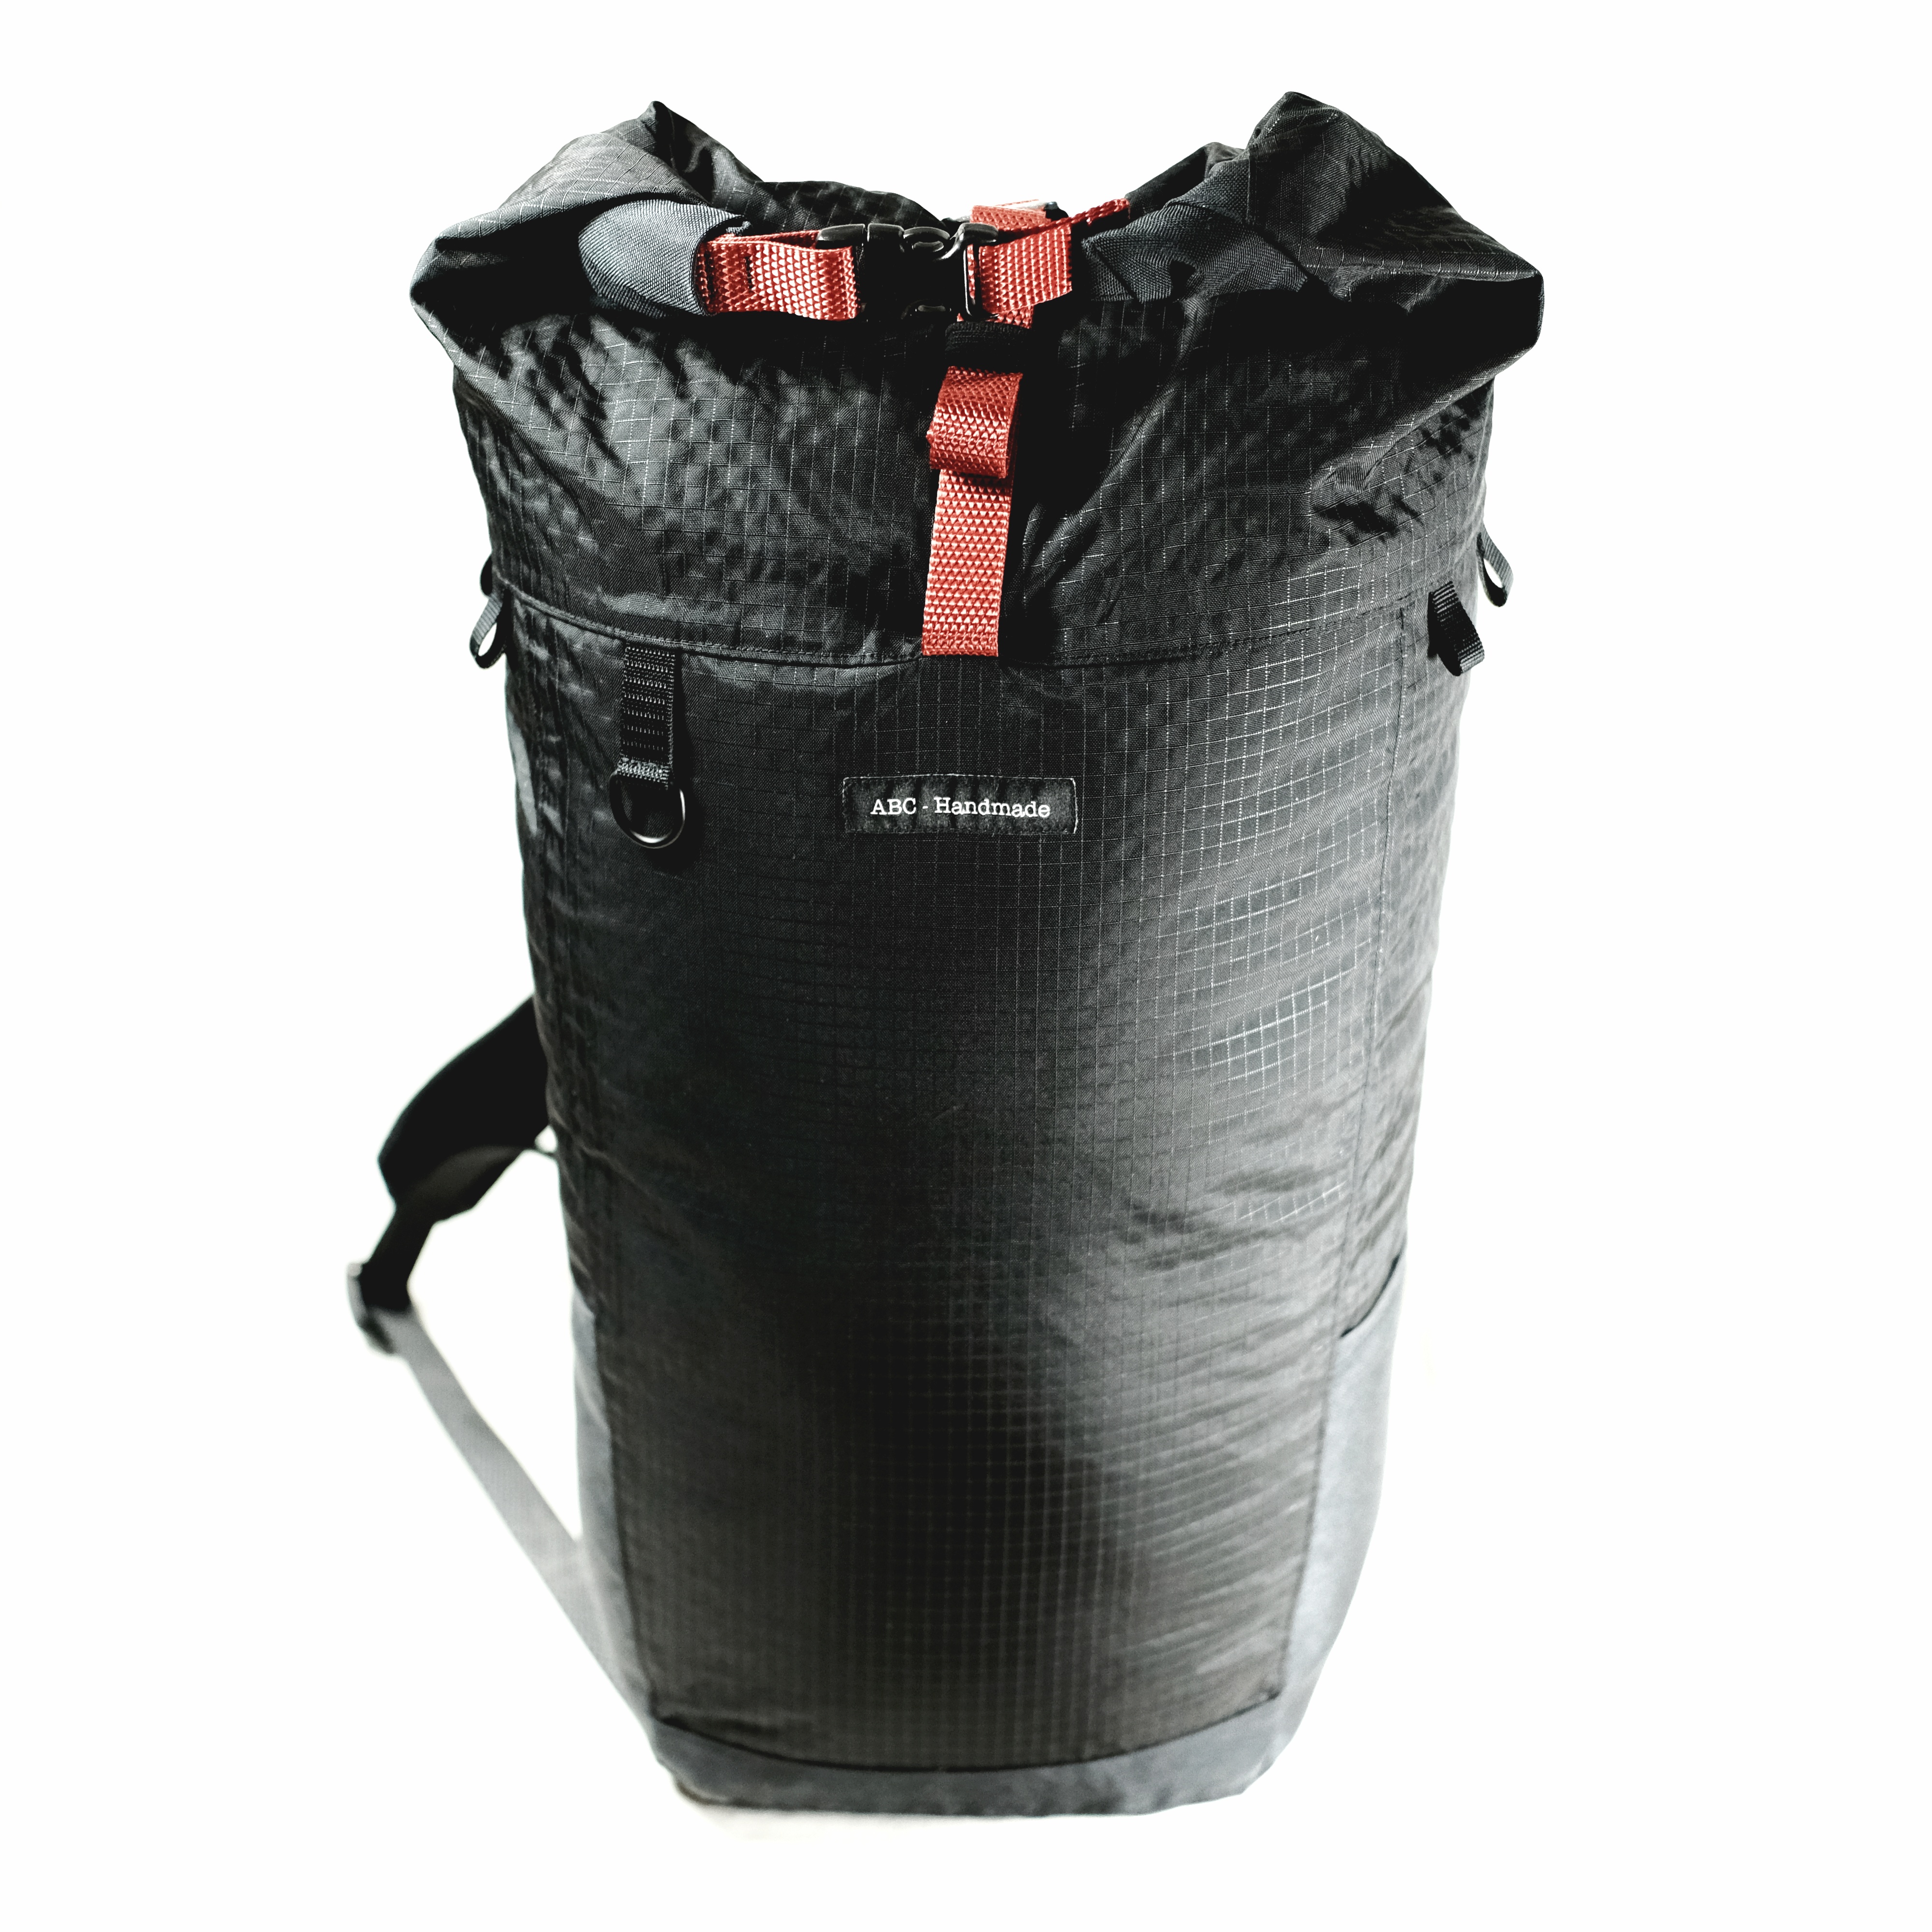
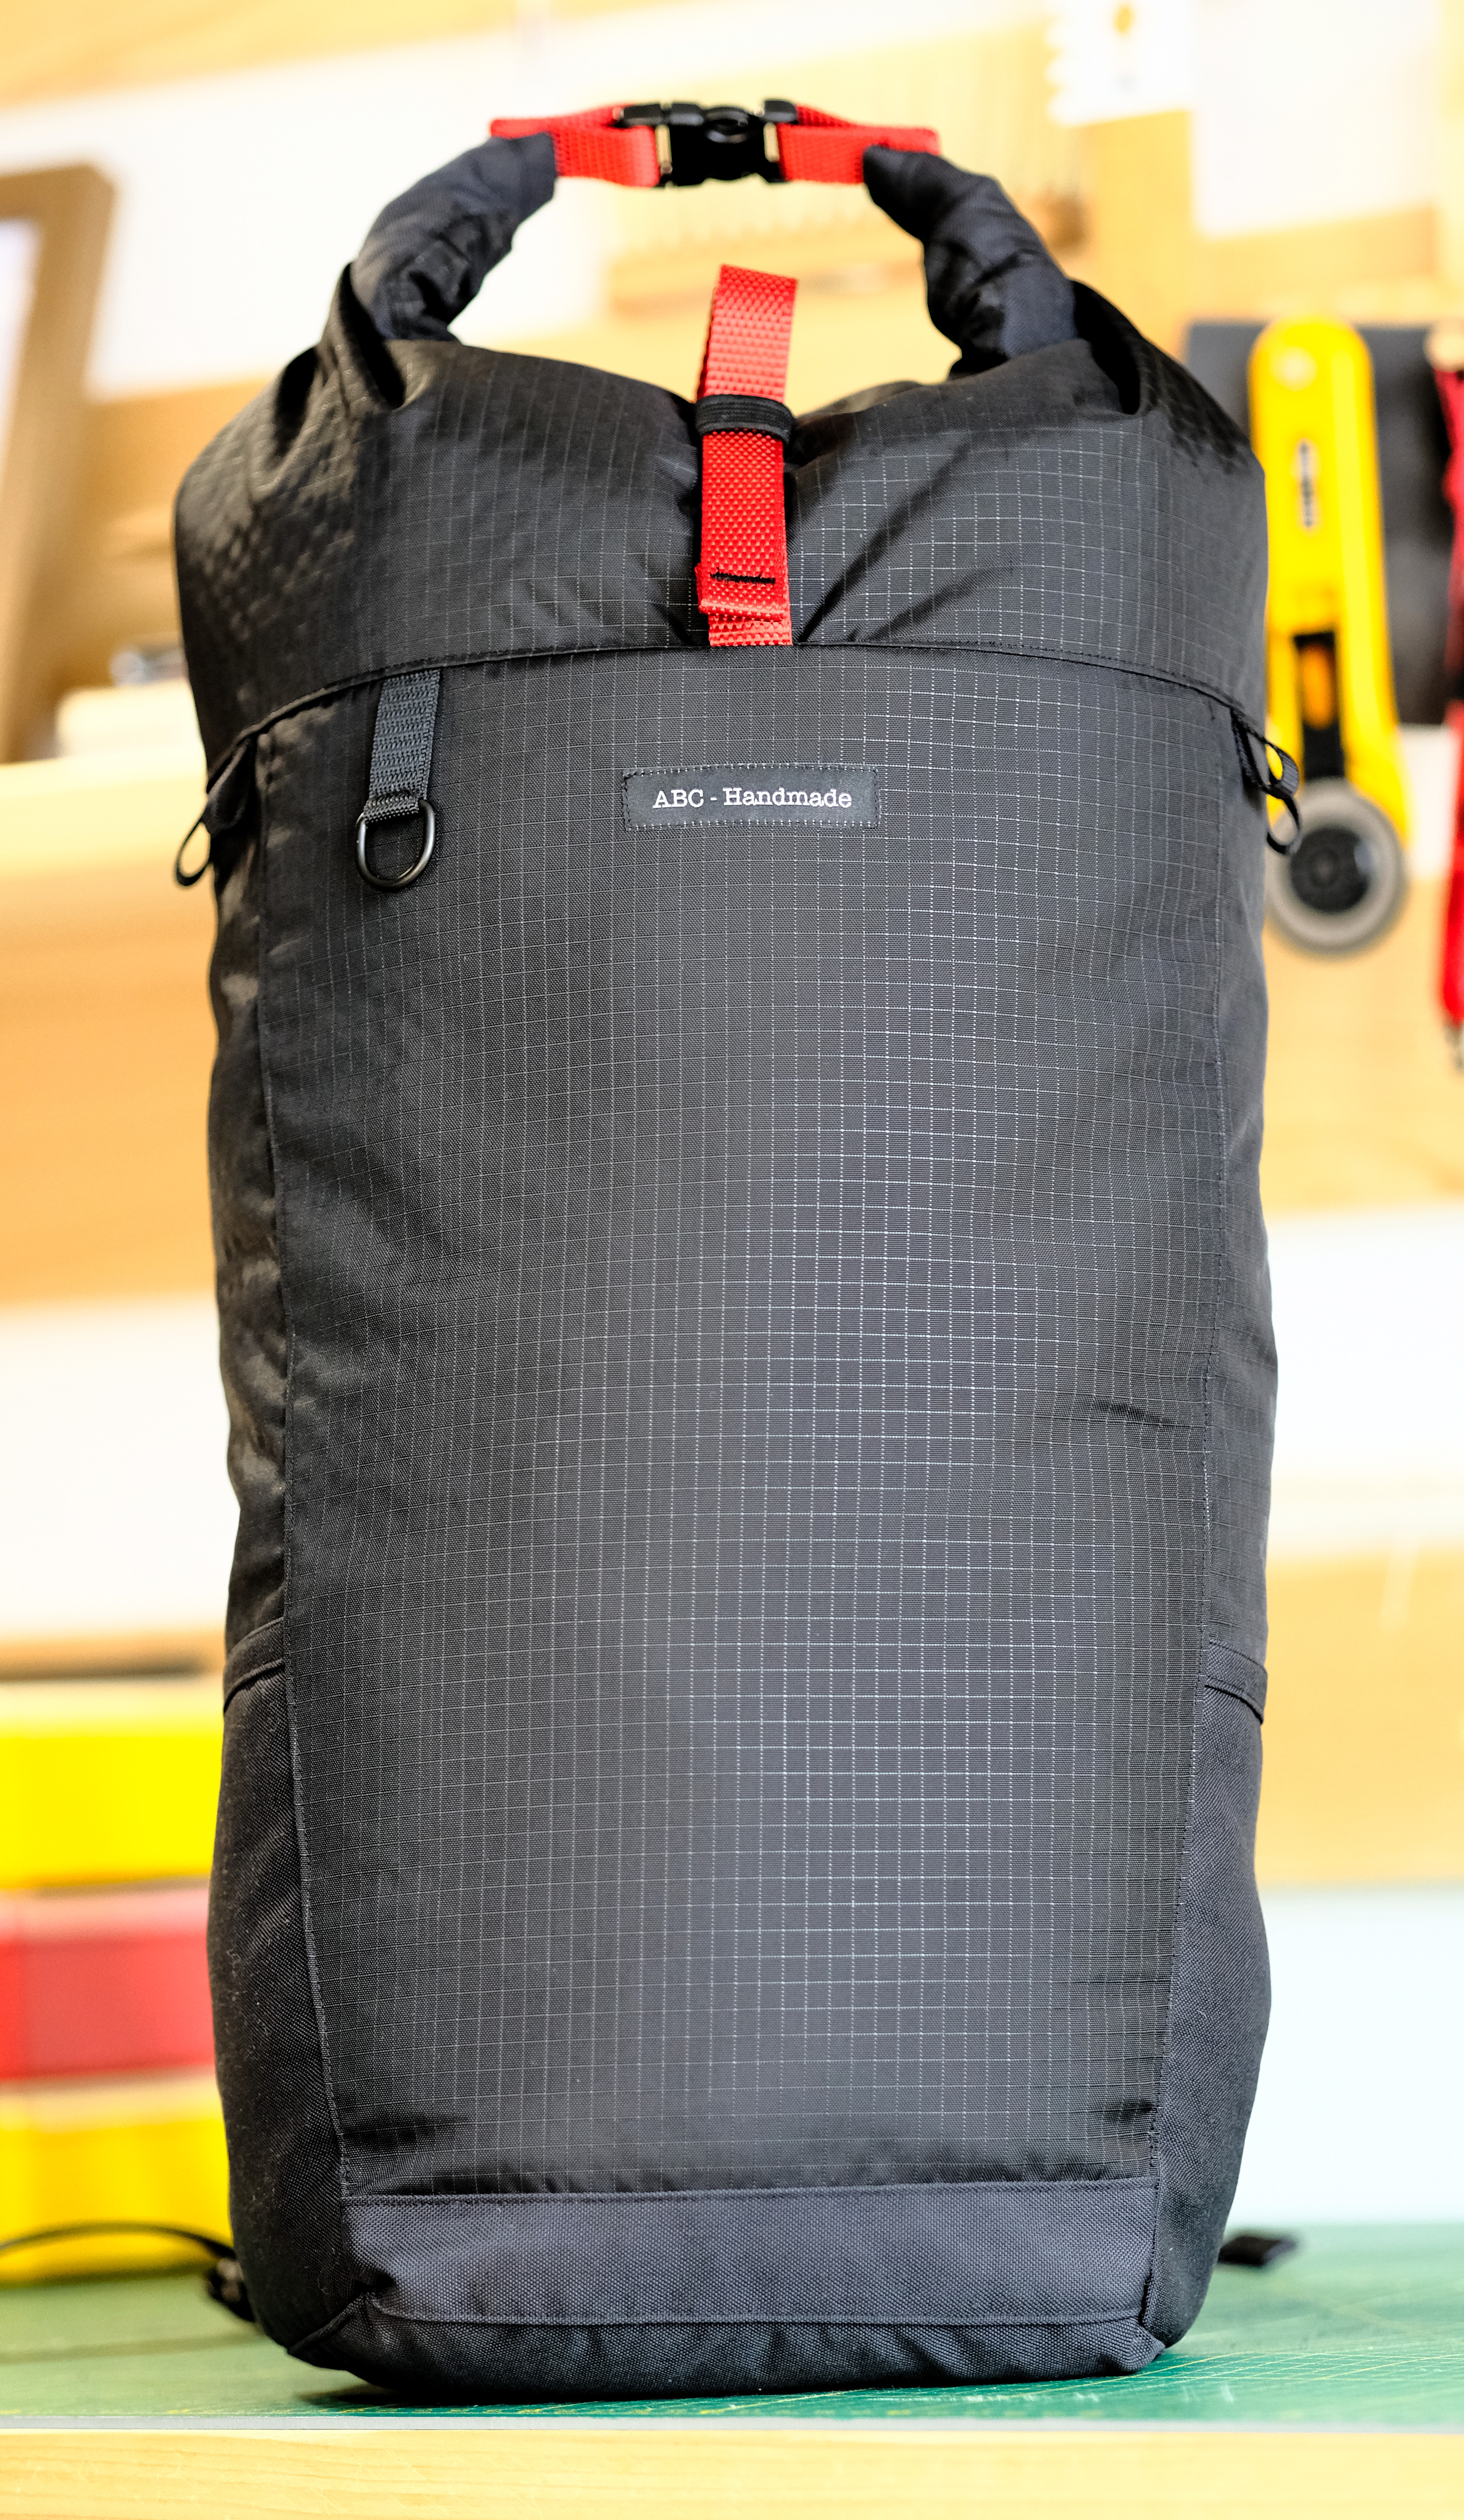
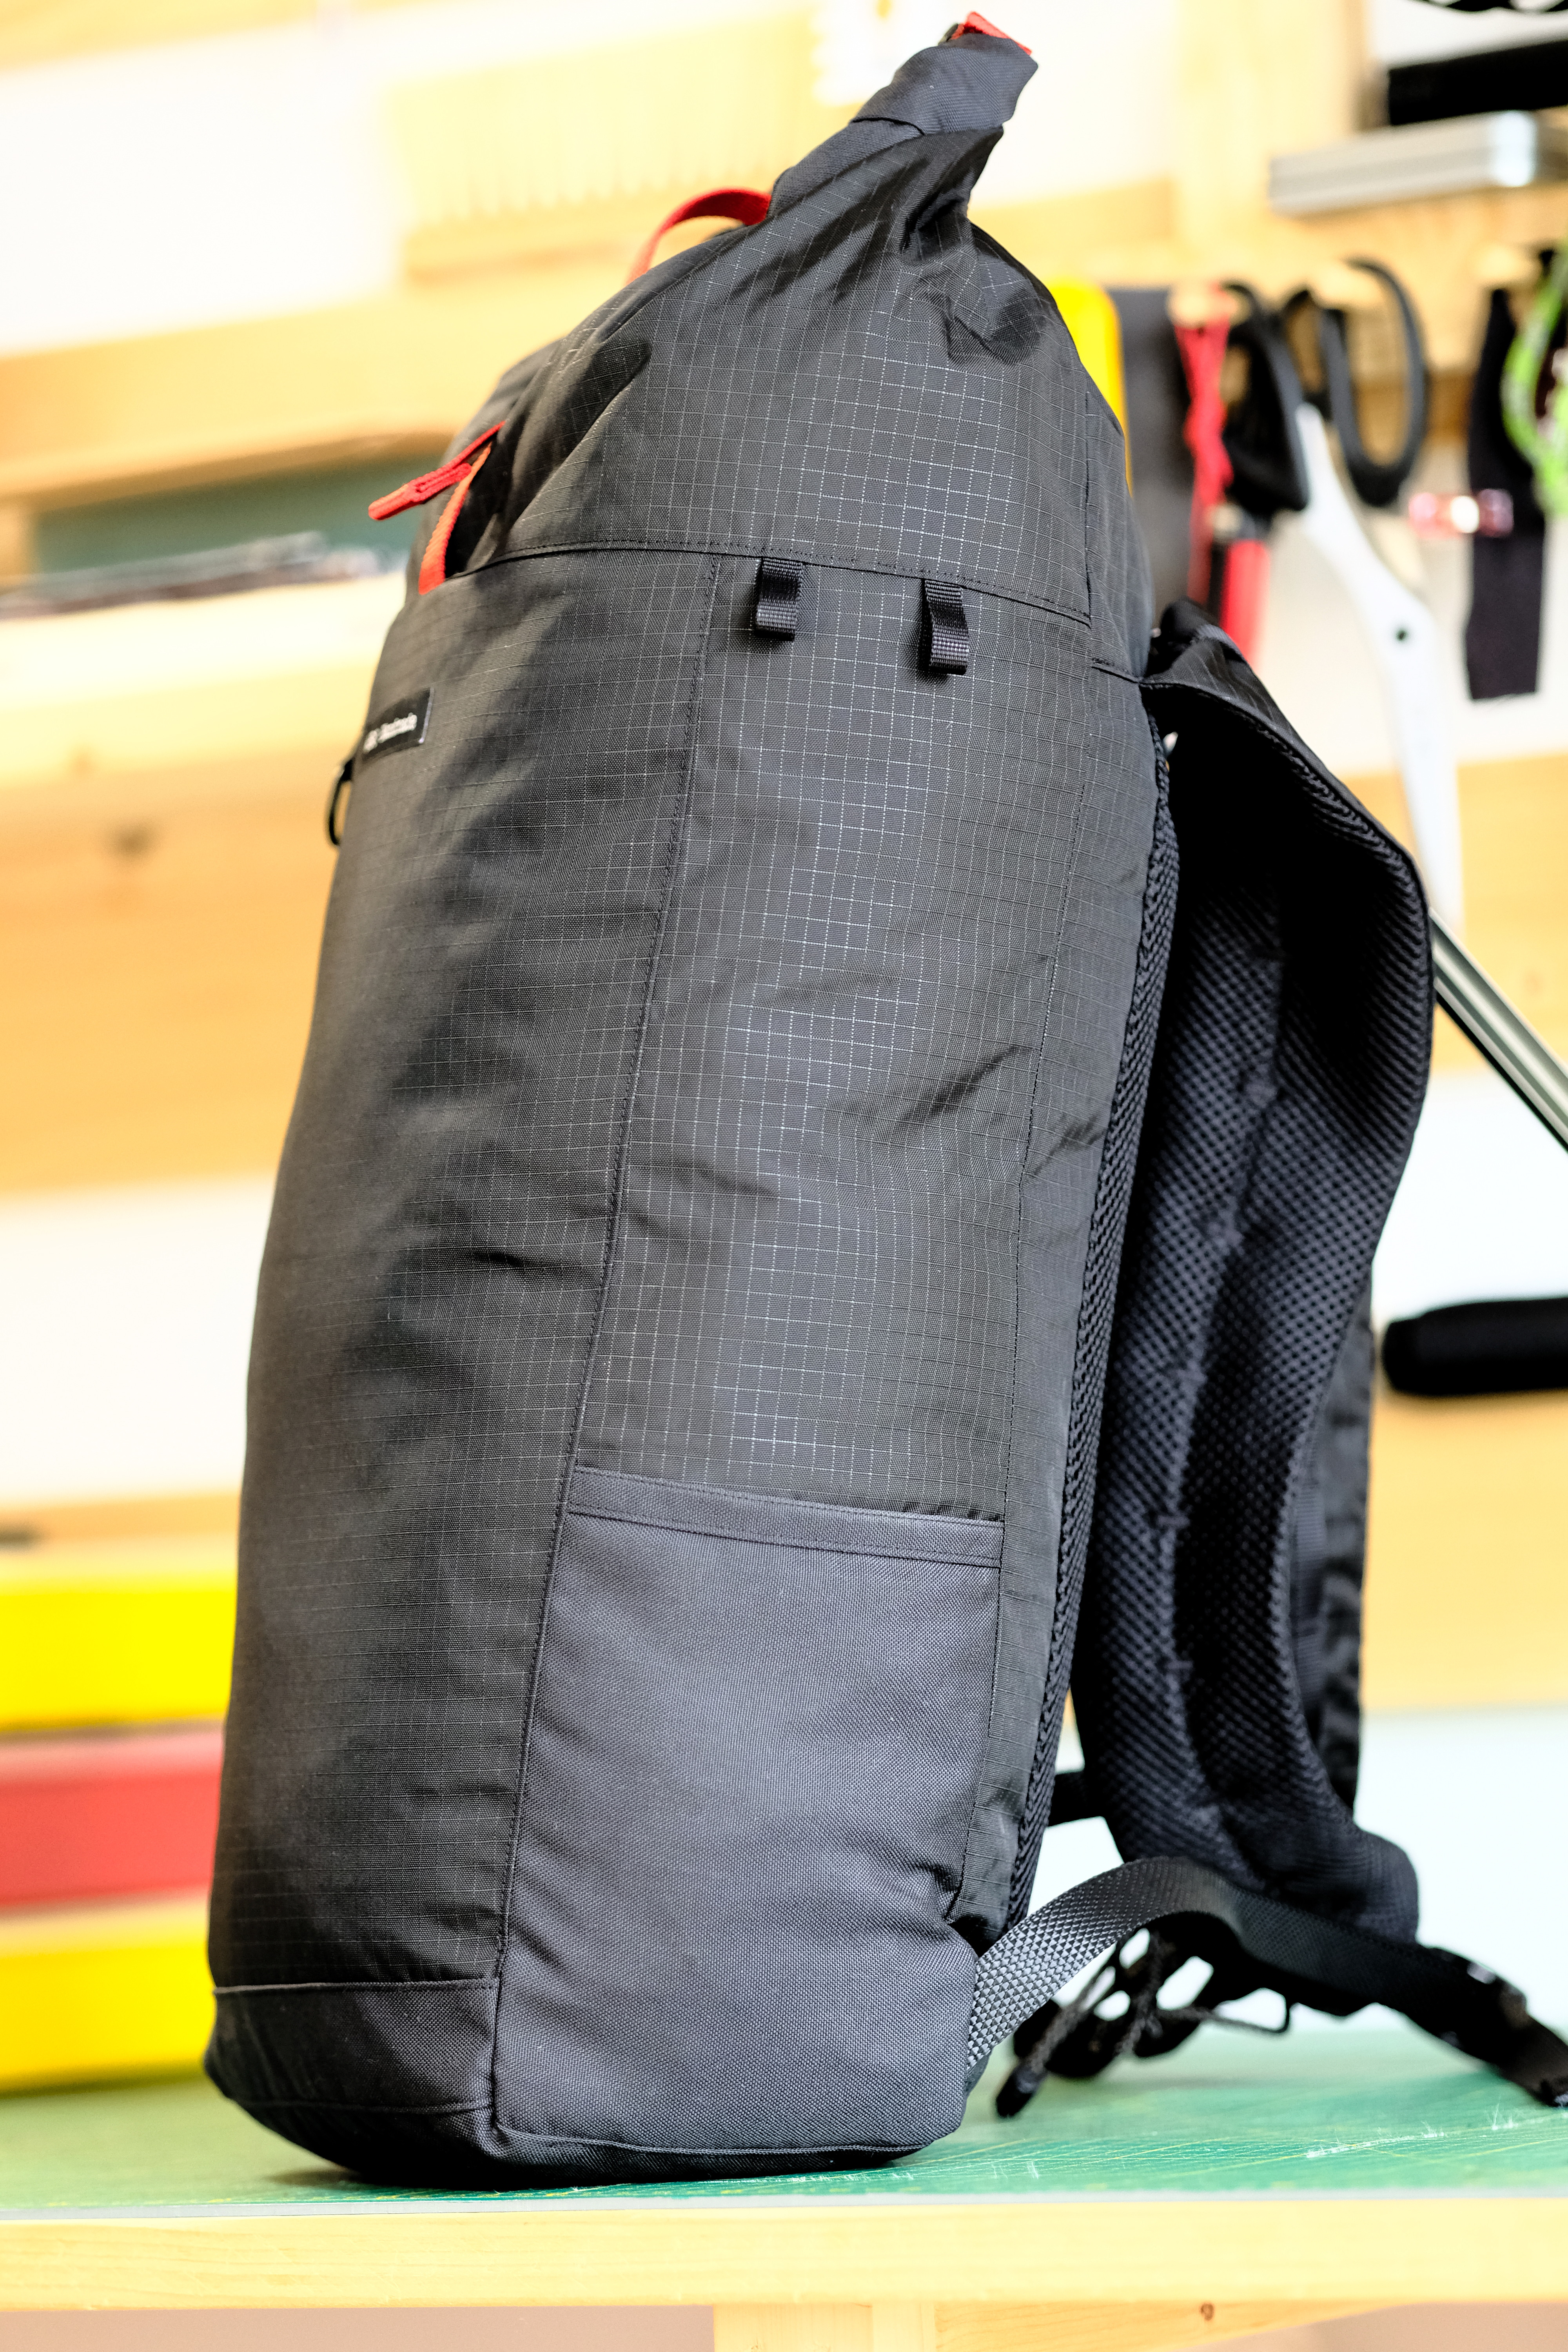
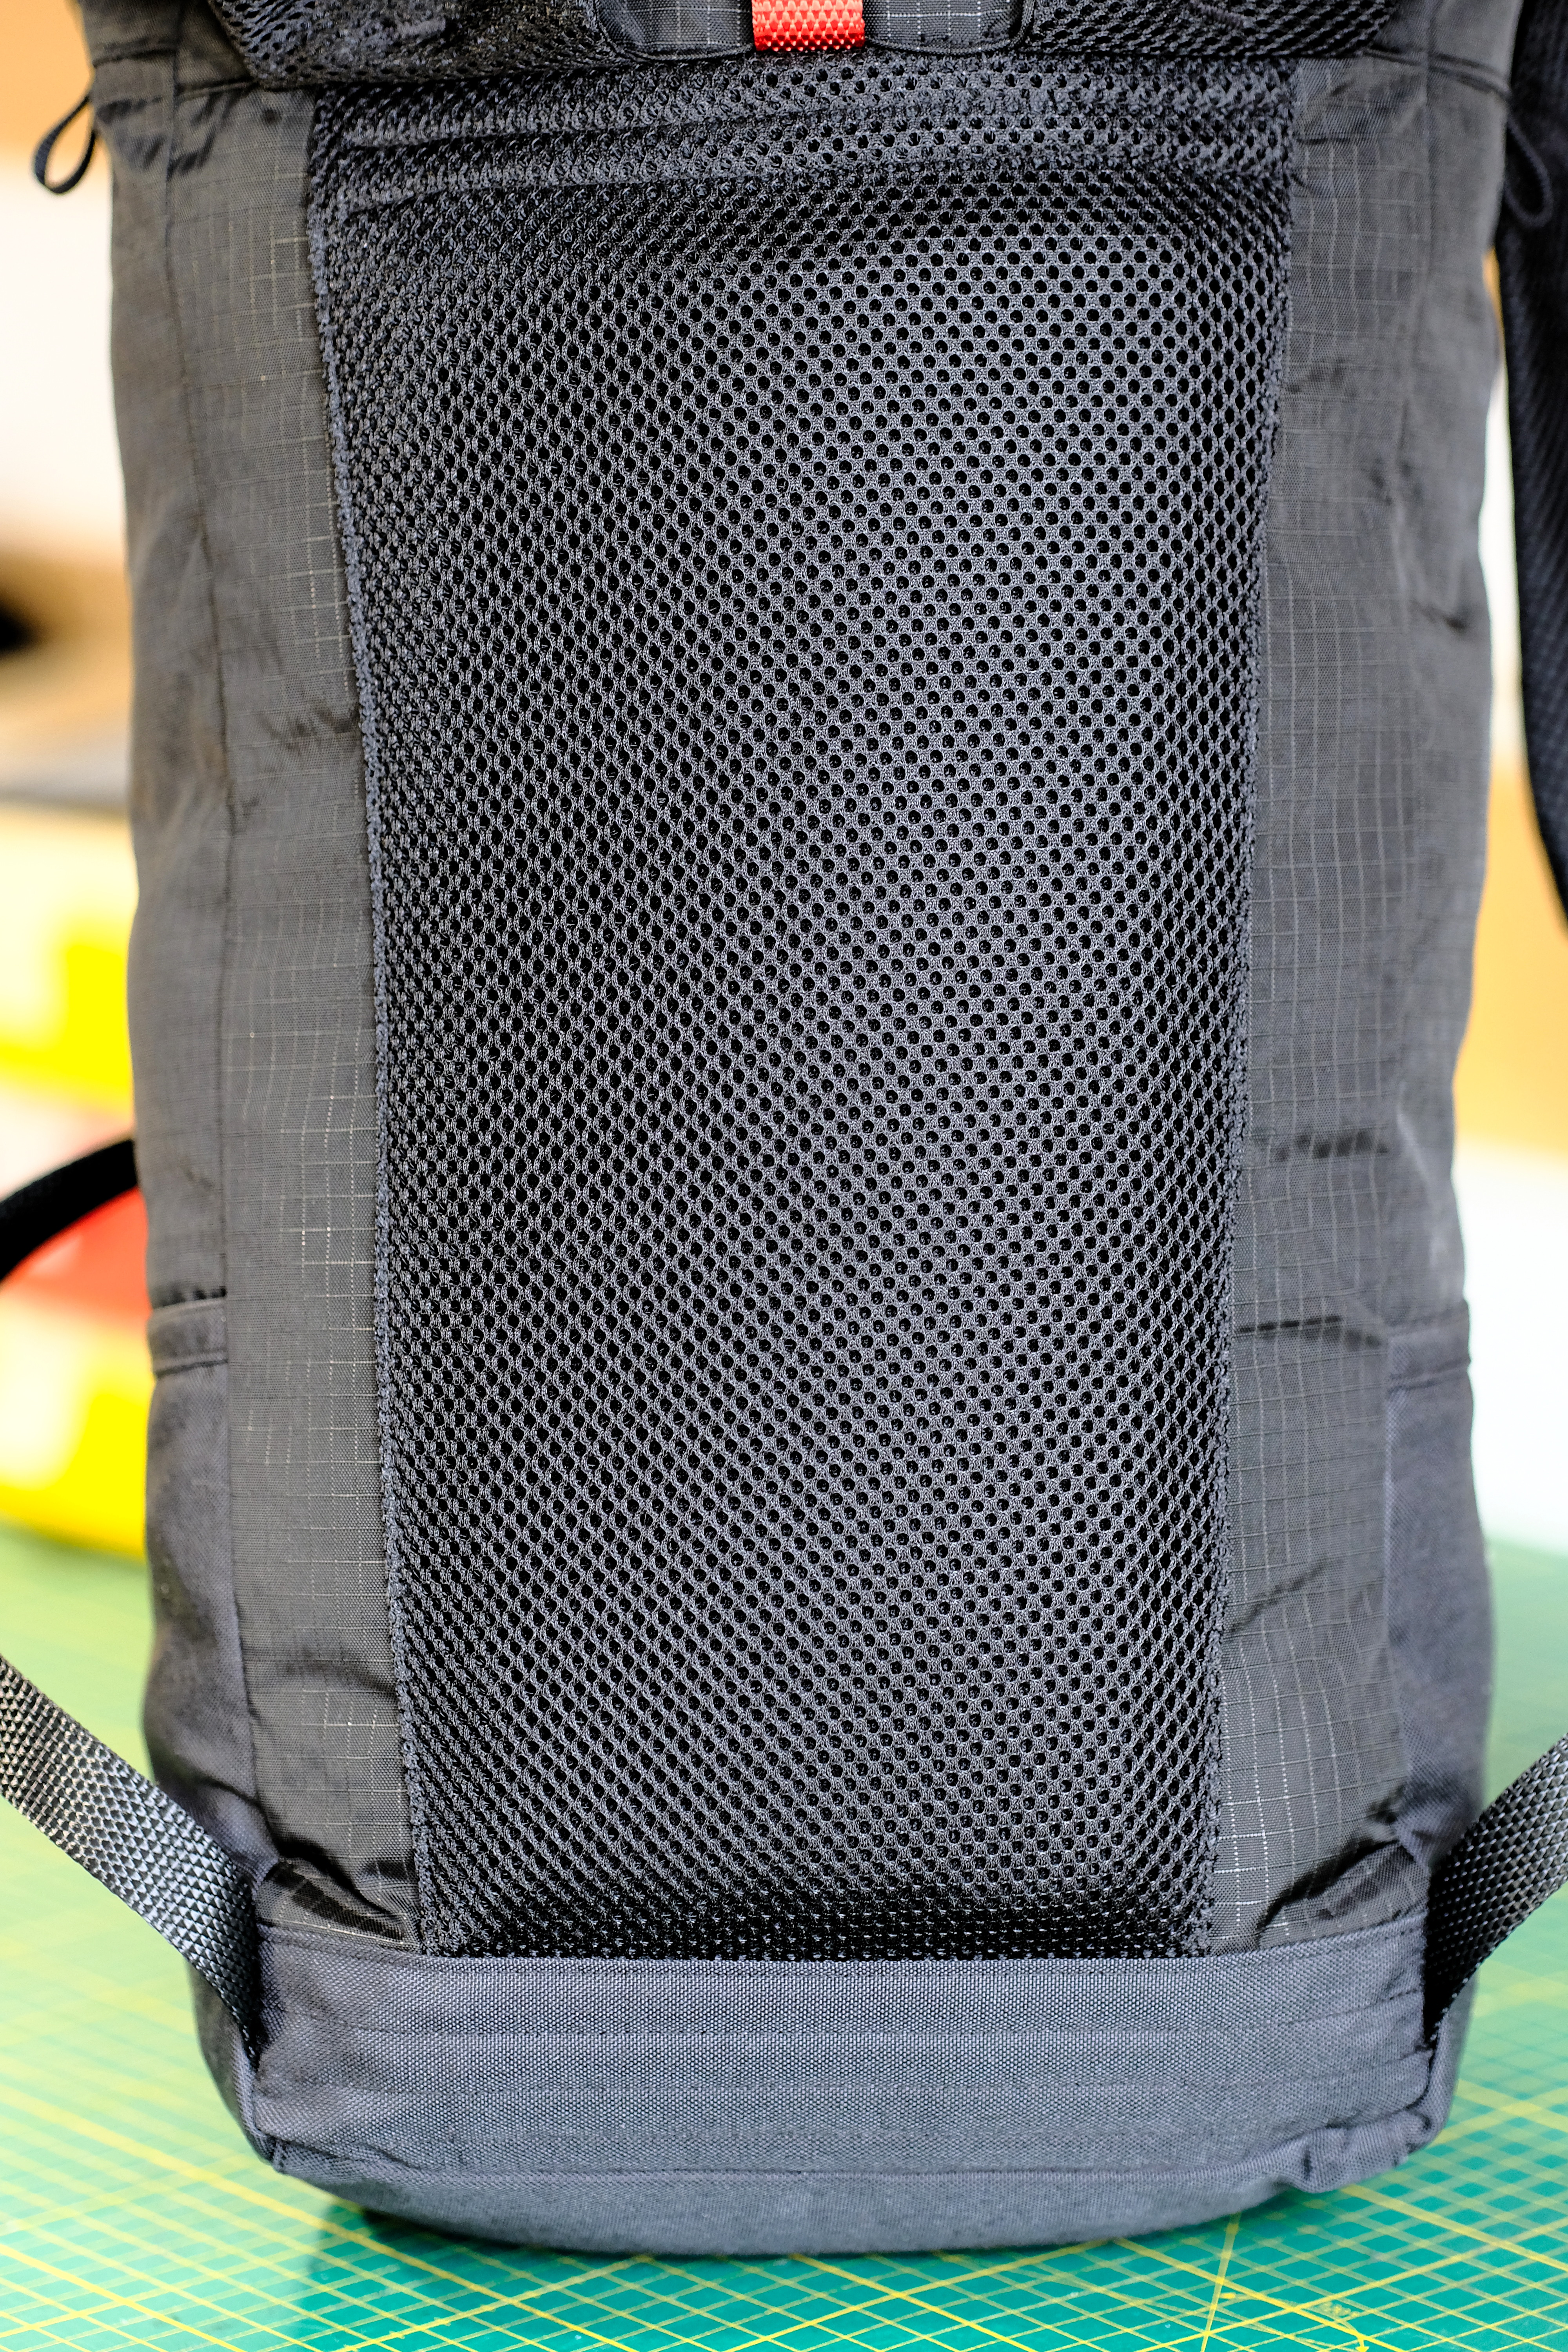
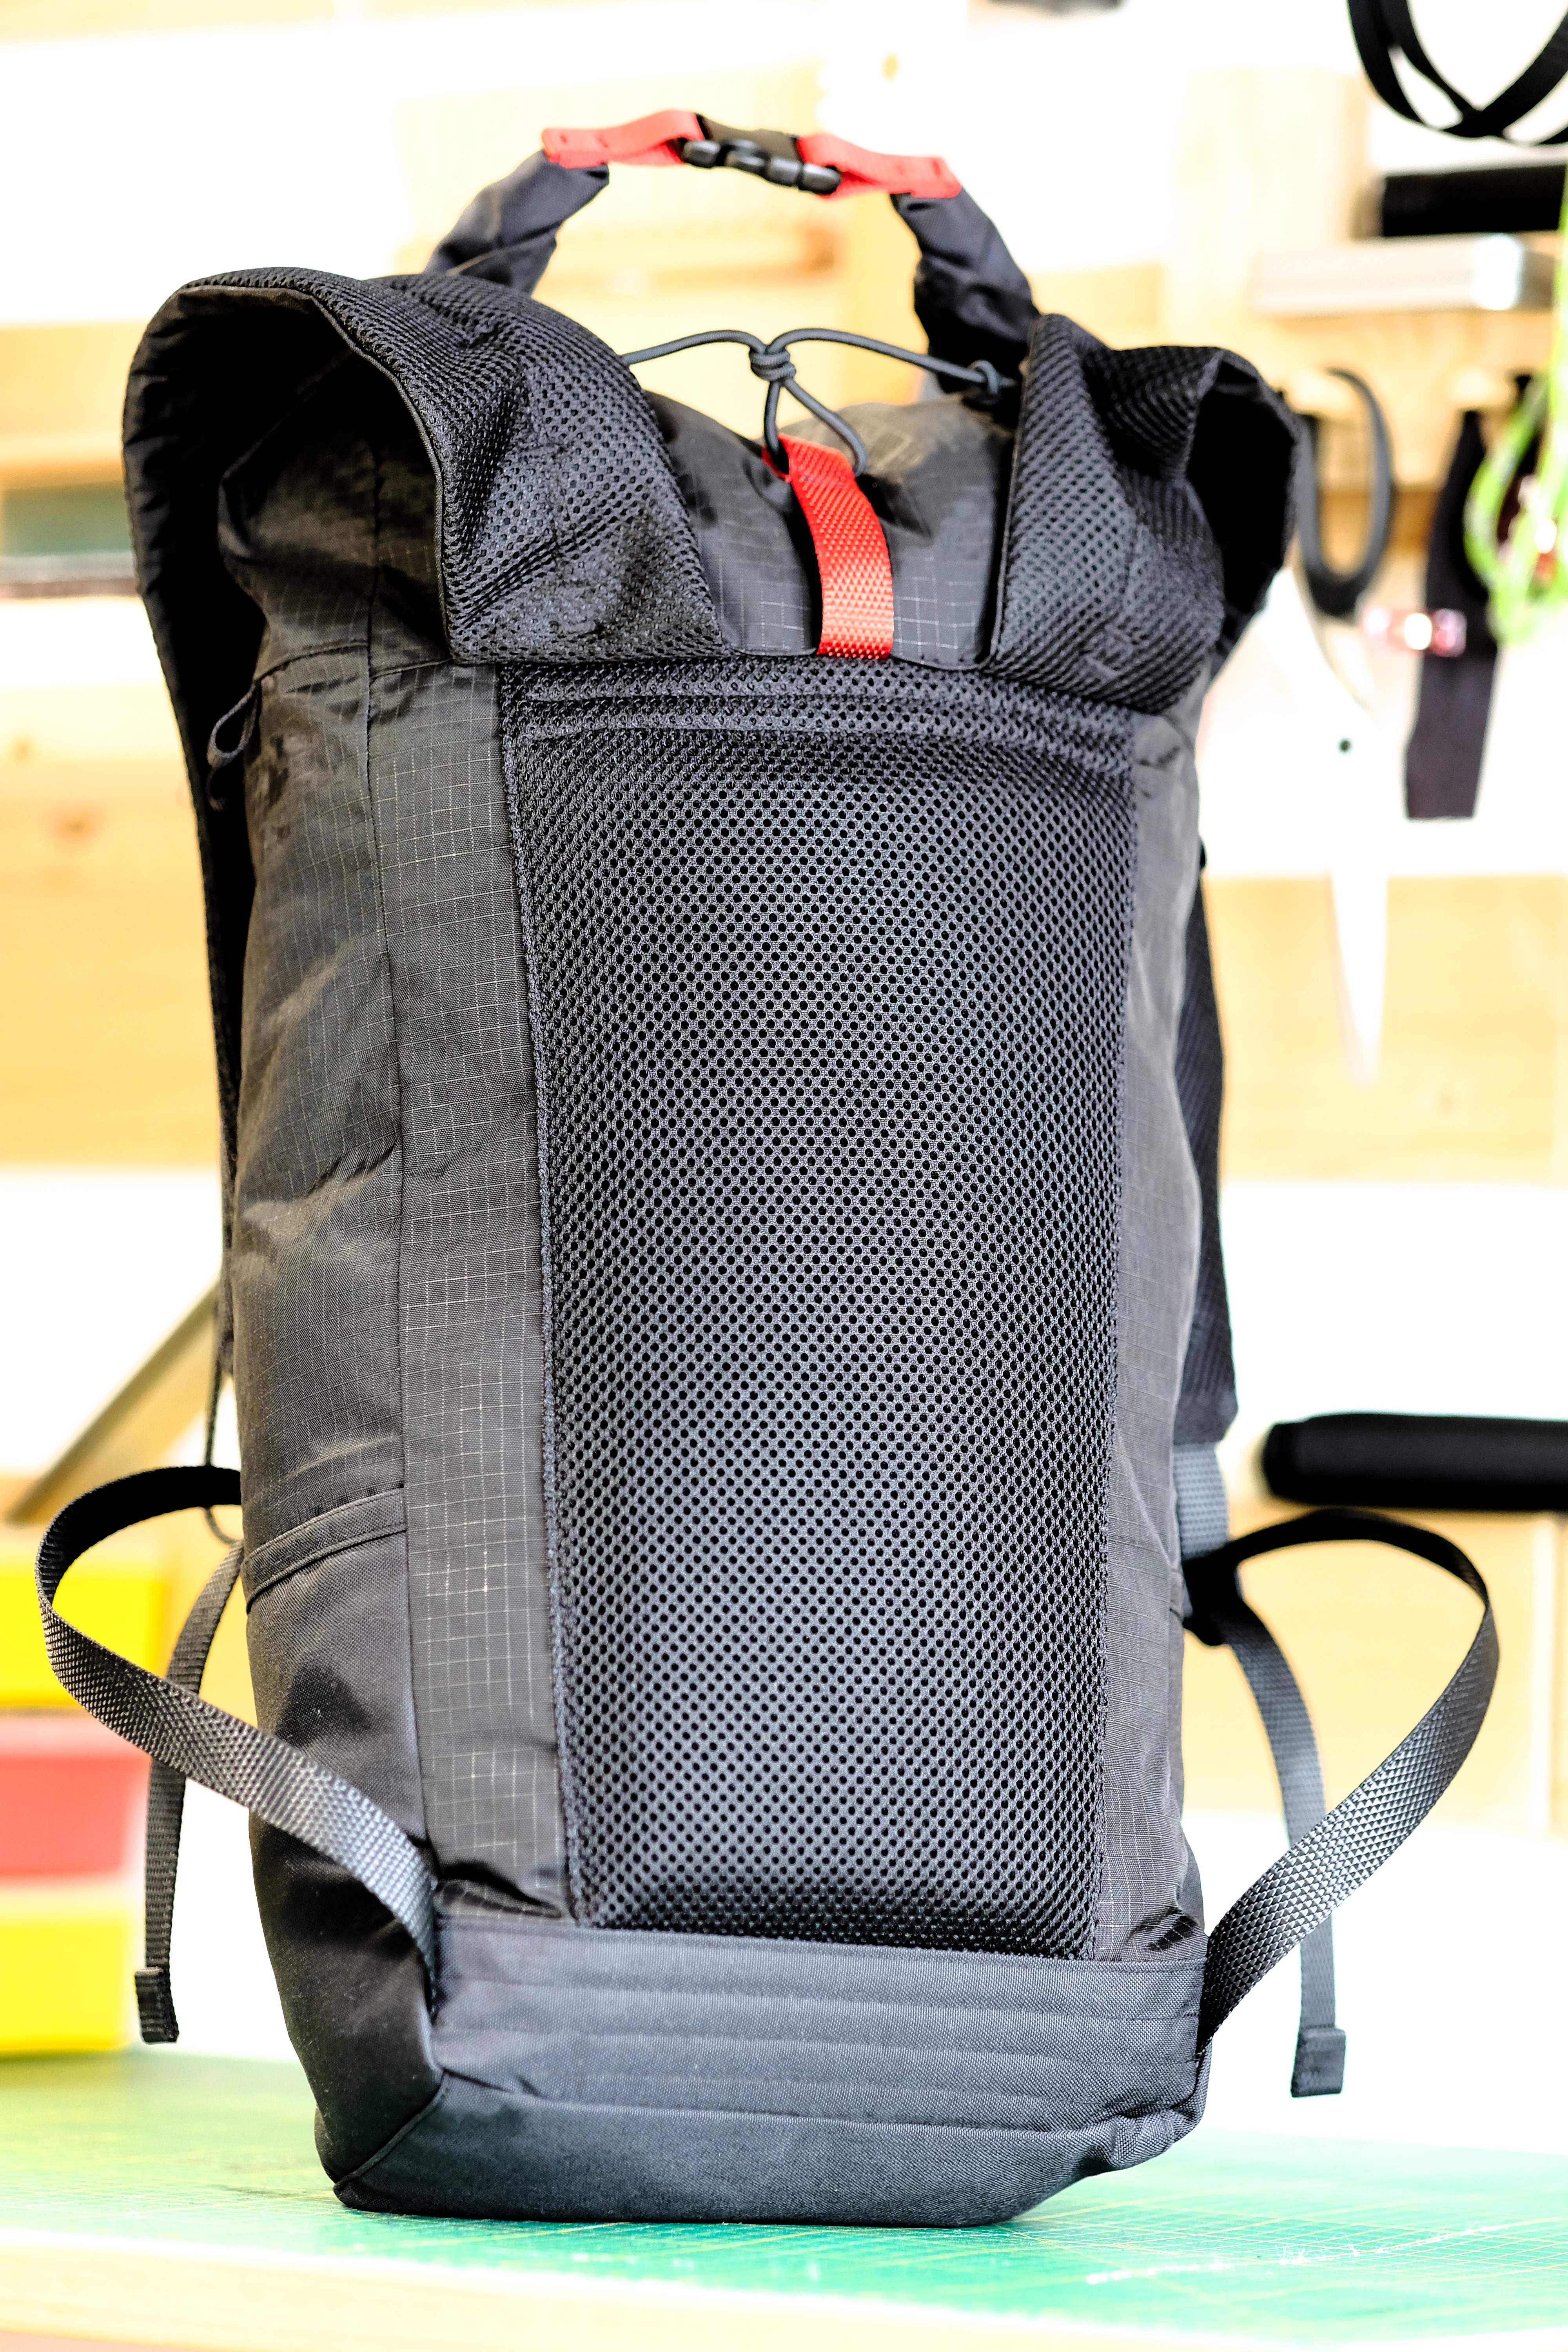
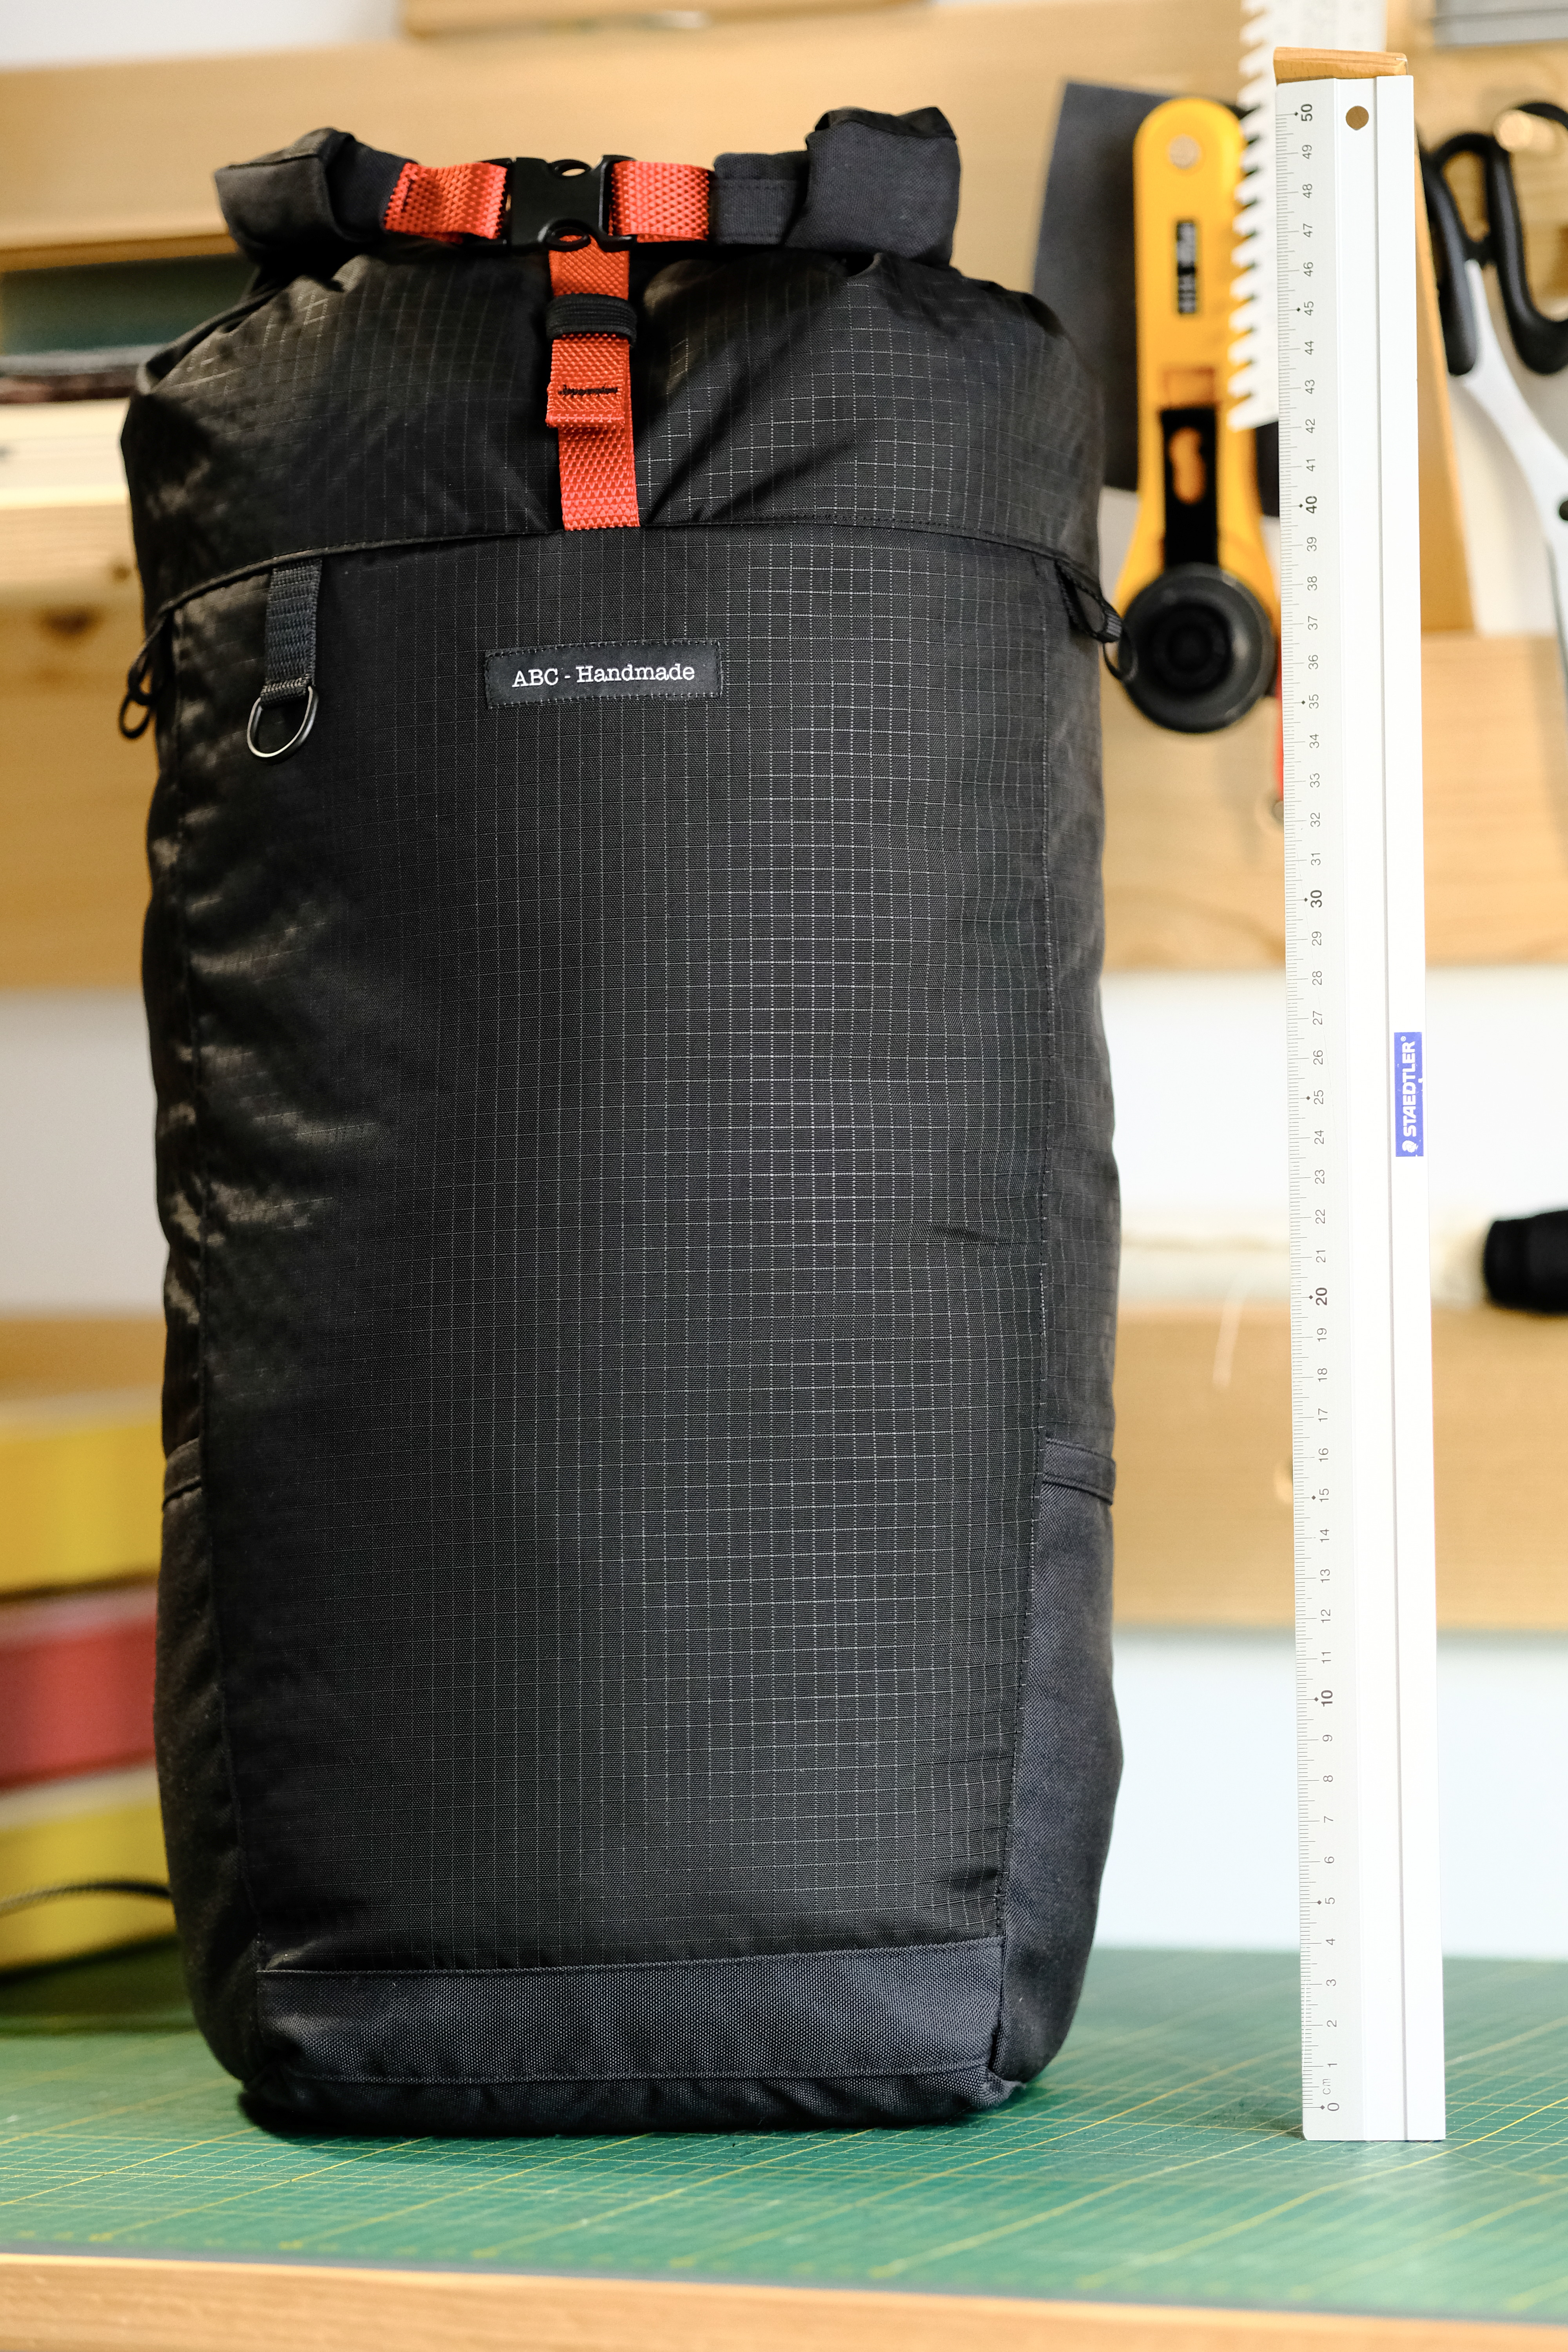
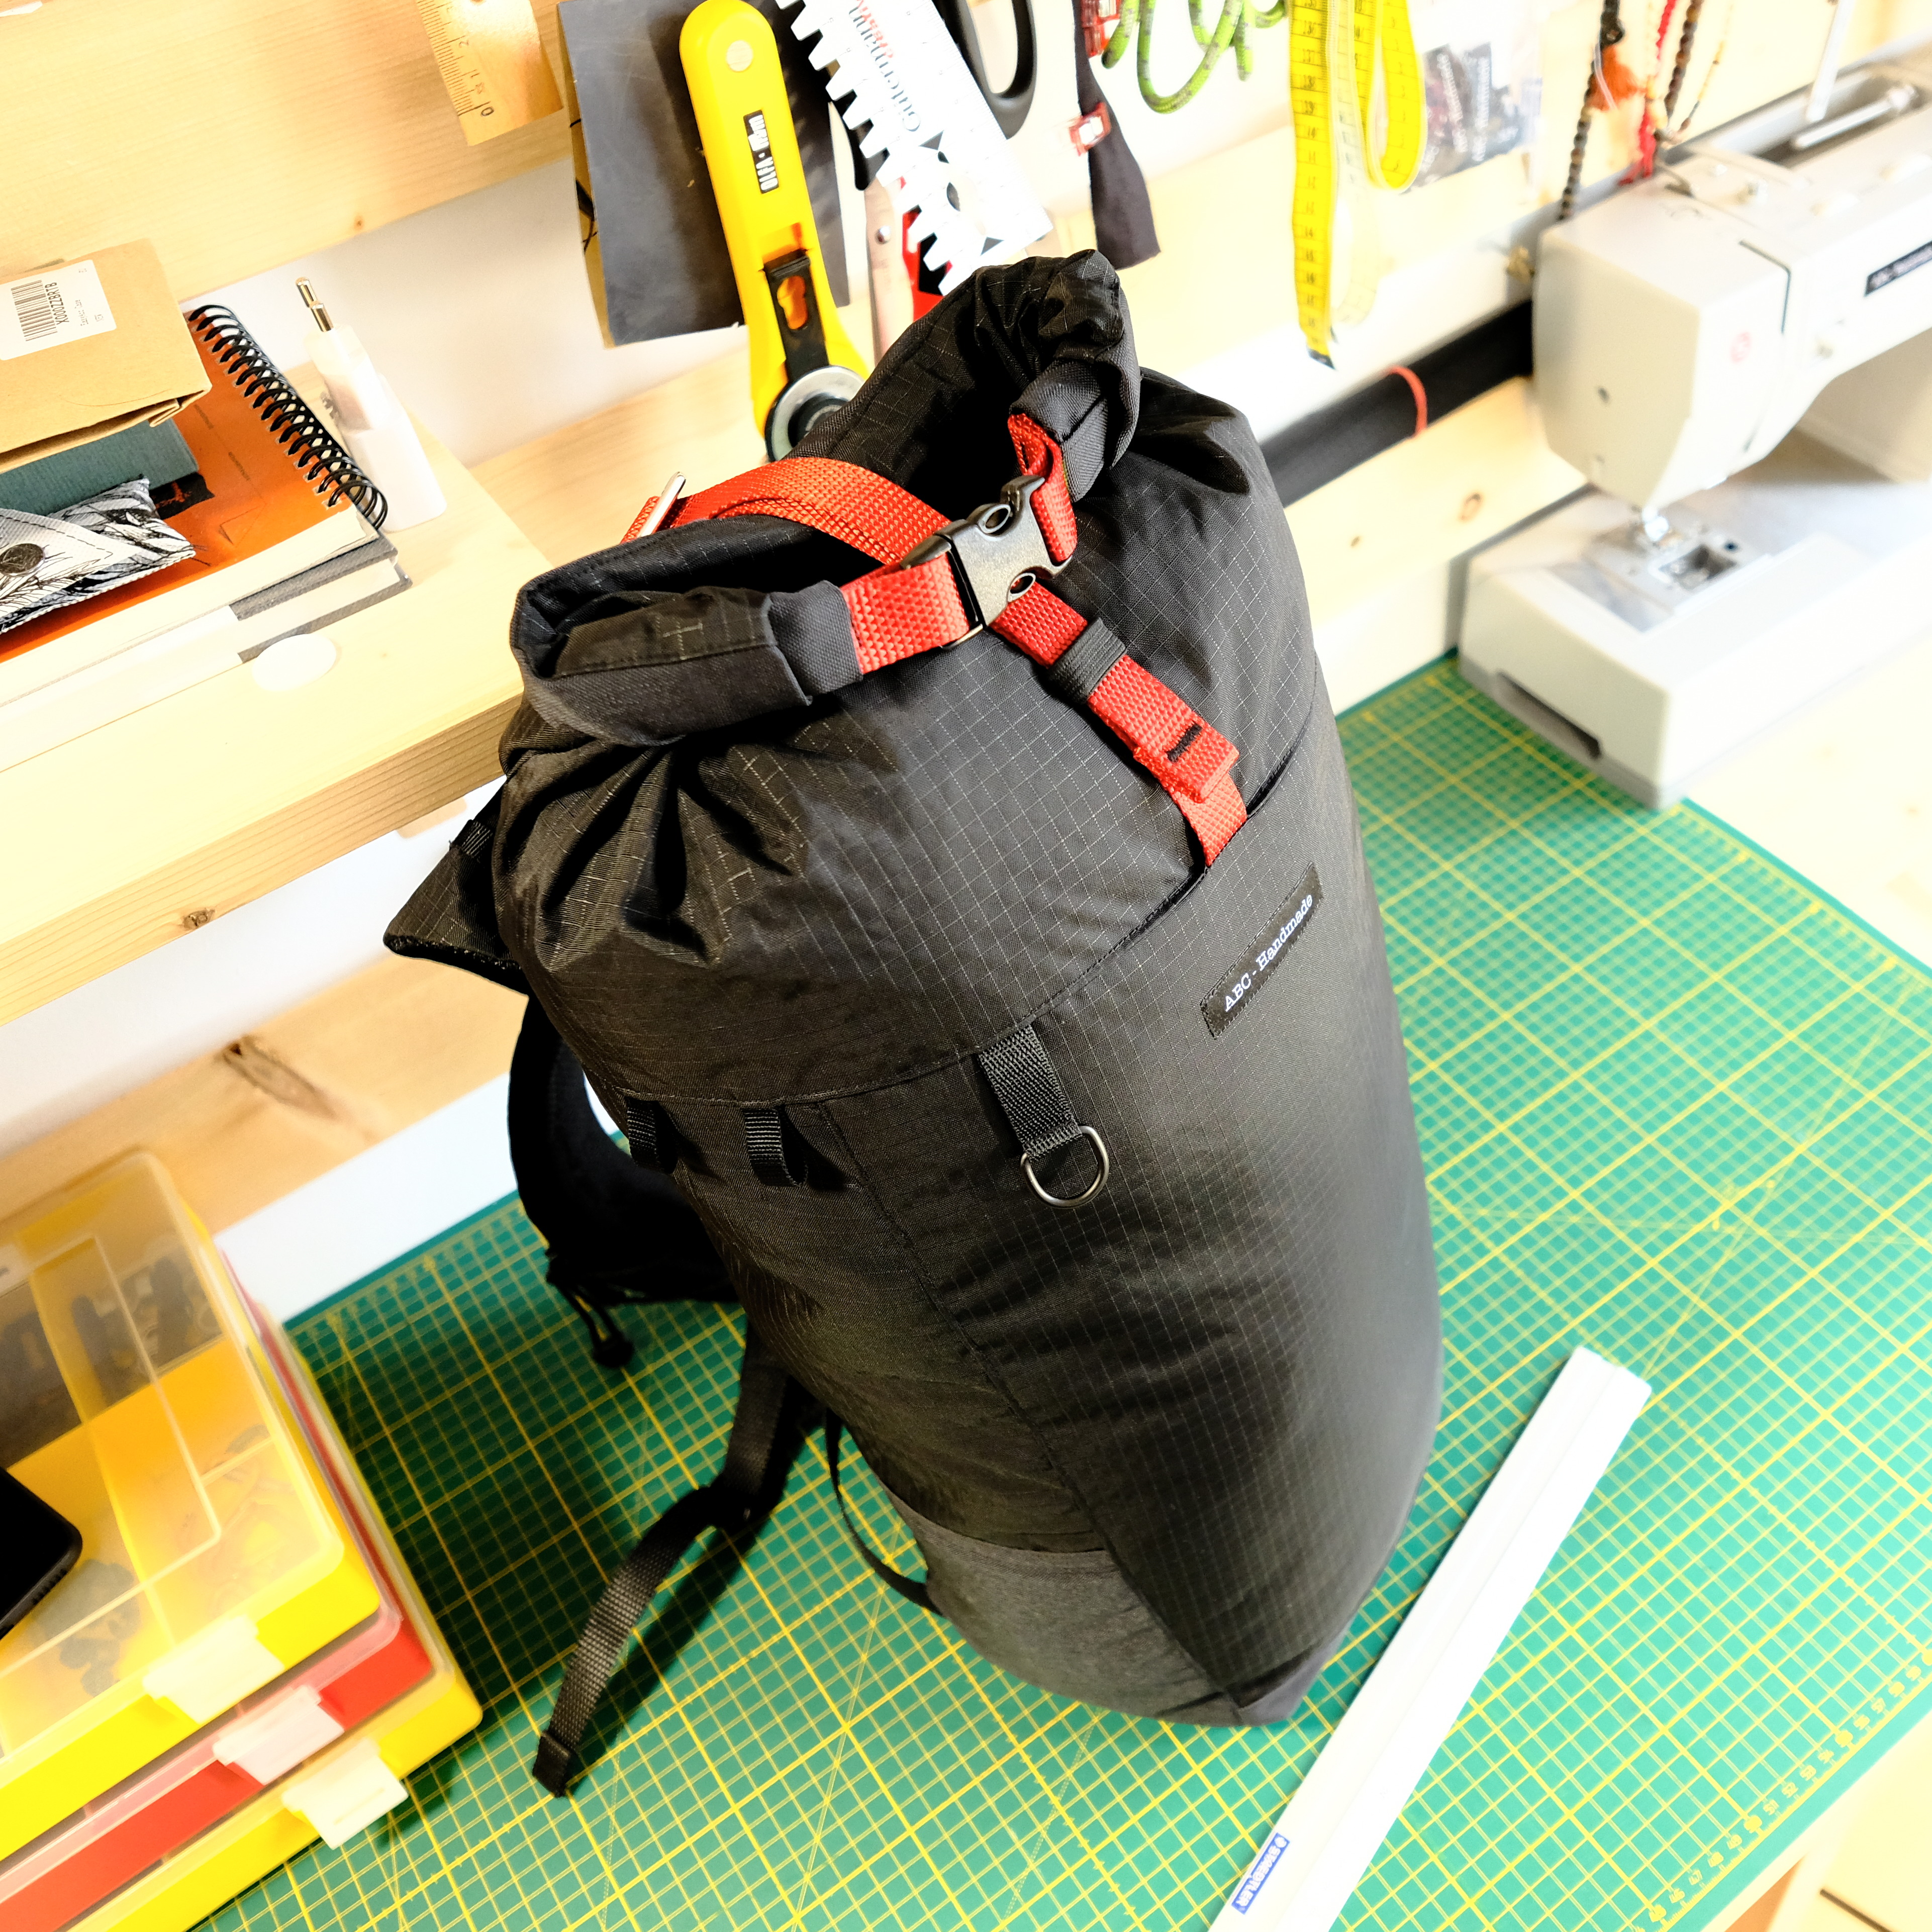
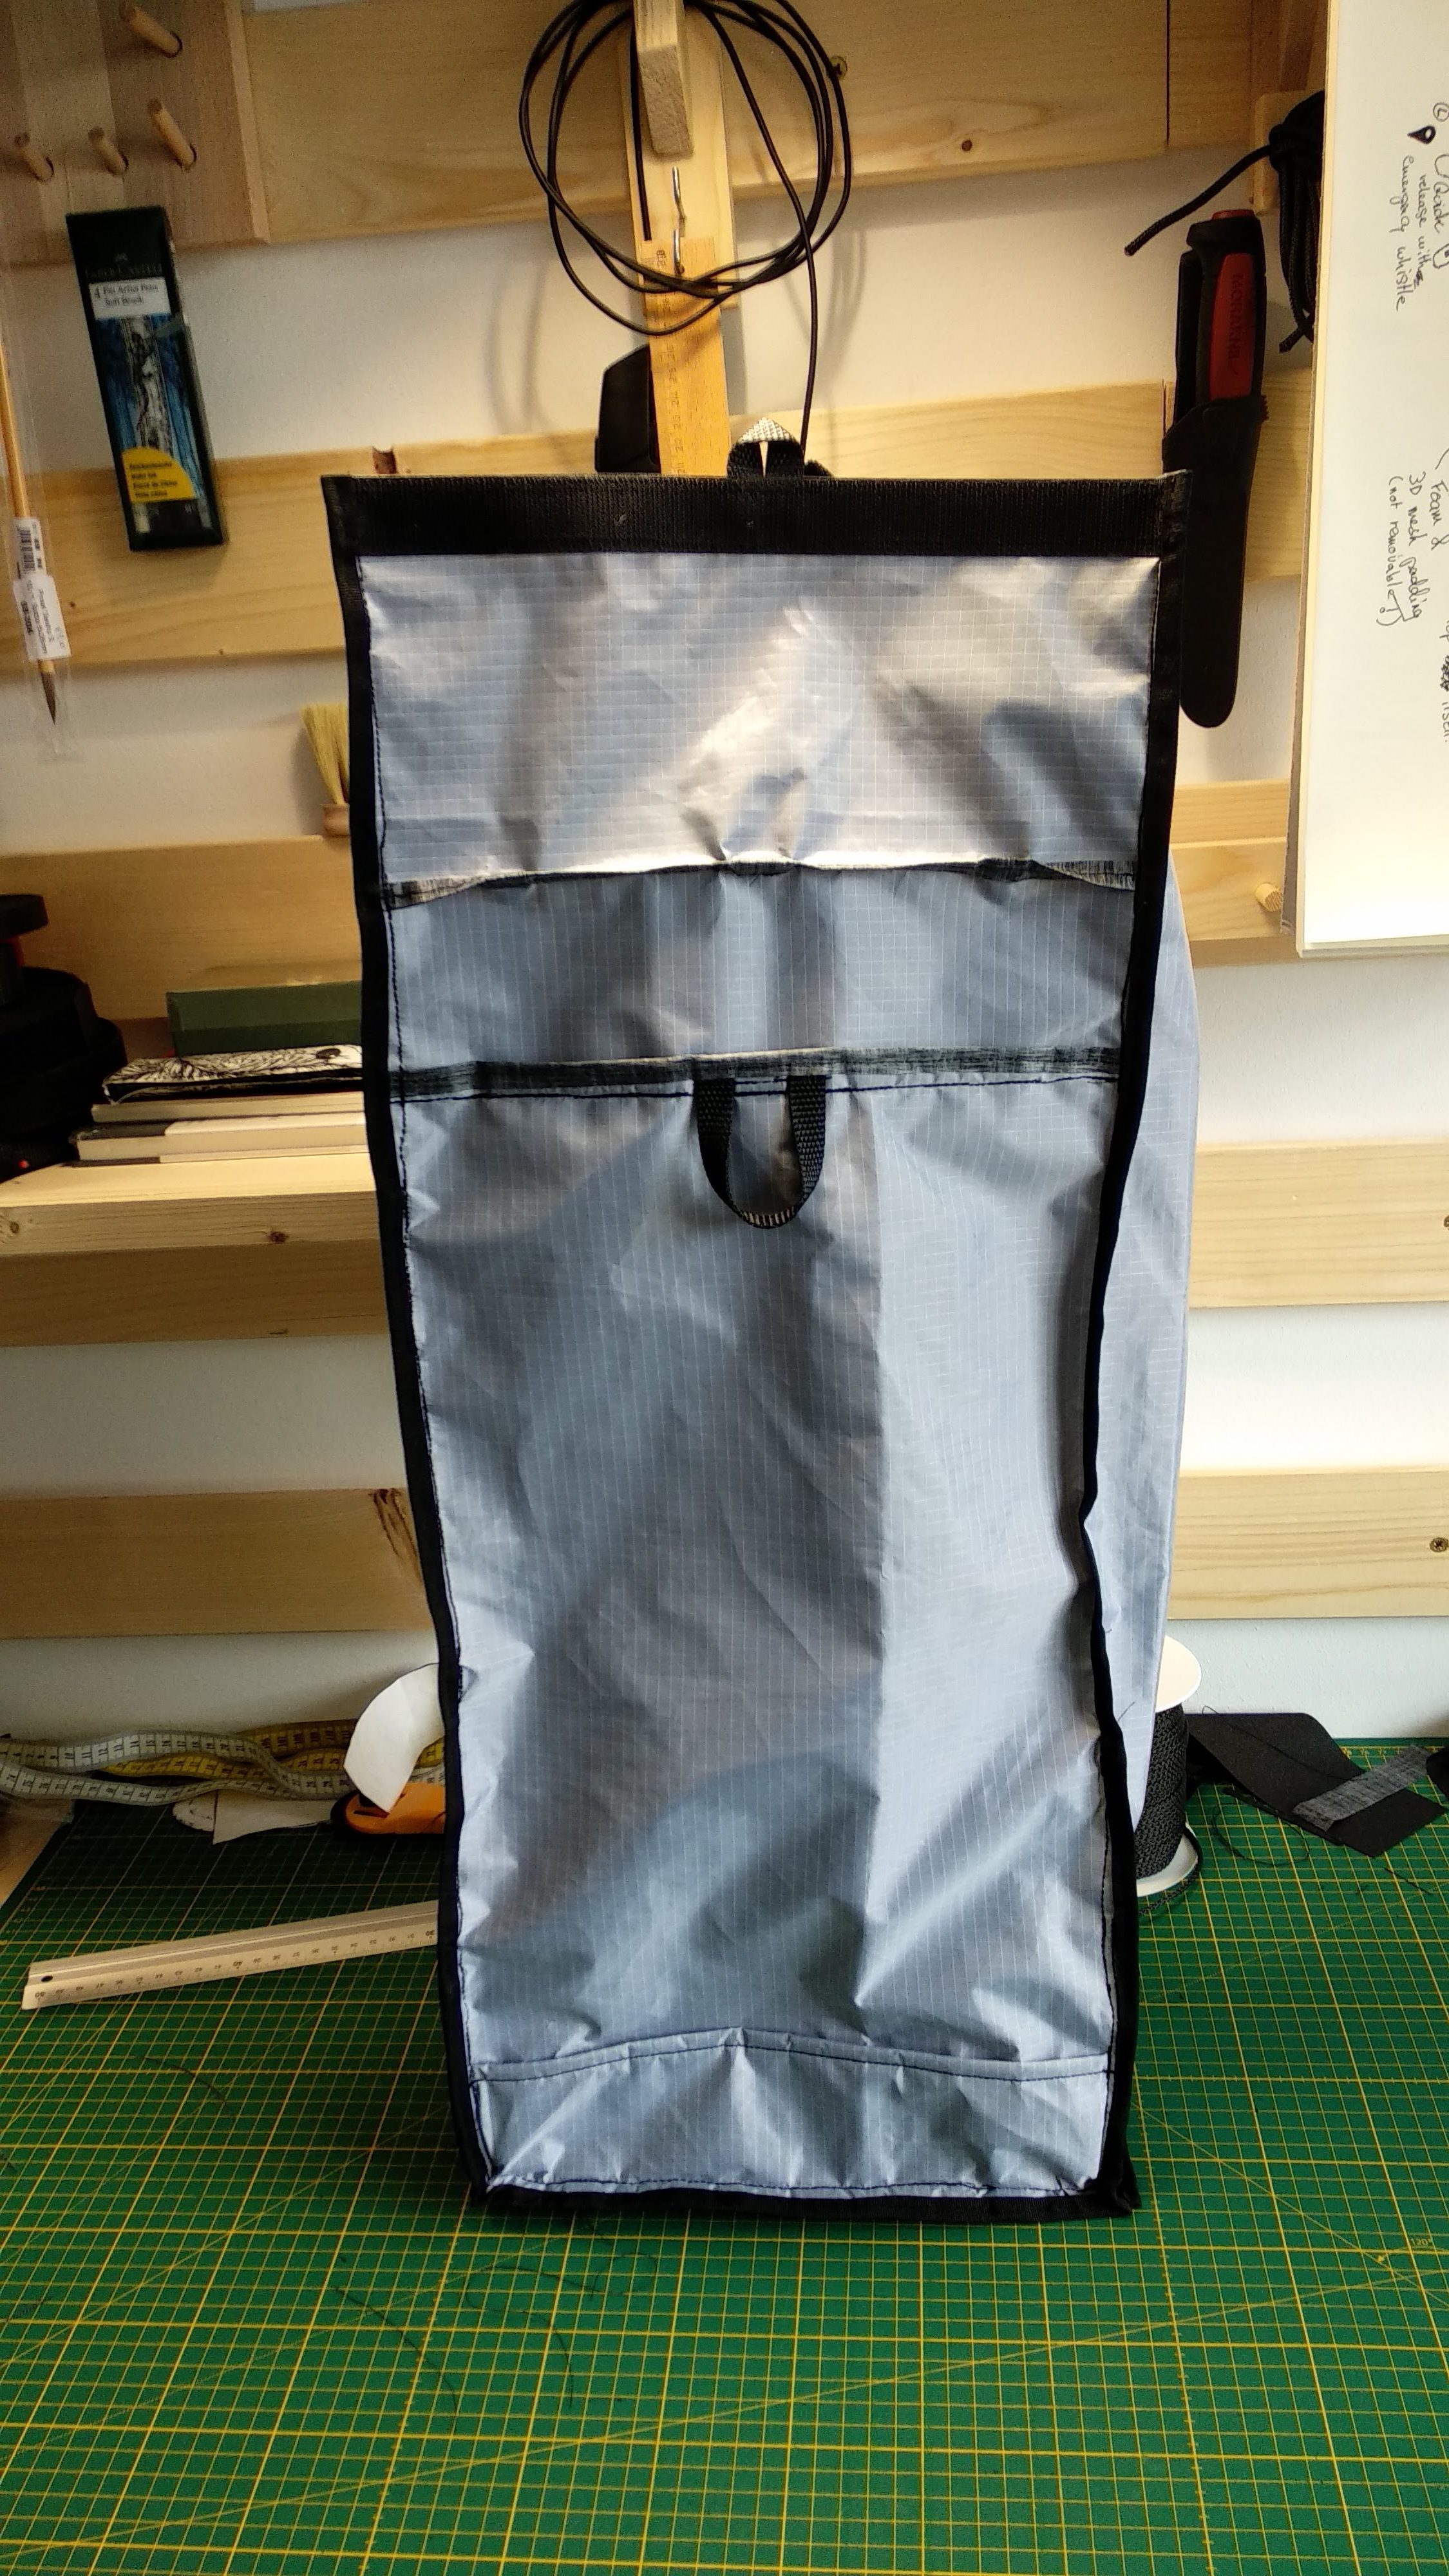
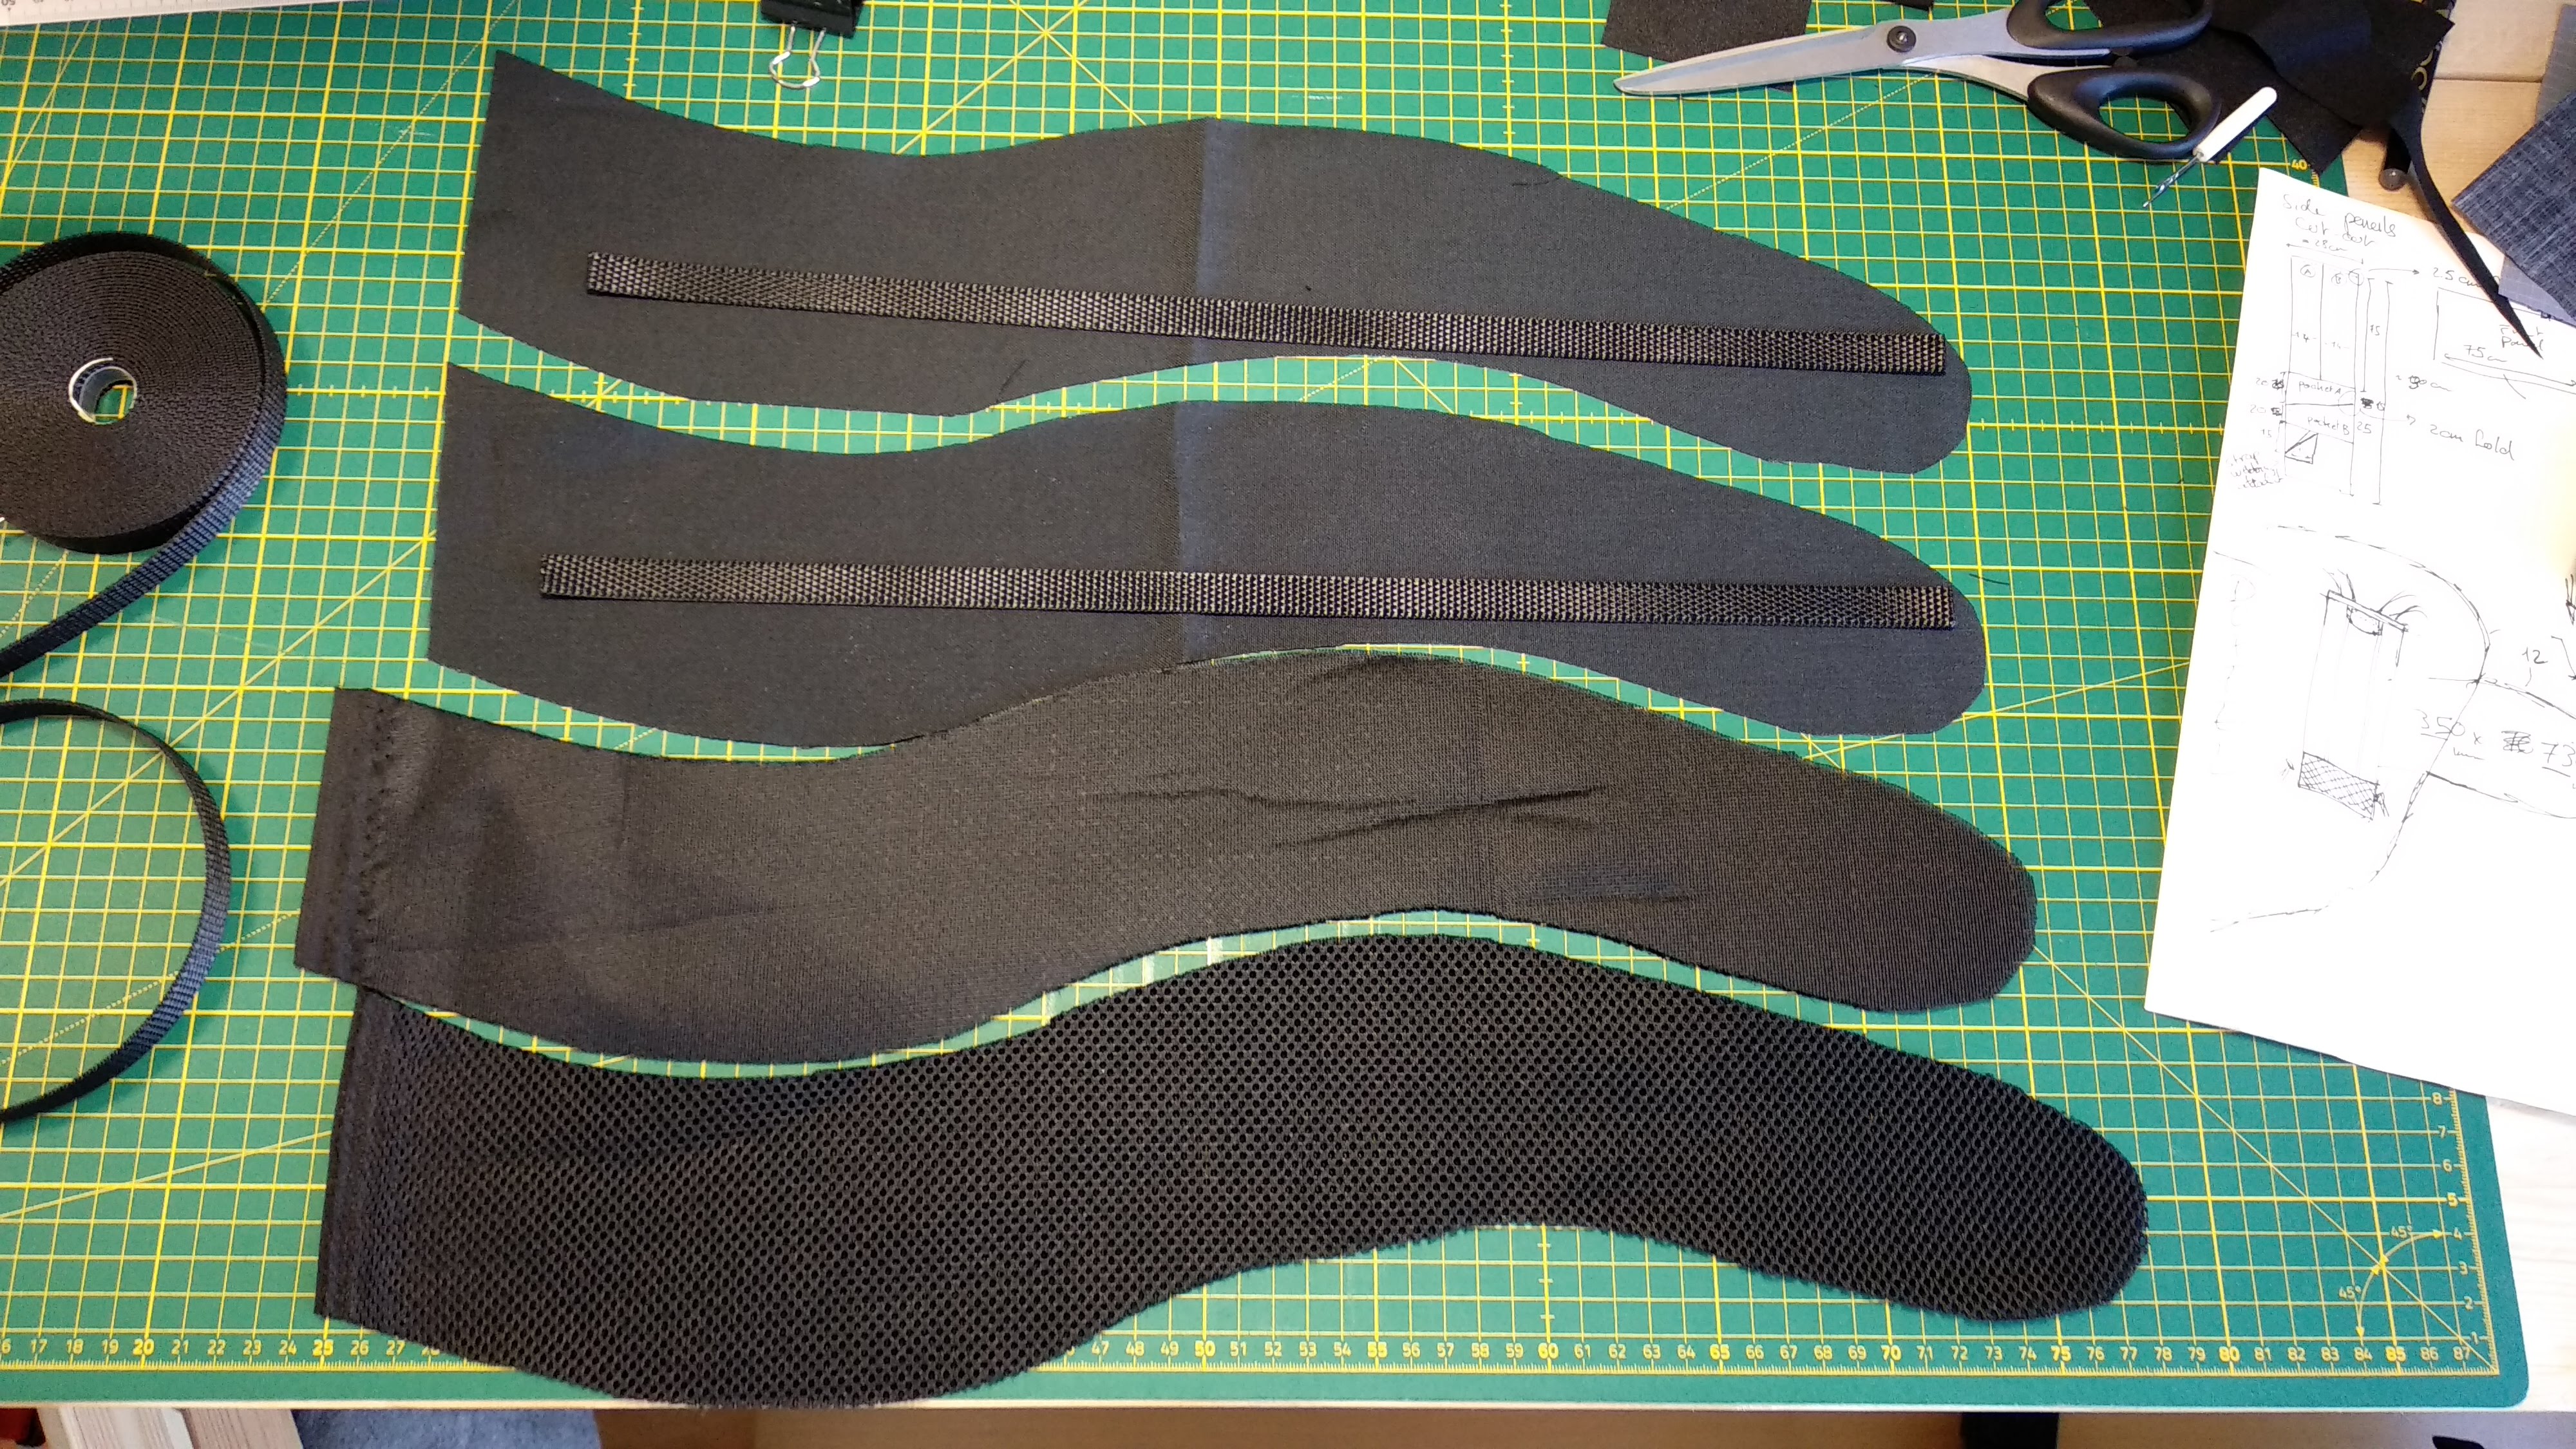
The final shape is extremely pleasing, and mostly due to the combination of the V-shape design and the very subtle curves. To ensure the cuts were symmetrical given the slightly higher complexity than usual, this was the first time I spent the time creating a mostly complete pattern for the main panels (all but the roll-top panels) prior to cutting any fabric. I usually build patterns – a posteriori – as a mean to record a shape I ended up with, if it turned out to be pleasing.

All in all, there are 14 different panels of various sizes that came into building the main compartment (shoulder straps not included). I only created a pattern for the major parts, and cut the rest out of “experience”.

The best way I’ve found to build durable patterns is to cut them out of thin Tyvek as I explained briefly here. It’s a little more investment than simple paper, but it holds a lot more abuses.

The Skinny Pack’s Pattern

You might be wandering what the “buffers” are for. I added them to the pattern so that even with even seam allowance, you should end-up with more fabrics on the tricky parts, which you can then trim later during the pack build.

As always, go slow, and use clips!

If you don’t have a printer to print patterns, that’s fine. I don’t have one. Instead, I take some thin Tyvek, and I draw the patterns by hand. Why Tyvek? It very durable, so I have a pattern I can abuse, clip, tape, and reuse for ever.

Seam-sealing the Skinny Pack

Let me share with you some afterthoughts on my first foray into seam-sealing. I did a bit of digging, and opted to use 3M 9485PC double sided transfer tape. Overall, it’s a great product to work with, but I think the fabric used here, (Dyneema®/Nylon Ripstop) is too heavy and does not bend well enough to really work as a the internal face of the seam sealing. If I was to do it again, I would probably go for DCF.

3M 9485PC tape and prepared strips with Dyneema®/Nylon Ripstop fabric on one side.

One interesting learning I made, is that on lightweight silicon-coated Nylon fabric (60g/m²), this tape did not stick at all! I wasted a good strip. I don’t have the reference anymore, but I would assume the Dyneema®/Nylon Ripstop fabric that really worked well was PU coated. Beware!

This experiment taught me one important thing: I will not seam-seal my pack except in very specific circumstances. It’s just too much of a hassle.

Here are a few pictures of the construction process behind building the Skinny pack. If you are wondering why I am wearing gloves in some of the pictures, it’s because I wasn’t sure how sticky the stuff is. I turned out to be utterly unnecessary, and I quickly removed them.

The Skinny Pack

The Skinny is an experiment with adding very slight curvatures to an otherwise V-shaped day pack. It stays lightweight by using black on black Dyneema®/Nylon Ripstop (160 grams per square meter) while reinforcing abrasion-prone areas with Cordura by minimizing the overall features: only two relatively small side pockets and a few accessory loops.

The pack also re-imagines the load-lifters by using instead a high-strength 4 mm elastic cord distributing the lateral and front-to-back movement of the pack to the shoulder straps. The load-lifting is minimal by design due to the small volume of the pack, but still adjustable through the tension of the top vertical compression strap.

The breathability of the back panel is provided a full-length wide 3D mesh, and the back panel is padding with a thick (8 mm) high-quality closed cell foam protecting the spine.

In order to avoid the discomfort of rubbing against the 3D mesh – which is worsened by the humidity that can gather within the mesh during a prolonged effort – the bottom part of the back panel is doubles with a soft low-denier Cordura where the skin could be the most irritated. Another mitigation against the same discomfort is done by the shape of the lower part of the backpack, essentially curving to avoid a sharp edge resting on the iliac crest.

Without further due, here are the specs, followed by a huge amount of pictures covering all angles and details. I hope you like it!

Volume18+4 liters
Dimensionsapprox. 50x27x13 cm (roll-top fully closed)
Weight310 grams
Carriescomfy. 6kg
max. 8kg
FabricsDyneema/Nylon Ripstop (black on black)
350D Cordura
ClosureRoll-top with quick release buckle
Vertical compression strap
Back Padding8mm CCF padding + 3D Mesh
(80% of surface covered)
Strap PaddingN/A (except for the 3D mesh)
Hip BeltN/A
Pockets2 (small side pockets)
Attachments– Small gear loops on the side panels (x4)
– Strong gear loop with metal D-ring on the front panel
– Full-length daisy-chains on both shoulder straps.
ABC Skinny Pack Specifications

Thick Foam in Shoulder Straps

I love building backpacks. I just do. But the one thing that I enjoy the least, is building padded shoulder straps. Between the threads making a mess, the clearance below the presser foot not being enough, and the needle breaking because of tensioning issues, I moved away from padding shoulder straps entirely. Nonetheless, here is a example of what you can do with some patience. And I will also throw in some other pictures of the complete build for the city hiker pack.

The City Hiker Pack

The City Hiker, as the name says, is build with less outdoor and more city commute in mind. Although using the usual construction techniques of ultralight hiking/trekking packs, this particular pack emphasizes small volume and high comfort with maximum padding of the shoulder straps, and of the back panel with a thick high quality closed cell foam pad (removable).

Aesthetics has a weight cost which should not matter for daily commute, but the whole pack still only weighs in at 410g fully padded. Which makes it a great companion for a day hike as well. This packs also improves ventilation with vertical 3D mesh embedded in the back panel (instead of only on the hip belt like most ultralight packs).

Here are some more pictures of the finished pack. I apologize for the low quality pictures, I ran out of time to document the pack before gifting it.

Building one panel at a time

There is something to be said about simple designs. In this case, building the Slumber pack as a very simple “brick” shape made the construction of each panel a breeze, and completely independent from one-another, at least until the final assembly.

Feature breakdown of the Slumber pack

It’s always difficult to make a distinction between nice-to-have and must-have features. Here is a breakdown you might find useful in your deliberations.

A3mm Cord load lifter with LineLoc.
BCam side release buckle on 15mm strong webbing.
CDaisy chain out of strong 15mm webbing.
DSide compression systems out of cord, hook, and LineLoc quick release buckle.
ESide pockets (different heights for different purposes).
FHip belt out of 25mm webbing and high-quality quick release.
G+HGear loops out of 15mm strong webbing.

The Slumber Pack

The ABC Slumber is a 20+ liter pack designed for short overnight hikes, while carrying limited supplies, and maybe a bivy and sleeping bag combo. It’ll fit a deflated sleeping pad (which can be strapped on-top or below the pack), a good 2 liters of water, some warm layer(s) and rain protection. And of course, a small first aid kit, because you should never hike without one!

On this version, the main body is built out of X-Pac LiteSkin LS07. It’s not the most abrasion resistant fabric, but it offers good protection against the elements for a lightweight laminated fabric. For better wear resistance, the pack is reinforced at the most exposed parts with low denier non-coated Cordura. Here are some more specifications:

Volume20+2 Liters
Dimensions60x28x12 cm (closed roll-top)
Weightmax. 390g (without padding)
Carriescomfy. 5kg
max. 7kg
FabricsX-Pac LiteSkin LS07, Cordura
(LS07 only comes in one color/pattern)
ClosureRoll-top + Velcro
Strap padding10mm CCF padding + 3D Mesh
Hip BeltNo padding.
25mm strap with 2-sided quick release buckle
Pockets2 (one on each side, different heights, inverted inclinaison)
Attachments– Daisy chain on the front panel for gear
– Daisy chains on roll-top for securing pack
– Gear loops on the front panel (middle + bottom right)
– Compression cords with hook and quick-release (x2)
– Compression cords on the bottom panel
– Daisy chain on each shoulder strap
– Loop inside for a water bladder
Specs sheet for my fellow gear junkies

The design relies on using a sleeping bag inside the pack as padding and therefore does not necessarily need a foam pad to protect your back. If you need to protect your back better, I’d recommend using a 10mm high quality closed cell foam (for example Evazote EV50) cut to dimensions.