Walkthrough building Santa’s Pack

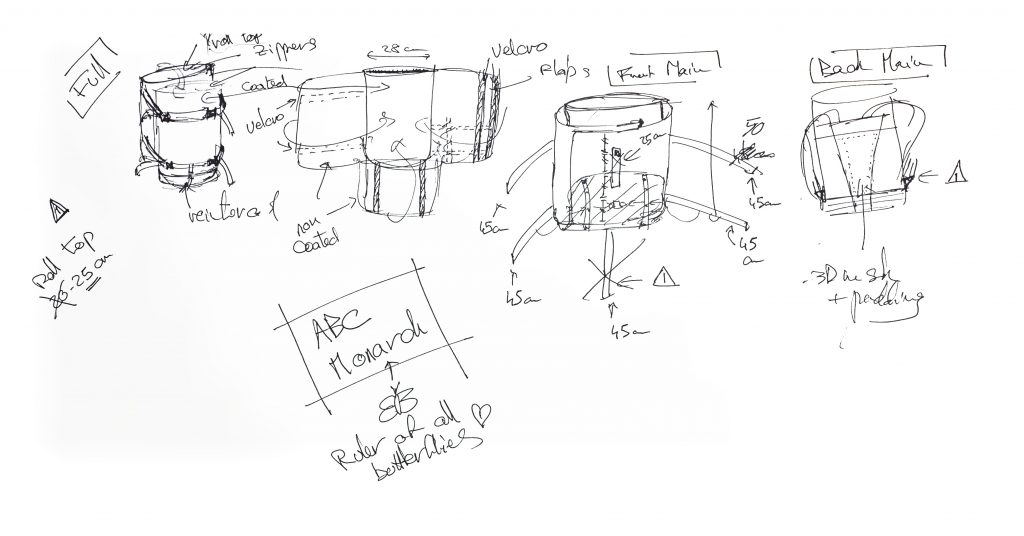
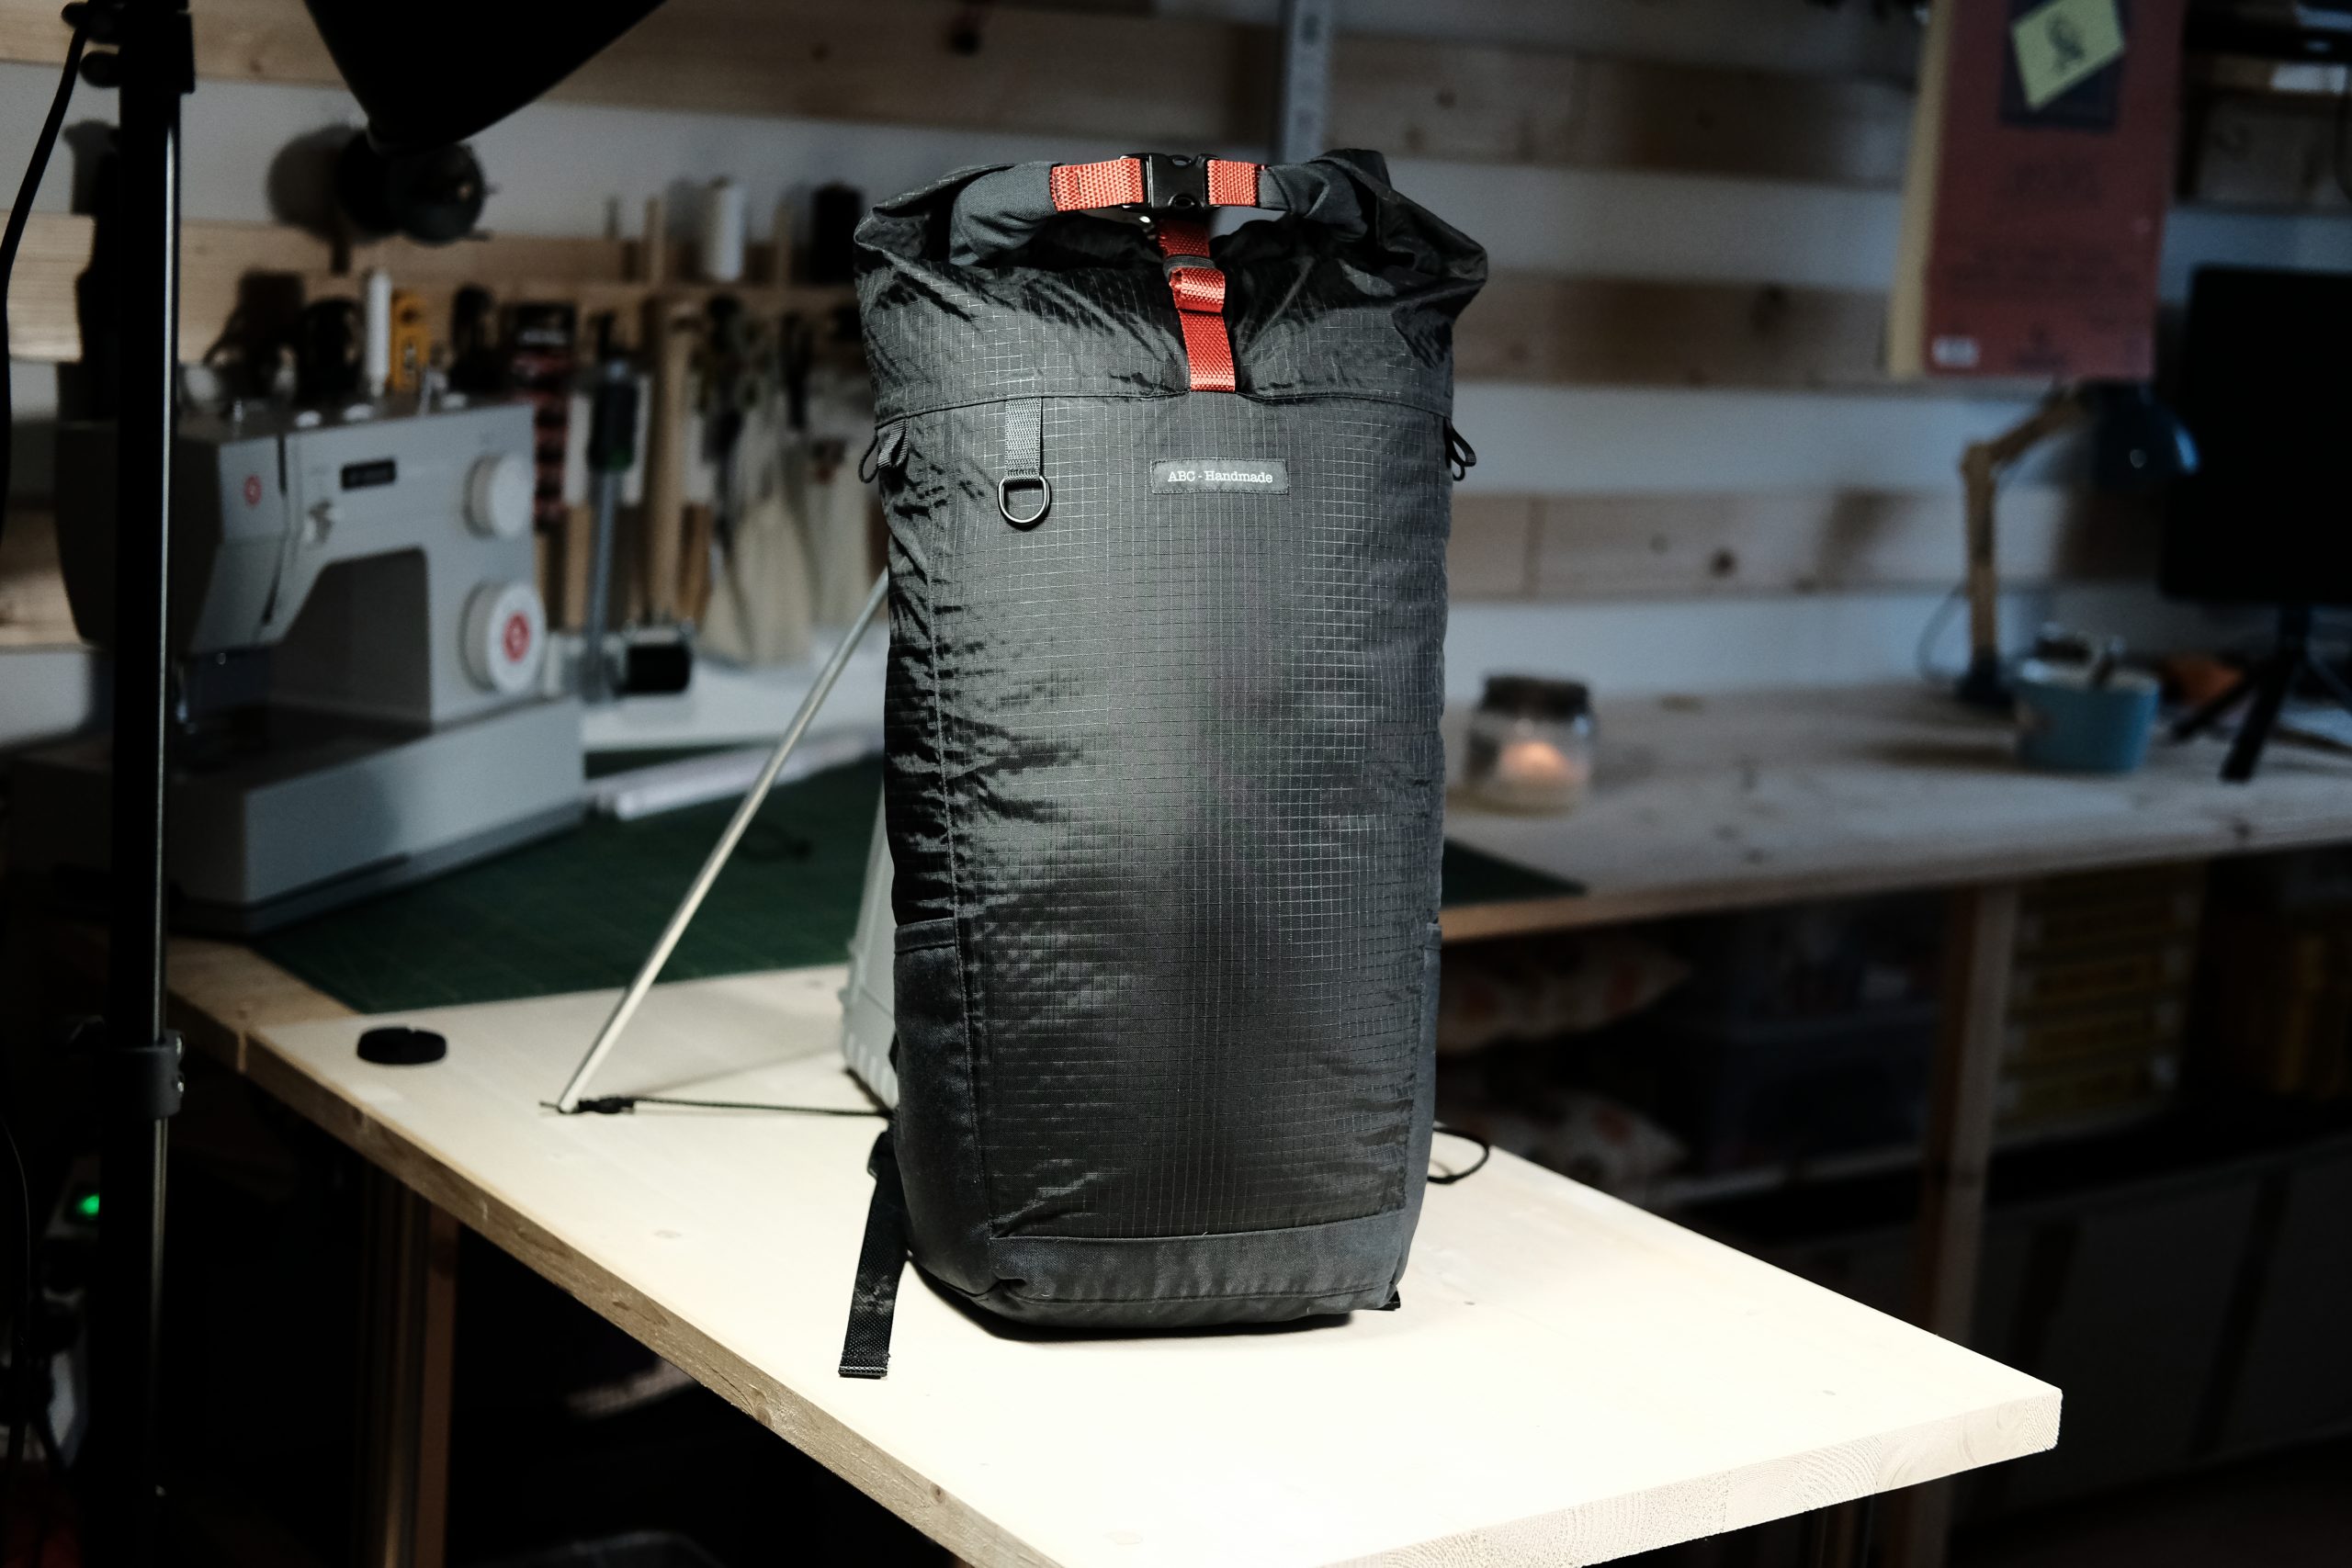
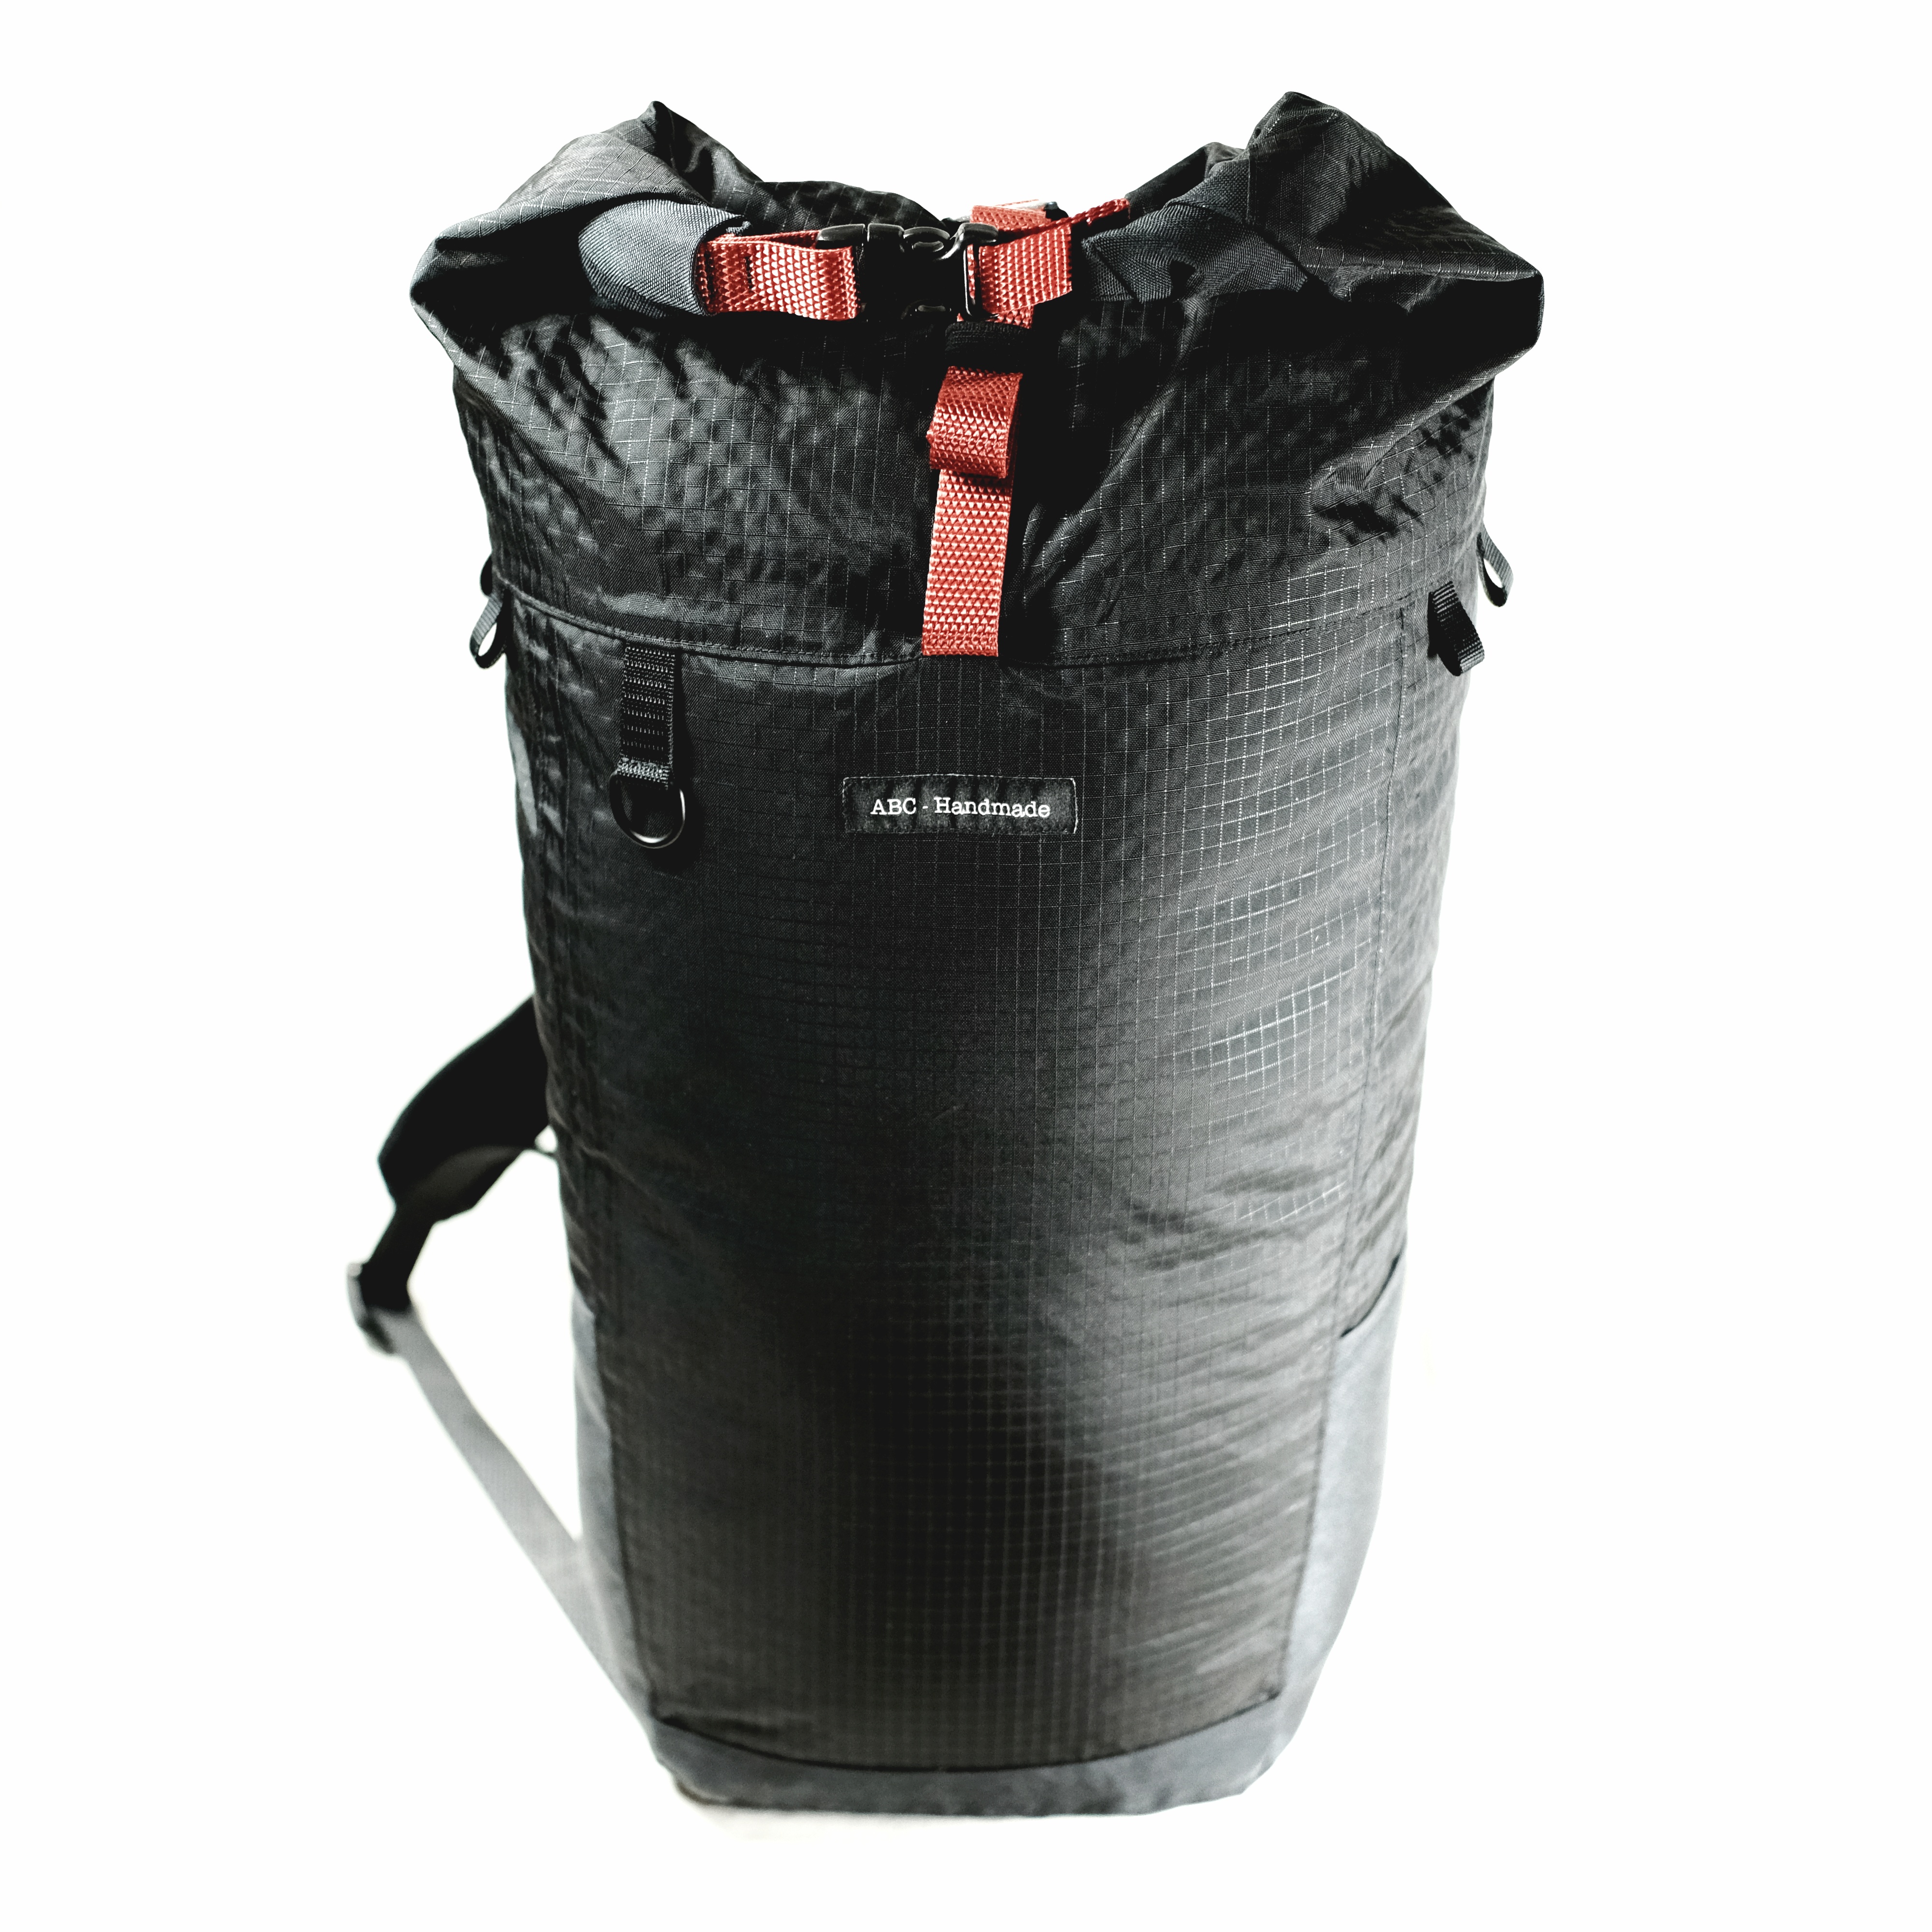
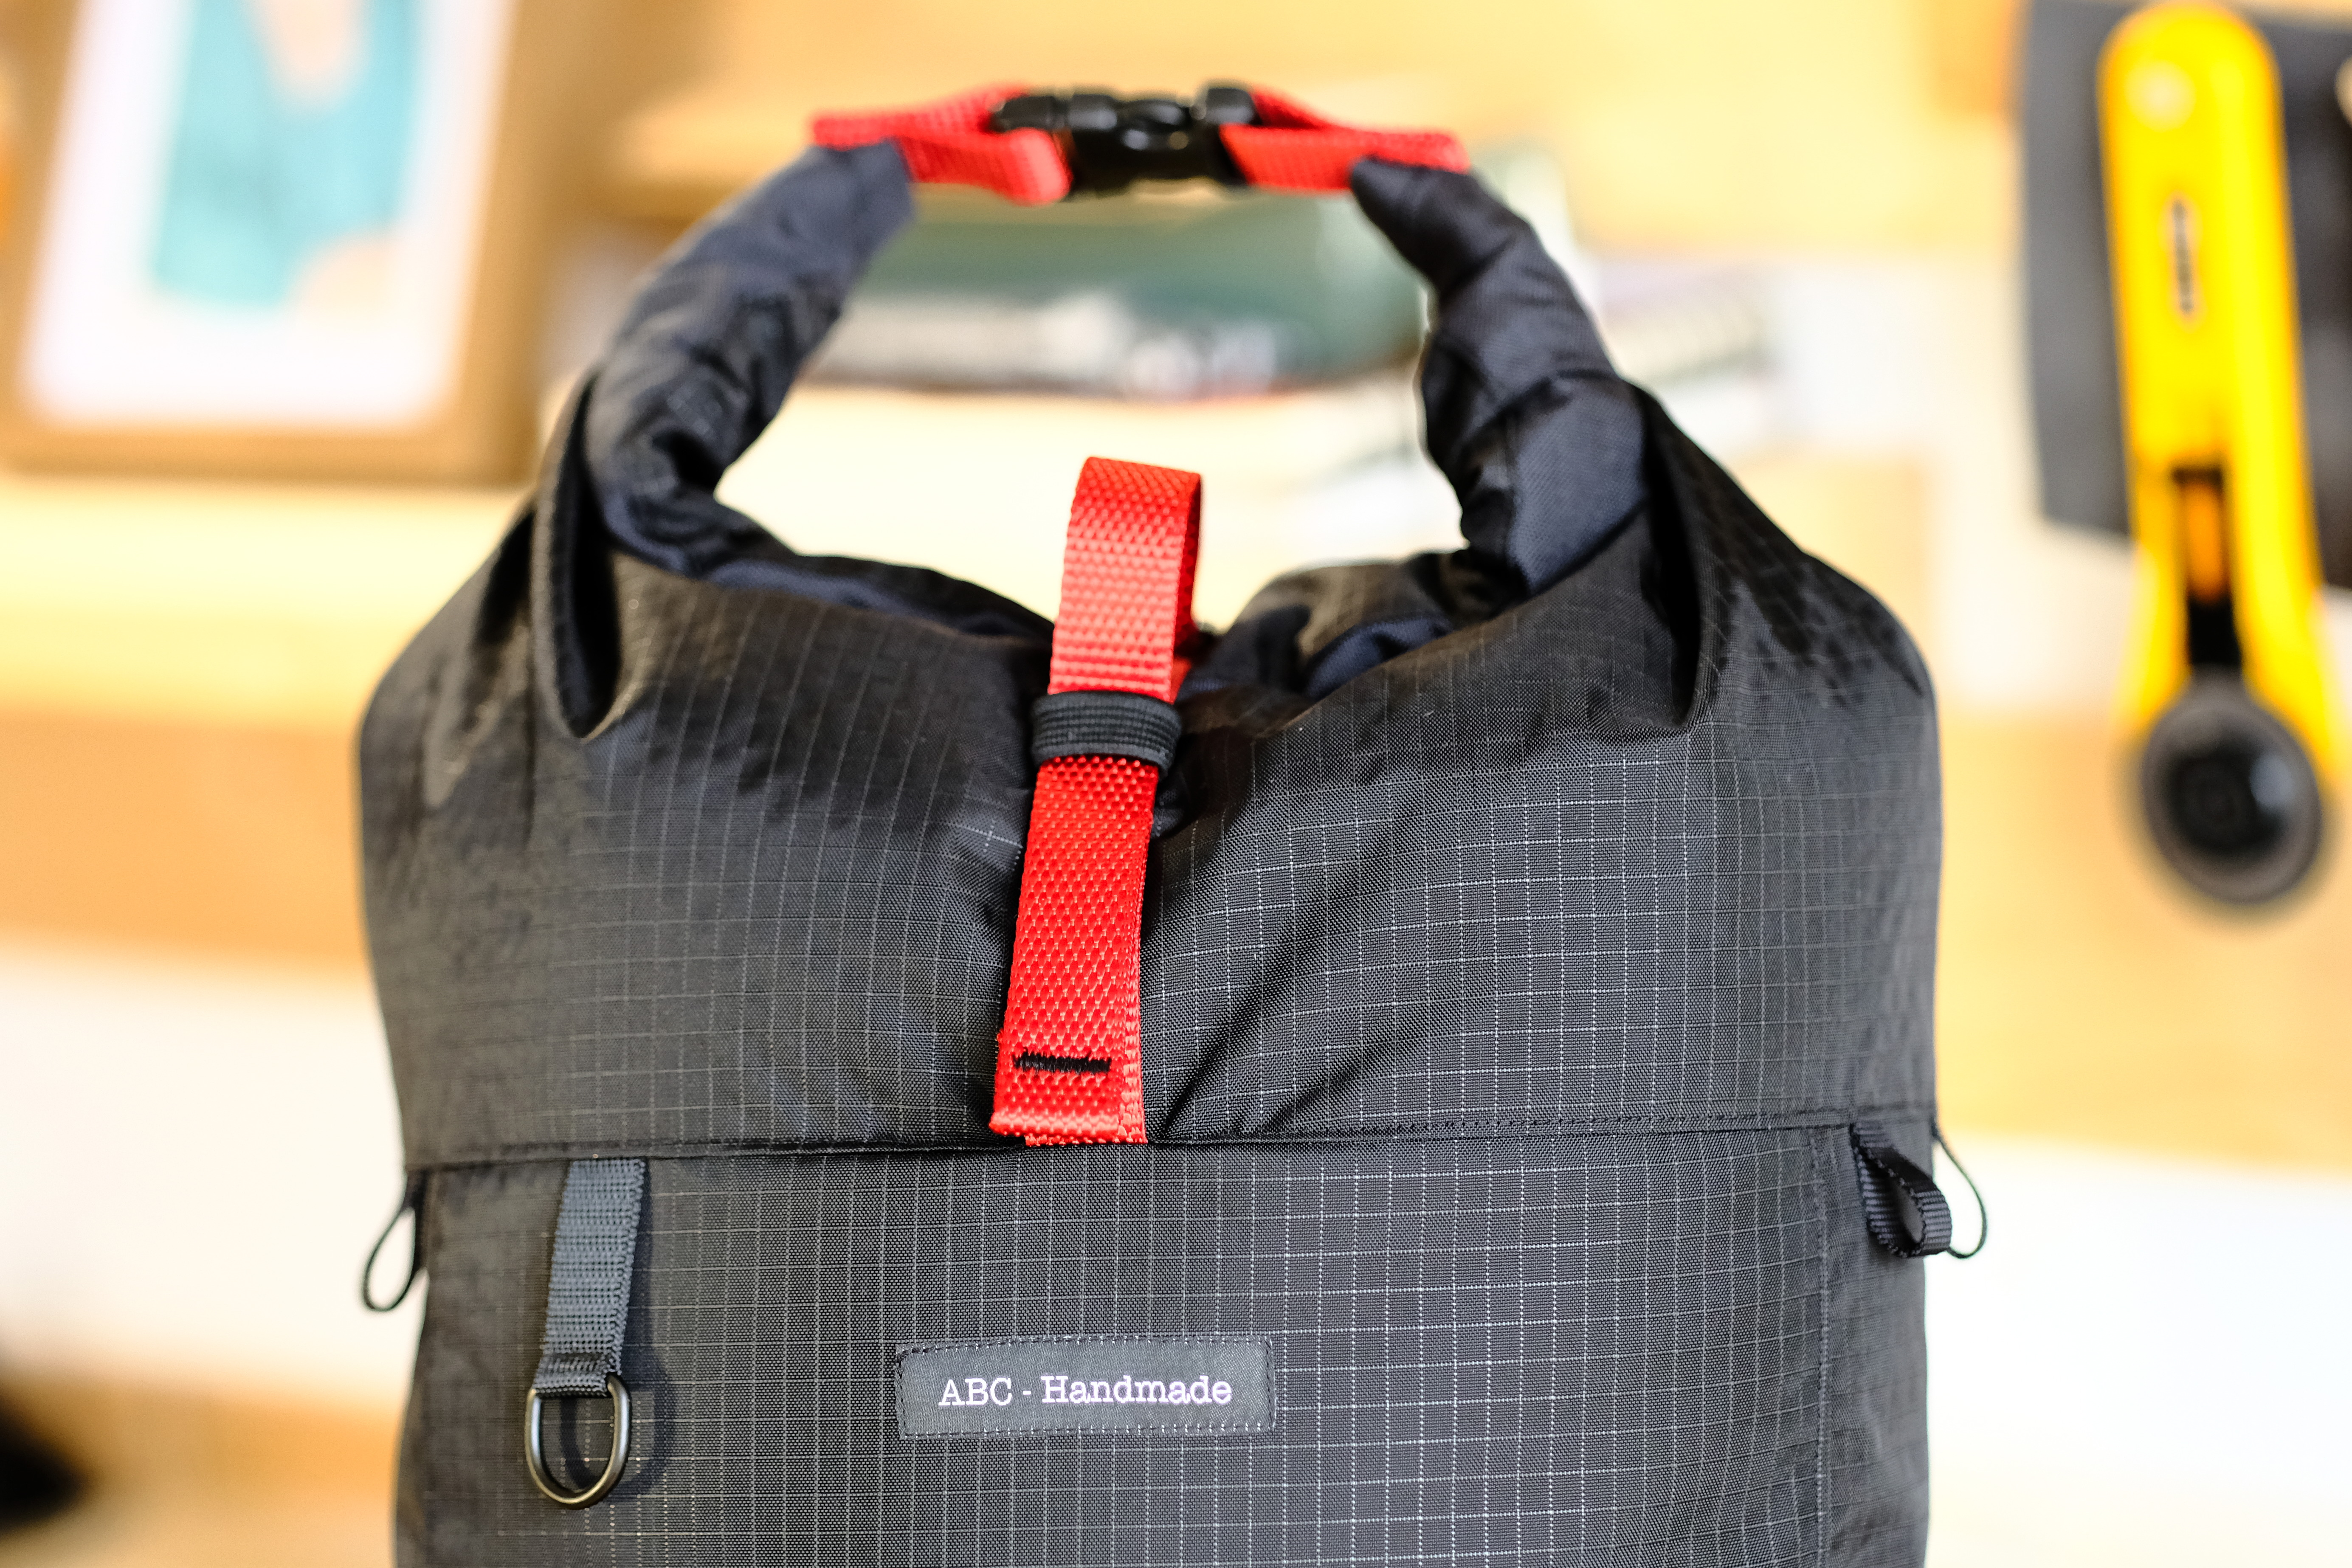
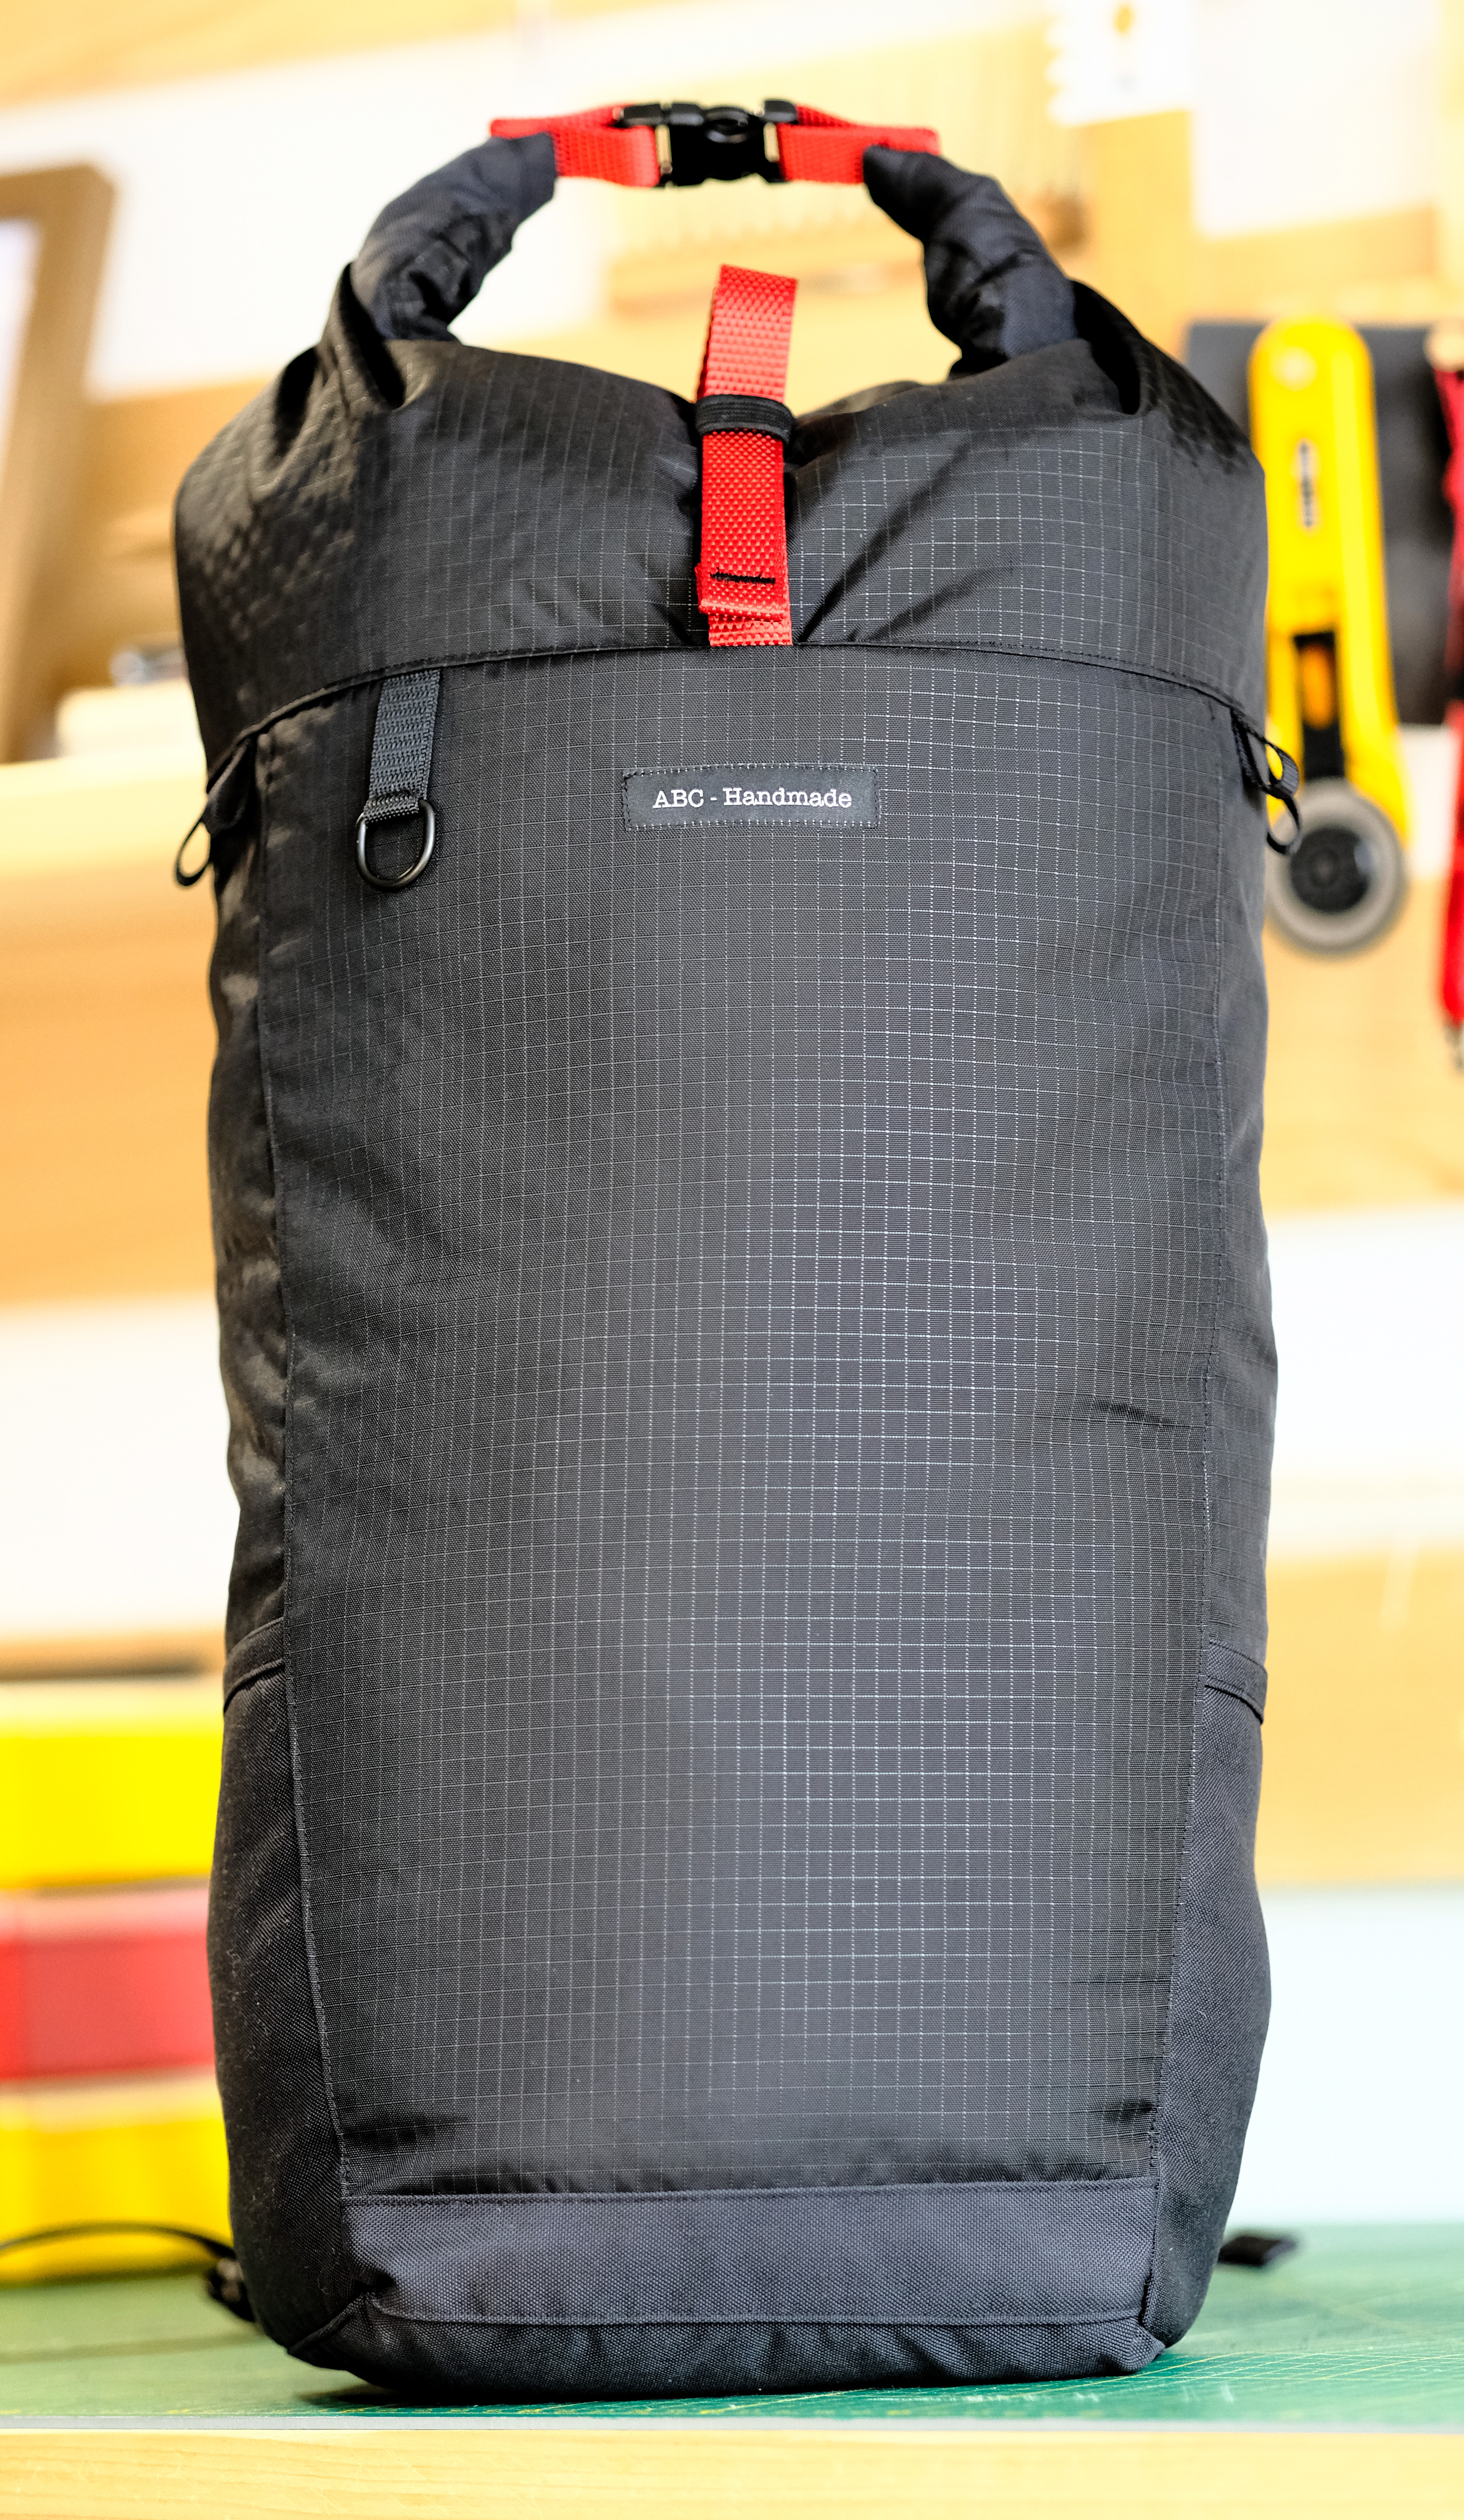
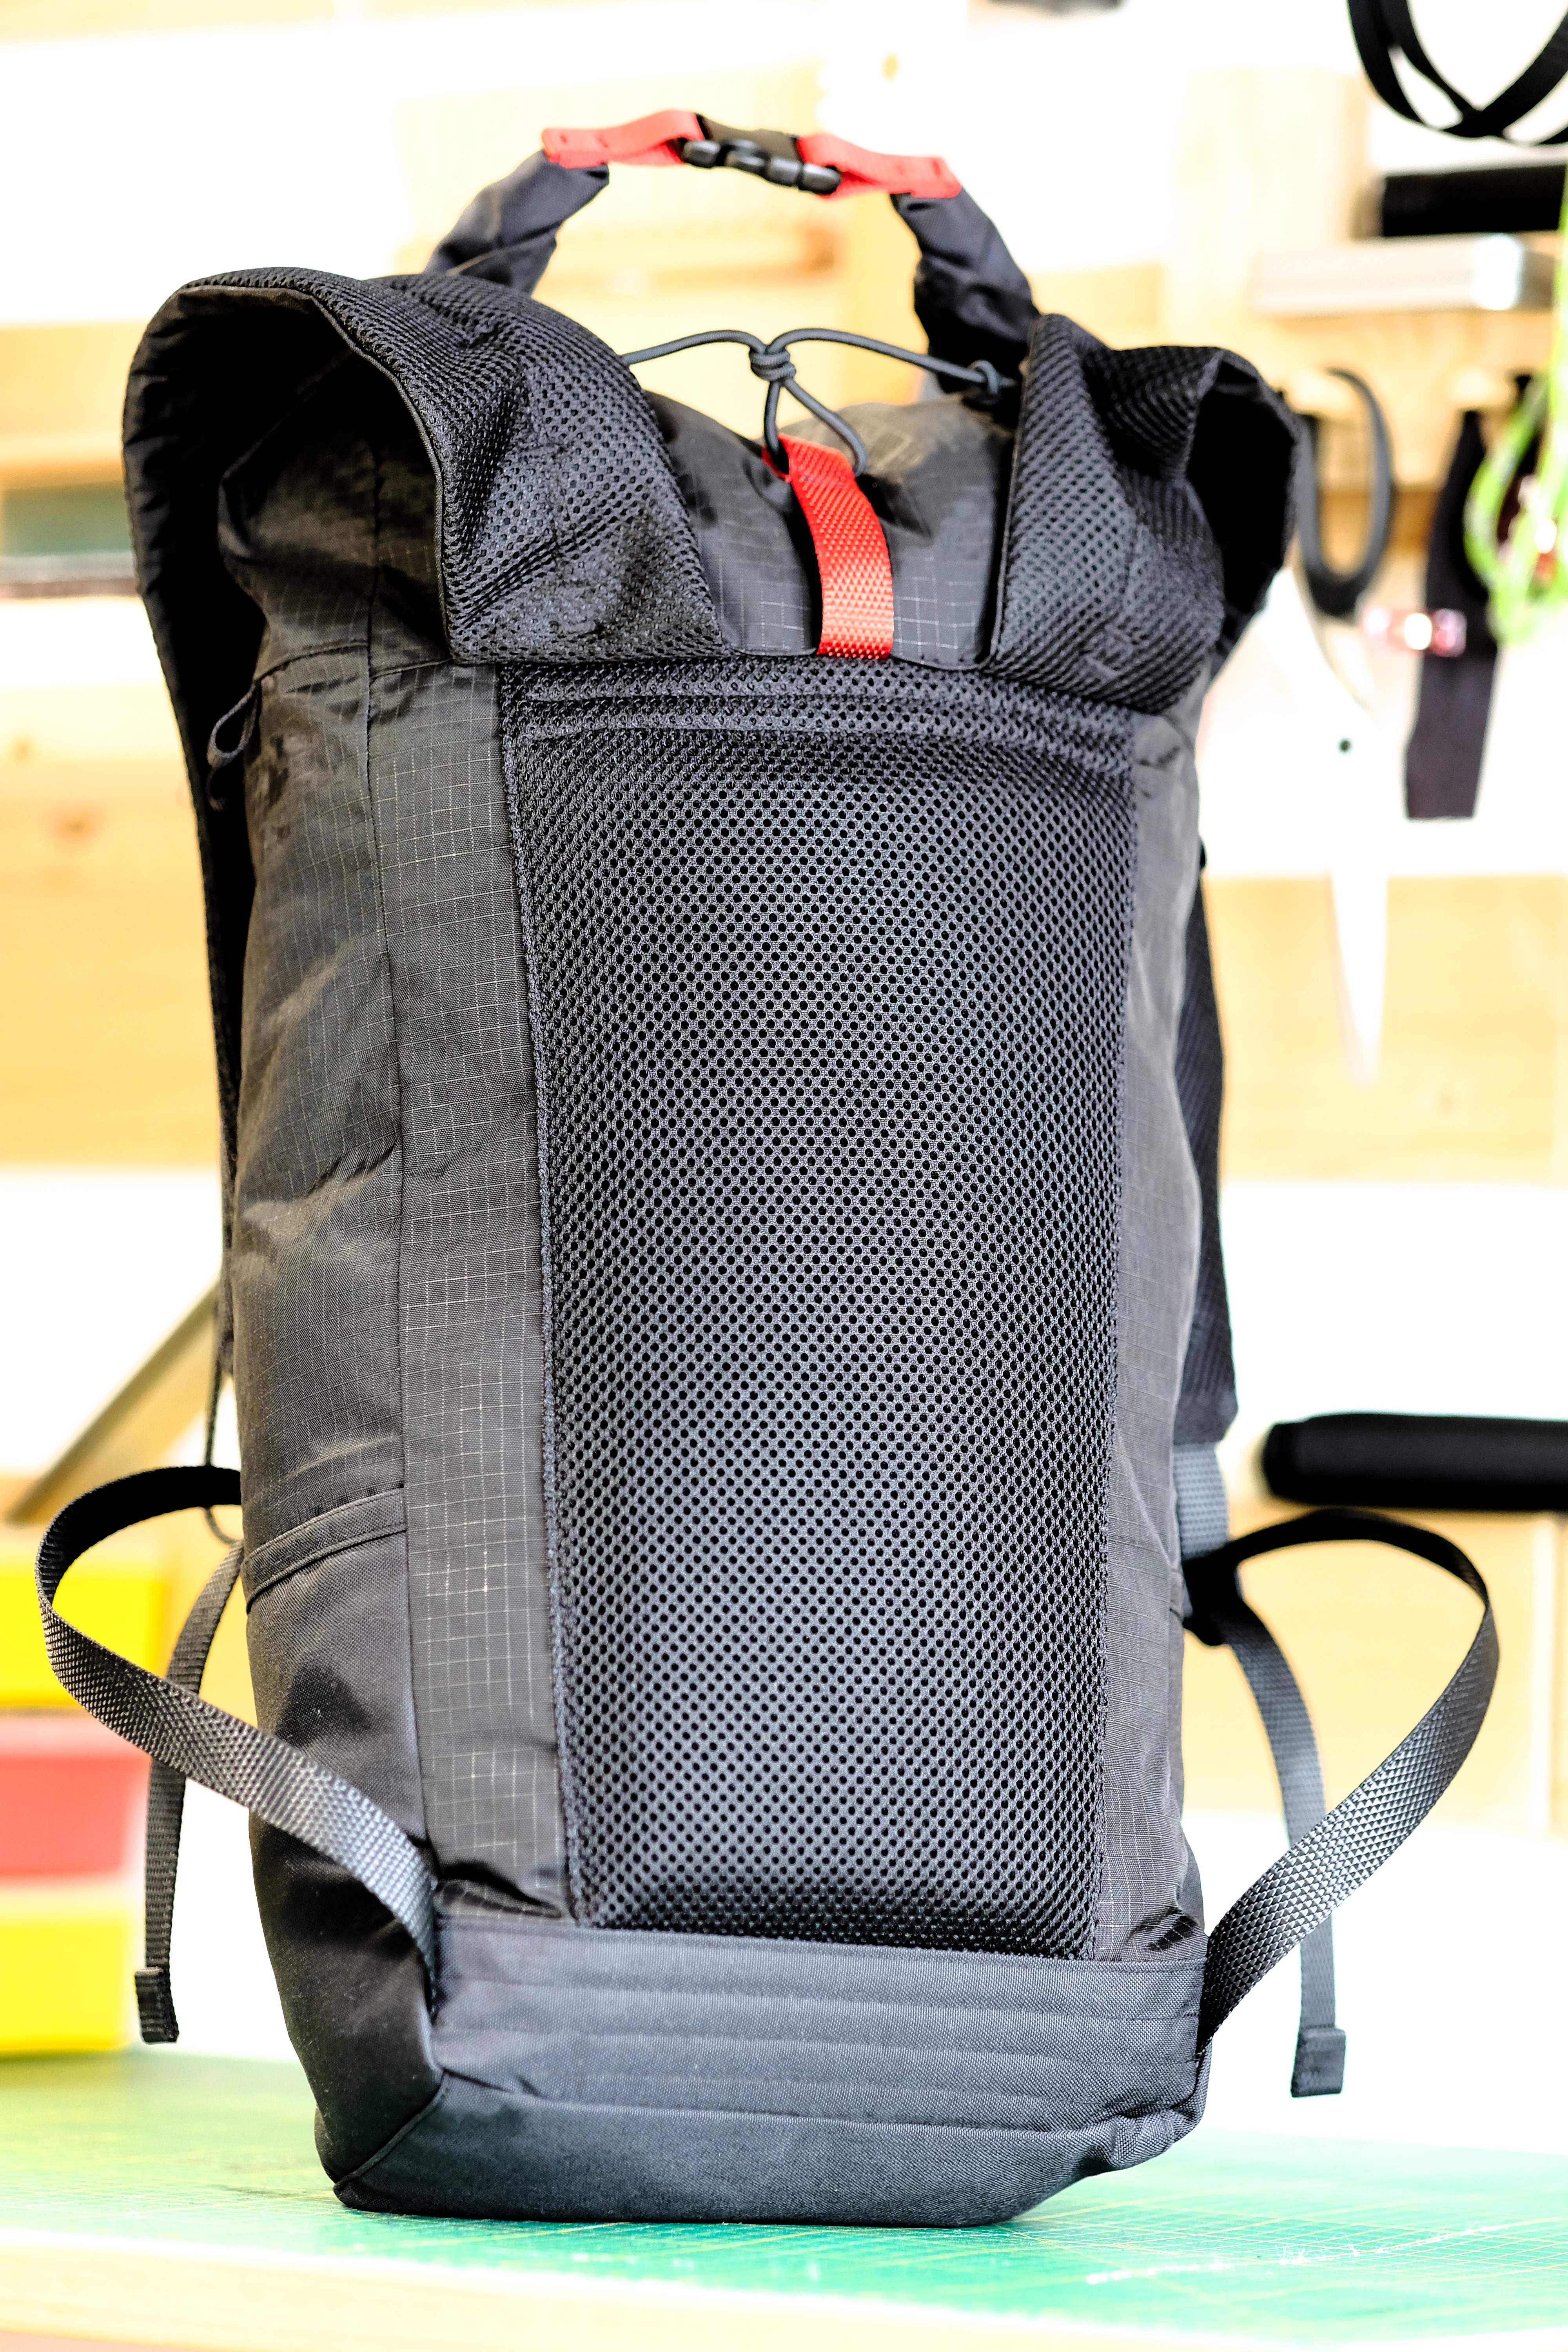
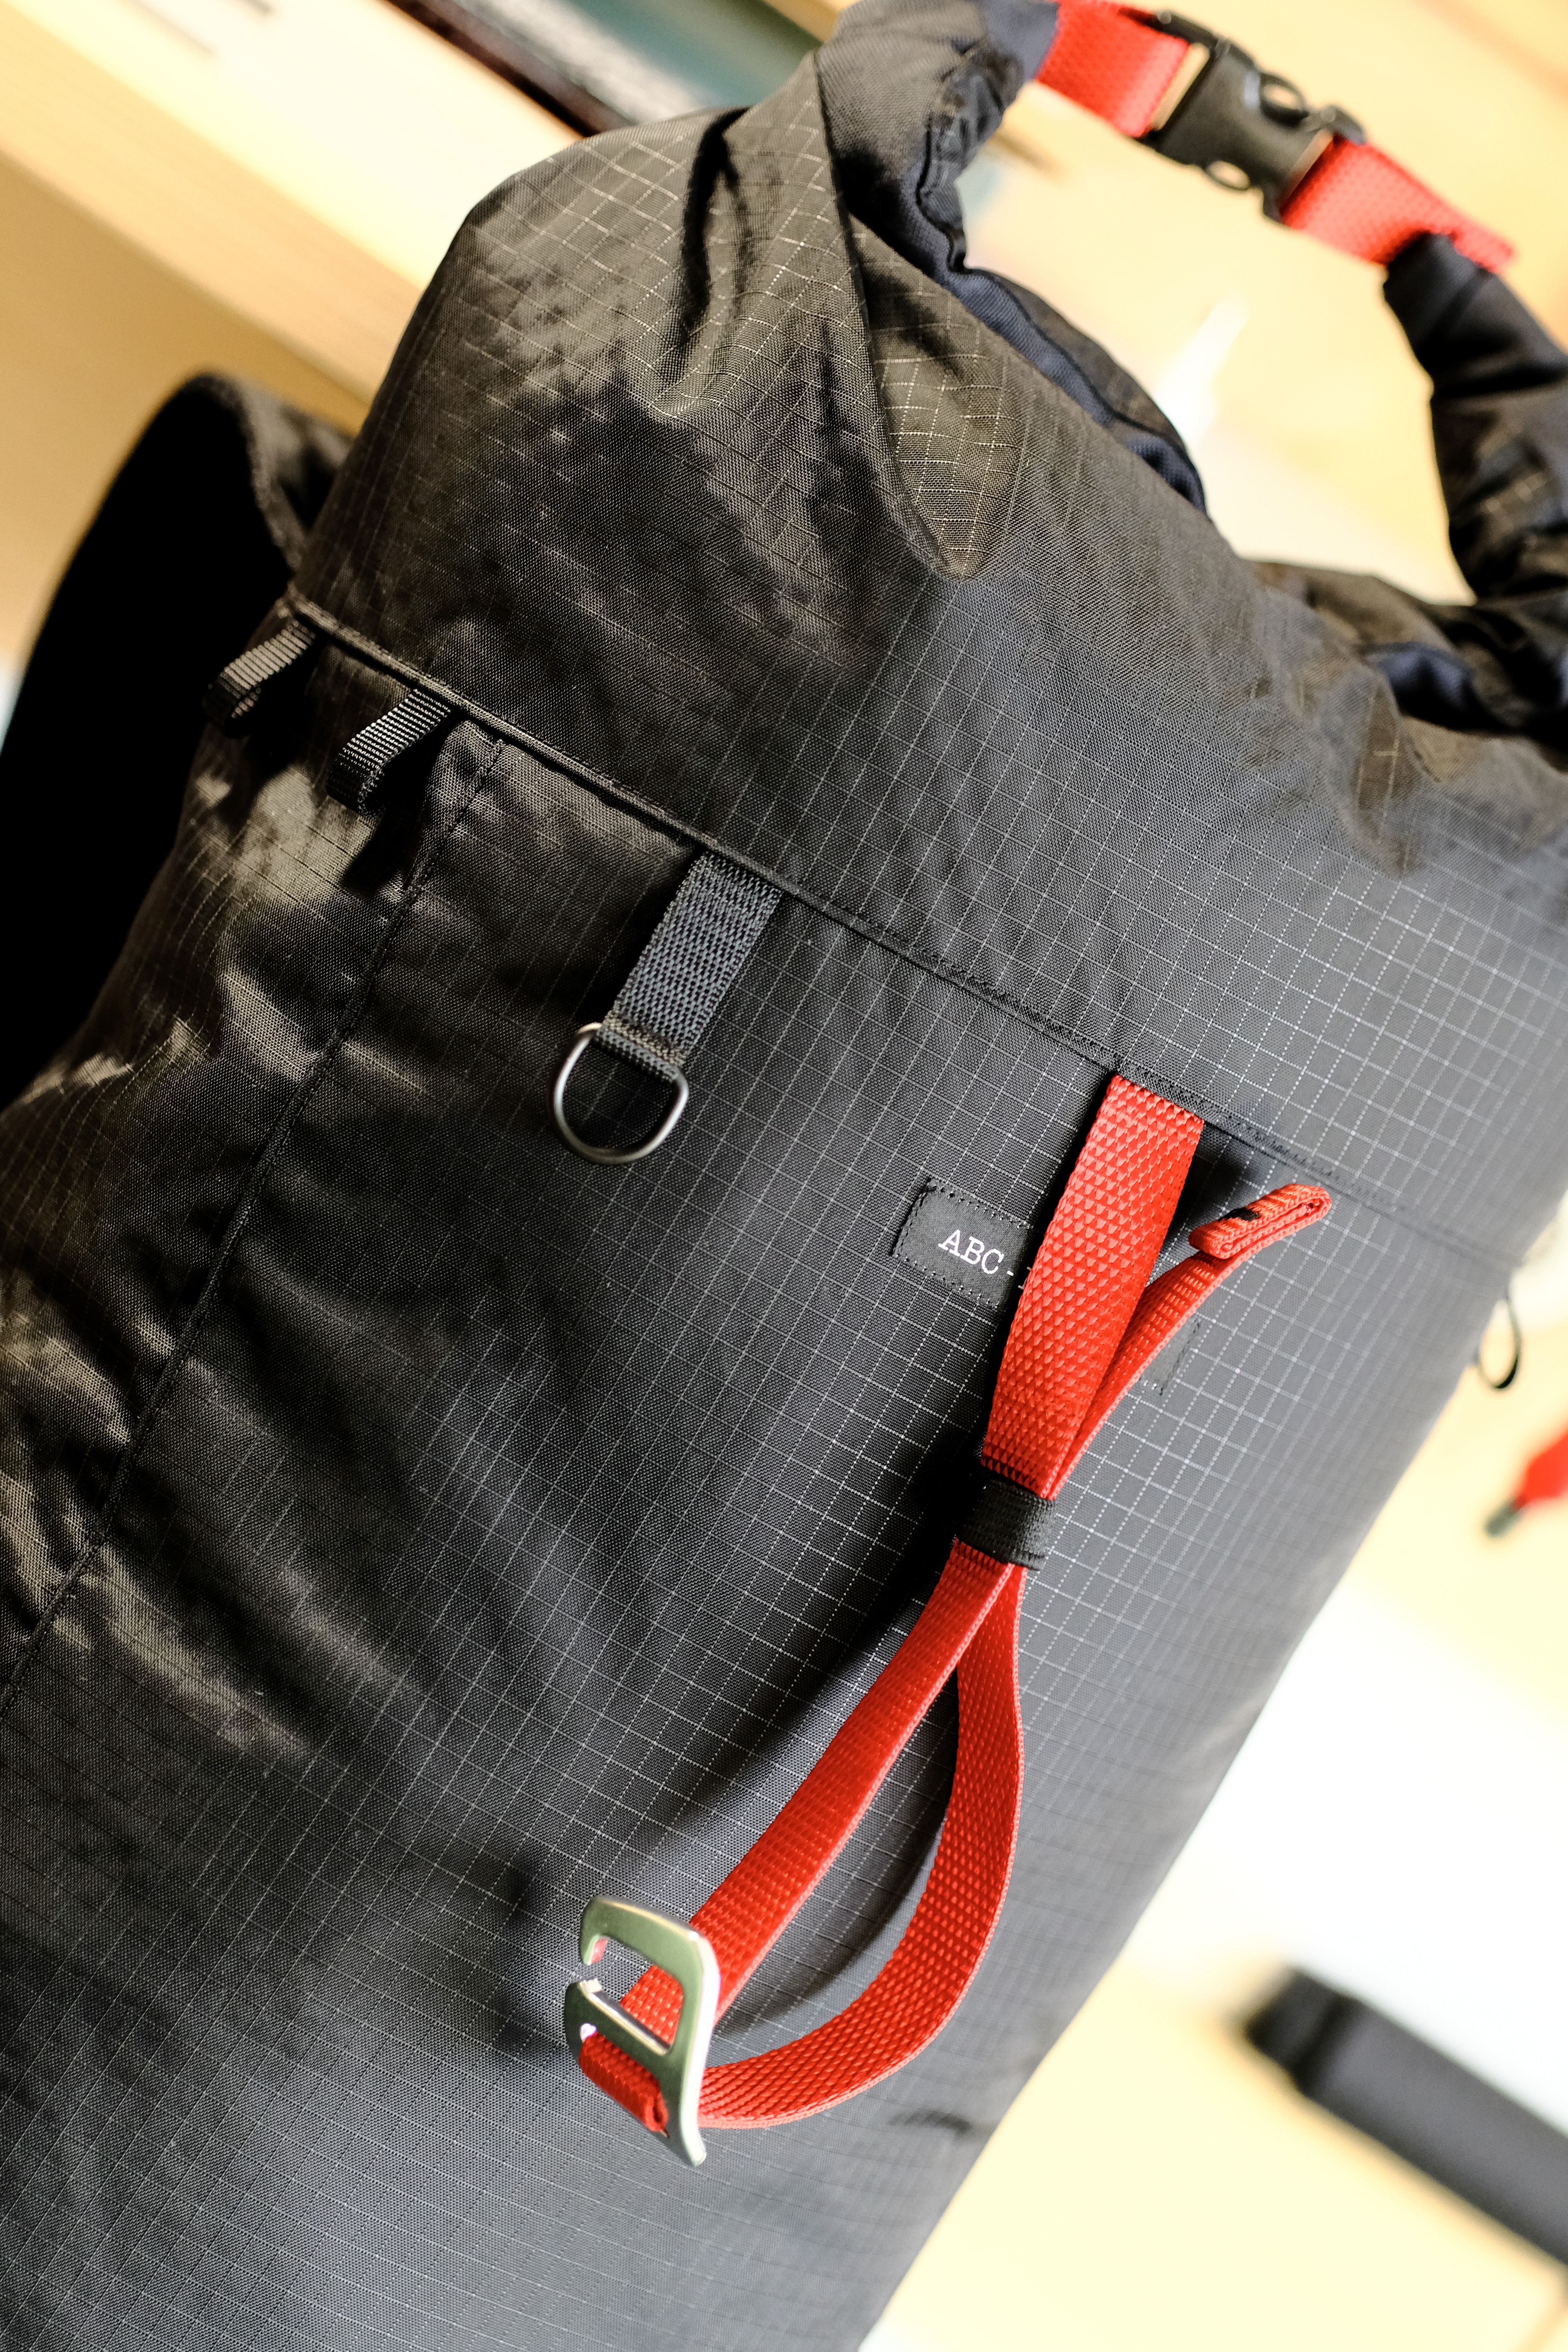
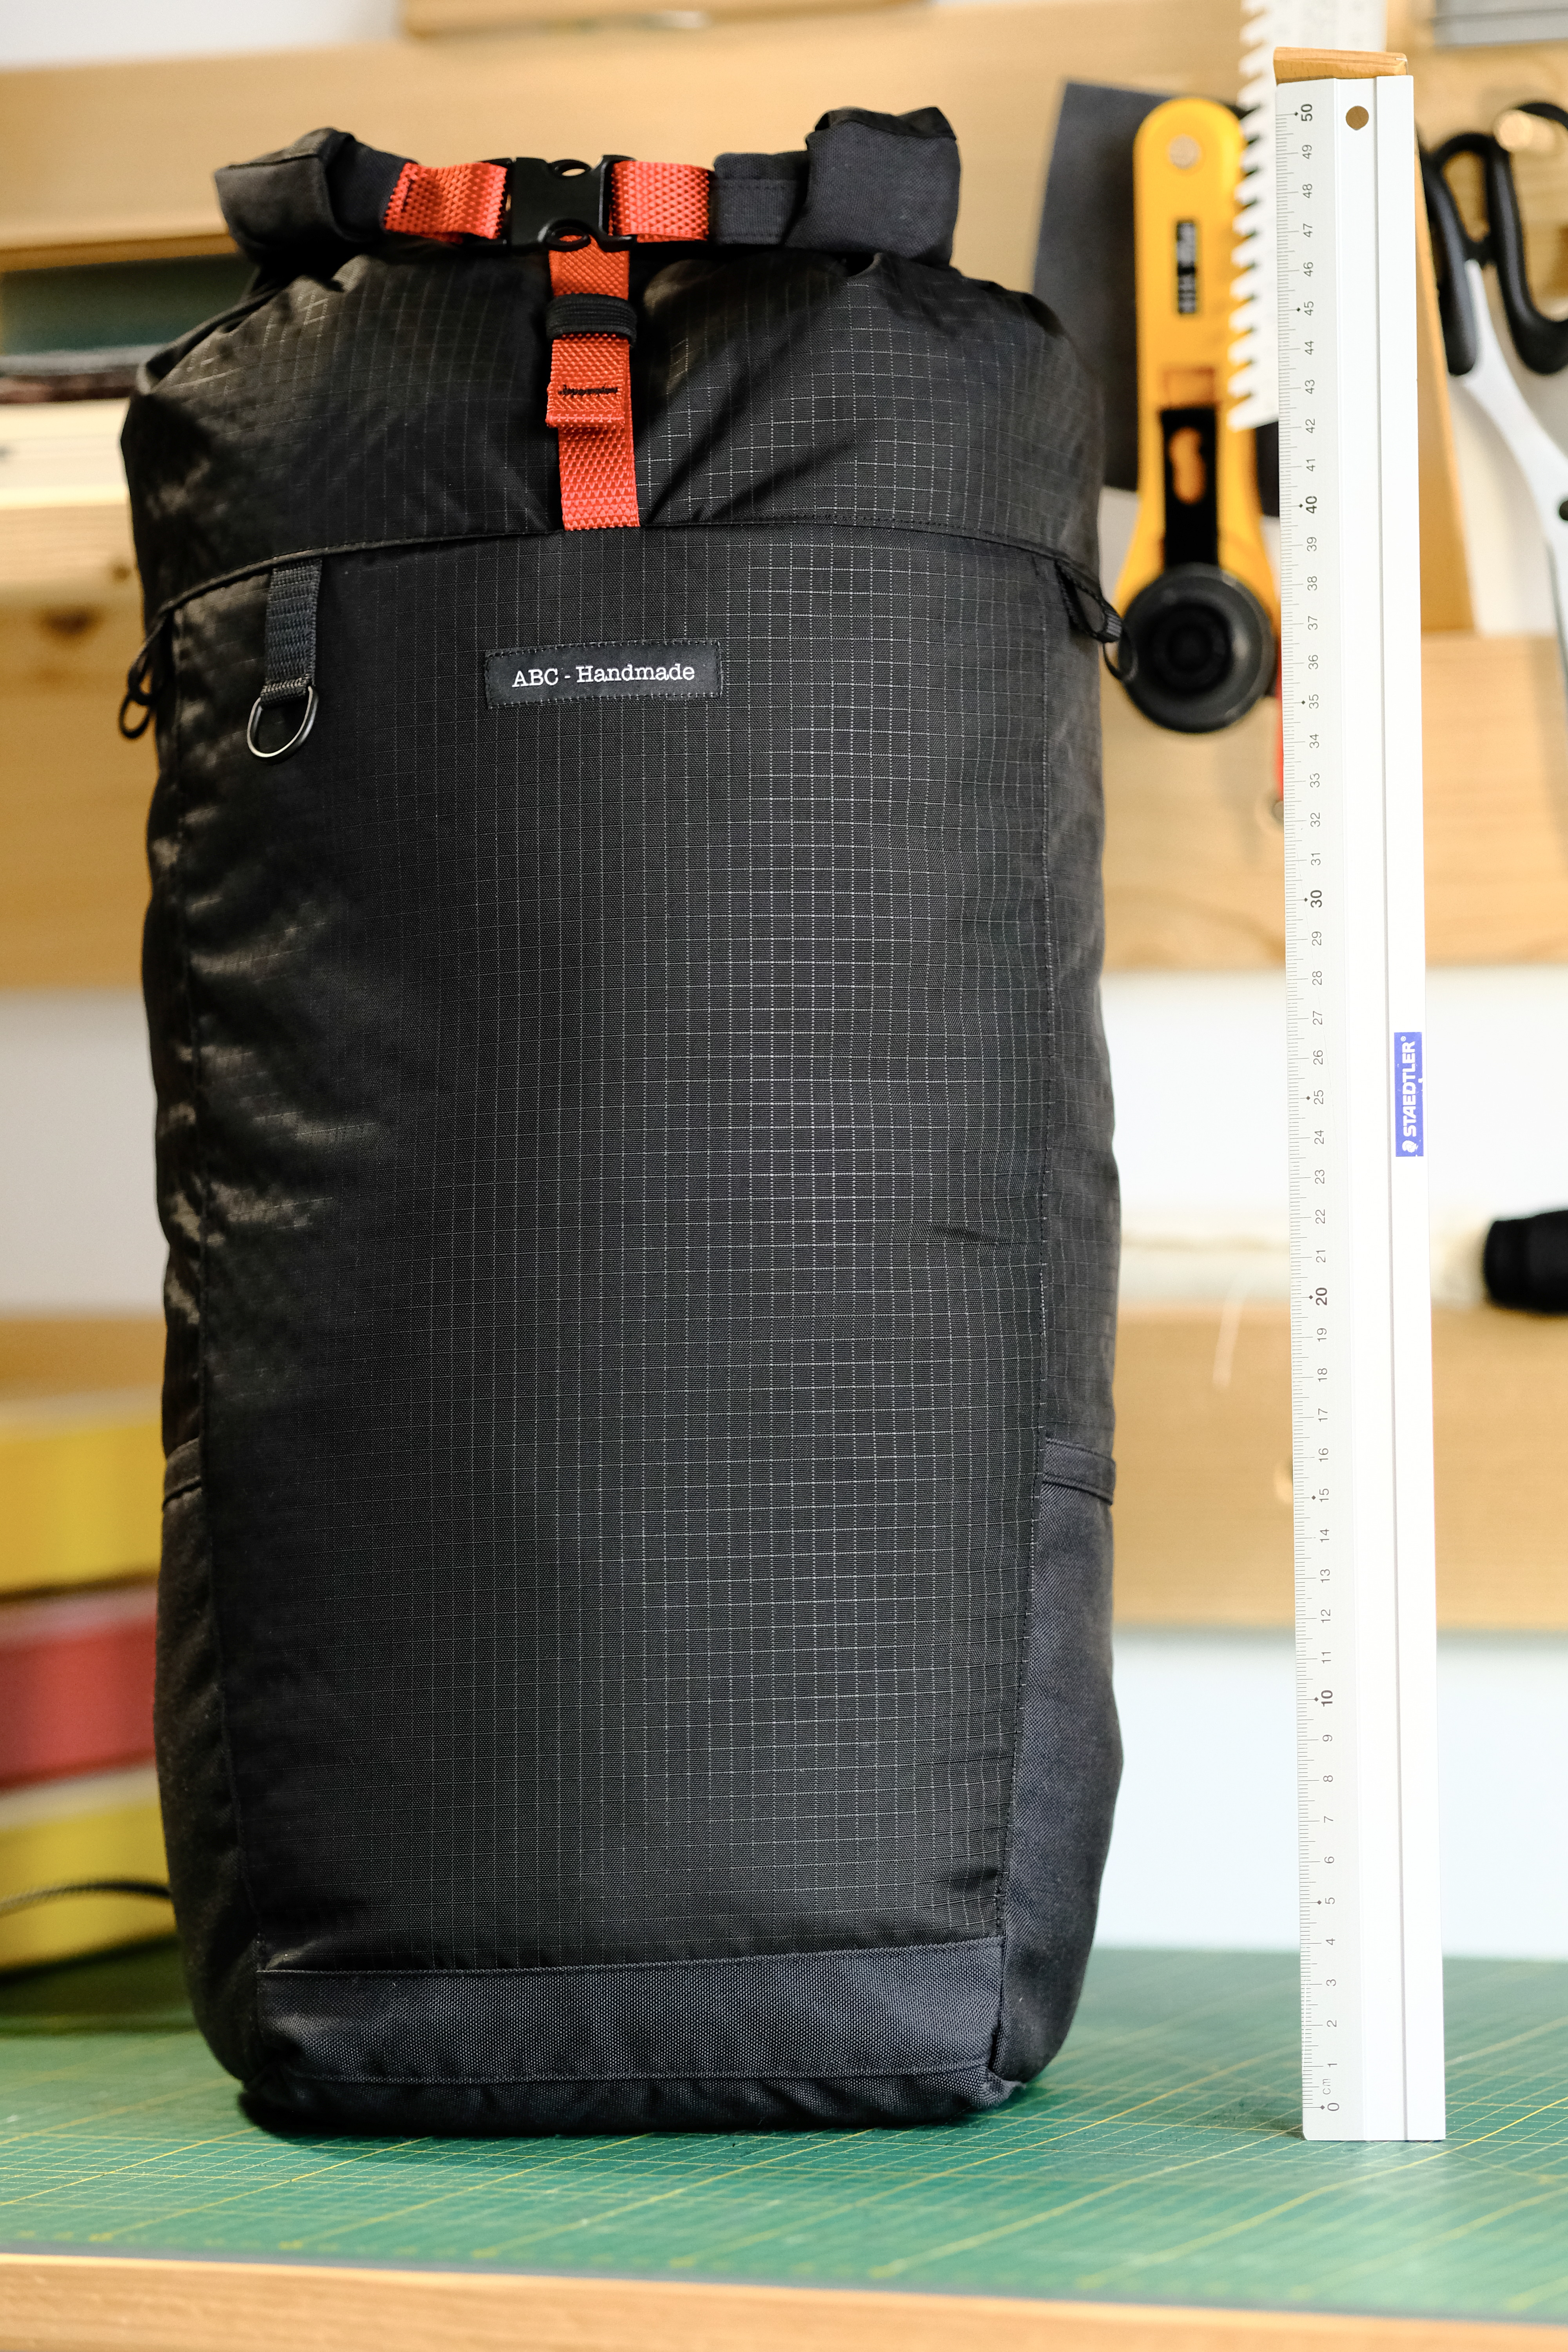
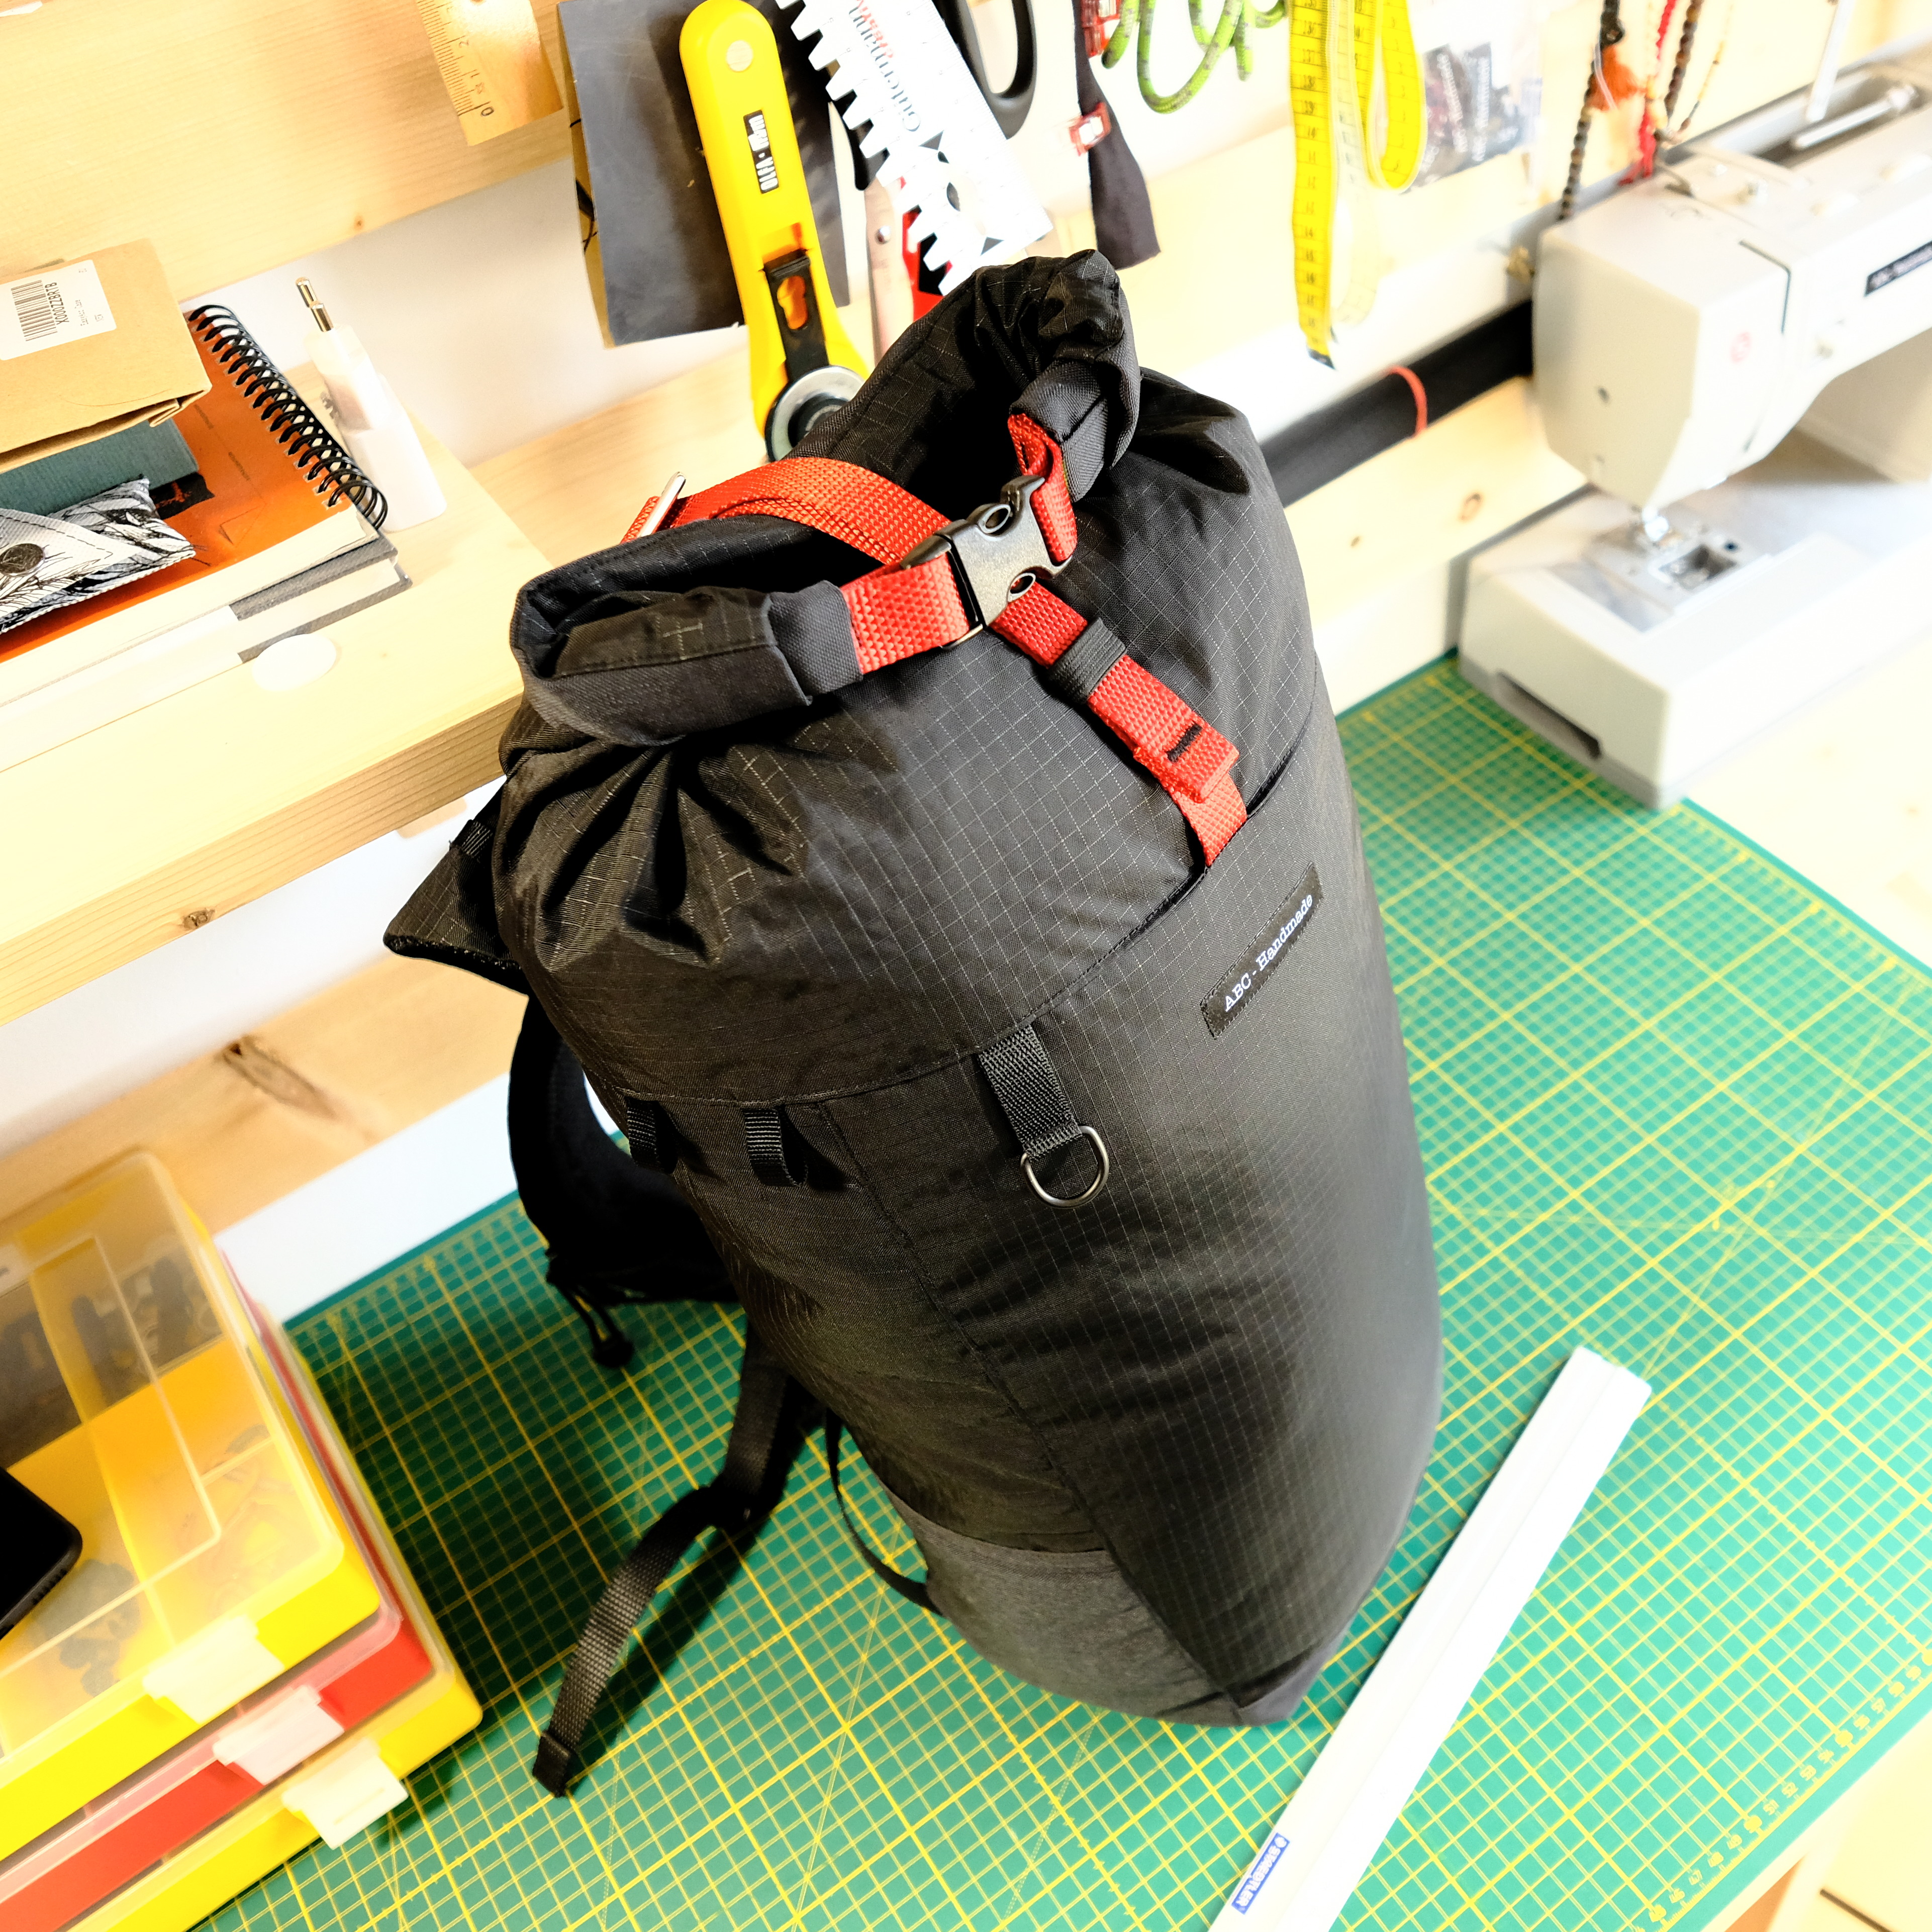
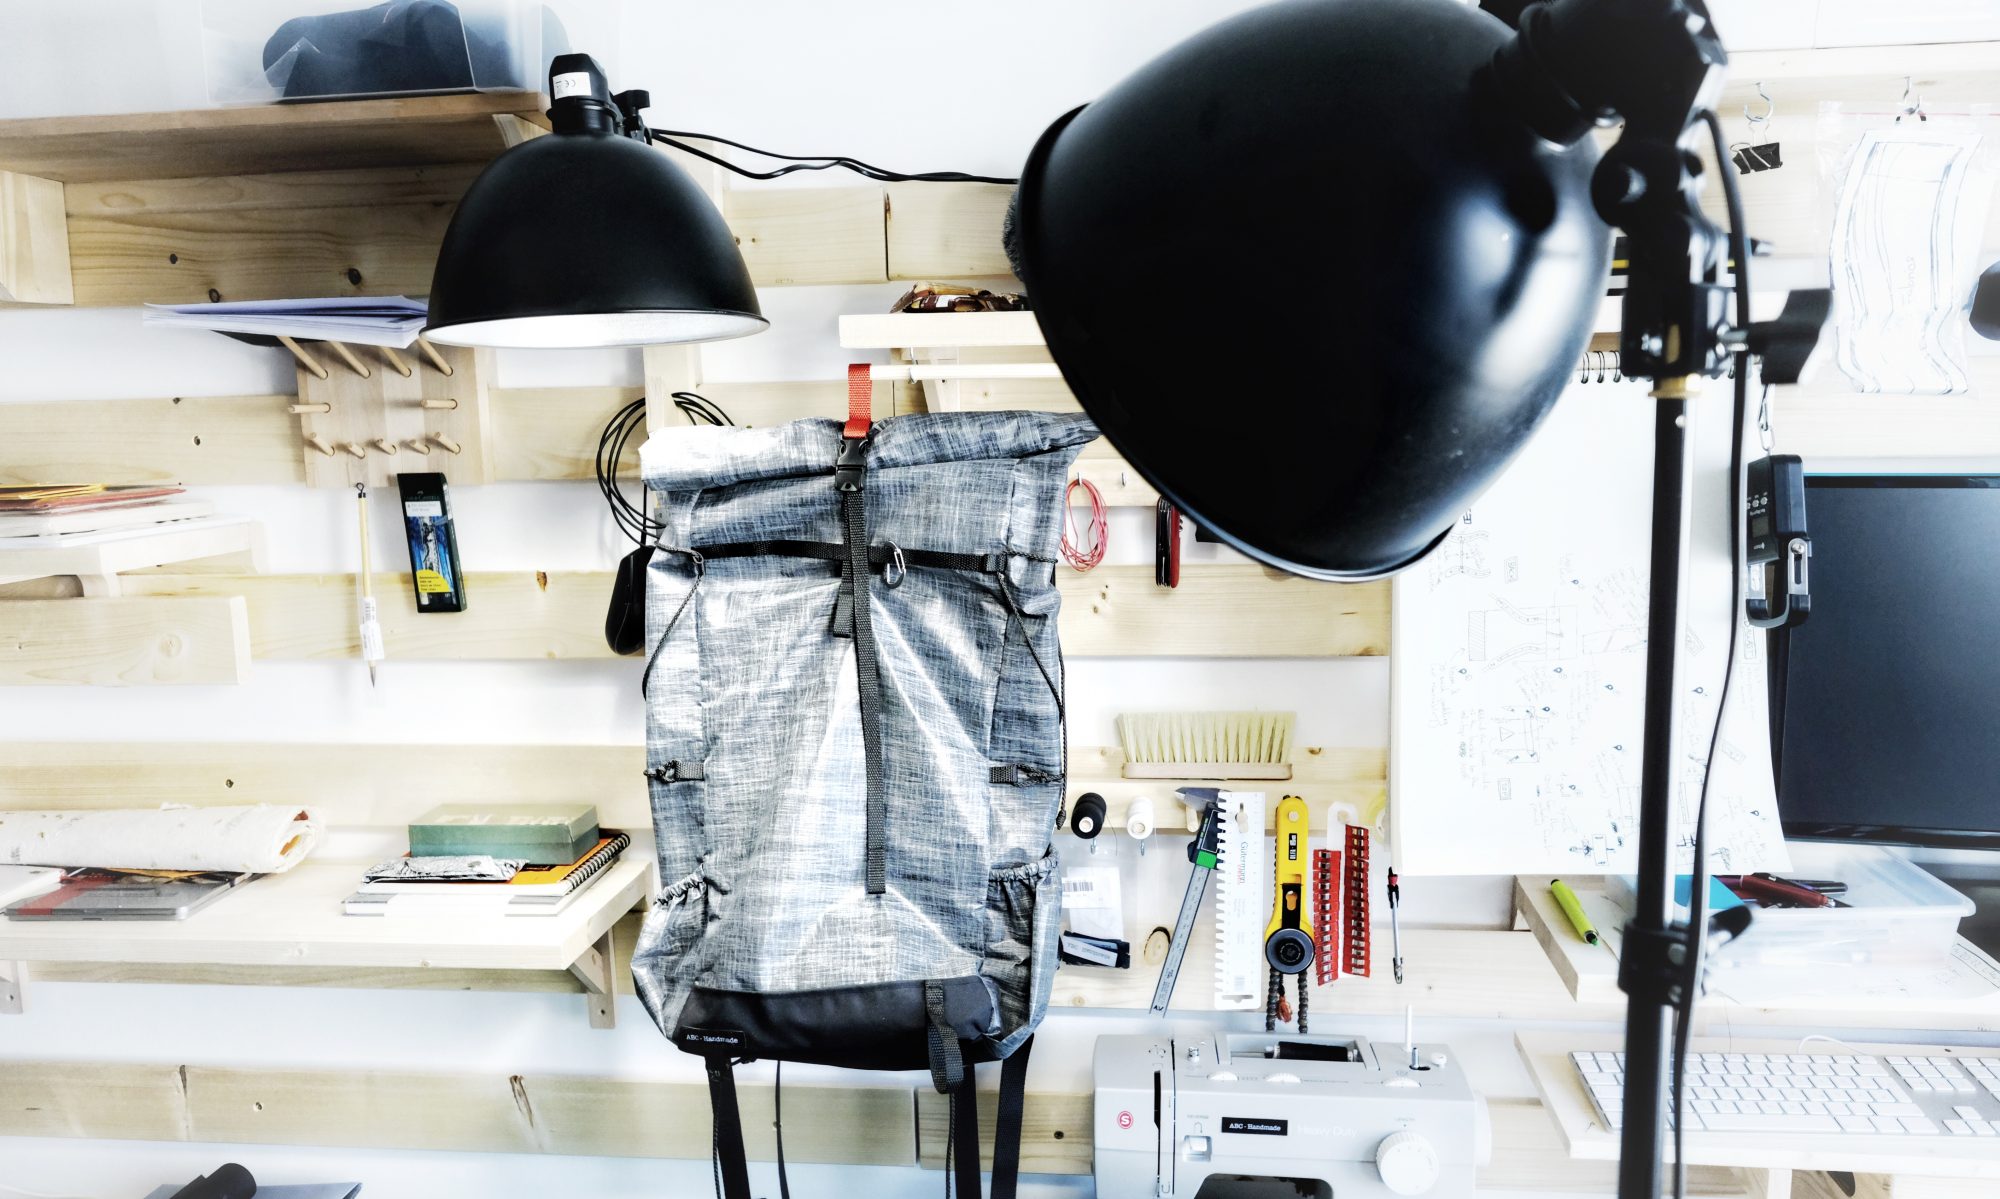
Given that my goal here was to make a good looking day-pack which can double as hiking backpack for a Christmas gift, I did not go overboard with the design and details, and stayed within the realm of lightweight and simple designs with more generic features. I opted for the lean front instead of a cargo pocket I was considering in the design to keep the day-pack feeling, and made use of the front zipper pocket idea to keep in line with daily commuting habits and needs. I know you are curious, so without further due, here is a picture of the (almost) final pack.

What do you mean that’s not a bag yet? 😁

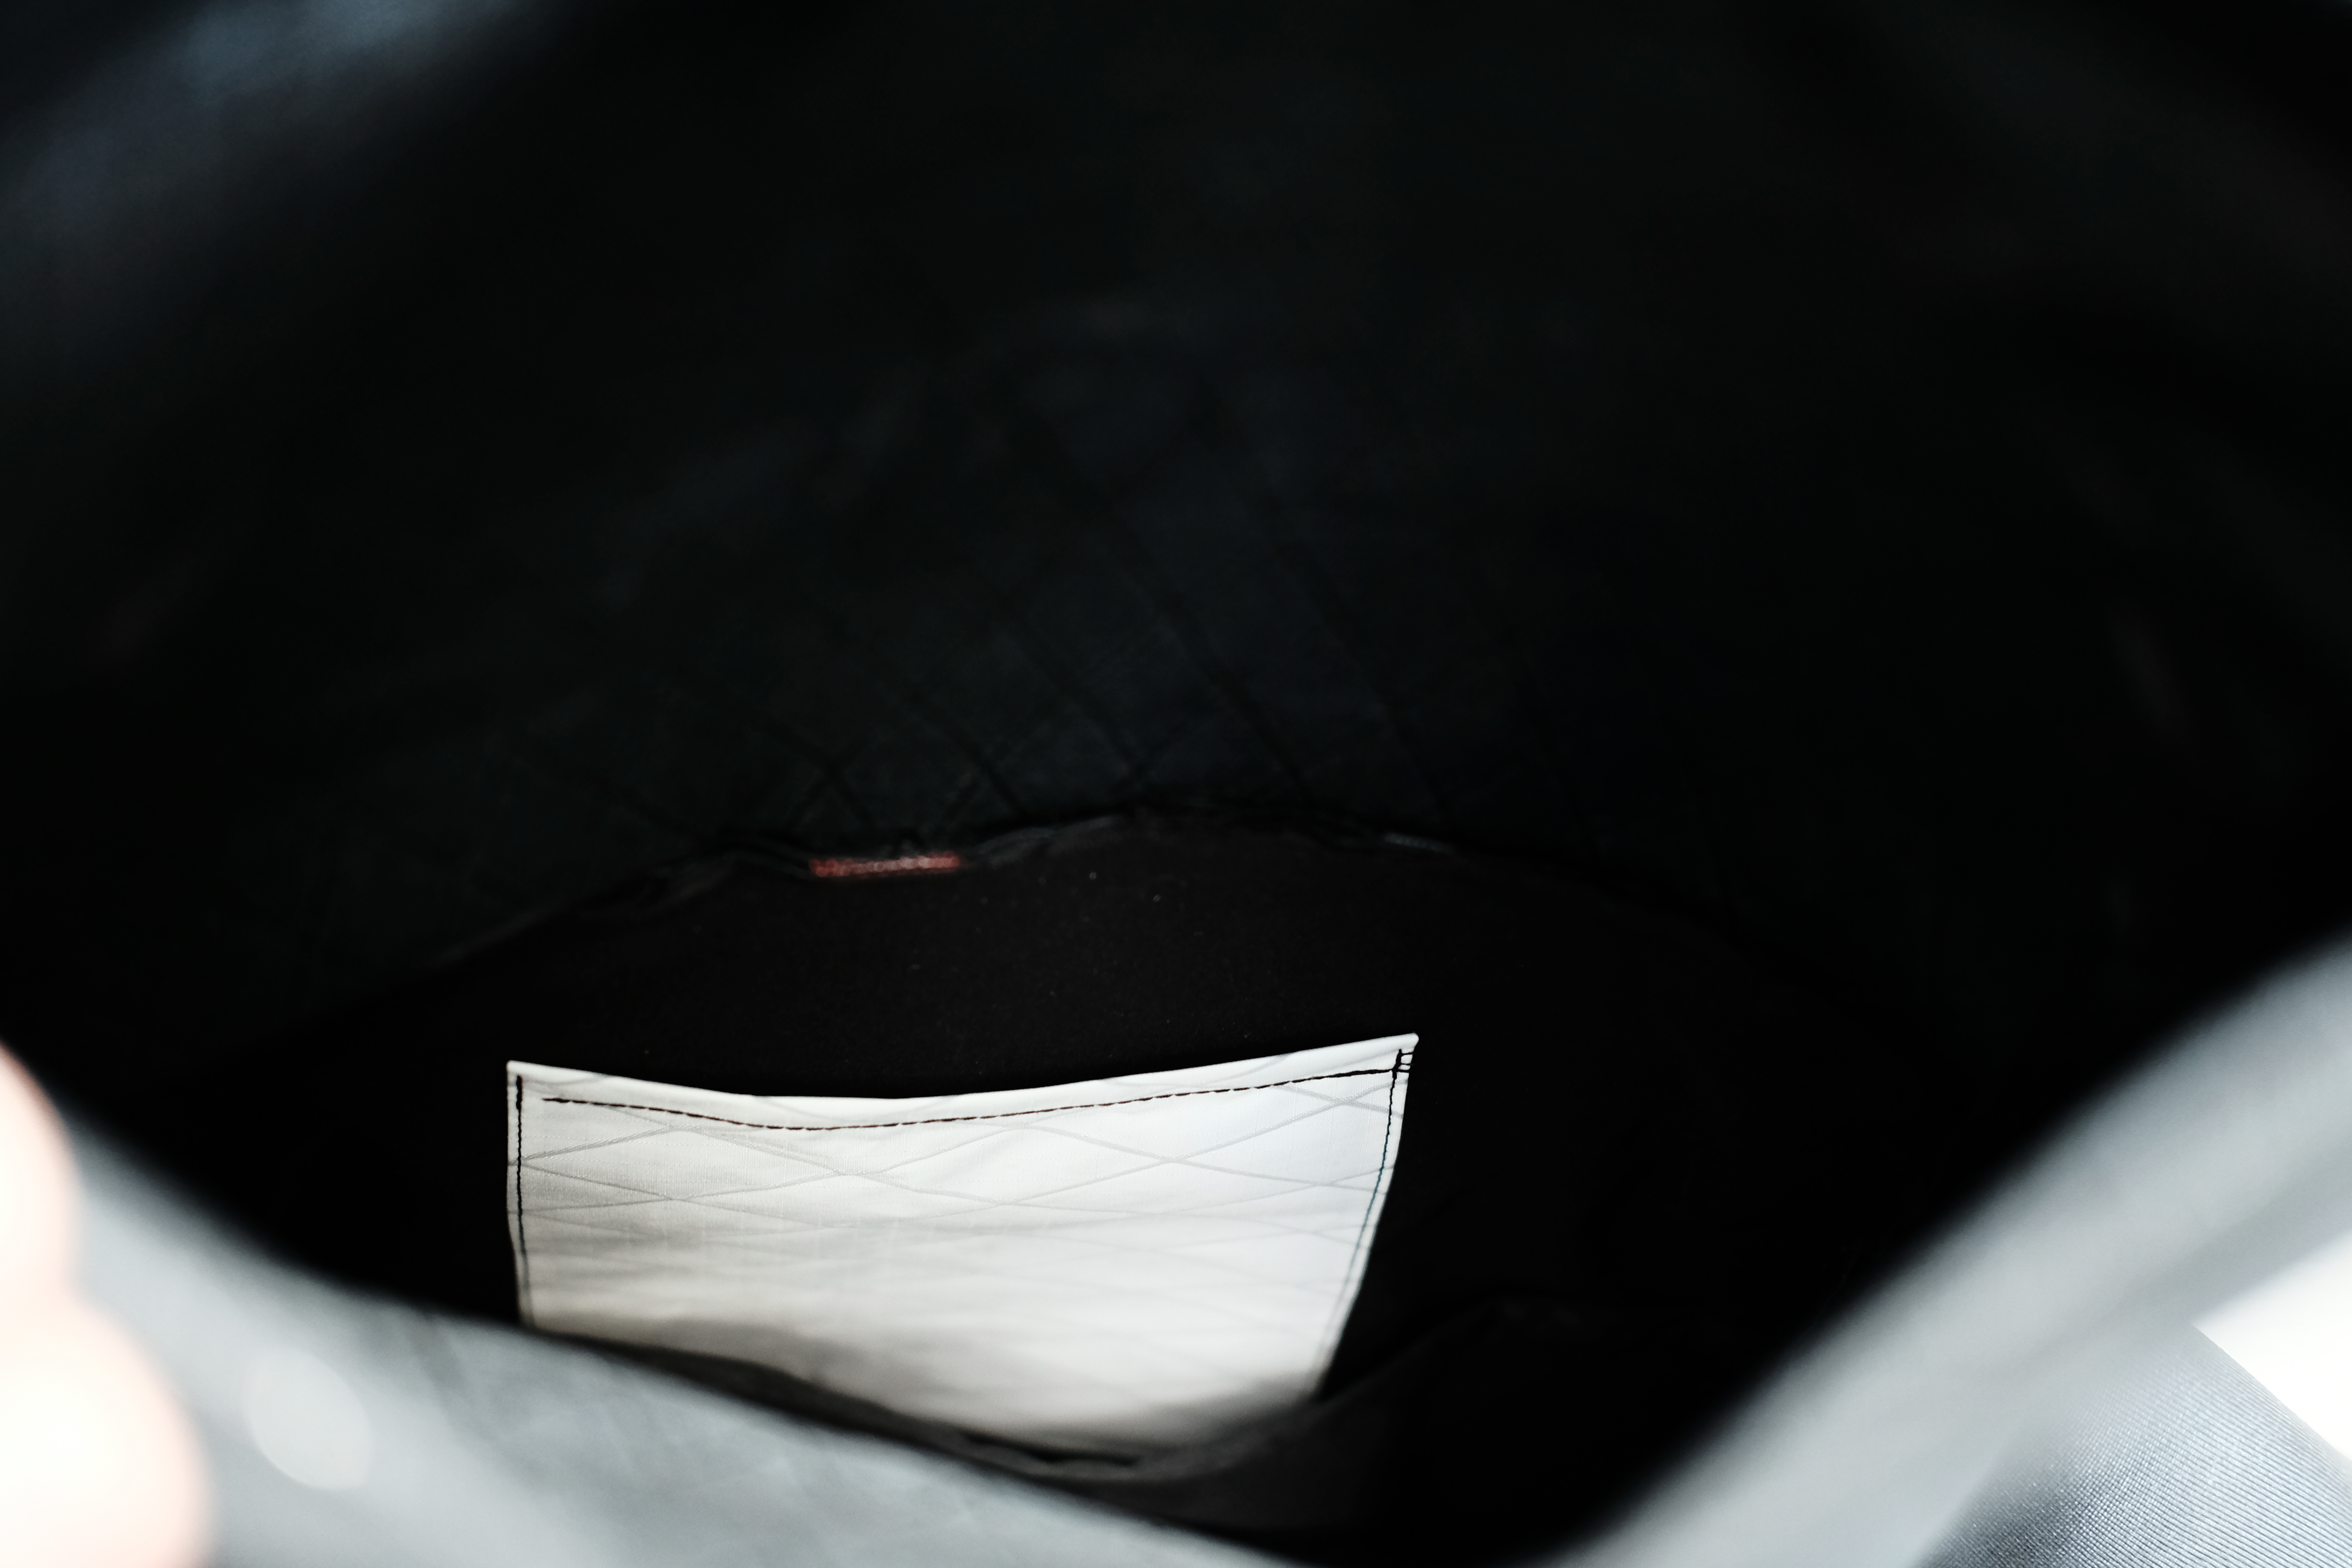
The finished pack ended up a bit fatter on the bottom side than the pattern it was based on (you will see some differences with the Skinny pack) but I kept it in line with the overall slimness/tallness of the original design. To get a bit more volume out of it, I also extended the maximum capacity of the pack with a higher roll-top, which brings the typical volume of this pack to about 25 to 30 liters. Another key difference is the much bulkier side pockets, which are clearly highlighting the hiking side of the design.
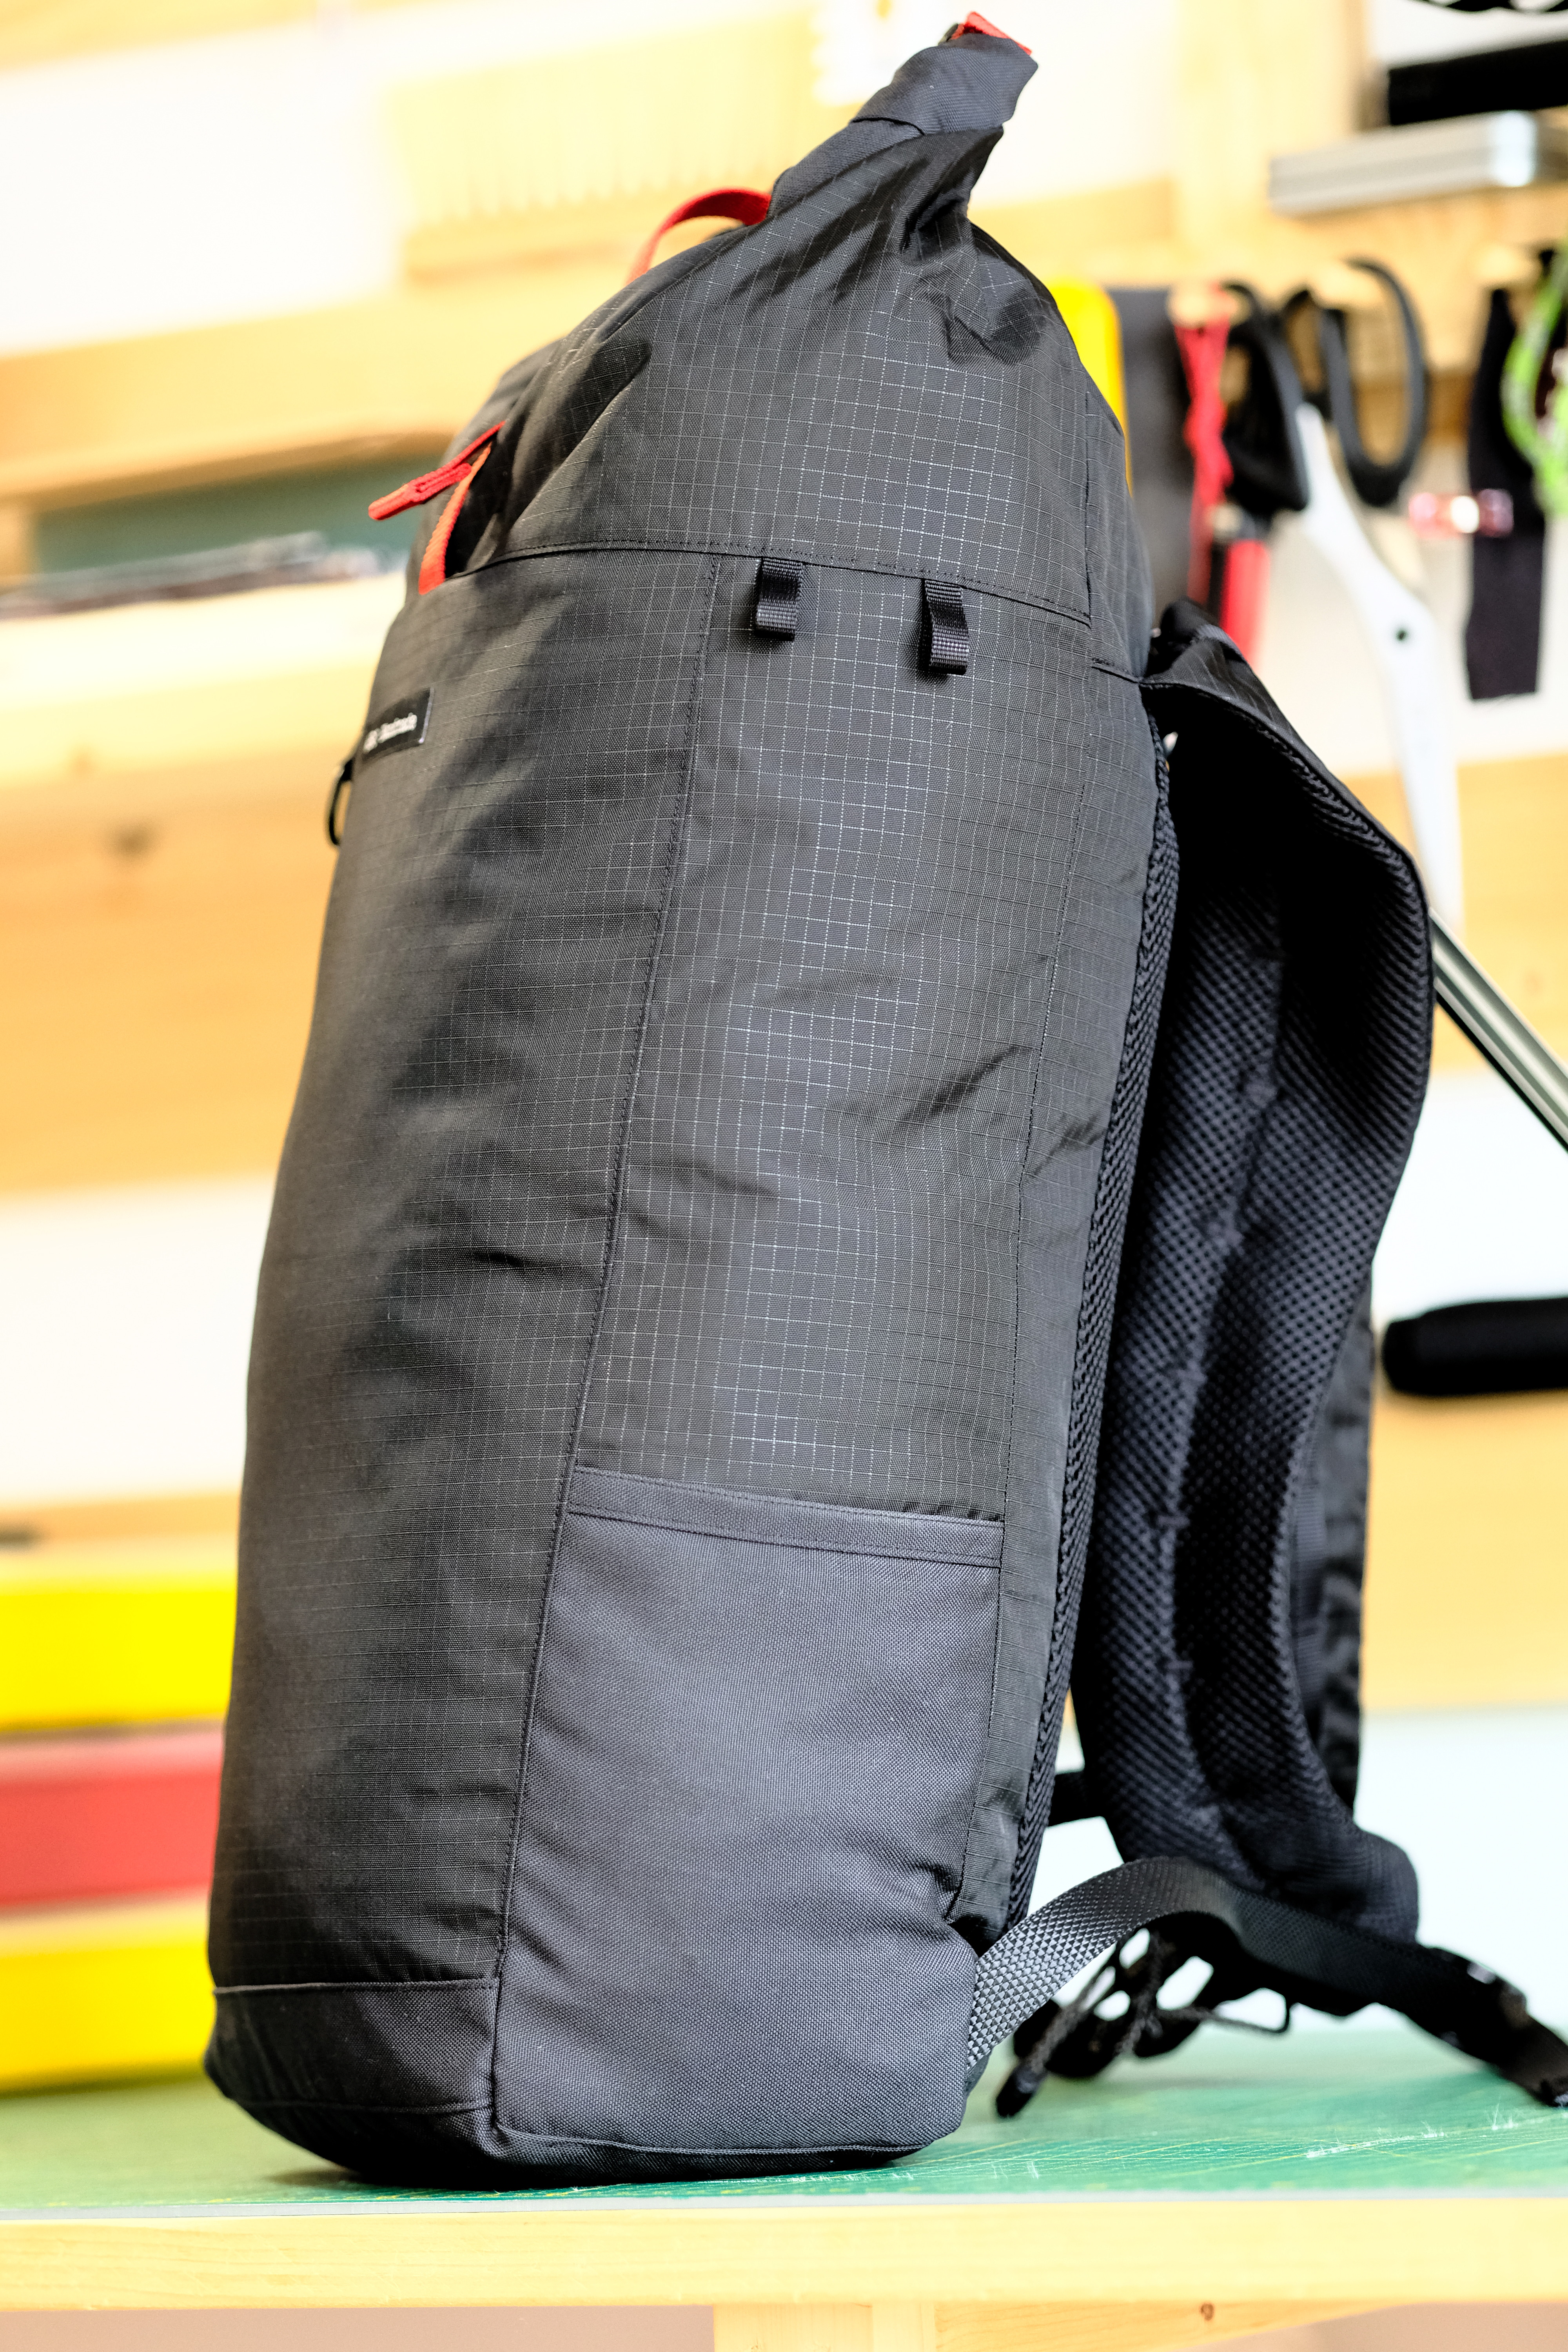
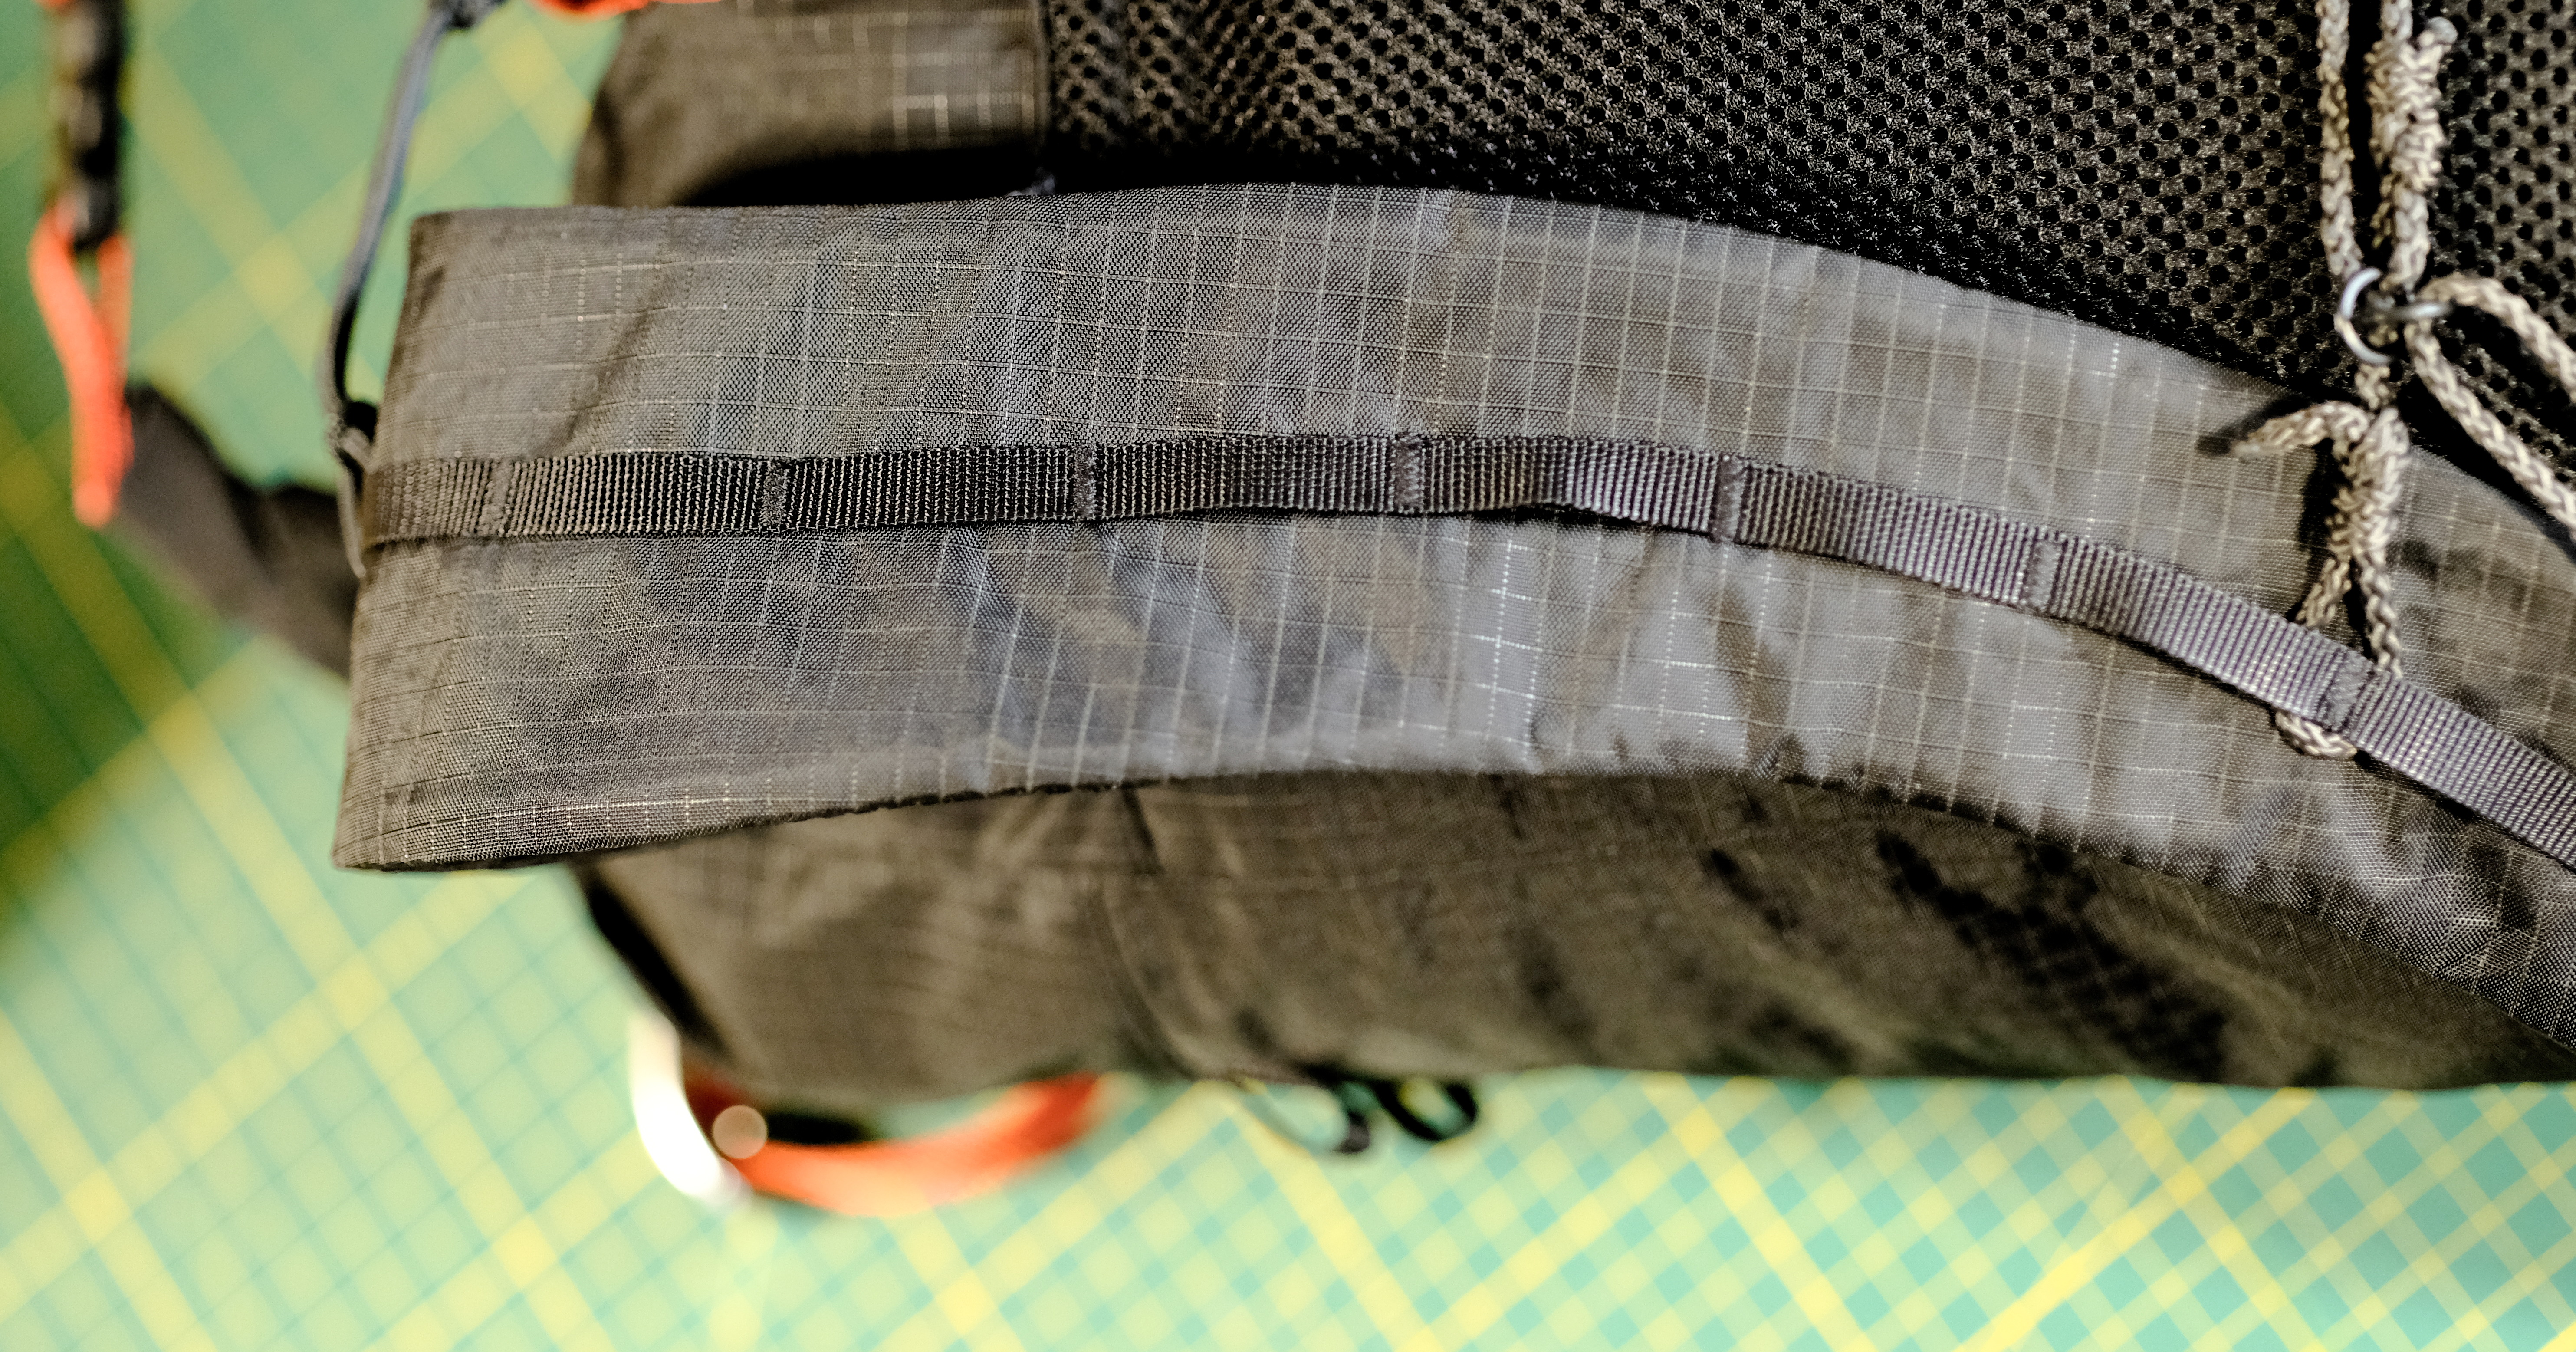
Side Pockets

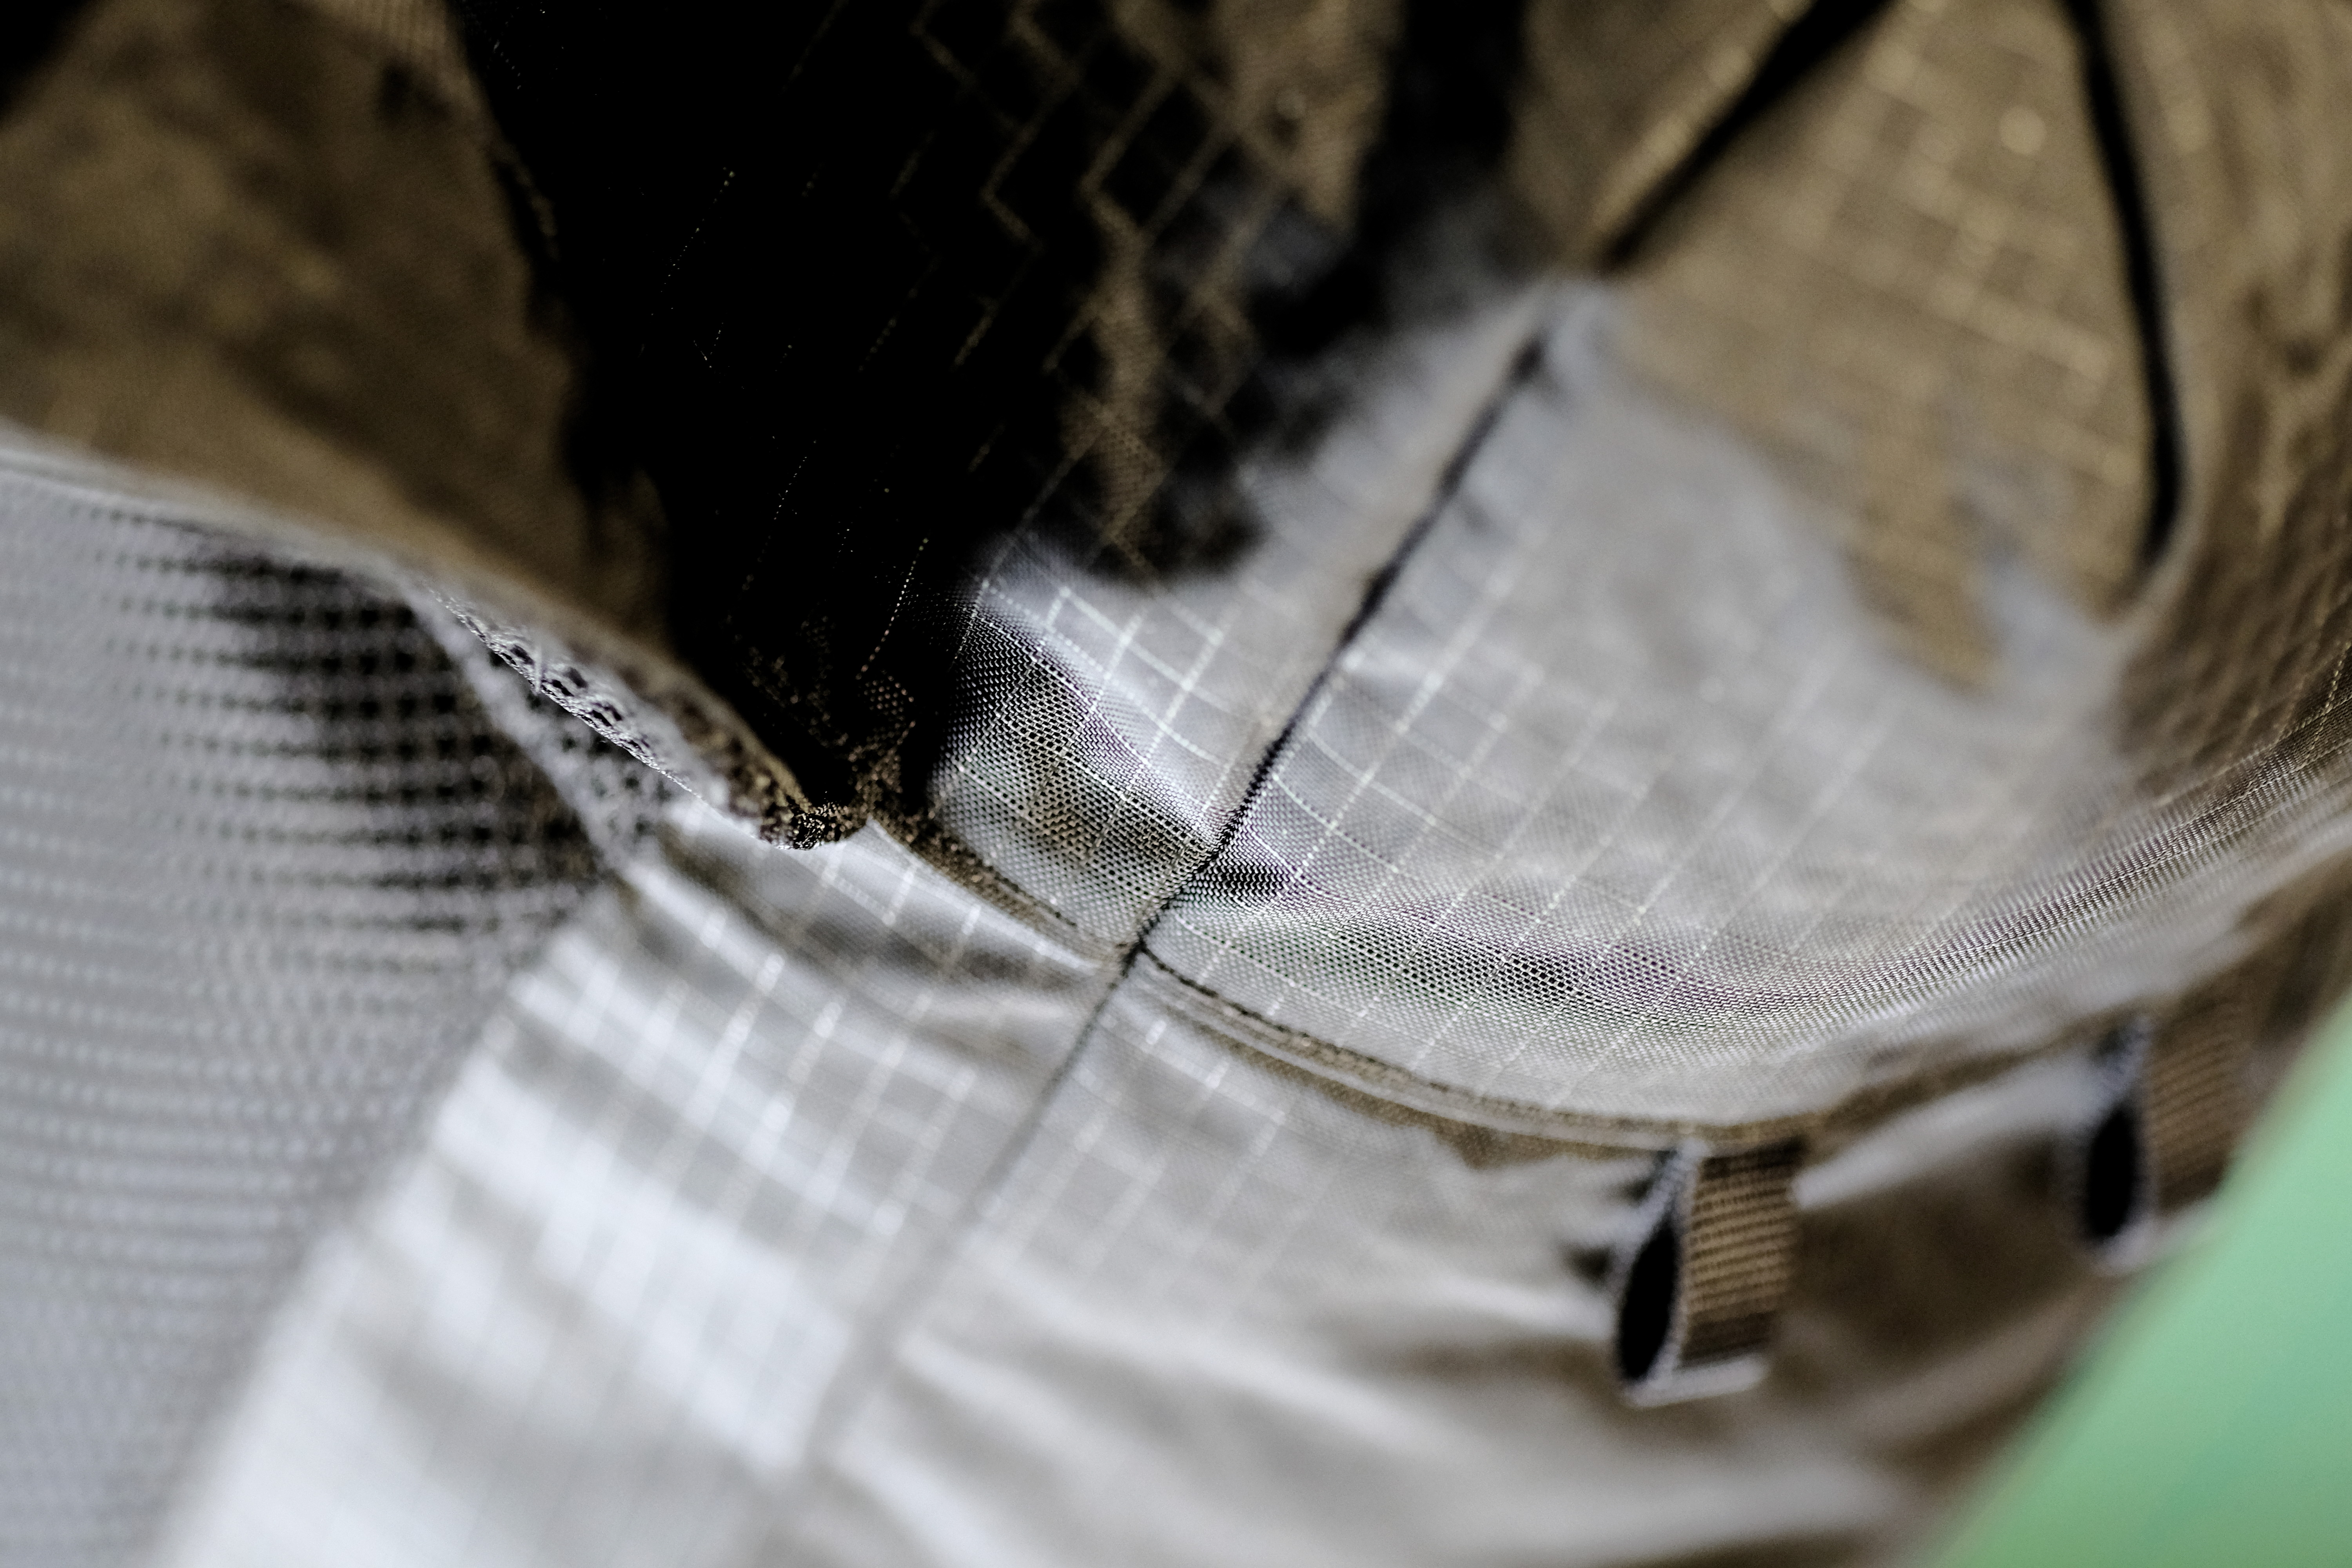
To counter the risk of water pooling in the side pockets due to how waterproof the X-Pac fabrics are, I finished the bottom-most side of the pockets with a strong mesh which acts as both a water drain, and a more stretchable fabric for the pockets themselves. The same design with only the VX-07 fabric would not allow a bottle to sit all the way down the pocket. This one does.

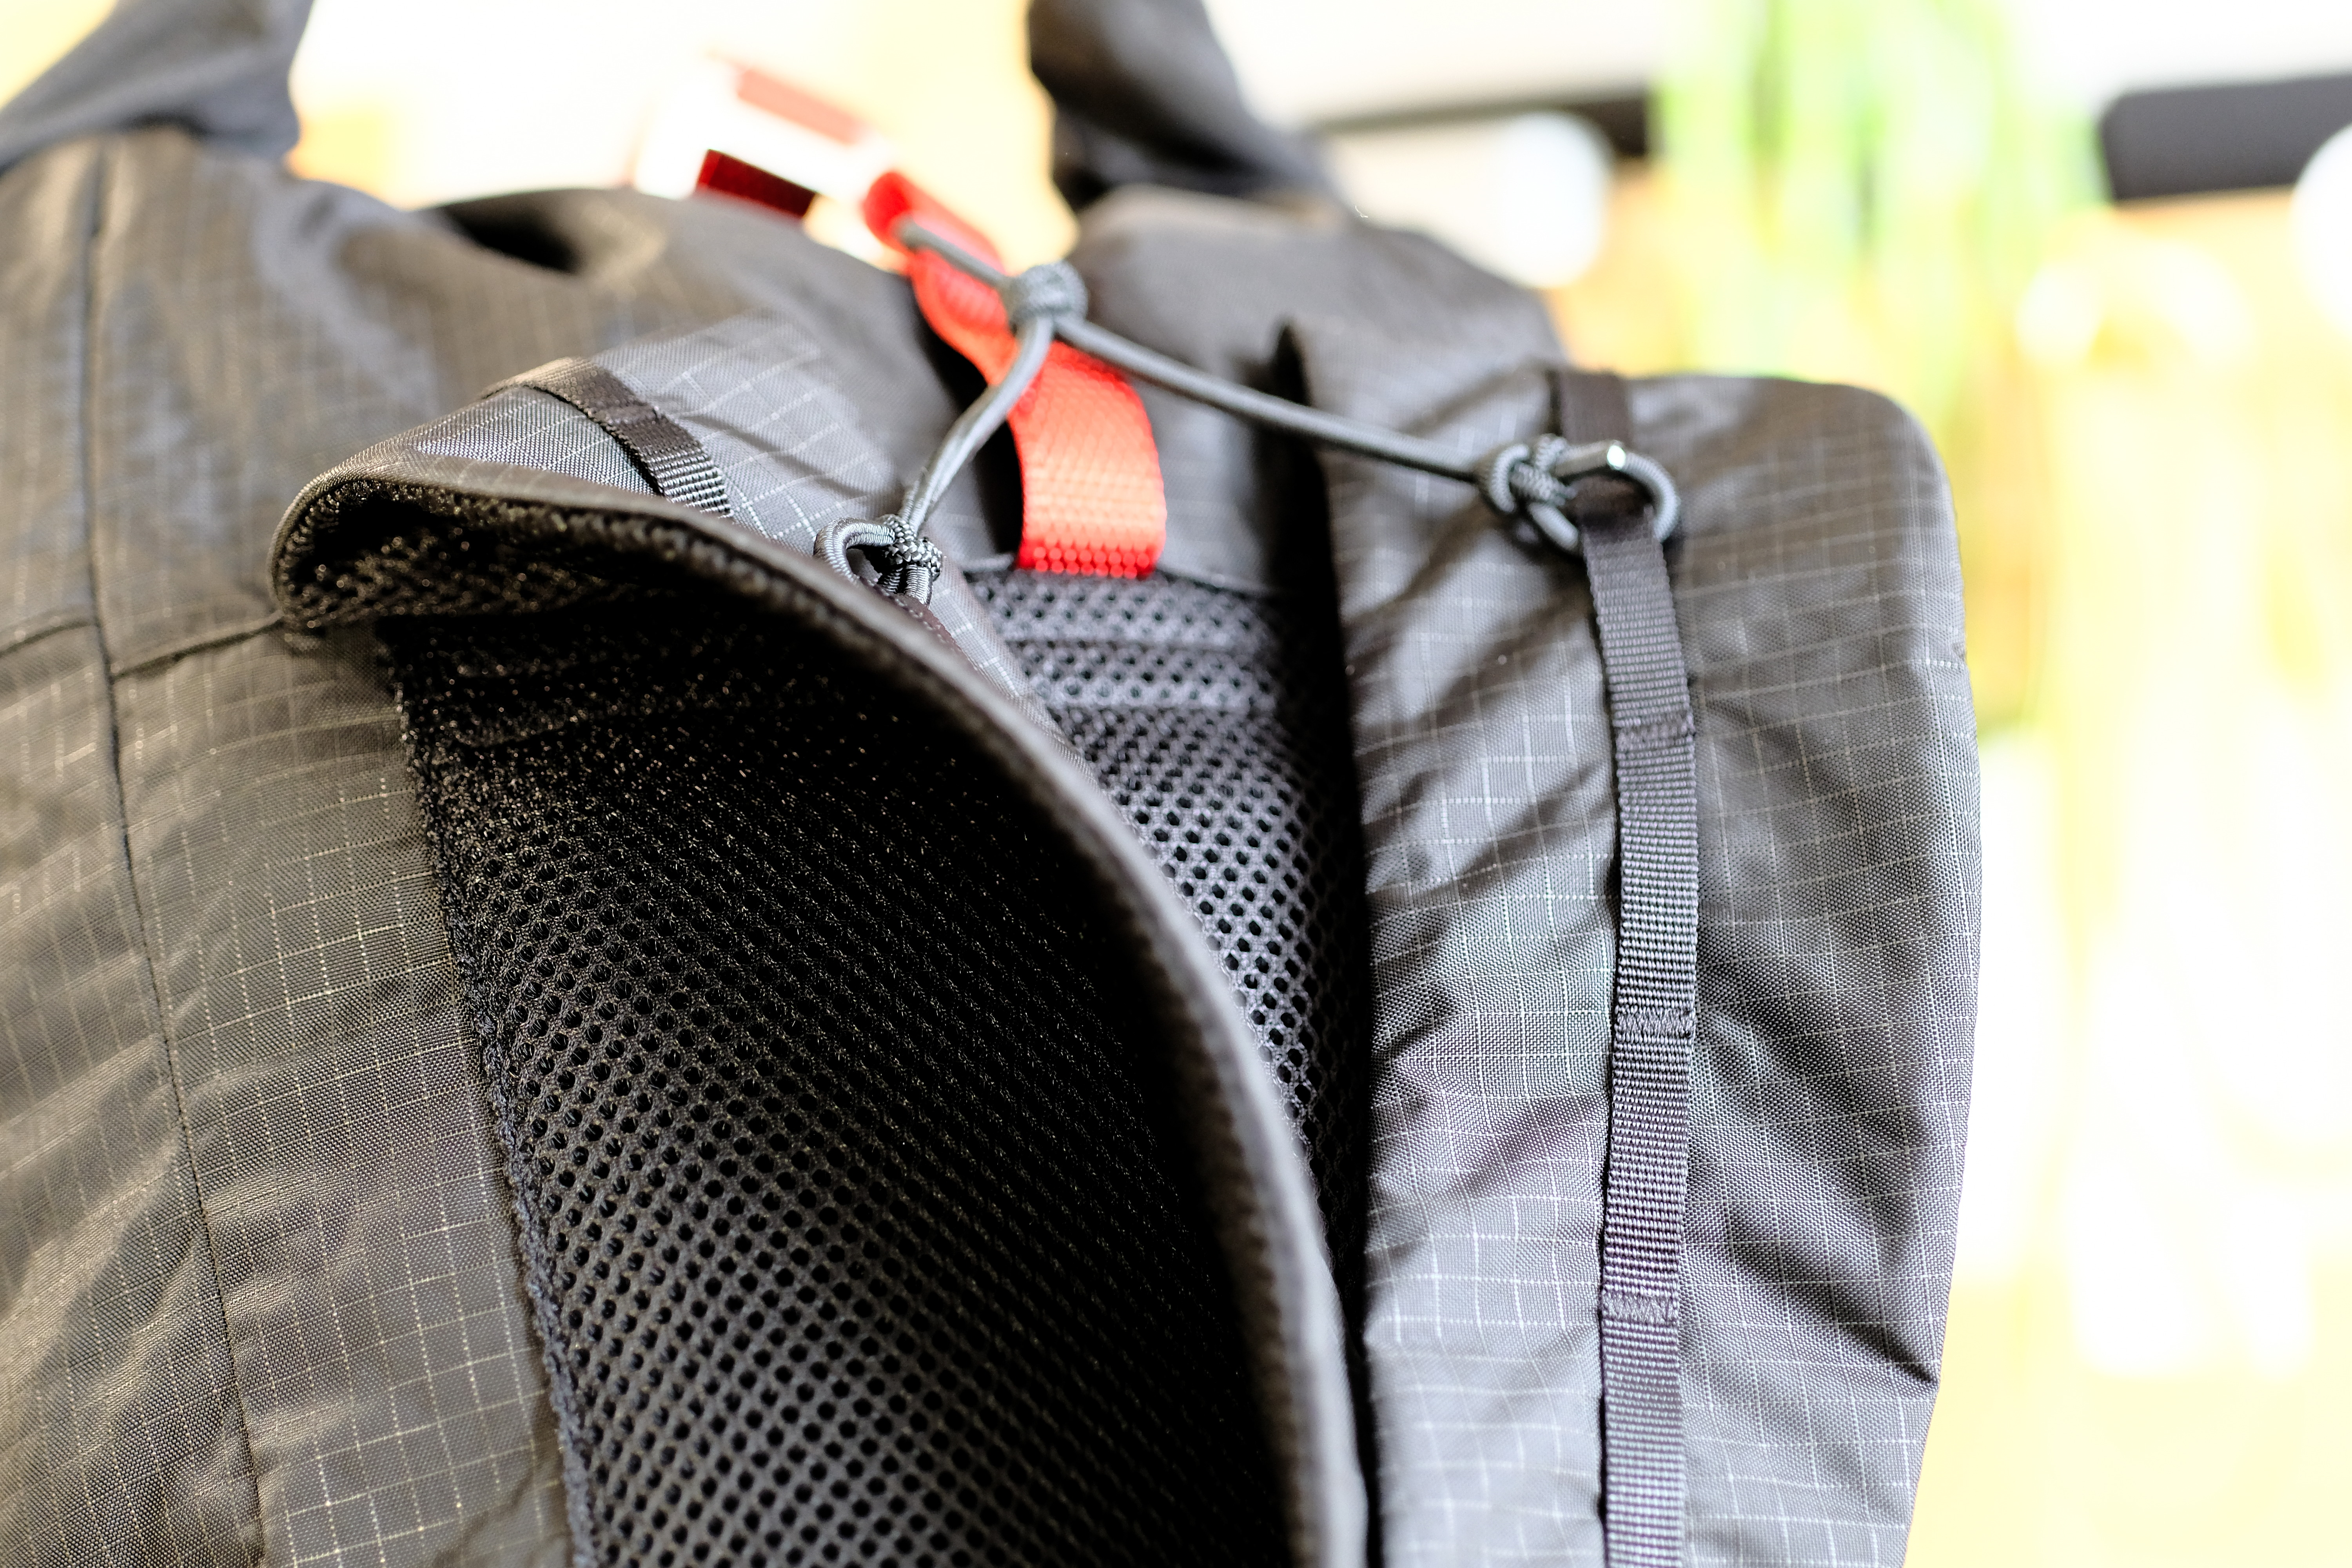
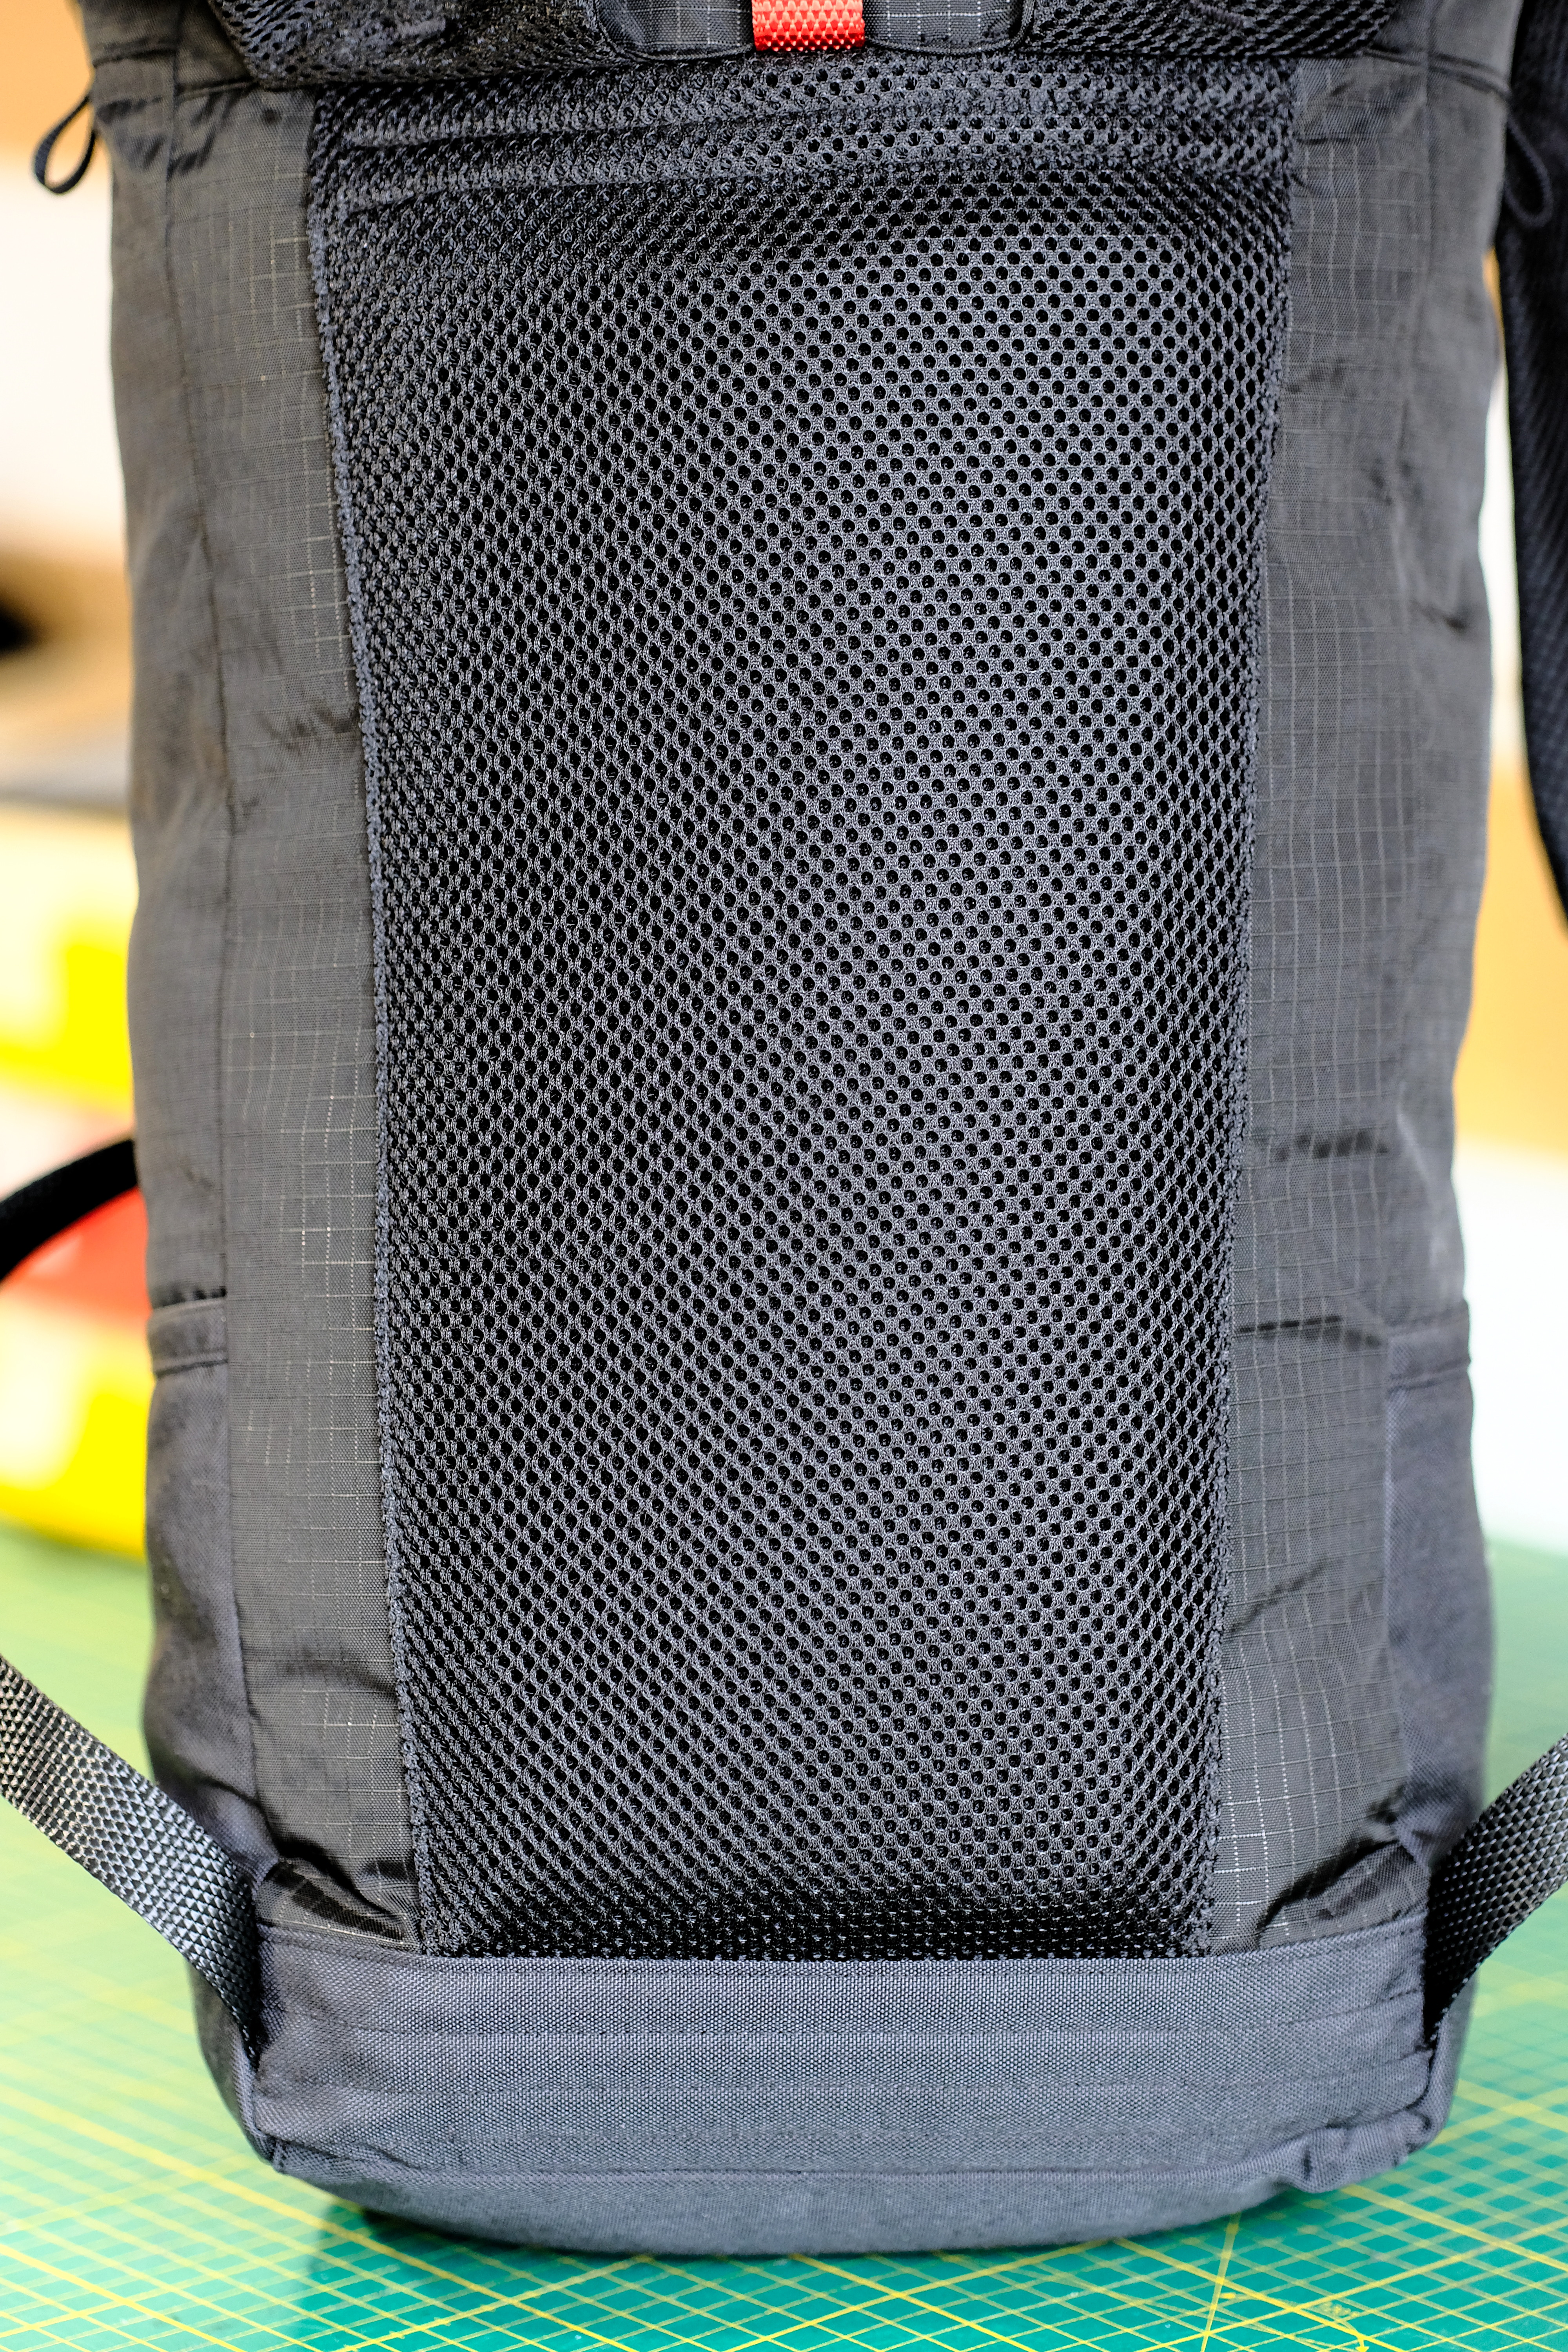
Padding the back panel

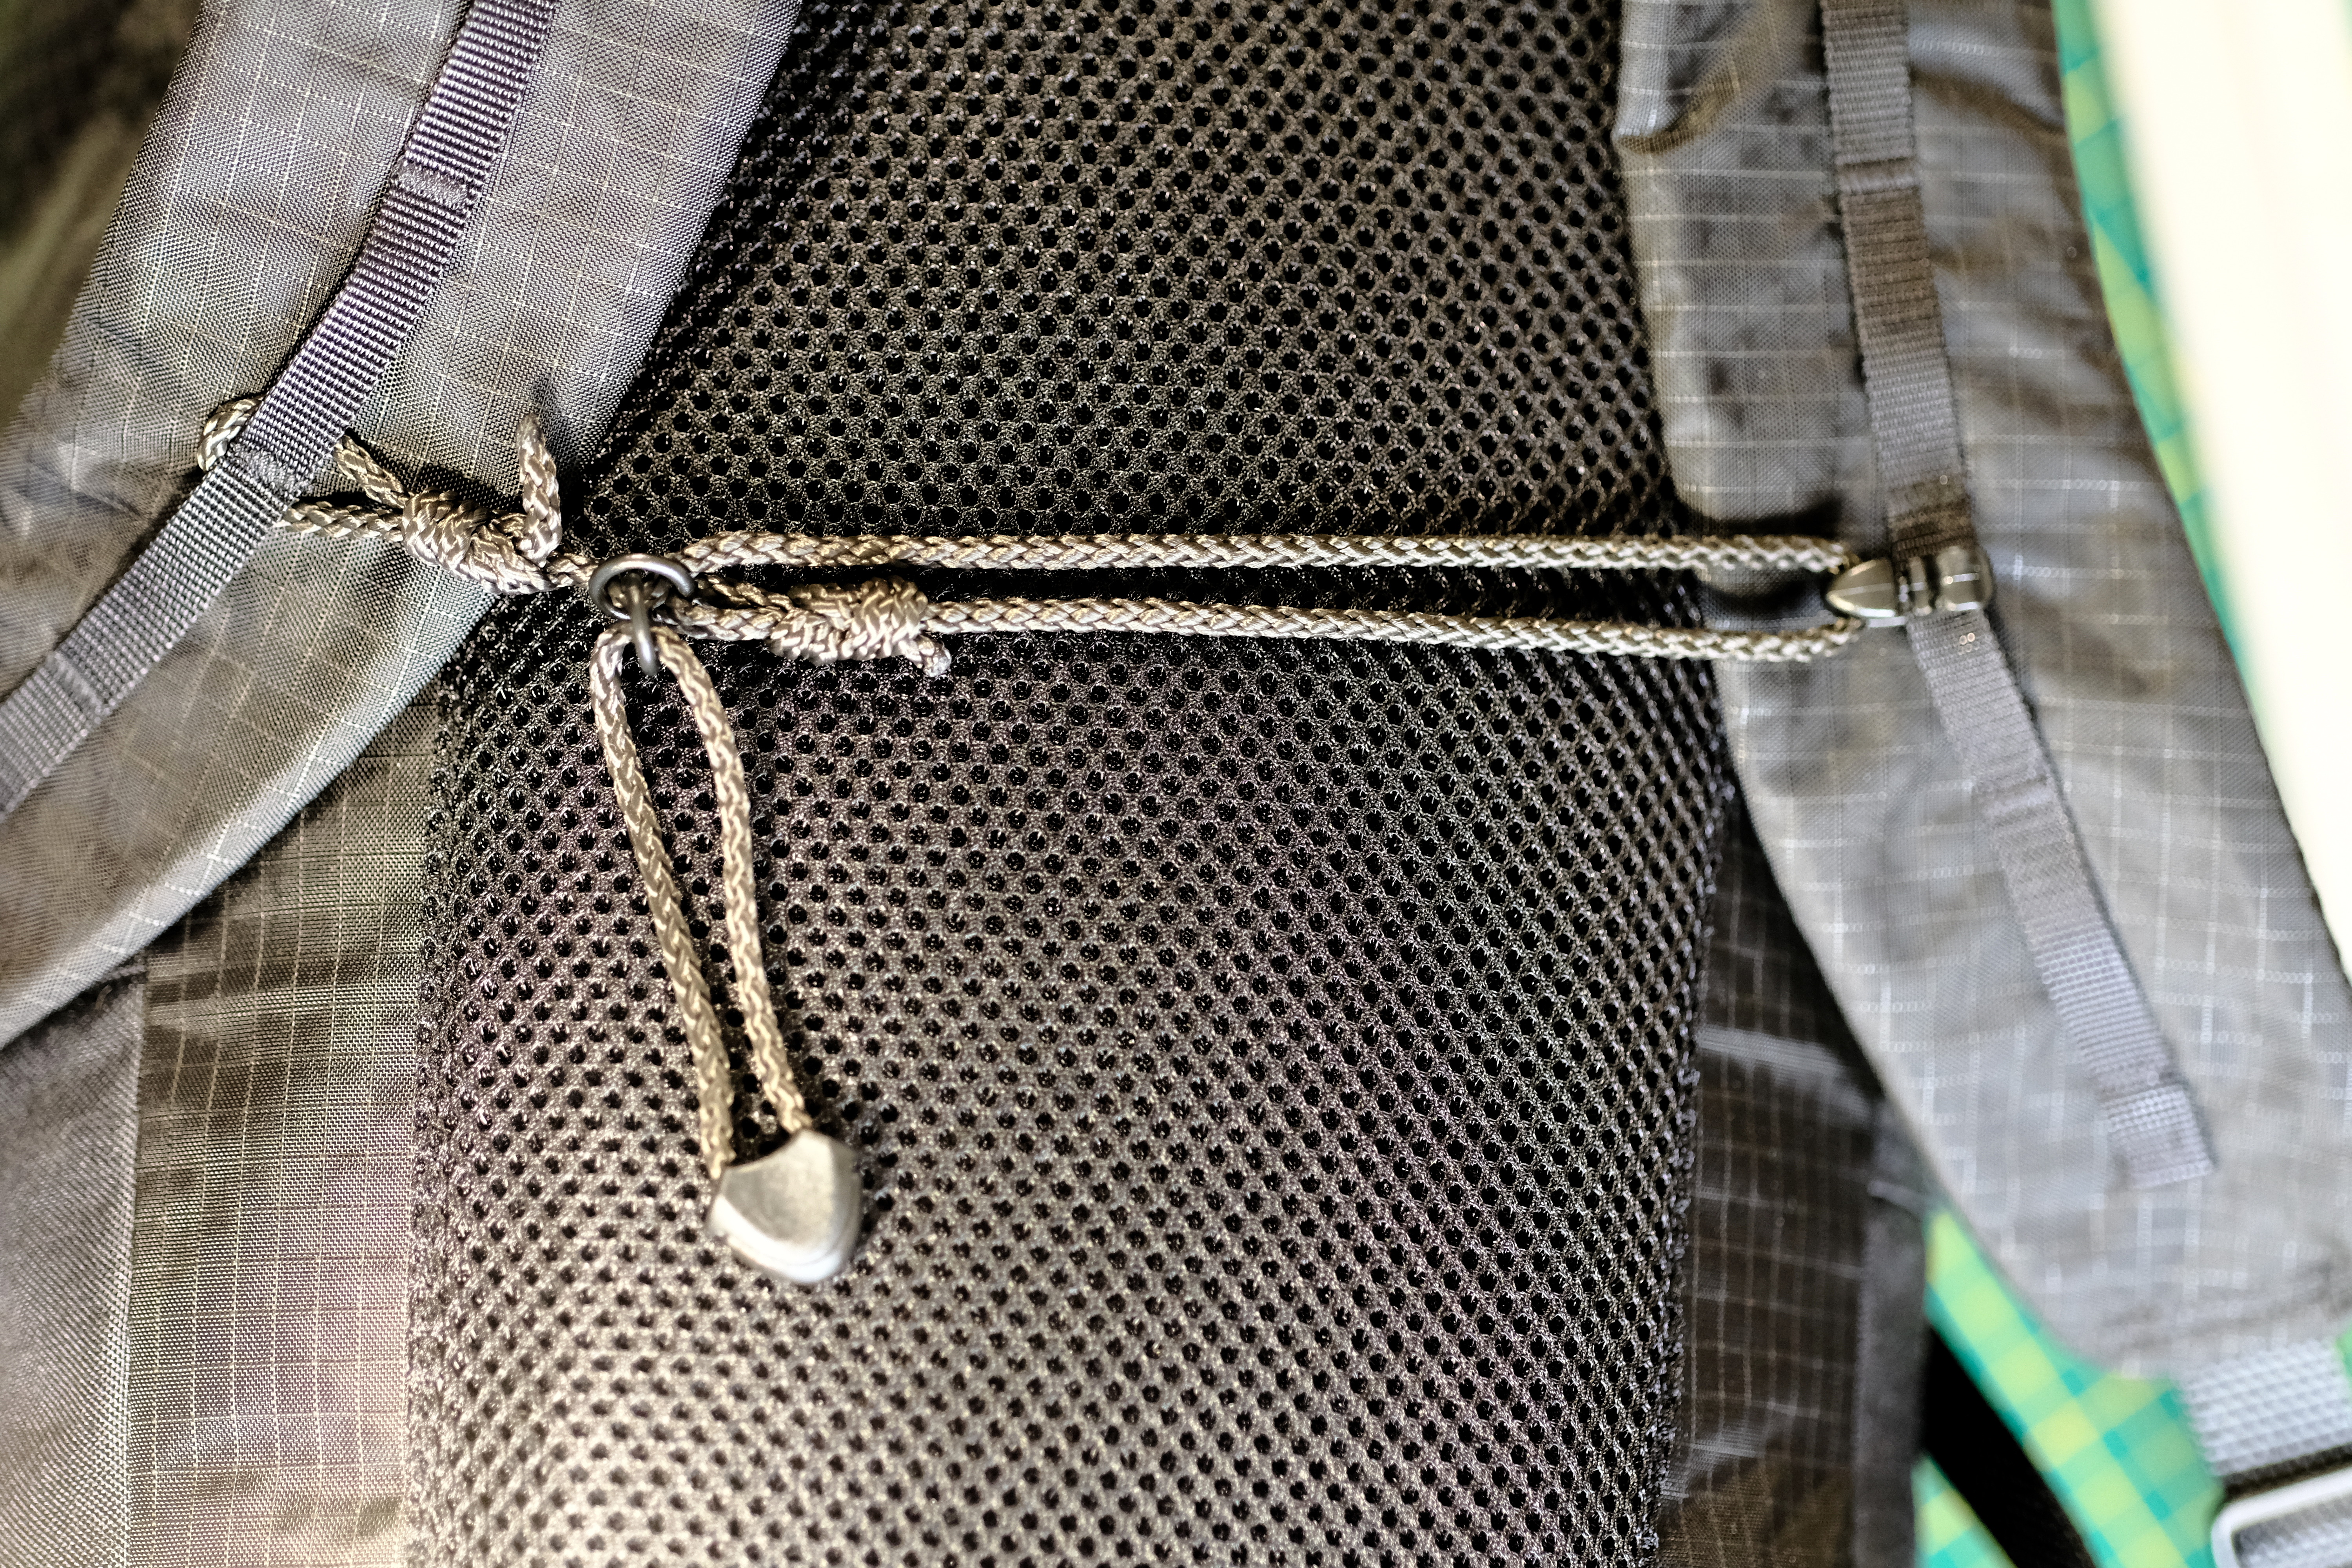
The back of the pack follows my most recent padding concept, with a high quality 8mm closed-cell foam pad coupled with a 3D mesh to offer a decent level of comfort and good breathability. This construction only covers the center part of the back panel. I find that the weight-to-support ratio of this construction is a good balance, and although this does not really qualify as ultra-light, I would probably consider this on most of my personal upcoming hiking and trekking packs.

The dimensions and V-shape of the padding are meant to follow the human torso’s shape, and I find that sweat mostly accumulates following the vertebrae, which is where the 3D mesh will make the most difference. I also consciously pack bags to avoid sharp edges anywhere my bones protrude (shoulder blades, pelvis) and found that this configuration give me adequate protection for my back without sacrificing too much weight.

Simple shoulder straps

If there is one construction stage I enjoy the least, it’s making the shoulder straps. I’ve been through many different concepts and iterations, and never quite liked the result or the process enough to make it my standard approach. That is, until recently, when I decided to completely avoid padding the straps with any kind of foam and rely on a better profile to spread the weight on one’s shoulders.

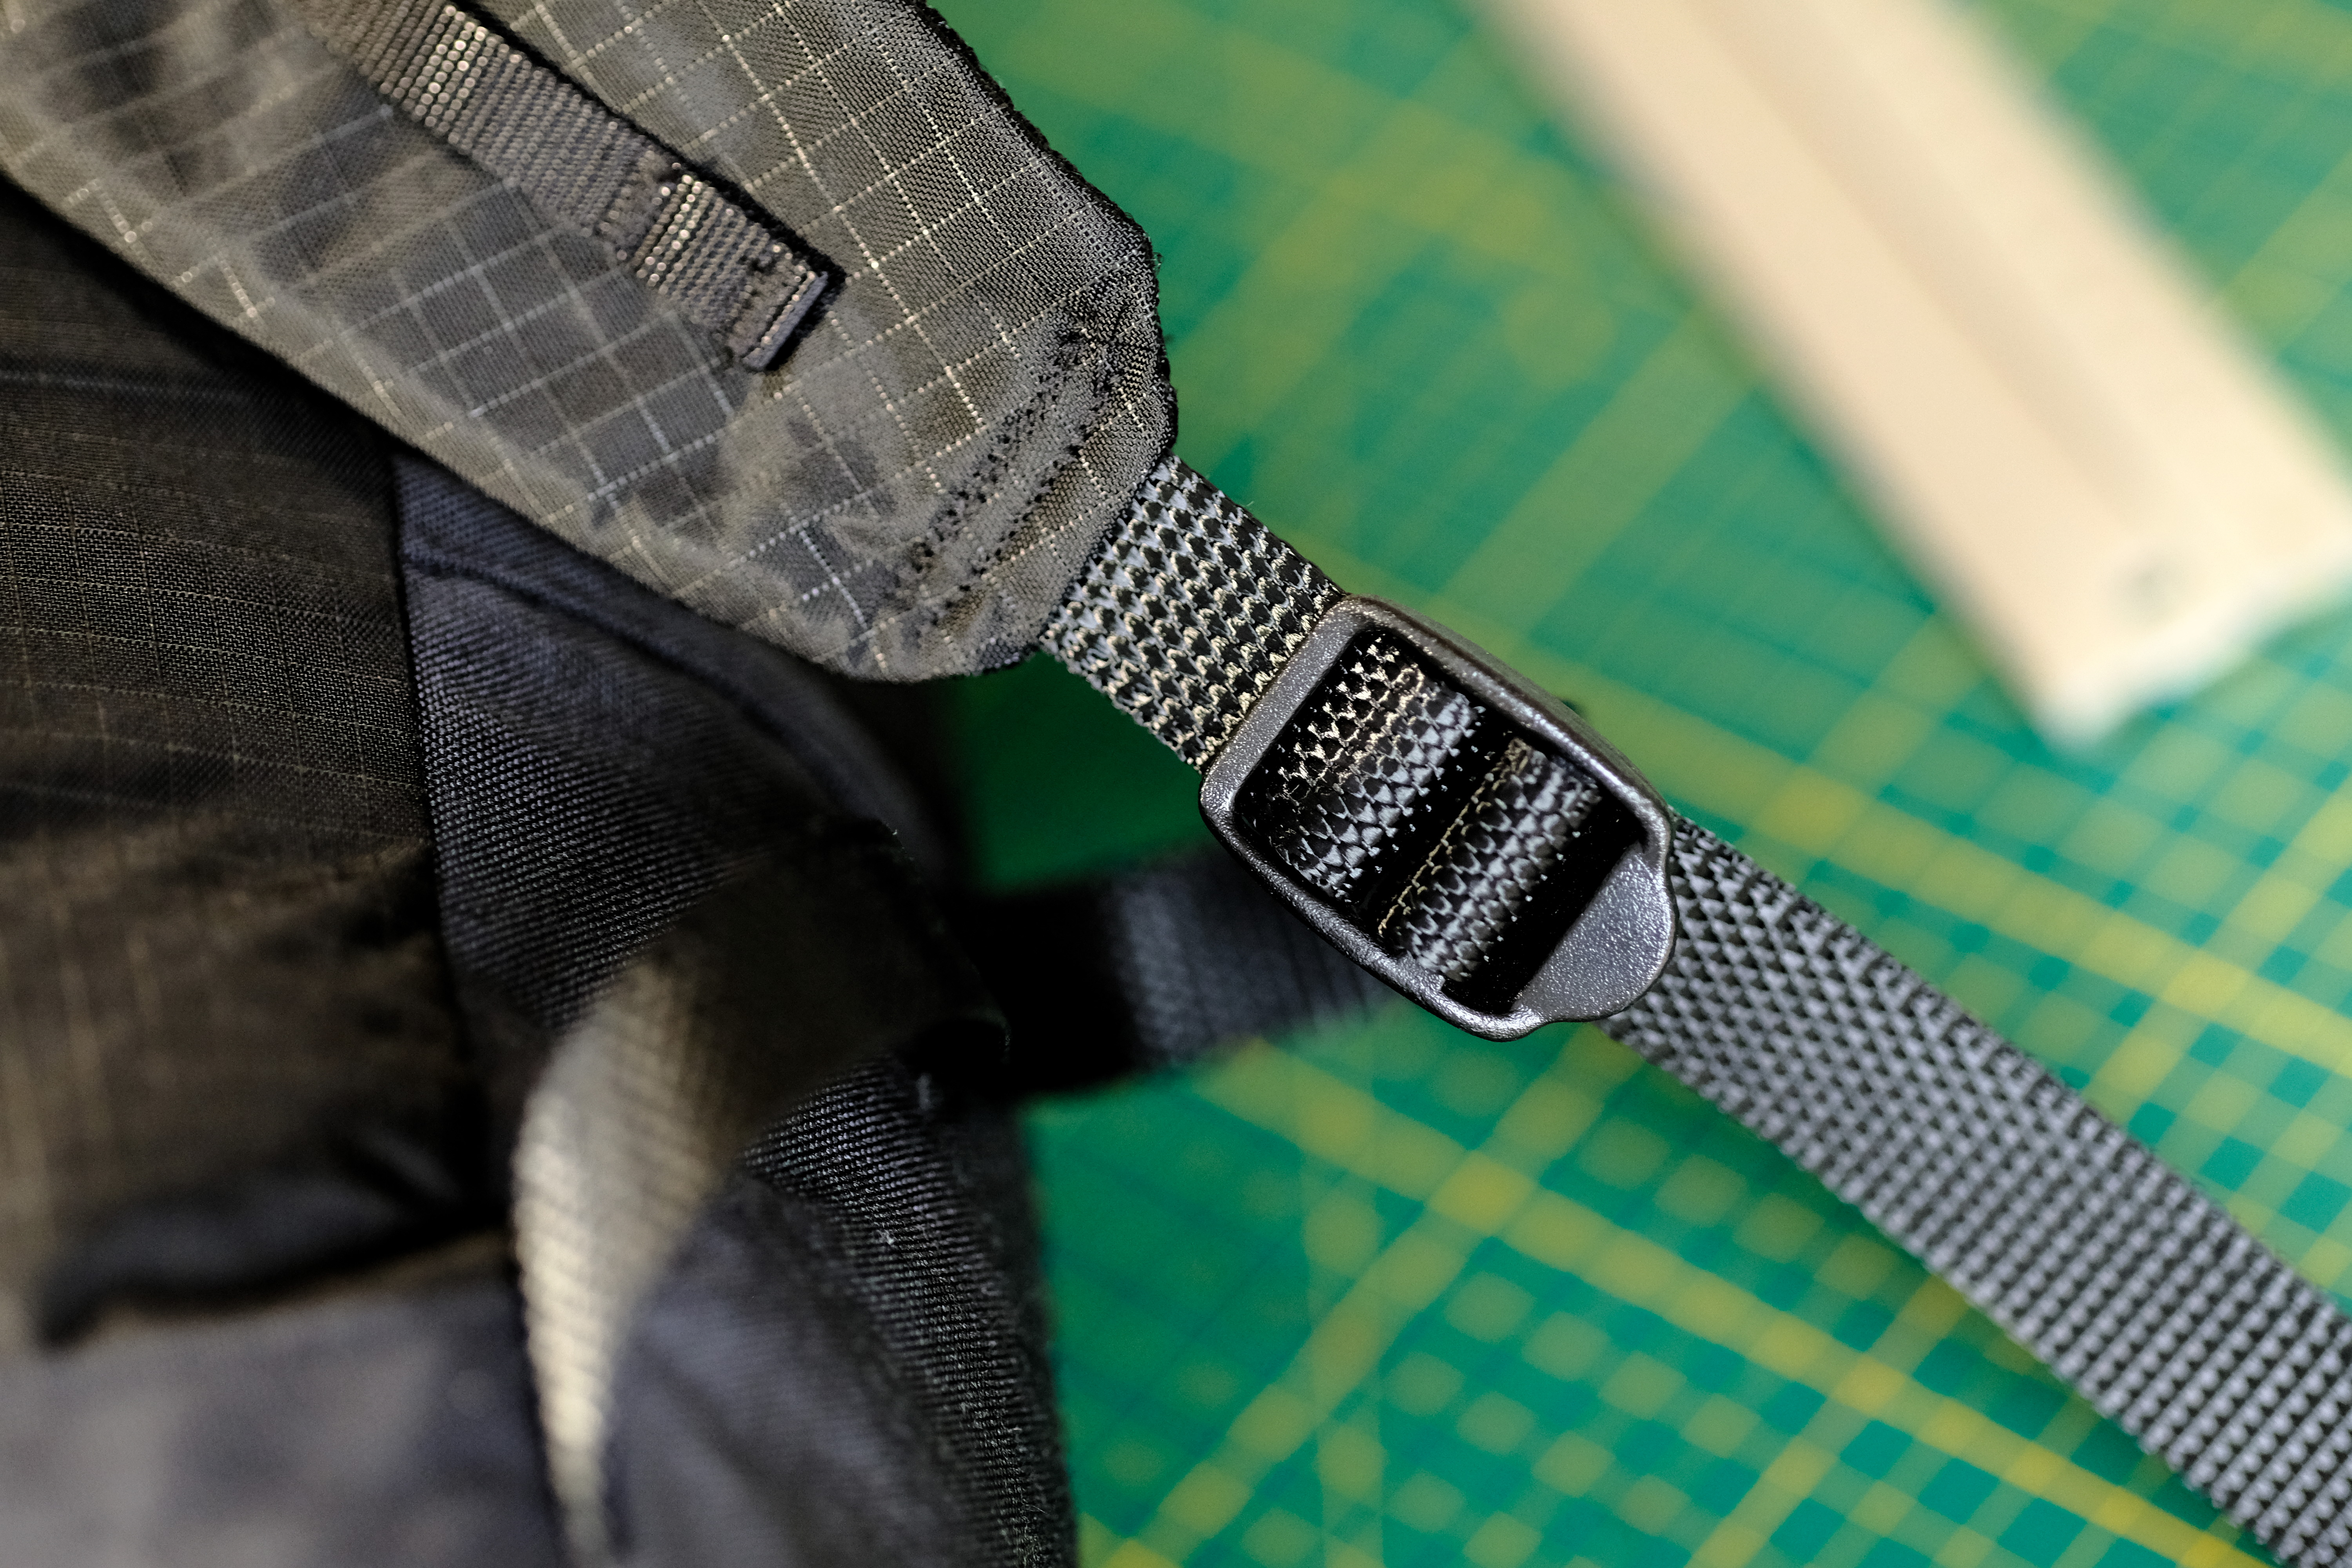
I designed curved straps which rely only on 3D mesh, and present a bit of a wider profile to compensate the lack of foam padding. Depending on the expected pack load and the fabric used, I usually add a daisy-chain webbing all along the strap, or only at both ends for the load lifters and accessory loops. The reason I mention load is that I found with loads higher than 6 kilograms the fabric’s normal stretch and the 3D mesh limited padding will be hampered by the webbing, which then tends to dig into one’s shoulders, effectively removing the benefit of a wider shoulder strap. If the webbing does not cover the shoulders, the fabric’s stretch will help spread loads more evenly.

The reason for me to ditch the foam was mainly due to how cumbersome and over-complicated it is to build strap with high-quality closed-cell foam. I have used Evazote EV50 in different thicknesses (mainly 4mm and 8mm) and always preferred building the straps as a sleeve (seams on the inside) for comfort as well as robustness. The major drawback of this method is that inserting the foam a posteriori never really yields perfect aesthetic (at least, I’m not skilled enough to make it look good). On one hand, EV50 tends to be very “sticky” and making the whole inserting process quite annoying. On the other hand, the sawing machine I use has limited clearance below the foot, and the stack of 3D mesh, 8mm EV50, fabric and webbing is just too much for a household machine to handle.

Now enough with the text, and on to the pictures! I have limited pictures of the final pack because I was running out of time and had to eventually gift it away, but I do have a significant amount of behind the scene pictures, which hopefully will be as satisfying to you as these are to me. Stayed tunes for the next post.

Backpack Design 101: You’ve got to start

I must have been spending hours on the concept itself, and just mentally iterating through constructions and ideas, starting from a burrito shape, to ultra complicated constructions, until I finally landed on a appealing concept. After that, I easily spent 20 hours building the pack itself. But between the build idea, and the first cuts, there really wasn’t time at all.

That the last scribbles I made before jumping right in.

You’ve guessed it, I worked slow to avoid mistakes because I was still improvising quite a bit. I sketched a few different drawings and highlighted the details I wanted to add, then marked all the small things that are easily missed, and I got cracking almost immediately. If you look closer at the sketches above, the idea I started with was to have a third compartment that would have been strapped atop the flaps, securing the secondary compartment, creating essentially a sandwich pack. As you can see with the finished pack, I quickly dismissed that idea.

This workflow is somewhat an evolution to my normal process. I usually spend a lot of time sketching and doodling and measuring and thinking, before starting to work fast. But I definitely recommend the exercise every so often! It’s a good way to test your spatial acuity and your building habits.

On a side note, this is the second backpack I build with unpadded shoulder straps, the first one was also a spur of the moment thing. I was just tired of struggling while trying to slide the foam inside the straps, and decided to give that a try instead. I’m quite happy with the comfort the 3D mesh provides for small to medium loads (up to 6kg) and I’ll probably stick to this construction for a while. But sometimes, an idea will make things worse, just keep that in mind!

The shoulder straps are just made of 3D mesh (3mm) and a top layer out of Cordura.

Working with X-Pac X10 is tough

I had a ton of fun doing this project. I have to say, working with X-Pac X10 was harder than I expected. The 360g/sqm fabric is extremely stiff, but the look and feel of that fabric is totally worth the effort. I wouldn’t try to do anything too complicated with it though.

X10 is heavy, stiff and dense, but boy is it beautiful….

The design itself worked great, and I am very pleased with the result. The only flaw I have found so far is that the the lowest compression strap has a tendency to slip below the bulky content I stuff in the secondary compartment, which – in itself – is not a problem, but weakens the overall strength of the secondary compartment held mostly by Velcro. I was hoping that using the front flap’s daisy chains to weave the strap through would help, but I think the strap is just to low on the pack. If I was to do it again, that would be the only thing I change: move the lowest compression strap above the shoulder straps’ attachment.

The lower red webbing with he quick-release should have been higher.

This pack feels like a tank with proper reinforcements where abrasion often takes place and layers above layers of Cordura on top of the natural stiffness of the main compartment. This combination makes for an extremely sturdy pack, and I don’t feel like having to be kind to it anytime soon.

The Monarch Pack

After the more classical Ballast and Skinny packs, I really wanted to try something new, and different, while still keeping the overall look and feel of the series! This November I present to you: the Monarch! I do not mean the head of state guy, but rather the butterfly, and if you read on, you’ll understand where the name comes from!

The Monarch started as a concept a long time ago, and went through quite a few iterations before I started actively working on it. I was looking for a commuter bag that not only has the looks but also the brawn. As I walk or ride a bike to pretty much everywhere, I sometimes need a simple laptop bag, other times I want to be carrying heavy supplies from the hardware store, and often I have the need for a bigger size backpack than what I have with me at the time.

And that’s where it all started: the need for a small but extensible backpack. Now some of you will just tell me that I can use compression straps and shock cords to “expend” a packs size, but really, all you do is to compress a big pack. The Monarch is a tad different, and without any more words, the following pictures will tell you why.

As you can see, the Monarch is part waterproof bag for the main body, part duffel bag in a loose sense for the extensible secondary compartment that can be used to carry quite a few things.

The main compartment is made out of X-Pac X10 with a roll top closure and designed to be very water resistant (not yet seam sealed, but that’s planned for later) and contains a laptop sleeve (not padded) and a small pocket.

The flaps on the other hand are made out of a 350D double layer uncoated Cordura, and designed in such a way that they can be folded back with adjustable overlaps in order to extend the secondary compartment’s volume. The closed flaps are secured with two compression straps with quick release buckles for easier access.

In the pictures below, I “wrap” around one of my sturdy camera cases. The whole point of this design is to allow you to pack more only when you need it, but not have to fiddle around with you pack when you don’t.

Now to the juicy part, here are the specs of this particular build.

Volumemin. 20L
typ. 25L
max. 40L
Dimensions50x28x5cm (roll-top closed, flaps completely overlapping)
Weight730g
Carriescomfy. 6kg
max. 10kg
FabricsX-Pac X10 (Cotton outer fabrics, and PES layer for waterproof-ness)
350D Cordura
ClosureRoll-top
Quick Release + Velcro Flaps
Back Padding8mm Closed Cell Foam pad (80% surface covered)
4mm 3D mesh
Strap Padding3D Mesh without CCF padding
Hip BeltNot Applicable
Pockets– Laptop sleeve inside the main compartment
– Small key/phone pocket inside the main compartment
– Extensible 5-25 liters flaps
– Optional zipper pouch secured with Velcro
Attachements– Daisy chain for accessory on the front of main compartment
– Small gear loops inside the secondary compartment
– Velcro on the left flap to add gear pouch/accessories
– Horizontal front compression straps (x2)
– Front flap daisy chains (mostly for securing the flaps with the lowest compression strap)

Stay tuned for behind the scene pictures, and some more commentary!

Bricks can’t go wrong. Greeblies come later.

A lot of bags follow a relatively simple “brick-like” construction. These bags might not have the best looks, but they are definitely the easiest to build without a lot of experience, and you’ll get a perfectly functional bag. I ended up using this one for a 10 days solo trip above the arctic circle and it got me there and back.

When in doubt, always cut straight! You can always add curves and greeblies later.

The two side panels are almost identical. The pockets have different slopes and sizes.
The front and back panel are also assembled out of multiple smaller panels to form clean rectangles.

At the end, the final assembly starts from the side panels aligned to the bottom panel, then “closing” with the front panel as the last big step. Final trims and tidying up the top will hide any misalignments or small dimensional issues.

Just need to add the front panel now.

The final bag is documented under https://abcpacks.com/the-ballast-pack.

The Ballast Pack

The Ballast pack is designed for the lightweight multi-day hiker/trekker. Designed to shave off unnecessary weight, but still keeping a sturdy construction, reinforcing area prone to wear, and providing proper gear attachments and a removable top lid.

This pack’s main compartment offer approximately 35L for your main load, and the two side pockets offer in excess of 2 liters for quick access items like water, rain gear and so on. Additionally, the removable top lid offers in excess of 3L of sealed volume secures with a strong zipper on the side.

Amongst other attachments, the packs offers two vertical daisy chains on the front panel which can be laced with shock cord if need be, one trekking pole attachment with quick release on a side panel, a dual ice axe loop on the front, and an extra strong set of daisy chains and D-rings on the bottom for securing tents, sleeping pads, or anything you’d like.

For padding, the back panel has an embedded (non-removable) full-length 4mm closed cell foam pad, with an additional 4mm CCF band and 3D mesh on the hip. The shoulder straps take a minimalist approach to 4mm closed-cell foam and 3D mesh, but will work well for loads up to 8kg.

And since you’re probably interested in some specs, here you go!

Volume35+5L
Dimensions80x28x18cm (roll-top closed, without lid)
Weighttyp. 500g (no lid)
max. 600g
Carriescomfy. 8kg
max. 10kg
FabricsDyneema/Nylon Ripstop (black on black), 1000D Cordura
ClosureRoll-top + Velcro
Quick Release Top Lid (removable)
Strap padding
4mm CCF padding + 3D Mesh
Hip Belt4mm CCF padding + 3D Mesh padding on the hips
25mm strap with 2-sided quick release buckle
Pockets2+1 (one on each side, different heights, inverted inclination + top lid zipper pouch)
Attachements– Vertical daisy chains (x2) on the front panel for gear or shock cord
– Gear loops on the front panel (4x on each end of the daisy chains)
– Compression strap with quick-release (x1) and with ladder lock (x1)
– Strong Shock cords with LineLoc to secure side pockets content.
– Daisy chains (x2) on bottom, with D-rings (x4)
– Daisy chain on each shoulder strap
– Loop inside for a water bladder
– Top lead attachment can be converted to straps.

The Skinny Pack

The Skinny is an experiment with adding very slight curvatures to an otherwise V-shaped day pack. It stays lightweight by using black on black Dyneema®/Nylon Ripstop (160 grams per square meter) while reinforcing abrasion-prone areas with Cordura by minimizing the overall features: only two relatively small side pockets and a few accessory loops.

The pack also re-imagines the load-lifters by using instead a high-strength 4 mm elastic cord distributing the lateral and front-to-back movement of the pack to the shoulder straps. The load-lifting is minimal by design due to the small volume of the pack, but still adjustable through the tension of the top vertical compression strap.

The breathability of the back panel is provided a full-length wide 3D mesh, and the back panel is padding with a thick (8 mm) high-quality closed cell foam protecting the spine.

In order to avoid the discomfort of rubbing against the 3D mesh – which is worsened by the humidity that can gather within the mesh during a prolonged effort – the bottom part of the back panel is doubles with a soft low-denier Cordura where the skin could be the most irritated. Another mitigation against the same discomfort is done by the shape of the lower part of the backpack, essentially curving to avoid a sharp edge resting on the iliac crest.

Without further due, here are the specs, followed by a huge amount of pictures covering all angles and details. I hope you like it!

Volume18+4 liters
Dimensionsapprox. 50x27x13 cm (roll-top fully closed)
Weight310 grams
Carriescomfy. 6kg
max. 8kg
FabricsDyneema/Nylon Ripstop (black on black)
350D Cordura
ClosureRoll-top with quick release buckle
Vertical compression strap
Back Padding8mm CCF padding + 3D Mesh
(80% of surface covered)
Strap PaddingN/A (except for the 3D mesh)
Hip BeltN/A
Pockets2 (small side pockets)
Attachments– Small gear loops on the side panels (x4)
– Strong gear loop with metal D-ring on the front panel
– Full-length daisy-chains on both shoulder straps.
ABC Skinny Pack Specifications

Thick Foam in Shoulder Straps

I love building backpacks. I just do. But the one thing that I enjoy the least, is building padded shoulder straps. Between the threads making a mess, the clearance below the presser foot not being enough, and the needle breaking because of tensioning issues, I moved away from padding shoulder straps entirely. Nonetheless, here is a example of what you can do with some patience. And I will also throw in some other pictures of the complete build for the city hiker pack.

The Slumber Pack

The ABC Slumber is a 20+ liter pack designed for short overnight hikes, while carrying limited supplies, and maybe a bivy and sleeping bag combo. It’ll fit a deflated sleeping pad (which can be strapped on-top or below the pack), a good 2 liters of water, some warm layer(s) and rain protection. And of course, a small first aid kit, because you should never hike without one!

On this version, the main body is built out of X-Pac LiteSkin LS07. It’s not the most abrasion resistant fabric, but it offers good protection against the elements for a lightweight laminated fabric. For better wear resistance, the pack is reinforced at the most exposed parts with low denier non-coated Cordura. Here are some more specifications:

Volume20+2 Liters
Dimensions60x28x12 cm (closed roll-top)
Weightmax. 390g (without padding)
Carriescomfy. 5kg
max. 7kg
FabricsX-Pac LiteSkin LS07, Cordura
(LS07 only comes in one color/pattern)
ClosureRoll-top + Velcro
Strap padding10mm CCF padding + 3D Mesh
Hip BeltNo padding.
25mm strap with 2-sided quick release buckle
Pockets2 (one on each side, different heights, inverted inclinaison)
Attachments– Daisy chain on the front panel for gear
– Daisy chains on roll-top for securing pack
– Gear loops on the front panel (middle + bottom right)
– Compression cords with hook and quick-release (x2)
– Compression cords on the bottom panel
– Daisy chain on each shoulder strap
– Loop inside for a water bladder
Specs sheet for my fellow gear junkies

The design relies on using a sleeping bag inside the pack as padding and therefore does not necessarily need a foam pad to protect your back. If you need to protect your back better, I’d recommend using a 10mm high quality closed cell foam (for example Evazote EV50) cut to dimensions.